
Diablo IV: Lord of Hatred Guide | How to Beat Uber Lilith
Here's a guide on how to beat Uber Lilith in Diablo IV: Lord of Hatred.
Game Guide by Mash Rahman on May 26, 2026
The most challenging aspect of Diablo 4 is a complete shift in mentality regarding boss encounters and combat execution. This is the endgame's highest difficulty setting, where precision, damage, and spatial skills are required in a way that can not be prepared for in dungeon-clearing.
The Uber Lilith encounter is not like the others, where you can build up a LOT of armor and resist some elements to fend off the other party.
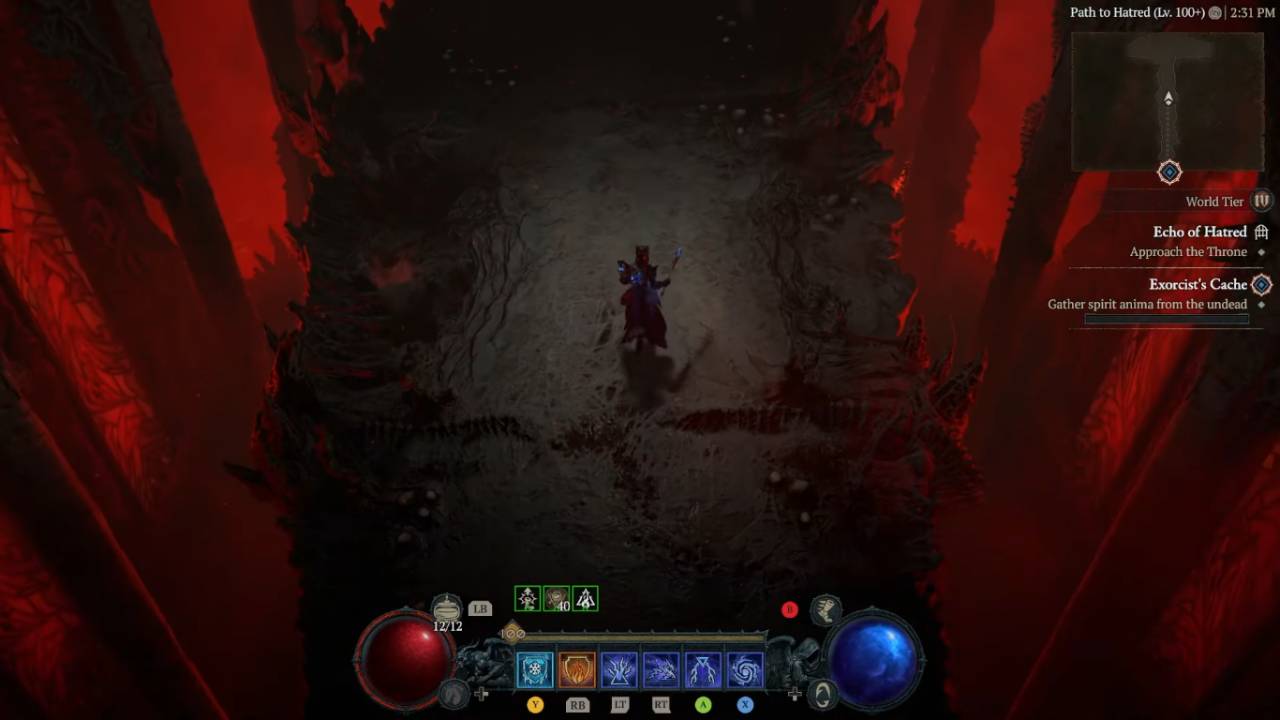
Rather, the Echo of Lilith uses a lot of deadly mechanics and stacking debuffs on the character. If a character takes a damage counter from her most powerful ability, she will be permanently weakened, so even the most heavily armored characters will be wiped out on the second or third hit, regardless of how high their damage reduction is.
The overall idea behind beating her is to engage in extreme, calculated aggression combined with unmatched mobility. The main idea is to generate astronomical single-target burst damage to keep her in her phase transitions as quickly as possible, but still allow her base speed to outpace her devastating arena destruction. For those who choose to learn the trickiest choreography of the game, this is a battle in which chaos and seemingly impossible moves become flawless dances of execution.
Level Up Your Character and Gear
You will need to optimize your character for this specific fight before you even enter her arena. Her mechanics are designed to function outside standard defensive mitigation; thus, you will need to remove unnecessary defensive components and increase her raw offensive capabilities and mobility.
Your boots and amulet are likely two of the most important items you have in your kit for this battle, since both should have the most powerful movement speed affix. If they do not have a resting movement speed of at least 150 percent, then it is mathematically impossible for them to outrun the tracking projectiles in the second phase without a resting movement.
In addition, the build must be reworked so that it is almost all burst damage on a single target, and not AoE. Skills and gear interactions that quickly fill the 'stagger' meter are extremely beneficial because once Lilith is staggered, she takes a complete break from her threatening attack patterns and you will get a great opportunity to do damage continuously. All tempering rolls, masterworks upgrades, and Paragon board choices should be used for one sole purpose: Hit Harder. Move Faster.
Navigating Phase One and Spike Waves
The initial part of the Echo of Lilith fight provides a vicious test of your situational awareness and your ability to manipulate enemy targeting. During the fight, Lilith is often going to soar into the air and then plunge to the ground to drop a huge one-shot demonic spike wave that will blast in fast across the floor. The waves can be configured as parallel lines or as intricate triangles.
The only way to beat these attacks is to take advantage of the targeting system by getting to the outside of the circle as soon as she jumps up into the air. Placing your targeting markers at the side leaves the safe area between the spikes as large as possible in the middle of the platform. After the warning markers are displayed, rush to the other side and quickly stand behind the last wave.
The hitboxes of these spikes extend slightly forward and are extremely punishing, so standing behind the waves as they spawn means you'll be safe. If she reaches the 40% health mark, she will implement the triangle wave pattern with a very heavy lethal circle in the middle. You need to react exactly the same way, but you need to respond much quicker – you'll have to dash out of the triangle area before she lands.
.jpg)
Handling Blood Boils and Damage Windows
There is a need to keep repositioning to avoid the devastating spike waves, but there is also a need to manage the secondary threat which is evident in the first phase of the disaster. At regular intervals, Lilith will call out blood boils that will flash on the arena. These manifestations need to be targeted and addressed immediately.
Left unchecked, even for a few seconds, these boils will detonate, creating an untouchable area-of-effect lethal effect across the whole battlefield. Your goal is to shift your focus to these boils immediately upon their appearance and to take them down with your burst damage ASAP before focusing on Lilith again.
While her actual vulnerable periods are very short, they are actually at the moment she exits the sequence of spike waves and is in the center of the arena. It's time you start using your ultimate powers and inner evil cycles. The ultimate goal of this first part is to inflict so much damage in these short periods of time that one starts to miss out on her most challenging wave patterns, allowing her health to drop first before the damage mechanics become too much.
Phase Two Platform Destruction
After defeating Lilith in its first shape, it takes off its hide and enters its terrifying second form, completely changing the rules of the game. This is not so much about damage, but all about movement, patience, and positioning, as she is now systematically destroying the land she treads upon.
She will ascend to certain corners of the arena and remove massive chunks of it, leaving a vast black area in the center of the arena filled with highly toxic, deadly black poison. To survive, one must follow a very structured movement pattern. You must stay close to her when she targets a part of the floor, taking care not to fall through, while still taking damage when necessary.
The proven strategy is to run continuously clockwise without stopping while moving around the top of the arena and the right and left sides, as the platforms fall alternately. You can't panic or jump too soon, and you can't jump over the next stable platform without waiting for the dark corruption to dissipate. It's a deceptively tricky mental exercise: if you hesitate or move too soon, you're all but assured of falling into the pit.
Surviving the Tracking Skulls and Final Execution
.jpg)
The most notoriously difficult mechanic in the second phase involves generating tracking blood skulls. As the fight progresses and the platform shrinks, blood blisters will spawn and release highly aggressive white projectiles that lock onto your character and chase you relentlessly. Taking a hit from one of these skulls applies the fatal stacking debuff, ensuring that subsequent hits will quickly end the attempt.
You must counter this threat through pure, unadulterated speed. To successfully kite these projectiles, you rely entirely on that massive movement speed investment you prepared earlier. By running in wide arcs along the very edge of the remaining platform and utilizing your mobility skills at the exact moment a skull gets too close, you can lead them on a wild chase until they safely dissipate.
This high-speed evasion ensures you remain untouched by the debuffs, keeping your character pristine as you wait for the final, sliver-sized platform to stabilize. Once the floor stops crumbling and she is isolated in the center of the remaining sliver, her mechanics largely cease. You will then unleash the absolute remainder of your arsenal, completely depleting her health bar to claim your Resplendent Spark and the satisfaction of true mastery over Diablo 4's hardest encounter.
Also, check out our Diablo IV Review, Diablo 4: Vessel of Hatred DLC Review, and other guides below:
- Diablo IV: Lord of Hatred Guide | How to Beat Tormented Andariel
- Diablo IV: Lord of Hatred Guide | How to Beat Tormented Duriel
- Diablo IV: Lord of Hatred Guide | How to Beat Tormented Beast in the Ice
- Diablo IV: Lord of Hatred Guide | How to Beat Tormented Lord Zir
- Diablo IV: Lord of Hatred Guide | How to Beat Tormented Grigoire
- Diablo IV: Lord of Hatred Guide | How to Beat Tormented Varshan
- Diablo IV: Lord of Hatred Guide | Forging an Unstoppable Champion
- Diablo IV: Lord of Hatred Guide | Paladin Build: Mastering the Zealous Shredder
- Diablo IV: Lord of Hatred Guide | Paladin Build Mastering the Falling Star Arbiter
- Diablo IV: Lord of Hatred Guide | Paladin Build: Mastering the Holy Purifier
- Diablo IV: Lord of Hatred Guide | Warlock Build Mastering the Umbral Chains Weaver
- Diablo IV: Lord of Hatred Guide | The Ultimate Endgame Build
- Diablo IV: Lord of Hatred Guide | Essential Tips and Tricks for Traversing Sanctuary
- Diablo 4 Guide | Warlock Build Mastering the Blood Pact Invoker
- Diablo 4 Guide | Mastering the Pinnacle Challenges of Sanctuary
- Diablo IV: Lord of Hatred Warlock Build Guide | Mastering the Shadow Summoner
- Diablo IV: Lord of Hatred Guide | How to Choose Your Ideal Class
- Diablo IV: Lord of Hatred Guide | Warlock Build Mastering the Brimstone Apocalypse
- Diablo IV: Lord of Hatred Guide | Mastering the Frost Juggernaut
Contributor, NoobFeed
Latest Articles
No Data.