No Rest For The Wicked | Best Early Game Tips and Guide
A guide and some early tips for playing No Rest For The Wicked for newcomers to this genre.
Game Guide by Rayan on Apr 23, 2024
One of the most highly anticipated games of 2024, No Rest For The Wicked, is here, and unlike most RPGs, newcomers to this game will struggle quite a bit if they aren’t used to its gameplay mechanism. We’ve played the game and are still playing, and we love it.
It’s definitely among the best games we’ve played so far this year and a heavy contender for GOTY 2024. But No Rest For The Wicked isn’t like any other RPG game, not Souls-like; It’s a mix of both. And that’s why many have complained about the game without even properly understanding it.

So, I’ve decided to combine some early best tips and tricks for playing No Rest For The Wicked, especially for new players who are struggling to get a hold of the game.
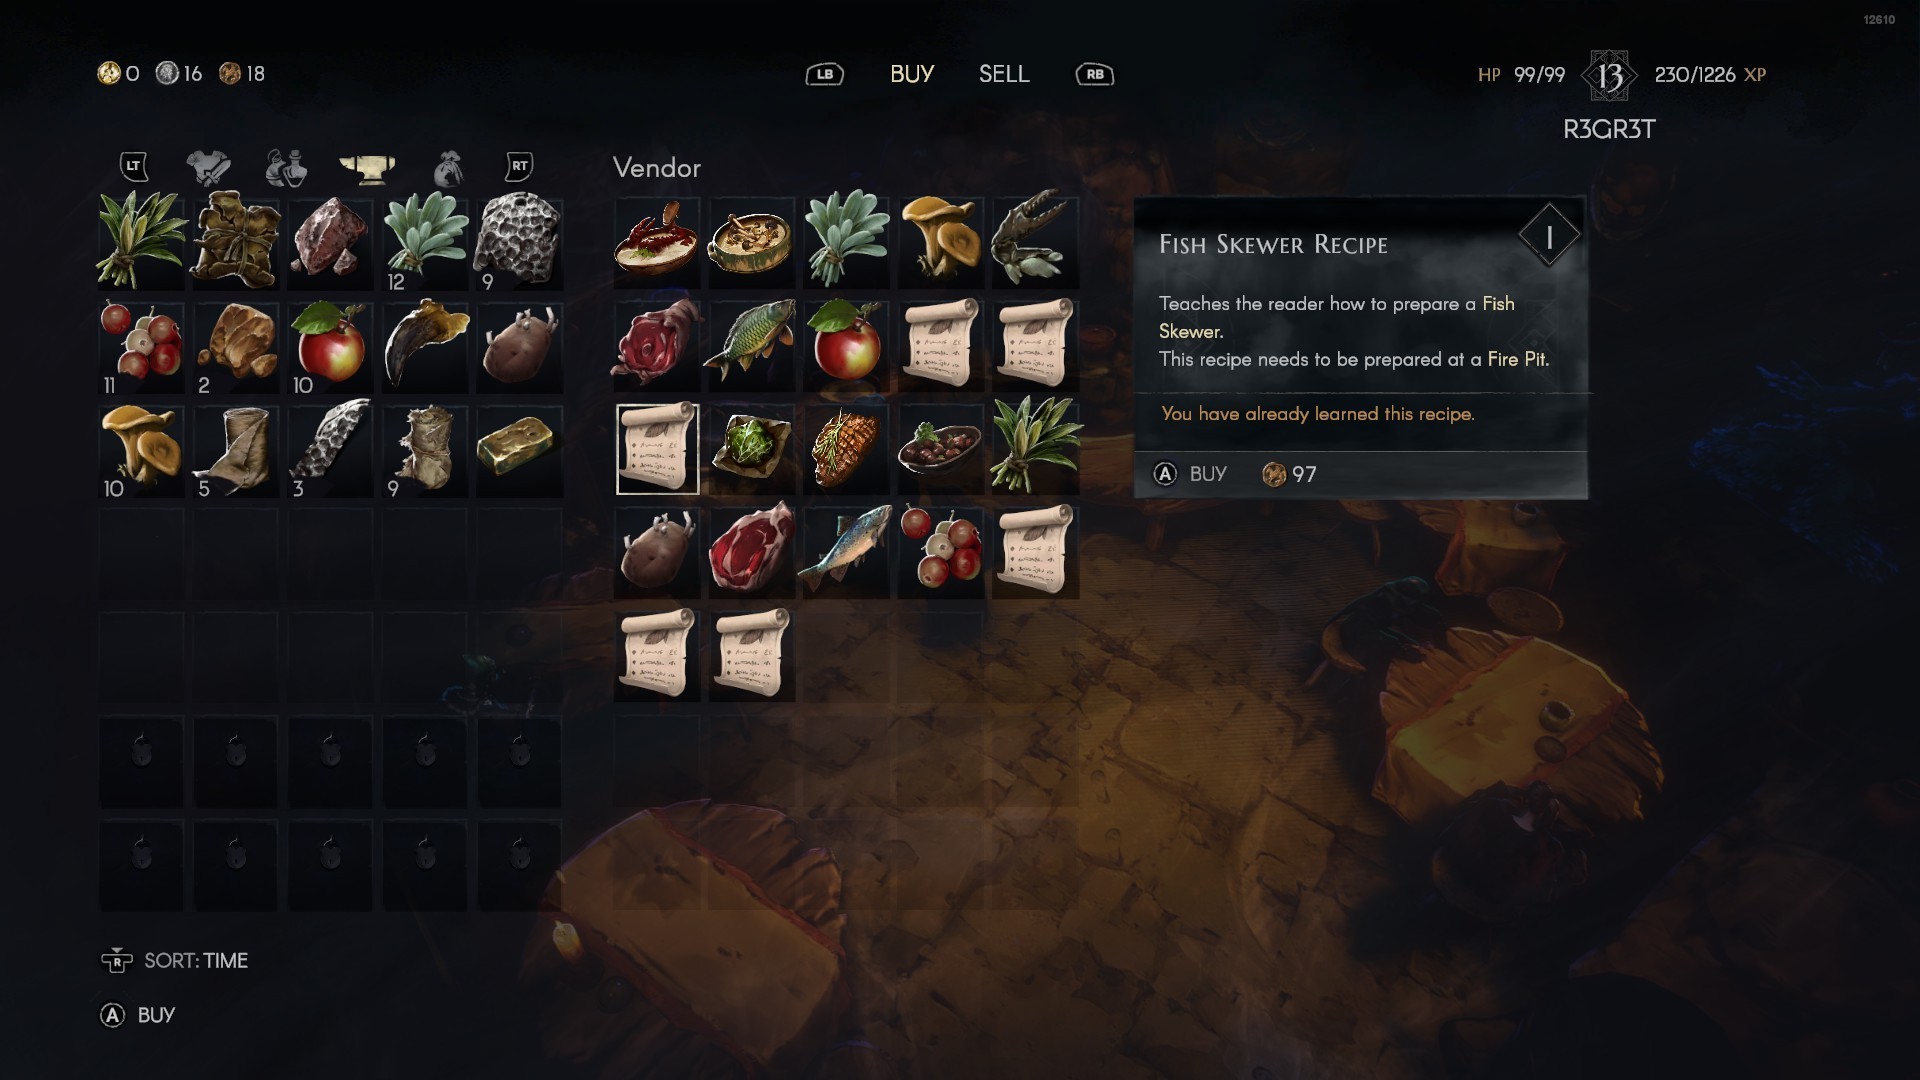
Learn Food Recipes
No Rest For The Wicked stands out from other Souls-like games because it grants you limitless heals. Sure, it's not infinite, but it's more than enough to get by. And that’s where the food recipes come in. You can unlock food recipes that you can use at the cooking fire pit.
First things first, you'll have to find or buy the recipe scrolls. You can find these scrolls, whether you purchased them or looted them, under the second tab of your inventory.
All that remains is to choose them and learn these recipes once you have them. When you learn them, you'll be able to prepare multiple kinds of meals at once in any fire pit, which is a huge time saver. But you'll definitely need the ingredients to prepare them.
You can always farm the ingredients since they respawn quickly after you've collected them once. You can reserve particular recipes that call for more than three ingredients for when you face up against bosses.
Fog and Respawned Enemies
I was initially delighted that enemies don’t respawn when you rest in the game, which makes exploration very easy. However, many might hate it because you won’t be able to farm them for loot. But rest assured that the map is large enough to drop enough enemies on your way and loot at the same time.
But what amazed me most was the game’s fog walls. You will notice that as you explore the game, the areas that you've already explored are now covered in fog. Like the beginning of the game, the beginning area is covered in fog, which is surprising because, obviously, you explored this area.
No Rest For The Wicked sort of resets the explored areas, and what this means is that everything in those areas, enemies and loot, has respawned. Especially after you make your way to the first town, and when you come back to the first area, there's a whole different set of enemies roaming around the place.
Additionally, you shouldn't be hesitant to explore since there are plenty of hidden paths leading to various parts of the game. As you progress through the game, you'll find that there are a lot of unorthodox ways to jump to different parts of the map. It doesn't matter if you can't climb it or survive the jump into the water.
Respawned Chest and Loots
Among No Rest For The Wicked's most remarkable characteristics is the fact that every chest you loot respawns, just like the opponents in fresh fog zones. Keep in mind that not everything you get from the chest will be identical to what everyone else gets.
So, no one can guarantee you a specific list of what to look for in any given location. This is something that is common in most weapons, gear, and weapon guides. Here, it is fully randomized. You can't expect the loot you take from a chest to return with the same items that other players have found.
Therefore, you should not expect to obtain the same item from the same chest twice if you obtain an item from one. These chests are always restocked with a wide variety of items. Items dropped by foes, and particularly bosses, follow the same pattern.
No matter how many times I kill the same boss, it always drops a different set of things. It's completely unpredictable. Even after a long and arduous boss fight, you may feel as though you were utterly robbed sometimes.
Repair and Upgrade Your Weapons and Armor
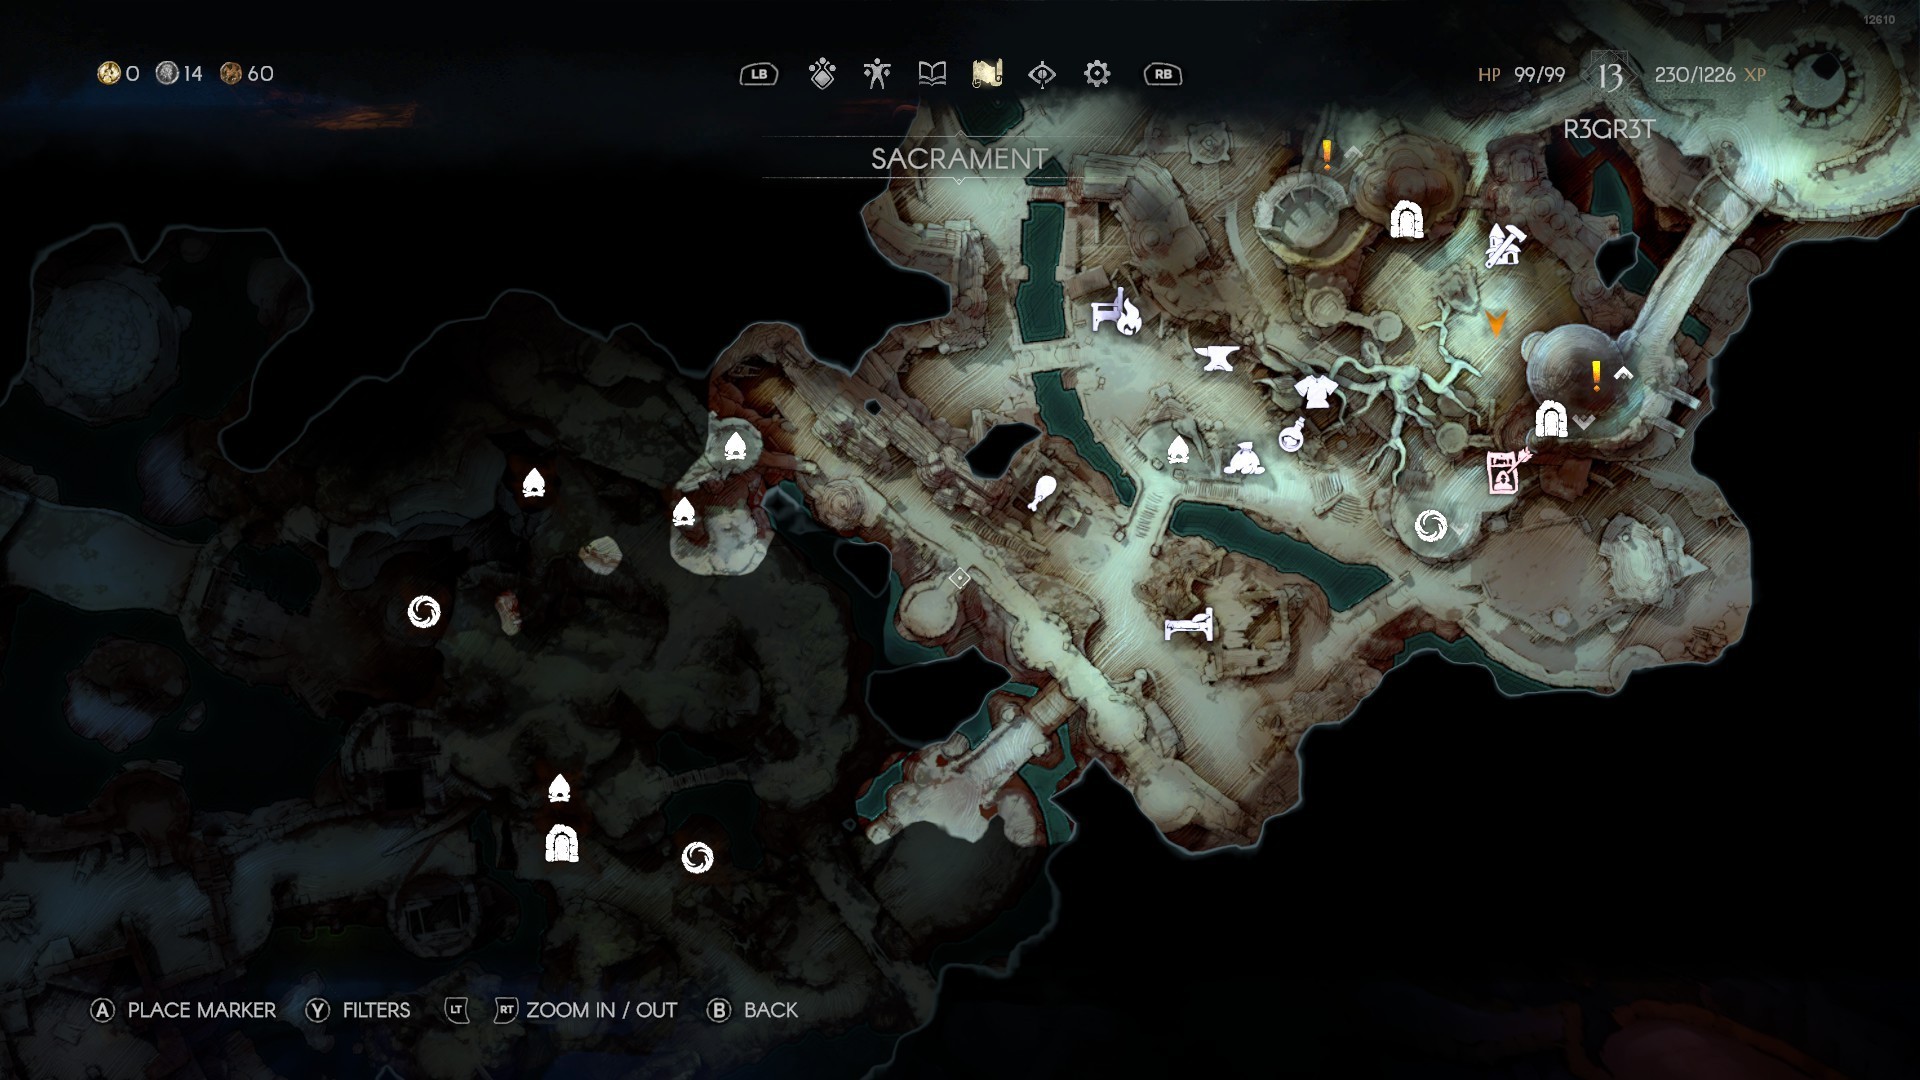
Upon reaching Sacrament after defeating the first boss, you will be prompted to do one of the main plot quests. It's not hard at all; all you have to do is talk to a bunch of non-player characters. At some point, you will locate the blacksmith Fillmore at what is essentially the center of the entire camp.
He is located in the exact middle of the map, just after the first bridge you cross when you go into the lower half. Once you've completed a few tasks and explored the world, you should be able to view the faces of all of these NPCs on the map.
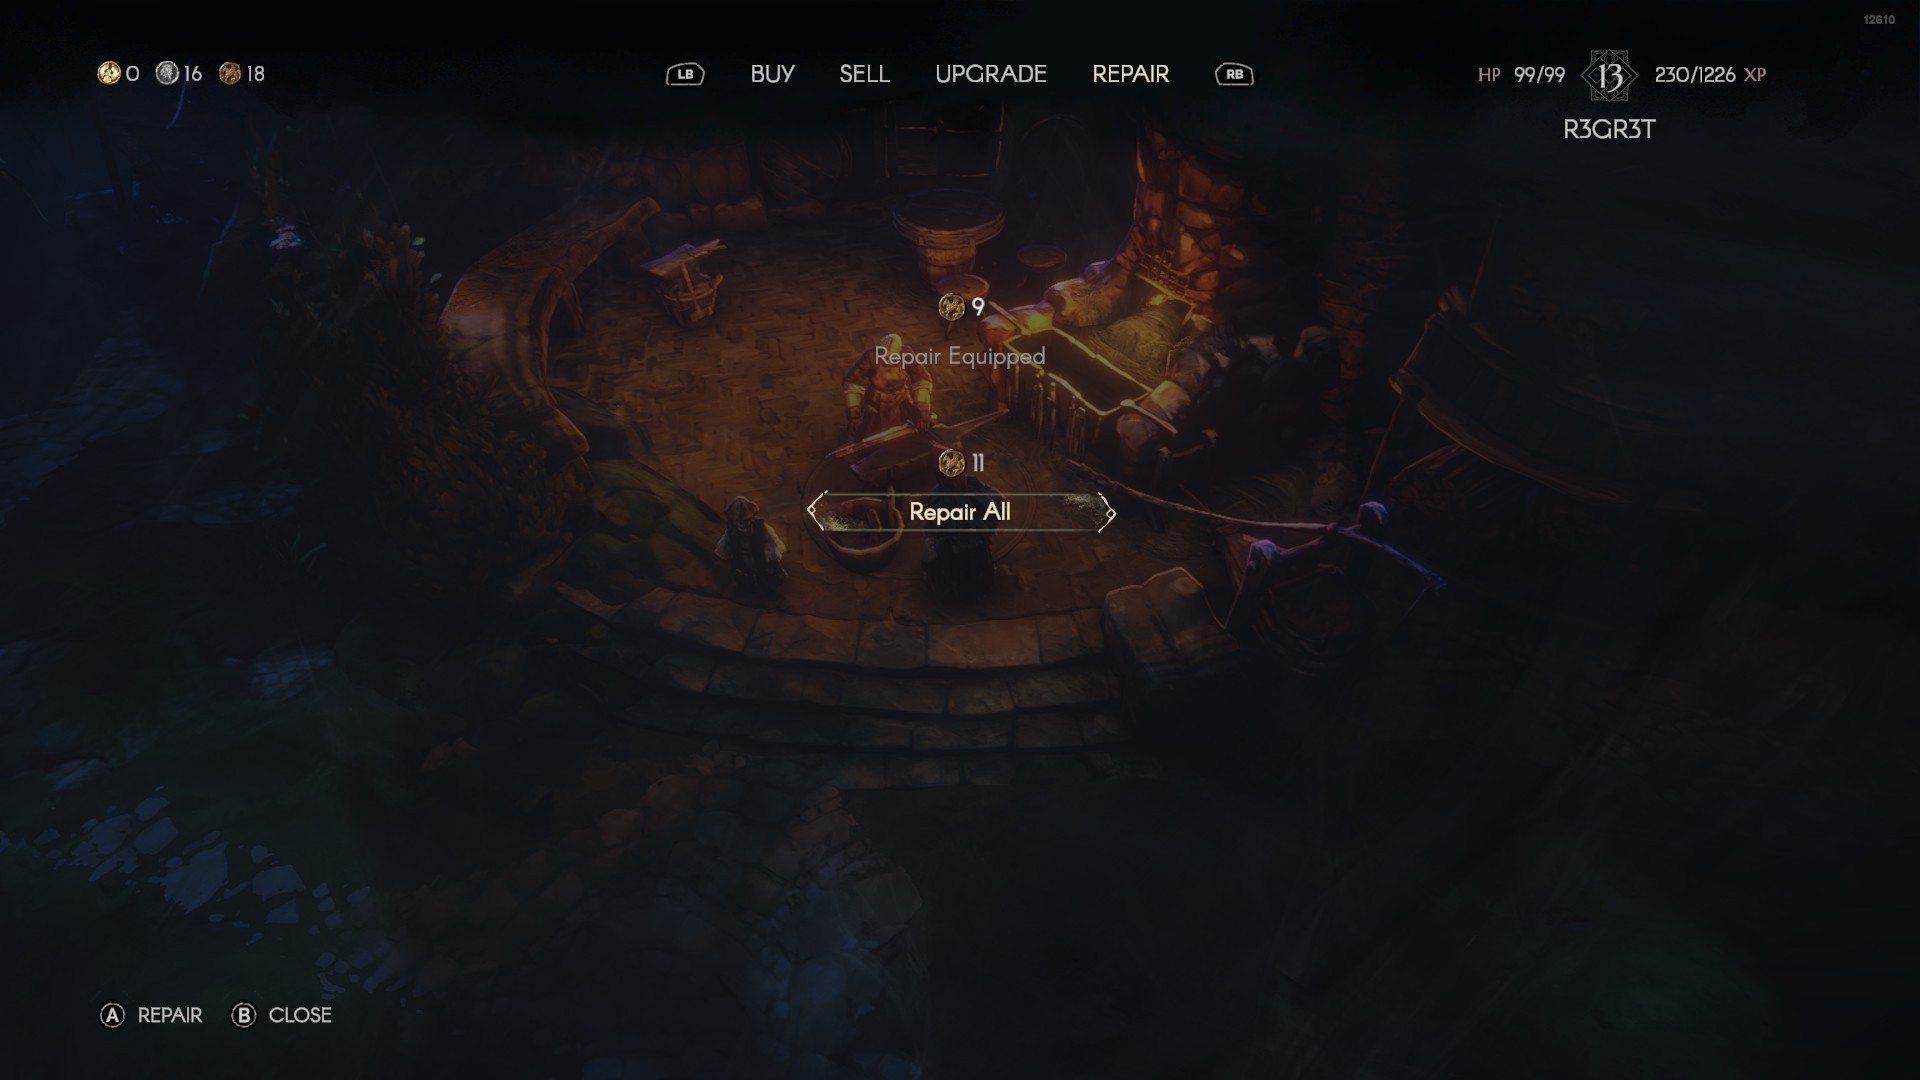
Talking to every one of them is something you should do. But if we narrow our focus to Fillmore, we'll find that he's the blacksmith. In addition to selling and buying things, you will now have two significant abilities when you speak with him.
When you die, you need to fix your weapon if it breaks. Your equipment degrades with each death and eventually becomes worthless. So, if you're looking to make some extra cash, come here and fix and sell some useless goods. One crucial point is that this is also a place where you can level up.
Now, upgrading is awesome because it allows you to take an item and make it incredibly strong. After upgrading from your starting numbers, you will notice that your weapons' damaging stats are growing. The materials needed to upgrade weapons and gears are easily obtainable as you explore various locations.
Although components become slightly more difficult to obtain after three upgrades, owning a weapon with increased damage instead of base stats makes a significant impact. You may also increase your armor here, of course. You can readily get the items needed to upgrade armor by exploring the area, although they are different from weapons.
Enchant Your Weapons and Armor
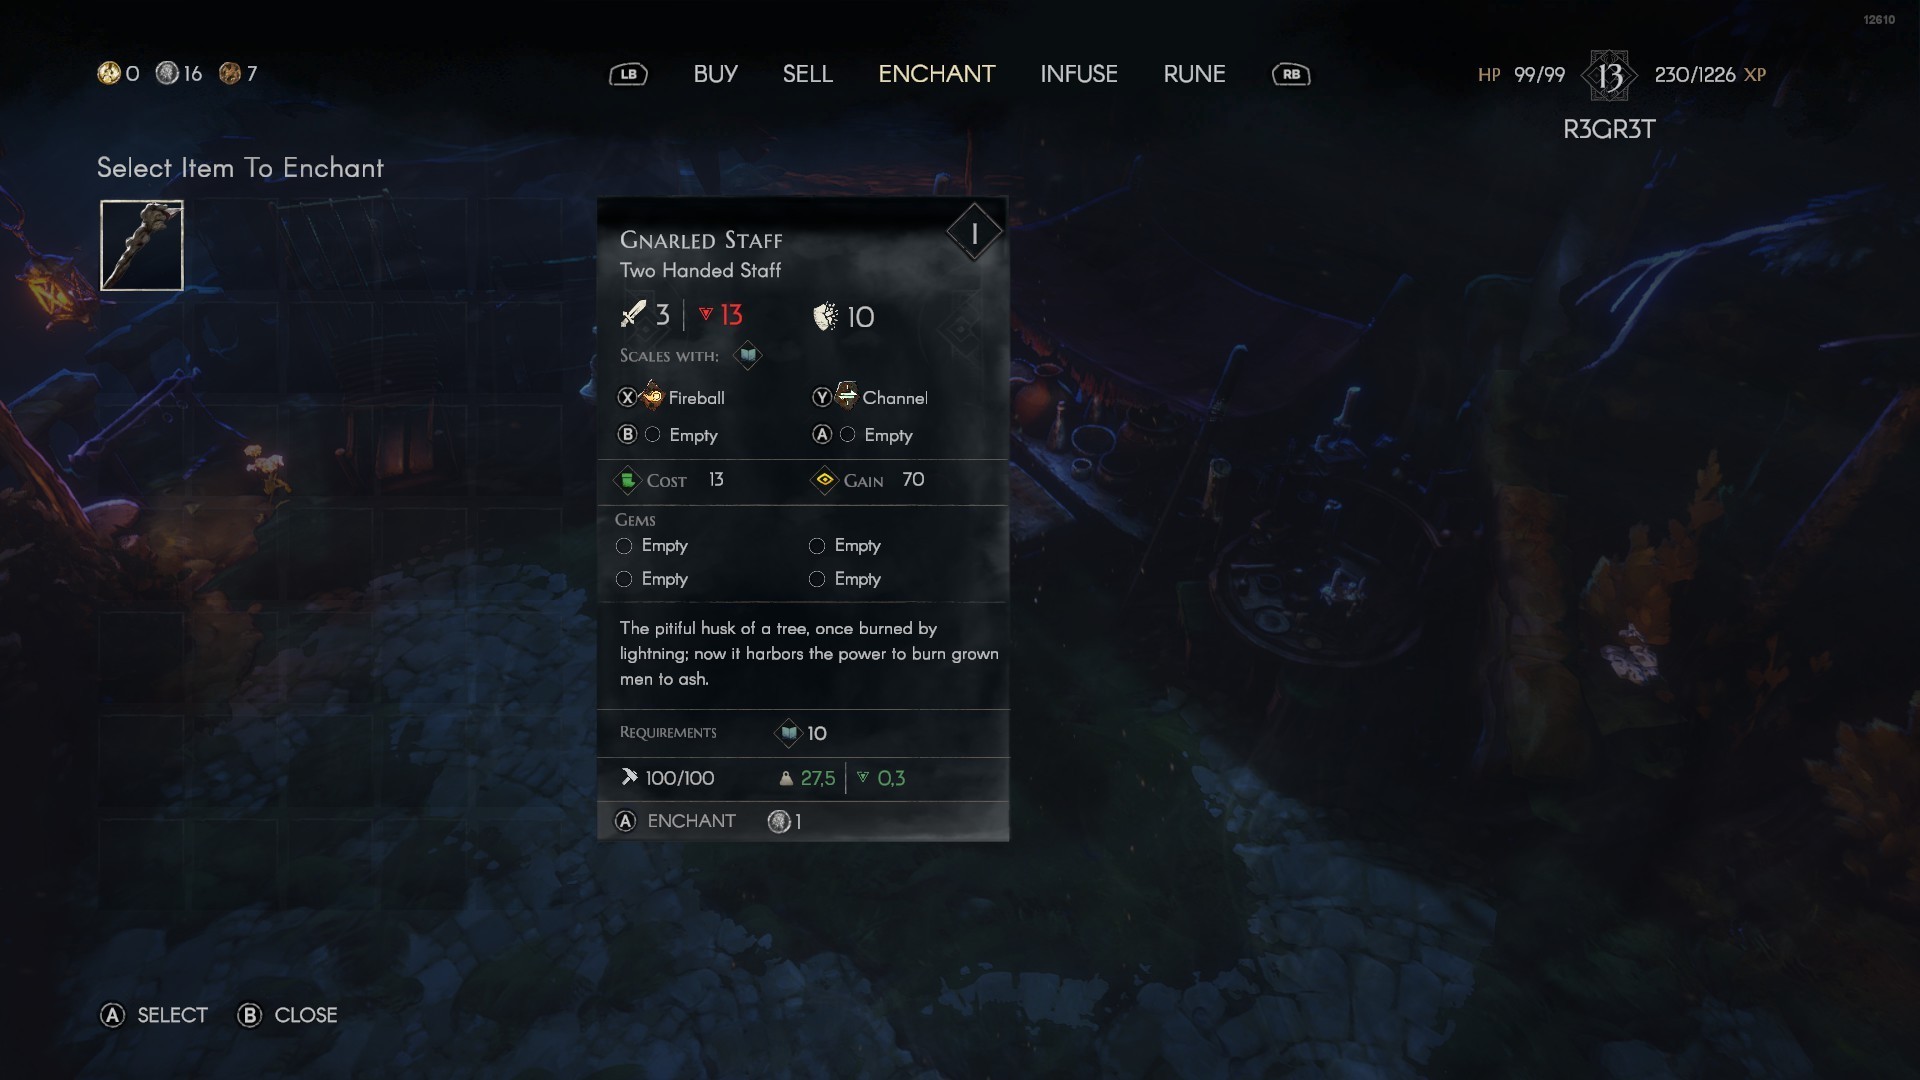
Other than Fillmore, there are other NPCs who can upgrade your equipment. You can find Eleanor if you simply stroll around the corner to the northwest of the place. Among Eleanor's many abilities is the ability to enchant and infuse your weapons and armor.
A piece of equipment can be enchanted to improve its quality in some way. You should know that there is often a downside to high quality before you enchant anything.
Obviously, Blue quality is better than White, and Purple is better than Blue, and makes them a lot stronger. One drawback of purple quality is that it limits the number of Gems slots you can have. For instance, whereas white armor may come with four gem slots, blue and purple armor may only come with one.
The Enchant ability allows Eleanor to take your stuff to the next level. Even if you receive fewer Gems slots, you shouldn't be afraid to upgrade the gears because doing so grants extra bonuses, which in turn significantly boost the stats.
Infuse Gems into Your Gear
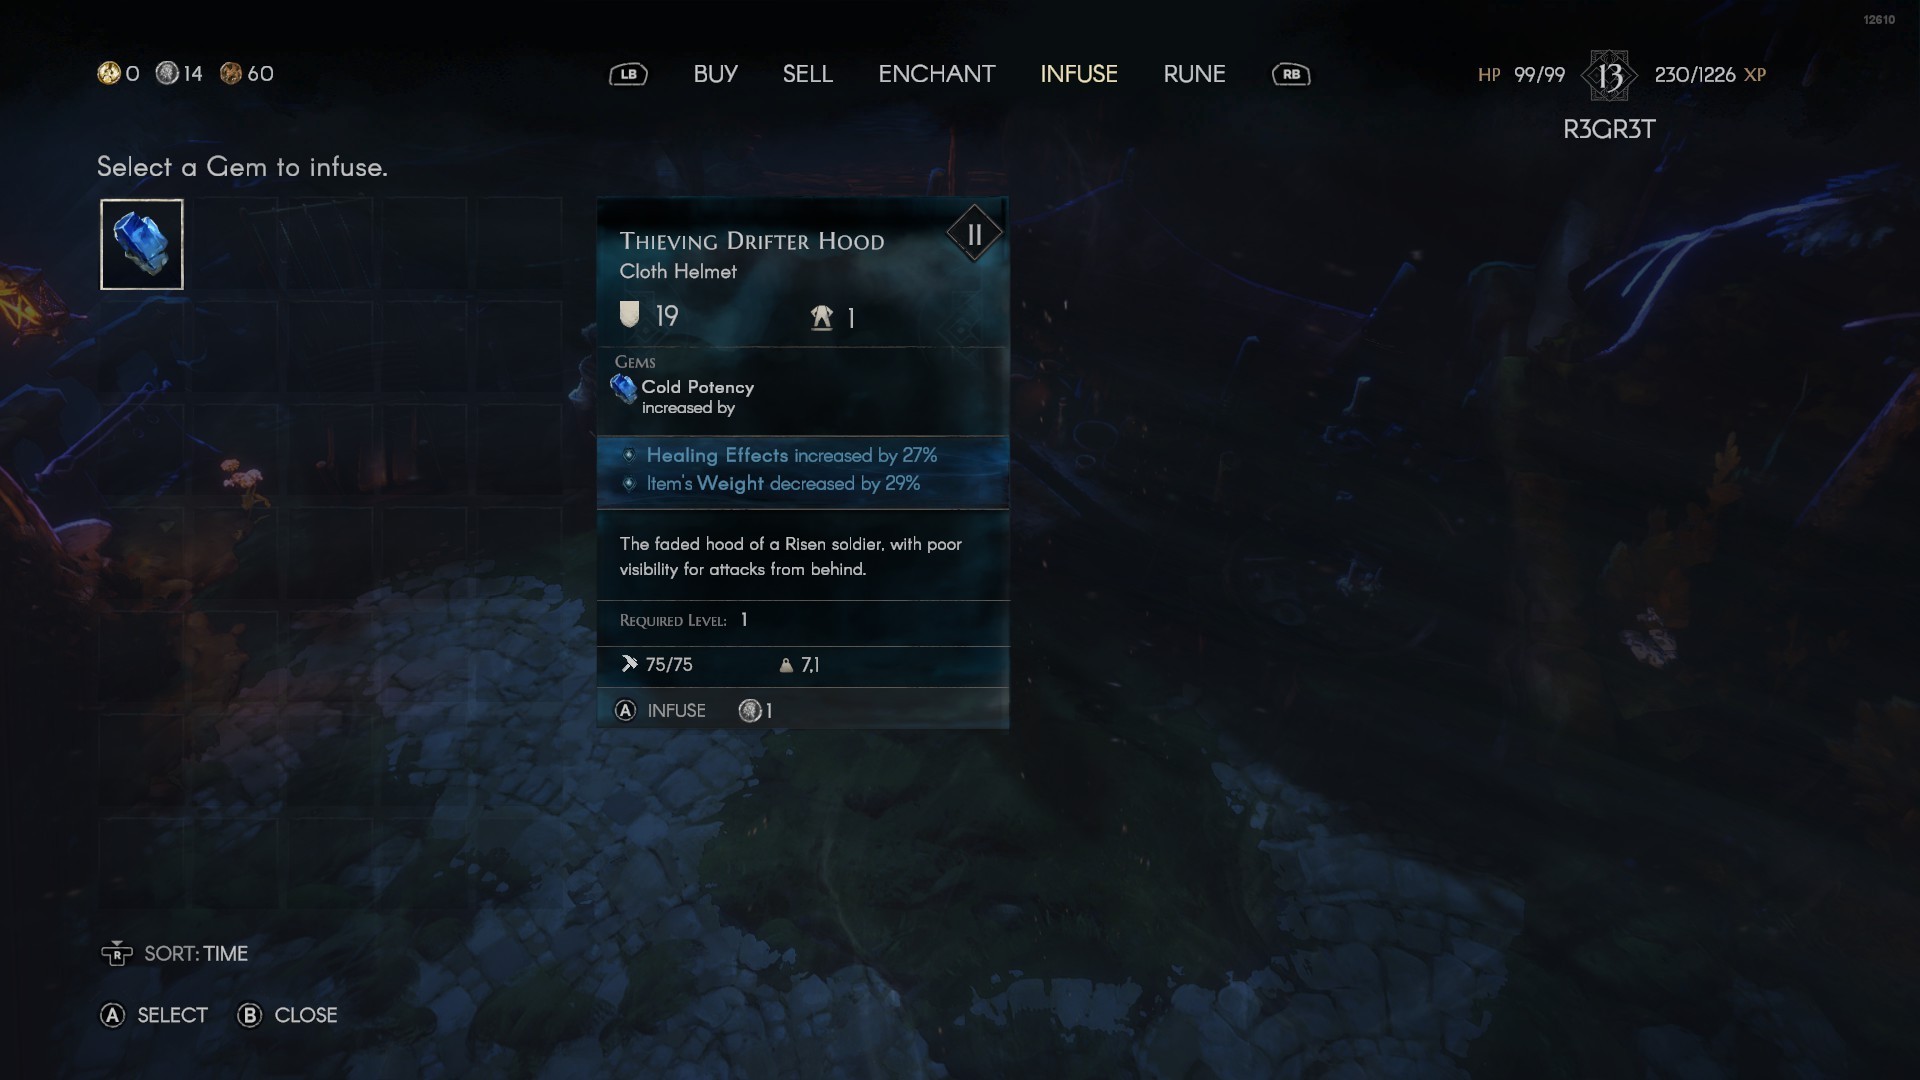
Additionally, Eleanor has the ability to integrate Gems into your equipment. Although gears of Blue or Purple quality only have one slot for Gems, they come with several additional features that are built in and are incredibly great.
However, when you infuse Gems from Eleanor into your equipment, you have the potential to obtain a new benefit, such as an improved Focus Gain or Healing Effects, among other possibilities.
Gems can be found in a variety of forms, each of which can enhance your gear in a unique way. Therefore, you should use the one that suits the way you play the game.
Embed Runes into Your Weapon
Additionally, Eleanor has the ability to integrate Runes into your weaponry. Rune refers to the attacks that you can do when you are using Focus. There are a variety of Runes that come with various sorts of weaponry, and these Runes can be extracted.
Eleanor can extract Rune from an armor that you are not currently using and apply it to a different weapon that you are using or will use in the future. Alternatively, you can choose to store the extracted Rune in your inventory for use at a later time.
There is a catch: removing a rune will destroy the weapon. Therefore, before you go ahead and do it, make sure that you are very certain about it because it cannot be retrieved. Elanor also sells some runes.
You also have the option of purchasing them from her and inserting them into a slot on your weapon that is currently empty. Some runes are extractable and won't destroy the weapon. You'll know that after placing it.
I used a Heal Aura Rune, which healed me while I was using it. As long as I maintained my constant attack on enemies, it greatly simplified the game for me.
Complete Bounties and Challenges
Near the Cerim Whisper, in the main town of Sacrament, you'll see an NPC named Captain Randolph. You can perform a variety of activities with him, such as bounties and challenges, which can result in you receiving gold and other types of rewards. He offers daily and weekly bounties that you can complete when you interact with him. Down below a bounty you select, you'll find the bounty's payout.
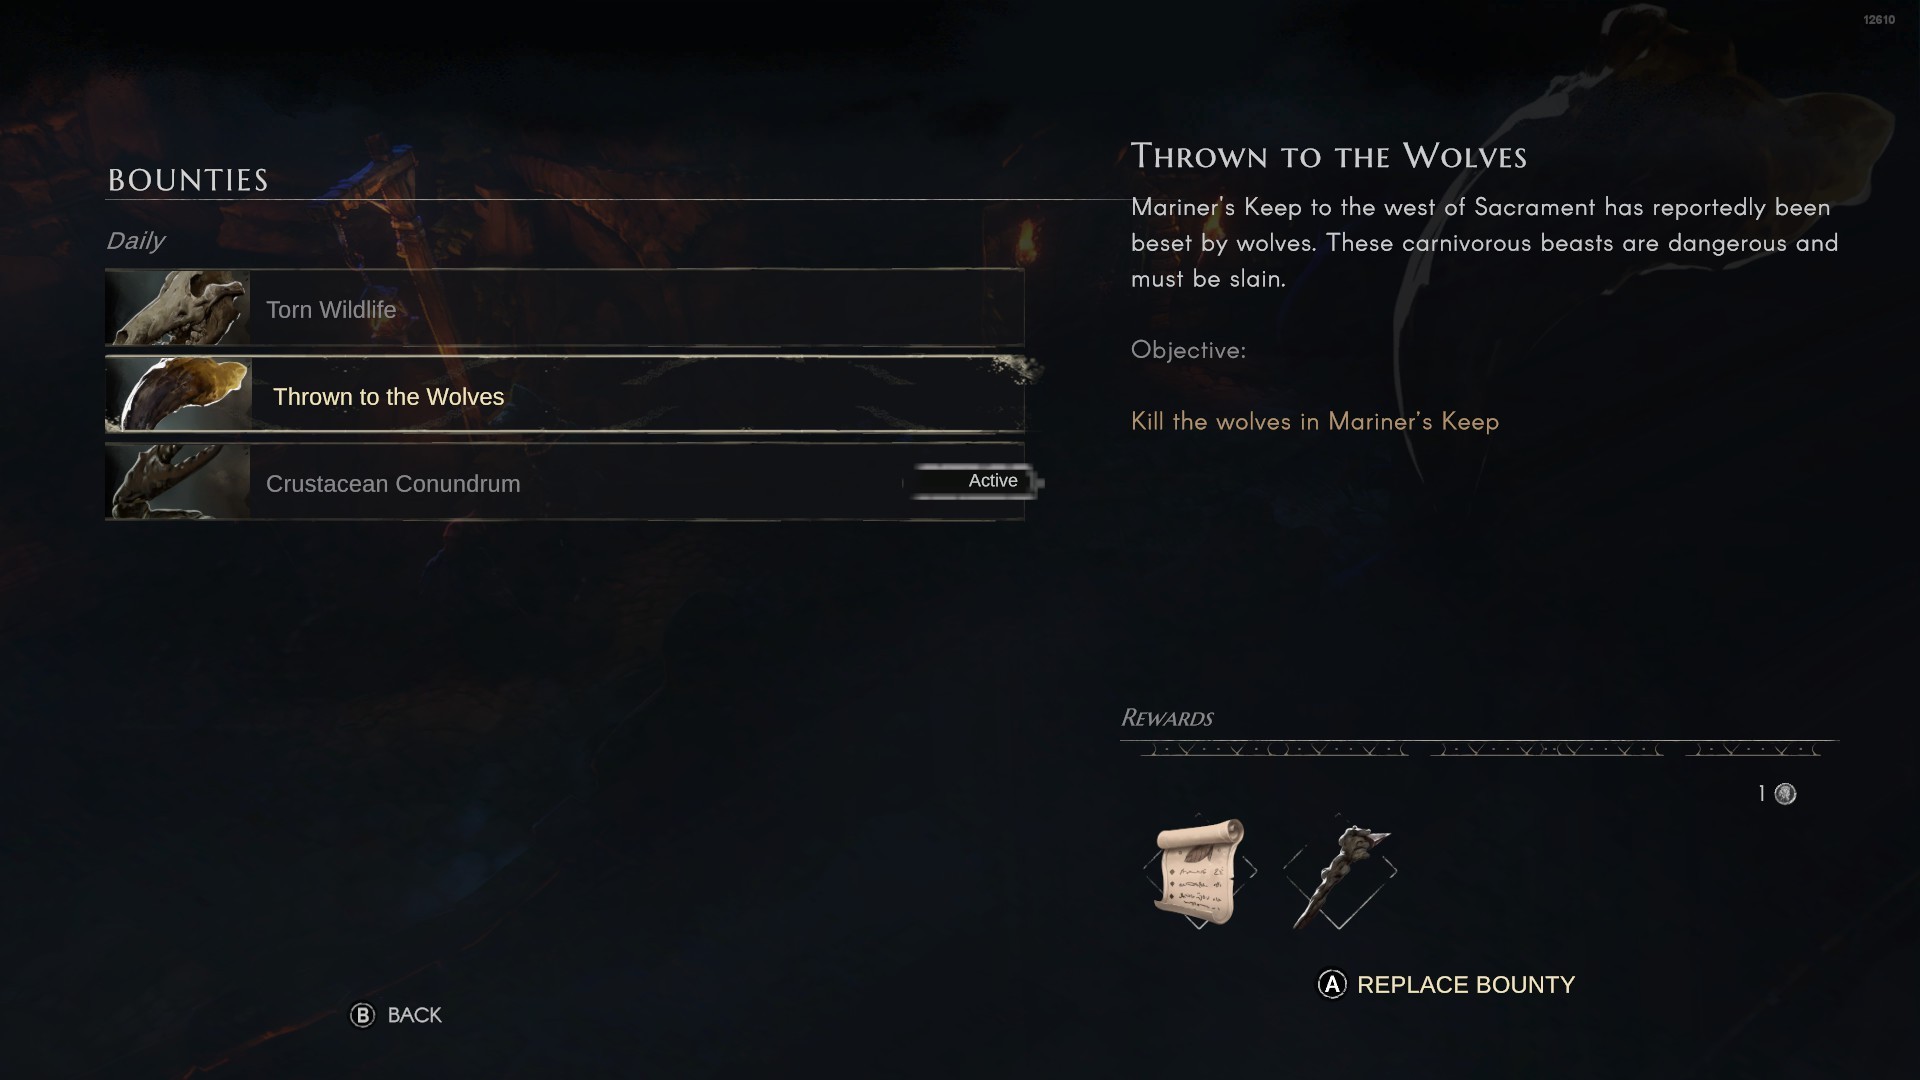
Take a look and see which ones you can easily fulfill. Pay close attention to the bounties you choose; some are more difficult and time-consuming than others.
Additionally, you are only permitted to choose one bounty at a time. The current active bounty can be viewed from the game's main menu. Since some bounties require you to go to a new place and complete a new set of tasks, you may end up forgetting what your initial objective was. This option on the main menu is really useful.
Captain Randolph will also be offering several challenges. There is no limit to how many Challenges you may accept, unlike Bounties. You may earn a ton of rewards by simply finishing the daily and weekly tasks.
If you want to level up quickly in the game, I recommend you complete as many challenges as possible. Even if some of them are quite simple, these are things you may do in the game to advance in the mission and get rewards simply by playing.
Stick To Map Markers
As you progress through this game, you will undoubtedly realize that there is a great deal of ground to cover in terms of exploring. As you look about, you notice that there are a lot of objects, such as closed doors or chests, that you are unable to access just now.
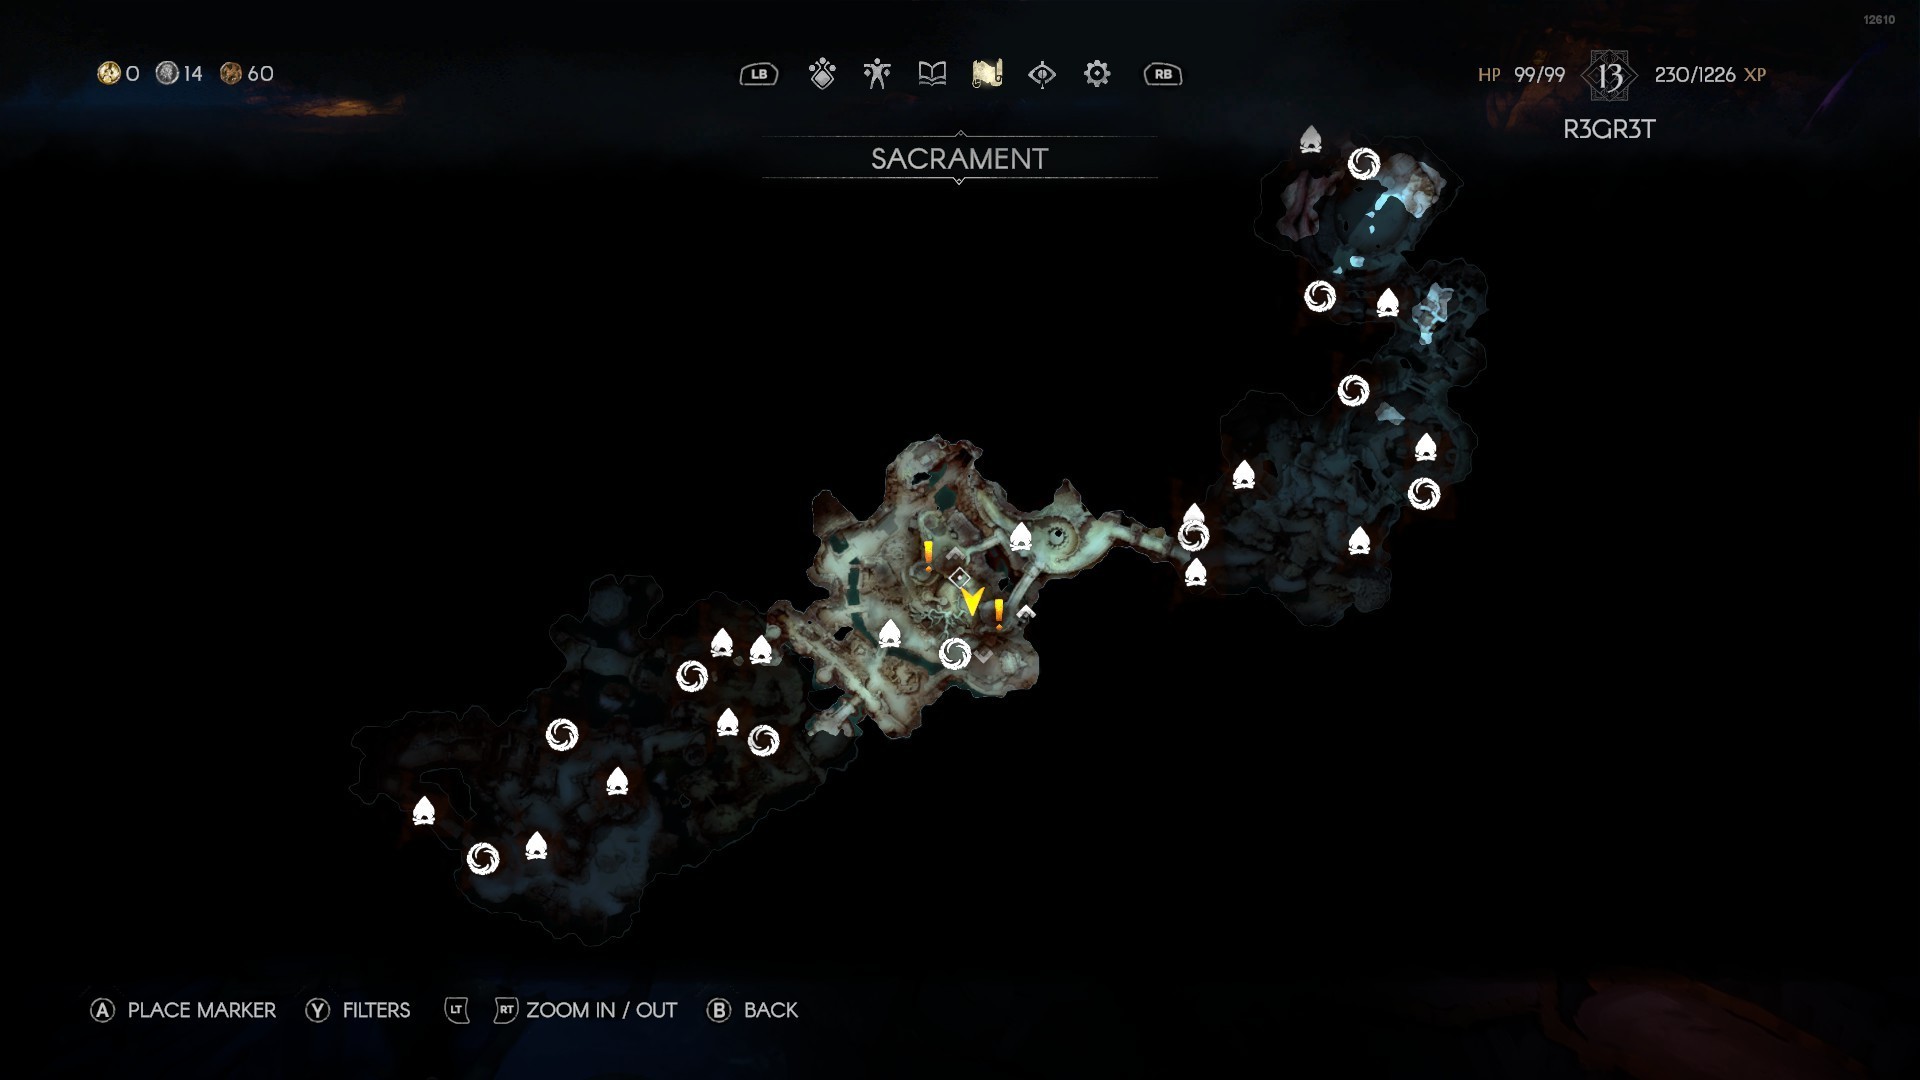
This is why you should pull out your map and make use of the markers. For example, you can use a marker to make a chest appear in an inconvenient spot that you can't immediately access.
You can mark a boss, a mining area, or any other location where you can return at a later time by using different icons as the marker. You also have the option of merely placing a red marker in the appropriate locations, and the corresponding areas will be displayed on the screen at the bottom.
Whenever you move closer to it, it will direct you in the direction of that red marker. This will serve as your navigational aid to get you to your destination.
Co-Op Multiplayer
No Rest For The Wicked has just been released in Early Access and is still a work in progress. Since the game has a soul-like mechanism, many players are used to co-op gameplay, especially to defeat the game bosses.
I’ve personally done this countless times in Elden Ring for many newcomers to the game. So, if you're having trouble moving on in the story after tackling the first two boss fights—which aren't exactly beginner-friendly—there is some good news.
Moon Studios will be added to cooperative multiplayer in the first major update for No Rest For The Wicked. The Realms system will allow players to create their realm and invite their friends to join them in co-op. The game will support up to four players. When this update comes out, it will be really helpful for newcomers or groups of friends that want to play together a lot.
The best course of action, if you find yourself stuck, is to wait for the next update, keep grinding materials, and practice the few things I'm about to mention because the game currently does not offer multiplayer.
Get Good at Parrying or Dodging Attacks
In addition to platforming and exploration, No Rest For The Wicked is primarily a combat game, and you'll encounter a wide variety of enemies across all of the areas you visit. Mastering the art of parrying and dodging is, however, the first and foremost piece of advice for thriving in this game.
In addition to simplifying matters, this will provide you with ample space to counterattack the enemies. When confronted with common enemies, parrying blows in No Rest For The Wicked is reminiscent of Wo Long: Fallen Dynasty.
You can quickly parry an attack right before it lands because their assaults aren't heavily delayed. Parrying enemies is much easier with a controller, which I recommend using. The moment you parry an attack, the enemy will be stunned, allowing you to unleash two or three attacks on them (depending on your weapon).
However, I wouldn't advise trying to strike opponents, particularly bosses, with more than one charge attack if you're using a heavy weapon. Bosses recover from stunned condition rapidly. The meat and potatoes of boss fights, meanwhile, are parrying and dodging.
The bosses are actually rather easy to defeat once you get the hang of parrying their strikes. It may take a few deaths before you figure out how they attack, but despite how aggressive they look, they're rather easy to defeat.
Dodging attacks are also useful, but it takes more time to defeat any enemy. But hey, if parrying isn't your cup of tea in a Souls game, no one's holding you back from dodging enemy attacks and then counterattacking them.
Show Enemy Damage Stats
Last but not least, my favorite part is tracking the amount of damage I deal to the enemies. This is a crucial aspect of the game as it indicates when your weapon needs an upgrade or replacement.
You can activate three different metrics by going to the game's Settings menu and selecting the Gameplay tab. If you scroll down to the bottom of the page, you will see these three options.
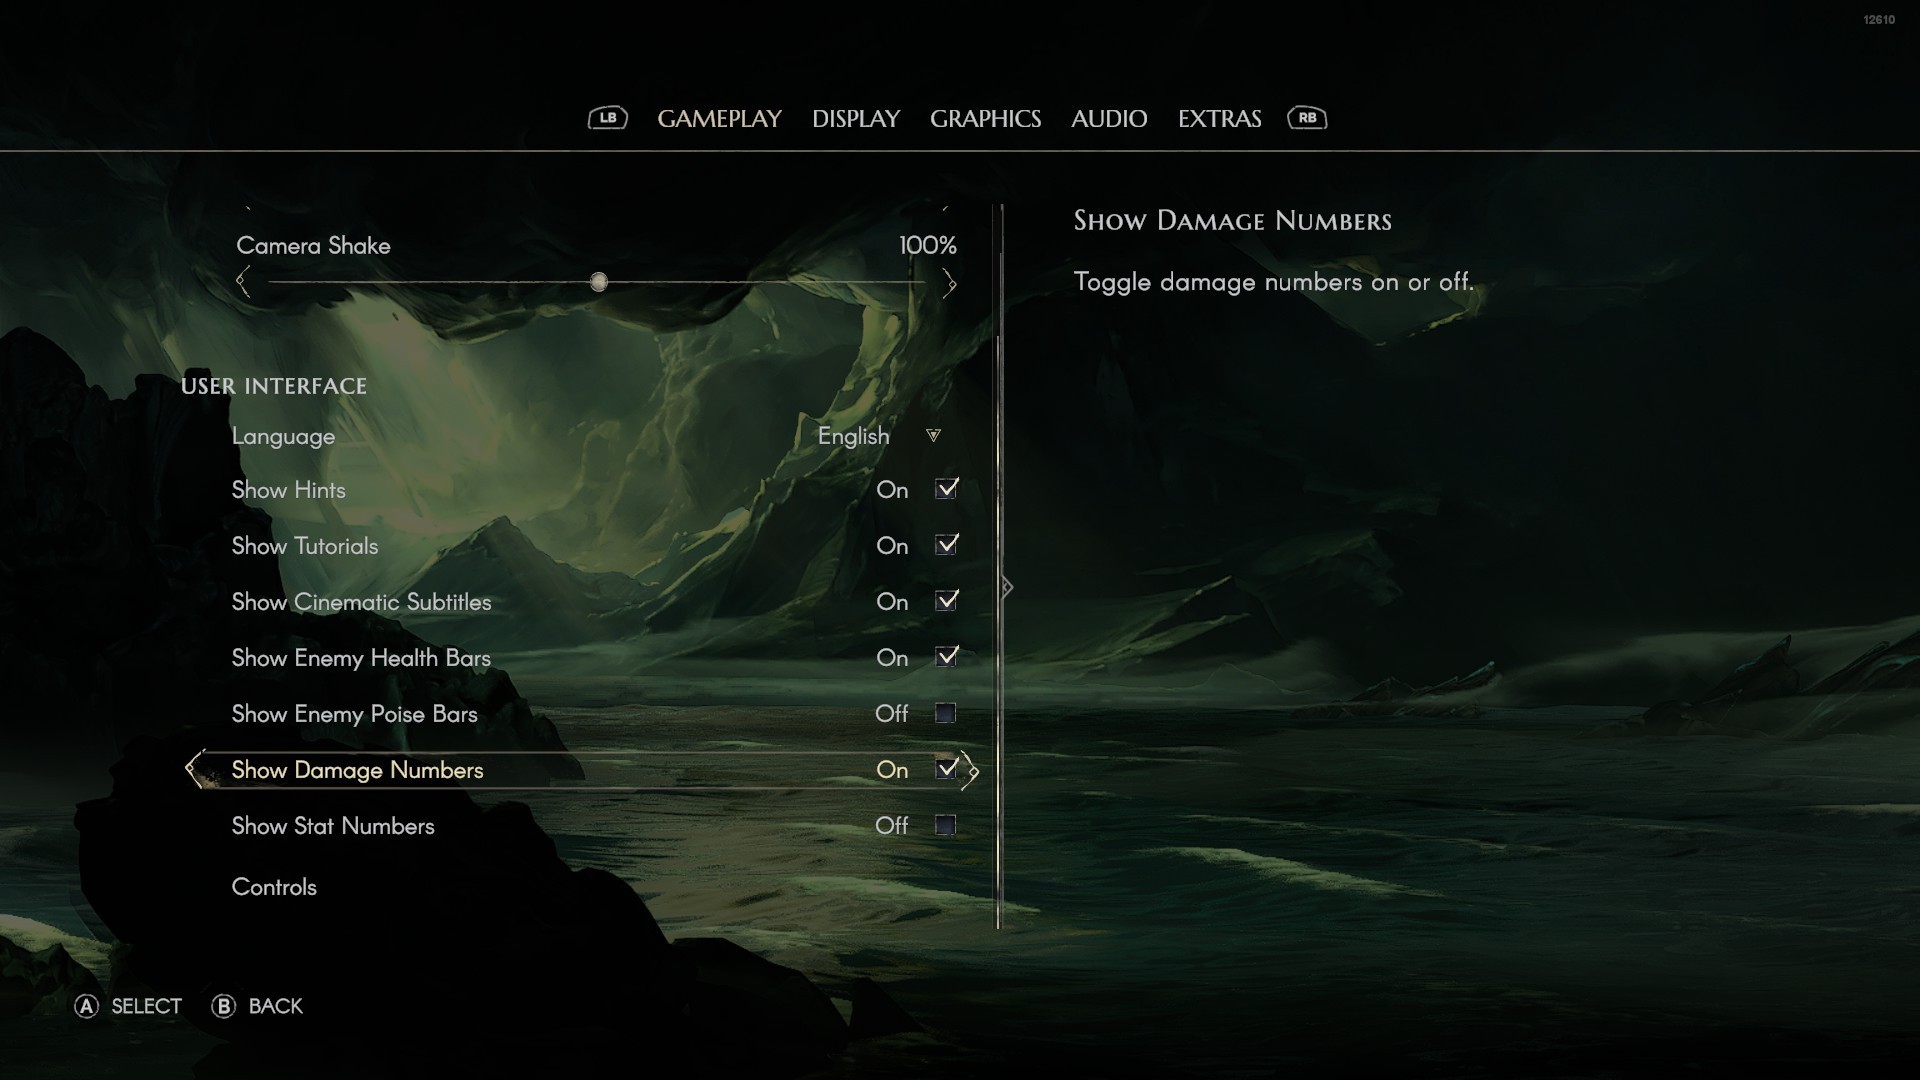
Turn on the Show Enemy Poise Bars so that when you're about to stun an enemy. This is shown by the white bar that is located beneath their health bar, and once it reaches its maximum capacity, they are stunned. Finally, you can see exactly how much damage you're dealing to enemies as you attack by selecting the Show Damage Number option. Although this may not be for everyone, it is quite helpful to be aware of the damage number that your weapon is causing.
Senior Editor, NoobFeed
Latest Articles
No Data.

