
Ninja Gaiden 4 Guide | Best Combat Tips & Weapon Skills
Master core mechanics, defensive counters, and weapon skills to dominate every fight.
Game Guide by Faviyan Mustafiz on Oct 23, 2025
This guide delivers a focused, practical walkthrough of Ninja Gaiden 4 combat so you can start winning encounters immediately. It explains essential gauges and inputs, highlights defensive techniques, clarifies timing windows, and breaks down how each weapon and its twelve skills perform in real combat scenarios.
You will also learn how Bloodbind Ninjutsu, the Berserk Gauge, and Blood Orbs interact to trigger high-impact ultimates and fast executions.
Getting Started: HUD, Gauges, and Weapon Swapping
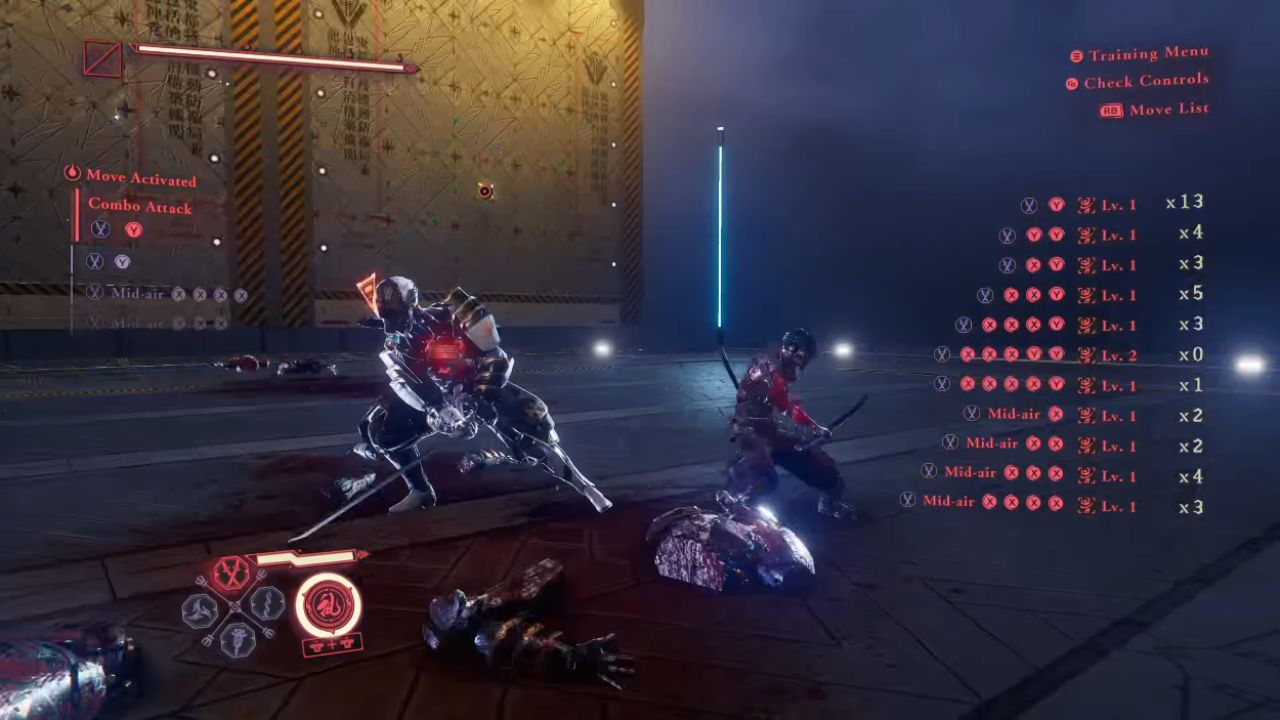
Your weapons appear on the lower left of the screen, and you can swap between them instantly with the D-pad for fluid, on-the-fly loadout changes. Two primary gauges deserve attention.
The horizontal bar is the Bloodbind Gauge, which fuels Bloodbind Ninjutsu and temporarily grants a secondary weapon form with empowered properties, such as breaking hyper-armor and enabling instant executions when combined with your Berserk Gauge.
The circle meter tells you when to press both sticks to use your ultimate. A key part of high-level play is making good use of this resource.
Basic Attacks and Combo Logic
The main way to start a combo is with a light attack on X. Y builds or breaks strings. Think in terms of branches: When XY finishes a grounded string, XXY pops enemies into the air for follow-ups like the Izuna Drop. XXXY also launches and can route into the Izuna Drop, and XXXX Y ends with a flashier finisher.
Y has its own heavier attack strings and, crucially, doubles as a dismemberment finisher. Once a limb is severed, press Y immediately to secure the execution and reset the threat level around you.
Blocking allows omnidirectional movement, while precise timing turns blocks into parries and perfect blocks, and dodges into perfect dodges that open counter opportunities.
Shuriken and Bloodbind Ninjutsu
Your Shuriken are tools for pestering that keep people from getting too close while you approach or move away. They don't kill very often on their own, but when used with Bloodbind, where empowered projectiles can knock down targets and set up quick kills, they become surprisingly powerful.
Treat these ranged options as pressure valves for pacing a fight rather than as primary DPS, except during Bloodbind windows when their damage spikes sharply.
Ultimates and Managing Blood Orbs
Defeated enemies and certain attack effects drop Blood Orbs. Absorb them to heal or instantly boost your Berserk Gauge to red, letting you trigger empowered ultimates without waiting.
Timing orb pickups between waves allows rapid chaining of ultimates, which is key to clearing crowds and sustaining momentum.
Core Combat Skills to Prioritize
Unlock Flying Swallow early, and especially Flying Swallow Barrage. This remains one of the strongest mobility and trash-clearing tools in the game, letting you dart across arenas and delete stray threats before they collapse your spacing.
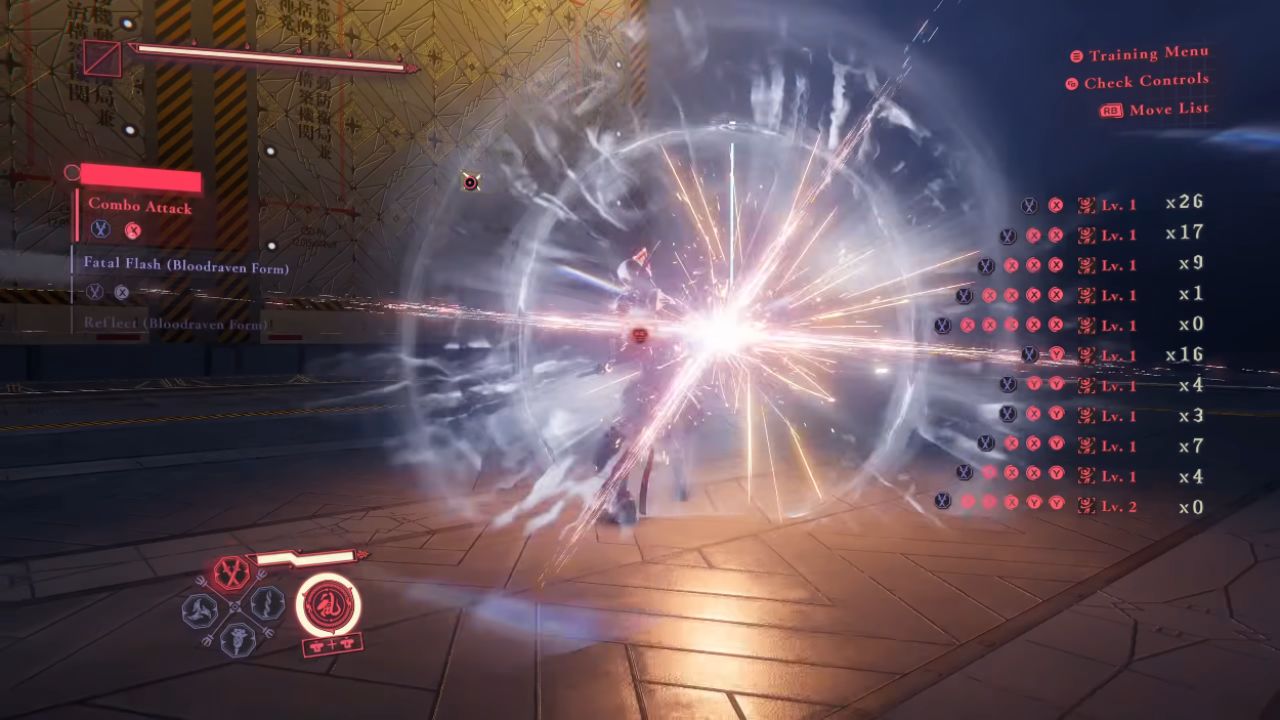
Three defensive counters underpin your survivability. Fatal Flash triggers after a parry and reliably spawns a Blood Essence Orb for immediate resource gain into instant ultimates. Reflect fires after a perfect block, staggering multi-hit strings so you can steal turn advantage—even against bosses.
Mirage triggers after a perfect dodge and is the safest option; even if the timing window is missed, a normal dodge often avoids damage, preserving your flow and setting up punish windows.
Perfect Timing and Frame-Tight Windows
Precision rules encounters. Parry timing is lenient compared to frame-perfect variants, but learning the perfect parry and perfect block windows amplifies damage and control. Mirage rewards fundamentals with the lowest risk profile.
When mastered, each counter reliably seeds a Blood Essence Orb, letting you pivot from defense straight into empowered offense and ultimates.
Dealing with Power Attacks
When enemies commit to power attacks, standard parries and perfect blocks will fail and even break guard. Perfect dodges still work, and Mirage remains the safest counter.
If you enter Blood Raven Form (an empowered Bloodbind state) and hold the stance, you can parry or perfect-block power attacks, but the timing window is extremely tight and resource-intensive.
In most cases, interrupting with a single Blood Raven strike is the practical choice, as empowered hits will stop power attacks outright and return tempo to you.
Blood Raven Specifics and Berserk Executions
Many Blood Raven attacks can be tapped for quick strikes or held to extend reach and impact—such as projecting longer katana slashes or charging drills for heavier blows. In Berserk state, held variations convert into executions, turning sustained holds into guaranteed finishers.
Use quick taps to conserve gauge during skirmishes, then hold to cash out executions when the Berserk Gauge is active to end packs decisively.
Weapons Overview and Where Each Shines
Four weapon sets cover every combat scenario. Dual Katanas are your all-rounders with fast, versatile strings and powerful Blood Raven AoE options like vault-into-Y and jump-into-X.
Lance & Rapier excel at single-target punishment; they drill bosses and elites with relentless thrusts and spin pressure, while empowered AoE variants handle adds in a pinch.
Staff & Hammer dominate crowds with broad, sweeping staff strikes that catch multiple threats while the Hammer cashes out grouped enemies with satisfying overheads.
Mechanical Arms & Ninja Tools are a unique hybrid: fully ranged X strings throw giant Shuriken and bombs, then morph into rotating close-quarters tools like three-section staves, maces, and cleavers for adaptive pressure.
This set often becomes a favorite thanks to its "six-weapons-in-one" flexibility and creative crowd control.
Weapon Skills: Twin Blades / Tachi
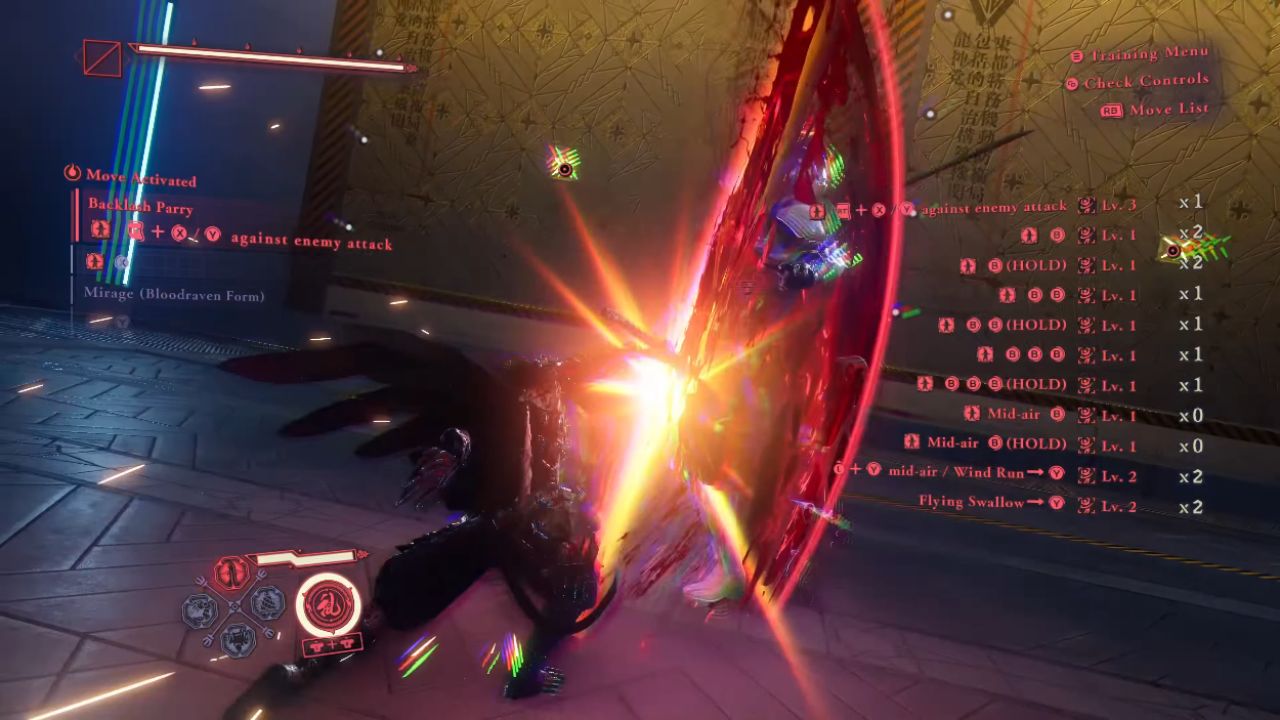
Back-Forward X acts like a singular Flying Swallow, while Back-Forward Y ("Falling Beak") is serviceable but less favored. Full-Circle X enables forward-driving multi-hits; Full-Circle Y looks awkward, yet Spiral Shadow excels when surrounded, carving space to breathe.
Empowered Down-Up X and Down-Up Y both benefit from charging; Full-Circle X and Full-Circle Y add sweeping control, though the latter winds up slowly. Air options shine in Bloodbath windows: Jump+X cleaves packs for rapid orbs and executions, and Jump+Y slams a priority target.
Vault+X delivers a direct slam, while Vaulting Stance Sweep on Vault+Y is exceptional for instant Bloodbath kills thanks to its speed, width, and ability to tag multiple enemies the moment you engage.
Weapon Skills: Rapier / Lance
Up-Down Y launches clean aerials to route into Izuna Drop chains, while Full-Circle X performs a driving dance that repositions aggressively and pushes foes back to the edge of your threat cone.
Empowered thrusts like the drill pattern juggle enemies in the air, letting you "spin to win" with Full-Circle X or cash out with Full-Circle Y. The jump kit is distinctive: tapping Jump lifts targets by itself, and Eagle Dive brings you straight down for a tidy finish.
For gap closing, Propulsion Impact is one of the fastest entries in the arsenal, and Propulsion Sweep follows with safe, horizontal coverage.
Mastering the Izuna Drop Across Weapons
Inputs for Izuna Drop vary by weapon, so commit each route to muscle memory. With Dual Katanas, start with XY, then press XXXY once airborne to complete.
With Rapier/Lance, begin with XXY on the ground, then chain into XXY in the air. With the Staff, use XXXY into the air, then three X presses and a Y. With Mechanical Arms & Ninja Tools, start with XY into the lift, and finish with XXY mid-air. Recognizing each opener ensures you never waste a launch opportunity.
Weapon Skills: Staff / Hammer
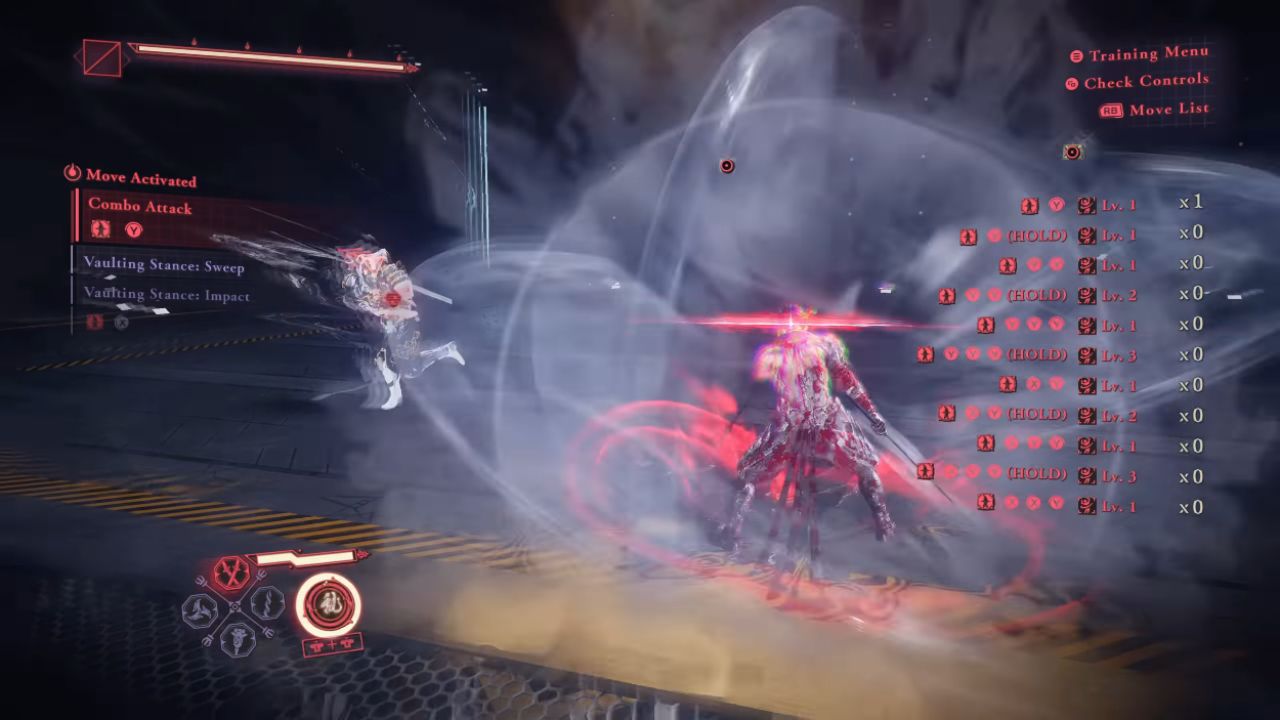
Up-Down X is a fast knockdown tool that stabilizes chaotic scrums; Up-Down Y pops enemies up for the Hammer to bonk cleanly; Full-Circle X becomes a springboard into Izuna Drop if it connects; Full-Circle Y frequently shears legs for quick dismembers.
The empowered Hammer uses timed presses rather than holds. Watch for the red flash, then release and immediately repress to hit the sweet spot three times in sequence.
Learning this cadence massively boosts damage and determines whether Bloodbath procs on charged chains. Notably, jump and vault variants ignore the timing minigame, so Jump-chains and Vault-chains remain the fastest way to trigger Bloodbath during tight windows.
Weapon Skills: Assassin's Tools / Mechanical Arms
Up-Down X dice through lines, and Up-Down Y becomes a multi-tap finisher. Full-Circle X rains bombs—devastating in Berserk because it vacuums enemies before detonating—while Full-Circle Y delivers a brutal "spin to win" that deletes clustered packs.
Empowered throws have their own timing window: hold and release correctly to add extra explosions and increased shuriken count. Up-Down X includes a stylish retreat that is harder to perfect because the camera moves back; practice the sweet spot to master spacing.
Jump+X is a standout Bloodbath trigger thanks to instant vertical reach and enormous hit confirmation, whereas Sweeping Fang on Jump+Y travels back and forth and demands deliberate pathing.
Vault+X plants fast bombs in faces on entry, and Vault+Y spins in with maces to pinball multiple enemies without managing timing windows.
Optimizing Bloodbath Windows and Final Hits
When the Bloodbath timer is ticking, favor the fastest wide-coverage moves to score at least three kills before pressing both sticks for the finale.
Options like Nocturnal Rain from the Mechanical Arms & Ninja Tools aerial kit or Vaulting Stance Sweep from Dual Katanas reliably hit multiple targets instantly, feeding your orb economy and setting up the cinematic finishers that clear remaining stragglers without extra inputs.
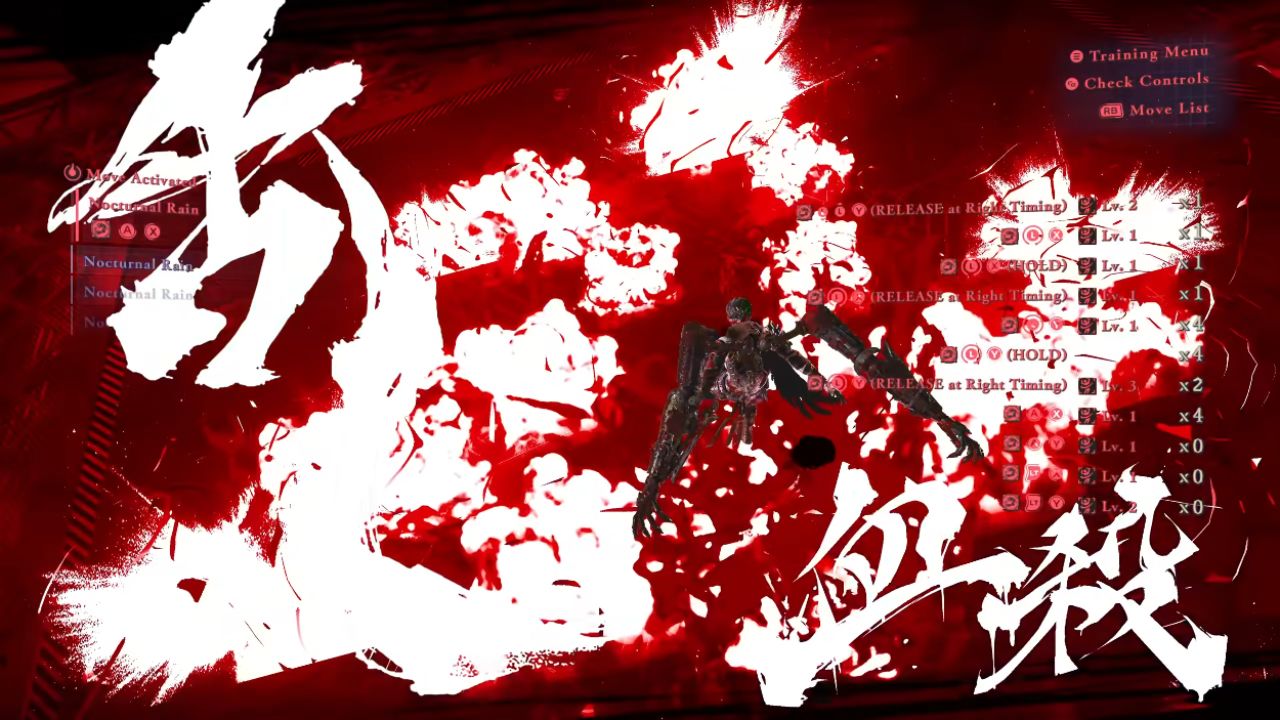
Bloodbath Finishers
Once you press both sticks, the finisher sequence executes automatically and excels at room-clearing. Reserve them for moments when packs are softened but still numerous, and use the preceding Blood Orbs to ensure the Berserk Gauge is primed for immediate activation.
Precision in the buildup, combined with smart Bloodbind usage, produces effortless wipes and smooth encounter pacing across the entire game.
Also, check our Ninja Gaiden 4 Review and other guides below:
Contributor, NoobFeed
Latest Articles
No Data.