
Diablo IV:Lord of Hatred Guide | Mastering the Pinnacle Challenges of Sanctuary
Here's a guide on how to complete the pinnacle challenges of Sanctuary
Game Guide by Mash Rahman on May 23, 2026
Here is a complete guide on how to navigate the complex endgame systems and optimize your character for the ultimate challenges in Diablo 4.
.jpg)
Entering the Endgame Arena
The first level cap and the end of the story mode are where Diablo 4 really starts to get interesting and rewarding. After reaching level 70, your character will become a different player altogether, as you'll move into a more advanced endgame where your progression will be based on strategy instead of grinding.
Your first priority should be to finish your initial ranks of the season, which in turn should help you access the key capstone dungeons. These challenges unlock the Torment difficulty levels, which will drop increasingly exponential amounts of ancestral gear, legendary temper manuals, and unique items.
The true capstone run is a key unlock for the Pit of Artificers, which is the true gateway to your endgame. As you work your way up to the first few tiers of the Pit, you will unlock subsequent Torment difficulty levels, and you'll build up a solid base of gear and resources that you will need to hold up against the more challenging experience that follows.
Strategic Paragon Board Optimization
One of the most common errors many players make as they progress up is clearing and completing all nodes on an active Paragon board before moving on to the next one. It's a gigantic error in the deep endgame that will significantly limit your character's ultimate capabilities.
The right way to do it is to see each Paragon board as a very specific path with only the specific purpose of unlocking the central glyph sockets and key Legendary nodes using the minimum amount of connecting points.
When you activate a core glyph or a valuable Legendary node, it's time to go to the edge of the board and add a new board that hasn't been mapped. Filling out full boards in order takes dozens of great points that could be used to cross into 4th, 5th, or 6th boards, and that's the point where you're completely out of massive, global multipliers and defensive nodes that are crucial to high-tier survival!
A New Glyph Paradigm
After your Paragon boards are correctly set up, everything you do is about building or leveling your glyphs in the Pit. In the current endgame model, glyphs can be ramped up to the 150th level, and the effect of glyphs changes dramatically at certain mechanical thresholds.
A glyph has a small radius at level one, but first expands its radius at level twenty-five. But the most important step is when a glyph reaches level fifty-one. At this exact level, the glyph is at its absolute maximum size on the board and will always trigger a monster-size, unique legendary multiplicative damage bonus at the bottom of the glyph description.
It is always best to choose a Pit Tier that is exactly ten levels higher than your current Glyph Level to level these glyphs without wasting time trying failed upgrades. As the level difference is reduced, the percentage of leveling success will decrease.
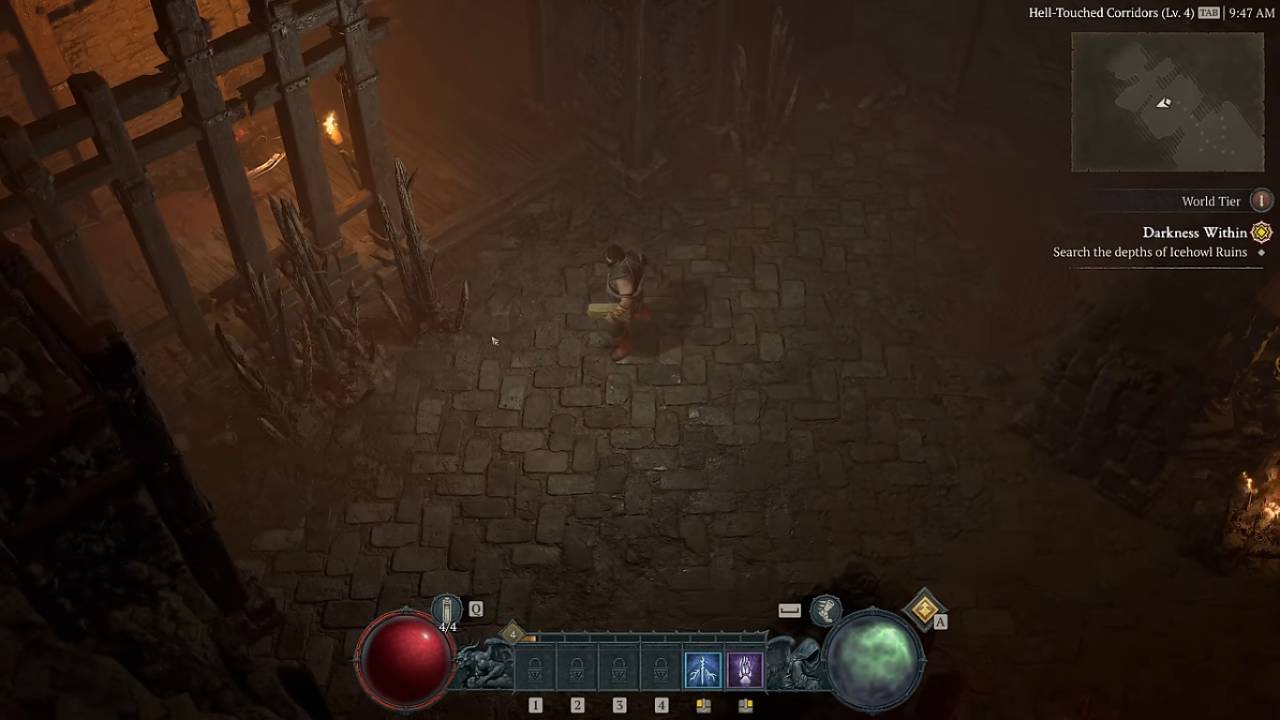
Understanding Multiplicative Damage Buckets
The best way to do damage in the highest Torment difficulties is to not take the numbers at face value, because many of these numbers are not representative of the damage they will deal on the battlefield. The principle of endgame offensive optimization is to deliberately distribute your power over completely different multiplicative damage areas, as opposed to over-investing your resources in a single stat pool.
Multiplicative modifiers (signified by the unique cross symbol in tooltips) will increase your total damage without affecting each other. Overloading one multiplicative zone will reduce your returns compared with a diversified build.
For instance, an increase of 50% in each of three different multiplicative zones results in a much greater total damage than doubling one zone from 50% to 100%. As you consider your gear, aspects, and weapons, always consider which multiplicative zone is the lowest in your build and make sure to upgrade that one first for you to get the big spikes in total damage.
Incorporating War Plans for Focused Farming
The innovative War Plan system should be used actively to avoid the endgame exploration becoming a meaningless and wasteful exercise. Unlocked upon completion of the campaign, War Plans let you create custom endgame playlists of up to 5 different endgame activities, from Helltides, Nightmare Dungeons and the deep Kurast Undercity.
Any endgame activity not performed under an active War Plan is a huge amount of work and time that you will be wasting, as it gives you an extra amount of Activity Points, in addition to your regular loot, if performed under an active War Plan.
These points are fed into per-activity upgrade trees which permanently improve the behavior of future runs. Investing points in these fluid trees will customize enemy behavior, increase experience gain from whisper caches, and increase drops of certain items such as Ancestral gear or boss keys, giving you total control over the endgame loop to suit your needs.
With the Horadric Cube is the return of crafting.
The absolute must is to inspect rare yellow items of gear instead of just filtering them out, or selling them at the vendor. Yellow items serve as the base components for making endgame gear via the Horadric Cube.
The most convenient approach is to add a new affix to a rare item, then upgrade the item to legendary and imprint the desired build-defining affix. A crafting paradigm that results in a rare item with three perfect stats being so much better than a legendary item with mediocre stats.
The Horadic Cube also lets you recycle items that are duplicates or unwanted unique items, create dedicated legendary runewords and combine pure materials such as primordial dust, making gear progression more of a player-driven and deliberate crafting process instead of a pure game of chance.
Identify target farming bosses and activities for endgame.
As you venture deeper into the endgame, you'll naturally focus on specific activities that will drop the exact materials needed for the most profitable boss encounters. The best way to collect obducite and master upgrades to increase the quality of your equipment is through Nightmare Dungeons and Infernal Hordes, which will also lower your purple opal count for open-world loot.
By picking up different lair keys from these activities, you can unlock the ladder bosses, Lord Zir, Varshan, and Grigoire, all of which have unique loot tables. If you're looking for the absolute best drops to get from the Kurast Undercity, you can still run it with special high-tier tributes and chaotic bargains to help you get specific drops, such as Amulets or skill-rank armor, and then hunt for rare resplendent sparks to help you make your ultimate item.
.jpg)
The importance of validation of the output in the training grounds
So many of the modifiers, multipliers, legendary items, and status effects are overlapping and working in tandem that it can be very hard to truly determine if a new piece of gear or a minor tweak to your Paragon board is going to help your character.
To eliminate the guesswork, it is essential to make a habit of going to the Training Grounds and testing your build against a local target to ensure you are building the right vehicle. The most crucial setting to change in the Training Grounds is to disable player damage variance.
Since the base damage of a weapon will always have a huge spread, disabling this altogether will make your weapons' damage values fixed, and you will be able to accurately compare and see the performance of different builds.
You can try group targets, change your current mercenaries, and adjust your rotations in combat to make sure your character is at his/her top mechanical potential before heading back out into the deadly wilds of Sanctuary.
Also, check out our Diablo IV Review, Diablo 4: Vessel of Hatred DLC Review, and other guides below:
- Diablo IV: Lord of Hatred Warlock Build Guide | Mastering the Shadow Summoner
- Diablo IV: Lord of Hatred Guide | How to Choose Your Ideal Class
- Diablo IV: Lord of Hatred Guide | Warlock Build Mastering the Brimstone Apocalypse
- Diablo IV Guide | Tips For Faster Leveling
- Diablo IV Guide | Mistakes To Avoid Early In The Game
- Diablo IV Guide | Best Sorcerer Build Early Game To Level 100
- Diablo IV Guide | Most Powerful Build From Each Class
- Diablo IV Guide | Which Class Should You Pick
- Diablo IV Guide: All Essential Terms, Phrases, Figures & Skills
- Diablo IV: Vessel of Hatred | Mercenary Guide
- Diablo 4: Vessel of Hatred | Spiritborn Guide
- Diablo 4: Vessel of Hatred | Dark Citadel Guide
Contributor, NoobFeed
Latest Articles
No Data.