
No Rest for the Wicked Guide | How to Beat Warrick the Torn
Here’s a guide on how to beat Warrick the Torn, also known as the Torn Colossus, in No Rest for the Wicked.
Game Guide by Mash Rahman on Jun 13, 2026
No Rest for the Wicked throws its first real mechanical wall at players when trying to gain entry to the fortress city of Sacrament. After completing your first trek through the Orban Glades, you will find Warrick the Torn, a giant spider-like monstrosity corrupted by the pestilence, guarding the way. This is a mandatory boss fight and the ultimate test of survival, punishing reckless aggression and rewarding your defensive tracking skills.
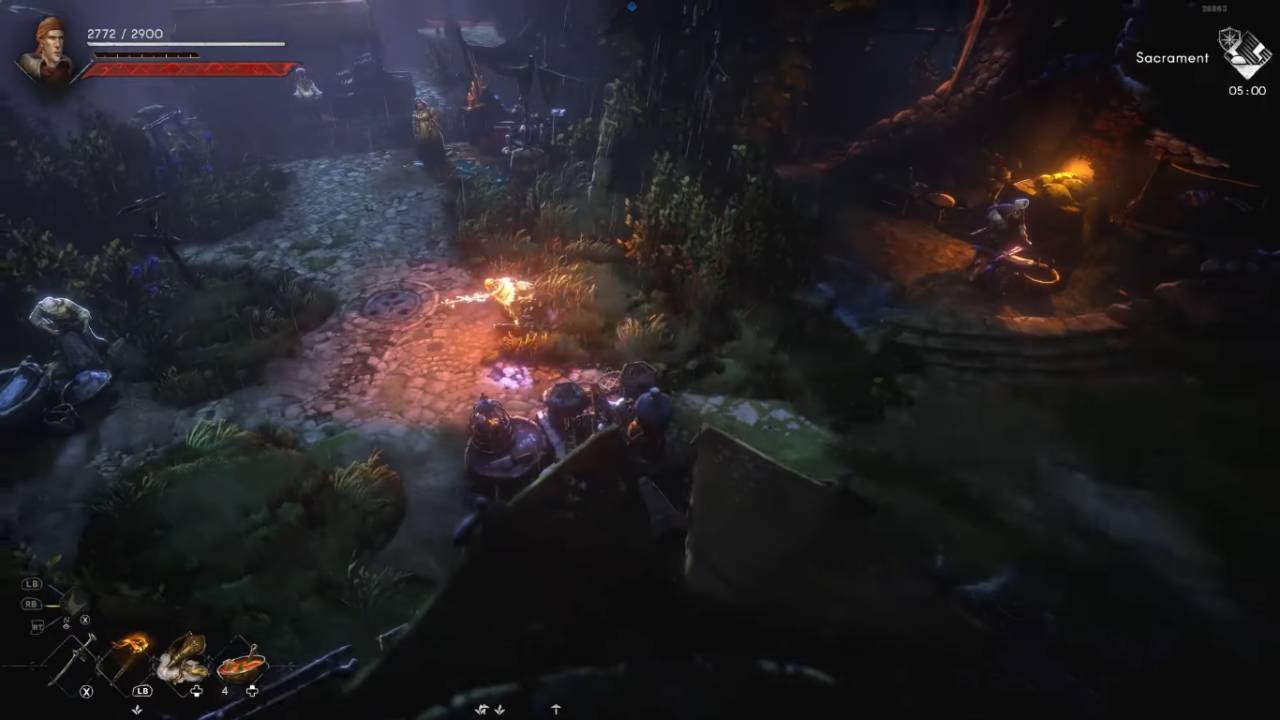
I learned that button-mashing would only result in instant failure when I entered the stone courtyard that was now submerged. Warrick wields a giant, jagged sword that lets him swing in massive arcs and easily crush a low-level character. Try to tank his physical damage or out-damage his aggressive patterns and your inventory will soon be devoid of any healing options.
This infected behemoth must be defeated through strict mechanical discipline and intimate knowledge of his highly telegraphed combat routines. You must learn to handle this watery battleground with care, a tense game of bait and response. This complete combat guide explains how to properly organize your active inventory, bypass his crushing physical rotations and survive his explosive phase transitions.
Sustainable Inventory Setup Preparation at the Whisper
You are going to have to audit your active consumables thoroughly before you literally cross the entry line and come into Warrick’s view. Since healing meals have a long internal usage cooldown of ten seconds, you cannot spam food while in a panic state. Use the campfire just west of the local Cerim Whisper to make yourself a healthy stack of mushroom soups.
Your combat performance will also vary quite a lot depending on your current armor weight class and weapon choices. You can have a fast or medium roll animation with light gear setups which is very optimal for sliding under his blade tracks. Besides, going to the local blacksmith, Fillmore, to repair your current gear sets right before the boss fight means you won’t suffer a sudden structural breakage during the fight.
.jpg)
You should definitely stock up on specialized offensive consumables to massively boost your total damage output during small vulnerability windows. Simply oil your daggers or one-handed sword with regular blade oils, and you will receive a continuous physical bonus to your fast counter attacks. If you want to avoid his close-range threat loops entirely, a good amount of scrap bombs in your active menu slots will give you a powerful ranged fallback strategy.
Countering Wide Sweeping Slashes and Overhead Slams
The most important part of surviving the early part of the fight is managing your active stamina pool very carefully. Warrick will often open the engagement with a forward stride and a devastating Wide Sweeping Slash combo. This attack has a wide horizontal arc right in front of his torso, easily hitting players who try to just roll straight back.
The most consistent operational counter to this sweeping threat is to perform a sharp diagonal roll directly through the trajectory of his blade path. If you move forwards into his left flank your active invincibility frames will pass cleanly under his massive arms and you will be behind his spine. Counter their counter-offensive with exactly two fast light attacks. Immediately step back so your green stamina bar fills completely.
Also, look out for his high-impact Overhead Slam, where he raises his giant sword high above his skull and slams it straight down. Getting hit by this vertical smash will always put you into a painful stagger animation, taking a good chunk of your active health pool. Luckily this move has an extremely long recovery time, so it's your absolute best chance to land a fully charged physical attack.
Taking Advantage of the Spiral Slashes and Posture Fails
As the battle progresses, Warrick will often use his very distinctive Spiral Slash attack to close the physical distance between you. He will lean his body to one side and then spin twice in succession, charging aggressively along the wet stonework in a straight line. As intimidating as this multi-hit combo looks, it actually has a huge built-in mechanical weakness that you can easily exploit.
The forward momentum of the consecutive spins is so great that the colossus loses his footing completely and falls heavily onto one knee at the end. This postural failure is self-inflicted and leaves the boss completely exposed and stuck in a long recovery for several precious seconds. See him complete his second spin and fall, sprint in and dump your accumulated focus into your strongest weapon skills.
If you really trust yourself to time active reactions, his predictable sweeping strings are great targets for your parrying mechanics. A successful front-on parry with precision will immediately halt his momentum and break his invisible balance parameters altogether. Practicing this parry timing is guaranteed risk-free in the long run, because gear repair costs are free in the introductory part of the campaign.
Getting Through the Airborne Leaps and Cursed Roars of Phase Two
Breaking Warrick’s shared health bar beyond the decisively fifty percent mark causes an instant shift into a much more unstable second phase. Suddenly he will rocket his entire great big frame straight up into the air, gone completely from your close range horizontal camera view. He has this Aerial Leap Slam that's supposed to bait players into panic-rolling too early to take catastrophic damage when he finally crashes back down.
.jpg)
To cleanly bypass this crushing aerial drop, resist the urge to dodge the moment he leaves the ground and watch his descending shadow track. Wait for the body to really start its downward plunge, then do a quick sideways roll away from the immediate splash zone. His physical impact zone is surprisingly compact, so if you time your evasions correctly you’ll be right in position to hit his recovery frames.
As soon as Warrick phase shifts in for the first time he will stop moving and let out a loud roar that curses anyone who hears it. This roar causes a ring of growing shockwave that will immediately cause a nasty curse status effect if you try to attack him with normal melee attacks. The absolute best tactical response in this specific channeling animation is to fully back off and keep throwing your stocked scrap bombs to safely melt his remaining health.
Securing the Sacrament Key and Positioning Discipline
The critical key to winning the final stretch of the duel is to maintain a healthy mid-range positioning loop along dry ground. There are also shallow pools of water on the outer edges of the arena. If you get caught in one of these, it will actively reduce your characters movement velocity. By keeping the encounter on the dry stone tiles, you ensure that your movement parameters are completely free.
Be patient and bait out the single overhead hits and lunging stabs he makes, don't be greedy with combos when he doesn't fall all the way down. You need to keep your head, and always have a little stamina left in reserve for dodging in case of emergencies. If you do this you will be able to easily drain the last of his life bar. Killing the colossus will open the heavy gates to the city forever, and reward your character with a random pool of high-tier loot, and a powerful claymore weapon.
Also, check our No Rest for the Wicked Review and other guides below:
- No Rest for the Wicked Guide | How to Beat Sigrid’s Vow
- No Rest for the Wicked Guide | How to Beat The Unbreakable Egg
- No Rest for the Wicked Guide | How to Beat The Winged Brood
- No Rest for the Wicked Guide | How to Beat Cyvion, Echo Knight
- No Rest for the Wicked Guide | How to Beat The Caretaker and the Tusk
- No Rest for the Wicked Guide | How to Beat The Lost Huntress
- No Rest for the Wicked Guide | How to Change Your Dodge Type and Manage Gear Weight Classes
- No Rest for the Wicked Guide | How to Beat The Riven Twins
- No Rest for the Wicked Guide | How to Beat Torn Falstead Darak
- No Rest for the Wicked Guide | How to Survive the Cerim Crucible and Farm Level 30+ Endgame Gear
- No Rest for the Wicked Guide | How to Trigger Pestilence Zones and Spawn Plague Bosses
- No Rest for the Wicked Guide | How to Farm Clay, Ore, Pine, and Rare Crafting Materials
- No Rest for the Wicked Guide | How to Find Unique and Legendary Gold-Tier Weapons
- No Rest for the Wicked Guide | How to Make a Blink Assassin Build
- No Rest for the Wicked Guide | How to Make a High-Focus Pure Mage
- No Rest for the Wicked Guide | How to Use Awakening, Corrupting, and Essence Embers to Modify Gear
- No Rest for the Wicked Guide | How to Upgrade Weapons and Armor Using Filmore and Eleanor
- No Rest for the Wicked Guide | How to Get the Best Early-Game Weapons Before Sacrament
- No Rest for the Wicked Guide | How to Make a Close-Range Brawler
- No Rest for the Wicked Guide | How to Level Up Faster
- No Rest for the Wicked Guide | How to Complete Roots That Bind
- No Rest for the Wicked Guide | How to Make a Classic Paladin Build
- No Rest for the Wicked Guide | How to Beat Warrick the Torn
- No Rest for the Wicked Guide | How to Make a Lightning Paladin Build
- No Rest for the Wicked Guide | How to Complete Faith and Flame
- No Rest for the Wicked Guide | How to Unlock All Houses
- No Rest for the Wicked Guide | How to Complete Weeping Sisters
- No Rest for the Wicked Guide | How to Complete Sacrament
- No Rest for the Wicked - The Breach Guide | Best Starting Build Tips
Editor, NoobFeed
Latest Articles
No Data.