
ARC Raiders Guide | How to Beat Every ARC Enemy
Master weak points, counter patterns, and secure the best loot fast.
Game Guide by Faviyan Mustafiz on Nov 01, 2025
ARC Raiders pits you against relentless robot invaders known as the ARC, and they can be absolutely terrifying to fight. To stand a chance, you need to learn each ARC unit’s weak points, attack patterns, and the best strategies to counter them, along with the typical loot they drop.
Understand ARC Armor and Weapon Choices
Before you head out, pay close attention to your weapons. Each weapon has a different ARC Armor penetration value. So, while something shiny like the Tempest might be a good PvP weapon, a solid Pharaoh will break through ARC armor more easily. Keep that in mind when breaking armor in the encounters below.
Wasp — Fast Skirmisher with Blade Thrusters
While one of the smaller ARC, the Wasp is not any less threatening. It roams open skies, often alongside other Wasps and Hornets, and reacts to sound and movement in its field of view.
If its blue search beam goes yellow, it starts searching more carefully; once red, it enters attack mode, relentlessly charging forward and laying down a volley of Light Ammo attacks that can quickly shred your health.
A couple of shots into either blade thruster will destabilize it, but that won’t stop it from attacking as it spirals through the air. Aim to take down two thrusters as quickly as possible so it falls and explodes on impact.
It is a very weak ARC unit and goes down quickly, but it can do a lot of damage if underestimated. Typical loot includes ARC Power Cells for shield recharge, Light Ammo, ARC Alloy (useful for crafting and quests), and a Wasp Driver (useful for quests and upgrading the Weapon Bench).
Hornet — Stunner with Back-Thruster Weak Points
The Hornet often flies alongside Wasps, and despite its size, it is manageable if you know the trick. Once aggroed, it fires slow-traveling electric darts that can stun you and deal heavy damage.
Create distance, use the audio cue to predict the shot, then sprint left or right out of the dart’s path; diving wastes stamina. Playing in and out of cover also works. Its two weak points are the back thrusters. Shoot those to bring it down for good.
Because it is usually trying to face you, crouching often gives an angle on the thrusters, and wide circular movement can expose side shots. Prioritize Wasps first while dodging the Hornet’s dart. Expected drops include ARC Alloy, ARC Power Cells, Medium Ammo, and a Hornet Driver quest item.
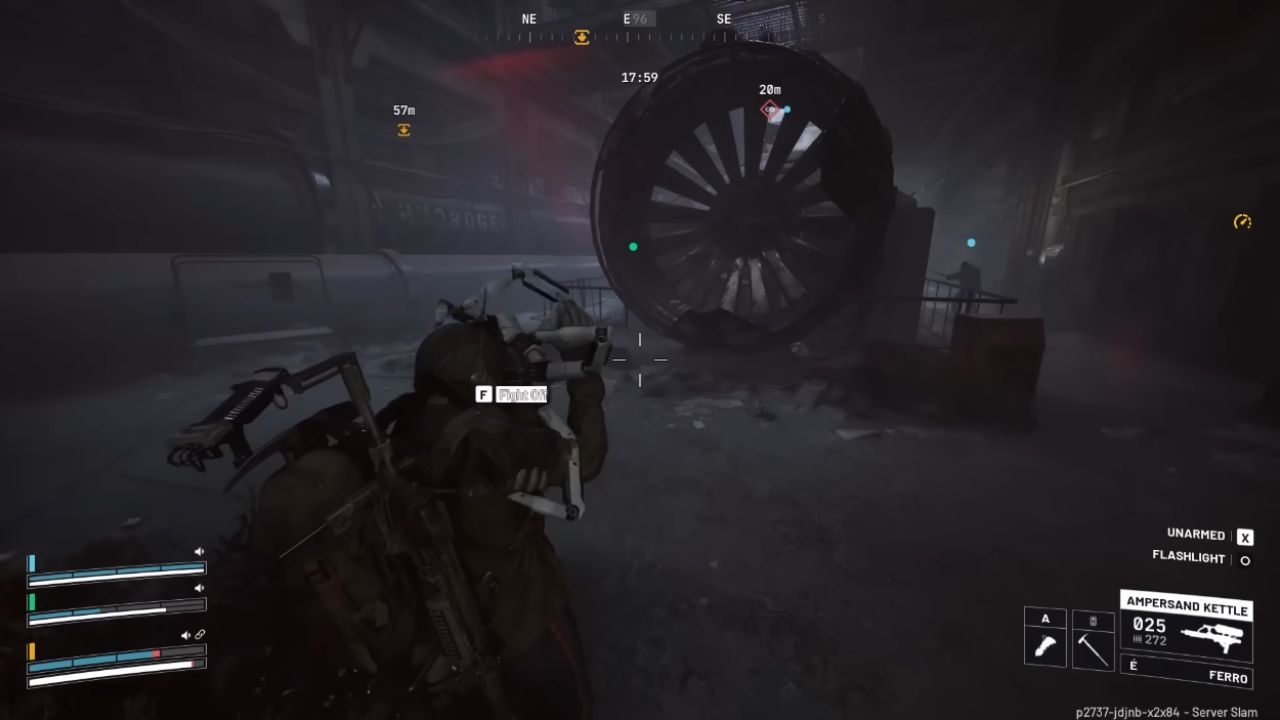
Snitch — Alarm Drone That Summons Air Threats
The Snitch scans a large area and, if it spots you, calls in a small wave of Wasps and Hornets. It will not hurt you and can be taken down easily by shooting the three wiper blades on its exterior.
If you shoot quickly, you can destroy it before it calls more enemies—even if it has already spotted you. The Snitch is not much of a threat, and allowing it to ping can be useful early on if you need quest items, extra loot, or XP.
Loot includes ARC Alloy, ARC Power Cells, and a Snitch Scanner, a powerful grenade that spawns ARC at the location you throw it.
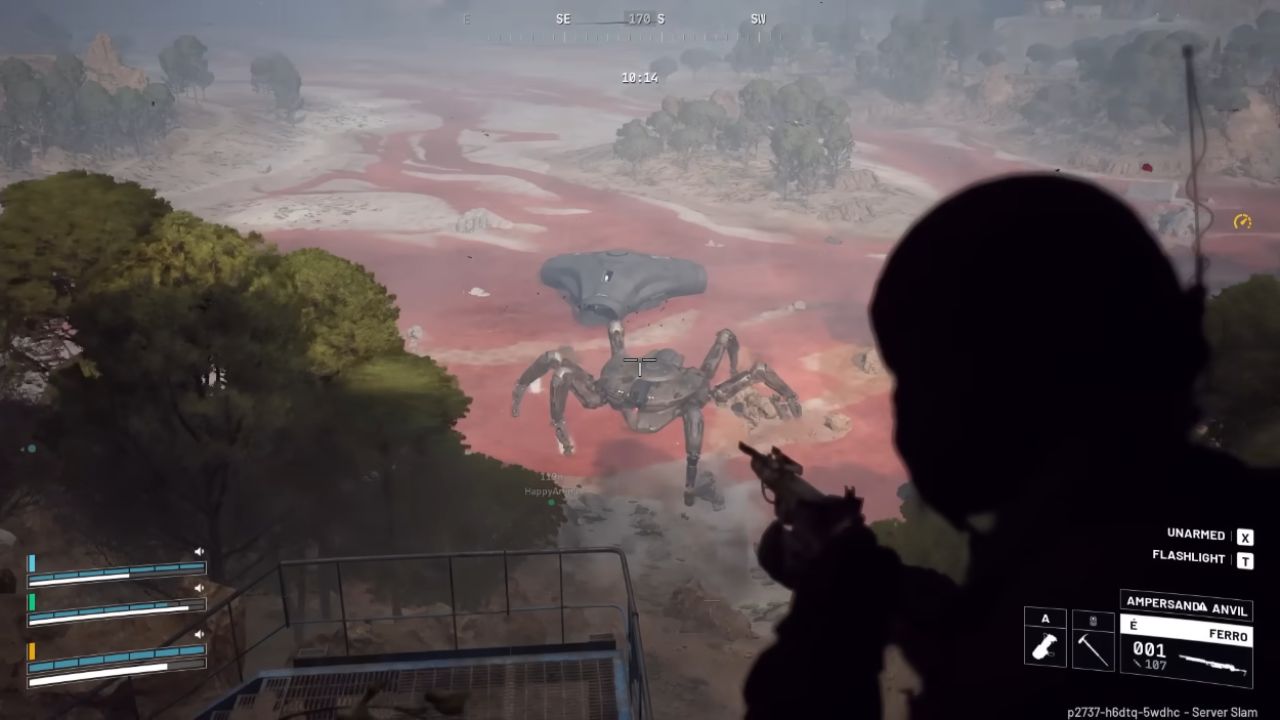
Leaper — Terrifying Pursuer Best Fought from Tight Cover
The Leaper is absolutely terrifying. Once it notices you, it can jump across the map, release shock waves, and stomp for massive damage. Bring lots of ammo and find a small building the Leaper cannot fit through.
Tag it to draw aggro; once it lands on the building, shoot its legs to reveal weak points. Weapons and gadgets with high ARC Armor penetration break leg plates faster—focus the same leg to expose inner metal, then keep firing until the leg breaks.
Repeat until enough legs are destroyed and the unit collapses. In open ground, immediately get indoors or you will likely die. When destroyed, the Leaper splits into two pieces with mid-tier parts that can be broken down for crafting.
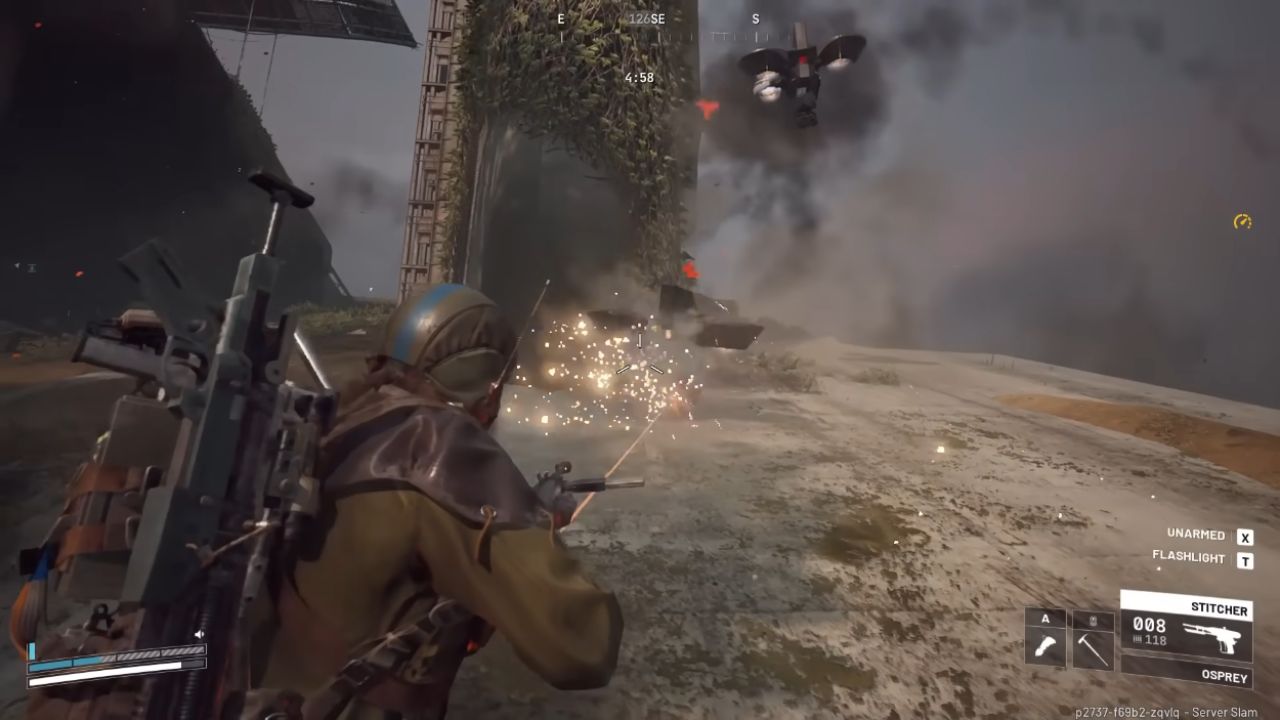
Bastion — Minigun Beast with Knee and Back-Core Weak Points
The Bastion moves slowly but, once aggroed, fires a high-RPM machine gun that can shred you within seconds, loudly broadcasting your position. Even if you go behind cover, it keeps firing until a brief reload window—use that moment to hit its weak points: the yellow kneecaps or the yellow cylinder on its back.
Shots here deal direct damage, bypassing armor, and enough hits temporarily disable the unit so you can shoot the core. Repeated hits on the knees will expose inner metal; once visible, focus those areas for huge damage. Always secure a strong piece of cover and clear nearby Wasps and Hornets before committing. The Bastion also breaks into two pieces with higher-value crafting loot.
Bombardier — Missile Artillery Guided by a Spotter
The Bombardier shares weak points with the Bastion (yellow kneecaps and the back cylinder), but it is commonly paired with a Spotter that acts as a laser beacon. The Bombardier fires large missiles into the sky that then land in a heat-seeking fashion.
Because the missiles arc up first, the best strategy is to fight from a nearby building with a roof and angle shots onto the weak points between barrages. Clear space, watch for other raiders drawn by the noise, and beware dangerous combinations—such as a nearby Rocketeer.
You can expect significant loot from the Bombardier, including Rocket Ammo for the Hullcracker and a Bombardier Cell that appears relevant for crafting the Hullcracker Grenade Launcher.
Rocketeer — High-AoE Missile Platform to Avoid or Bait Carefully
The Rocketeer caused many casualties during test events and is among the hardest ARC units. It fires barrages of missiles with huge AoE damage, and in most cases it is better to avoid it unless the loot is required.
If you must engage, find a strong building without big open windows and aggro it to your position. Missiles can damage you through doors and windows, so treat cover seriously. Focus fire on its heavily plated thrusters.
It usually fires a two-missile barrage with distinct audio cues; after the missiles launch, you have a small window to shoot before baiting the next sequence. As soon as you hear the next lock-on cue, get back into cover.
Repeat this rhythm—shoot between barrages, hide during locks—until the armor breaks and you can damage the unit directly. Expect a long, noisy fight that attracts raiders. Rewards include Rocketeer Drivers for a quest and building an Explosives Bench, plus Heavy Gun Parts for weapon upgrades.
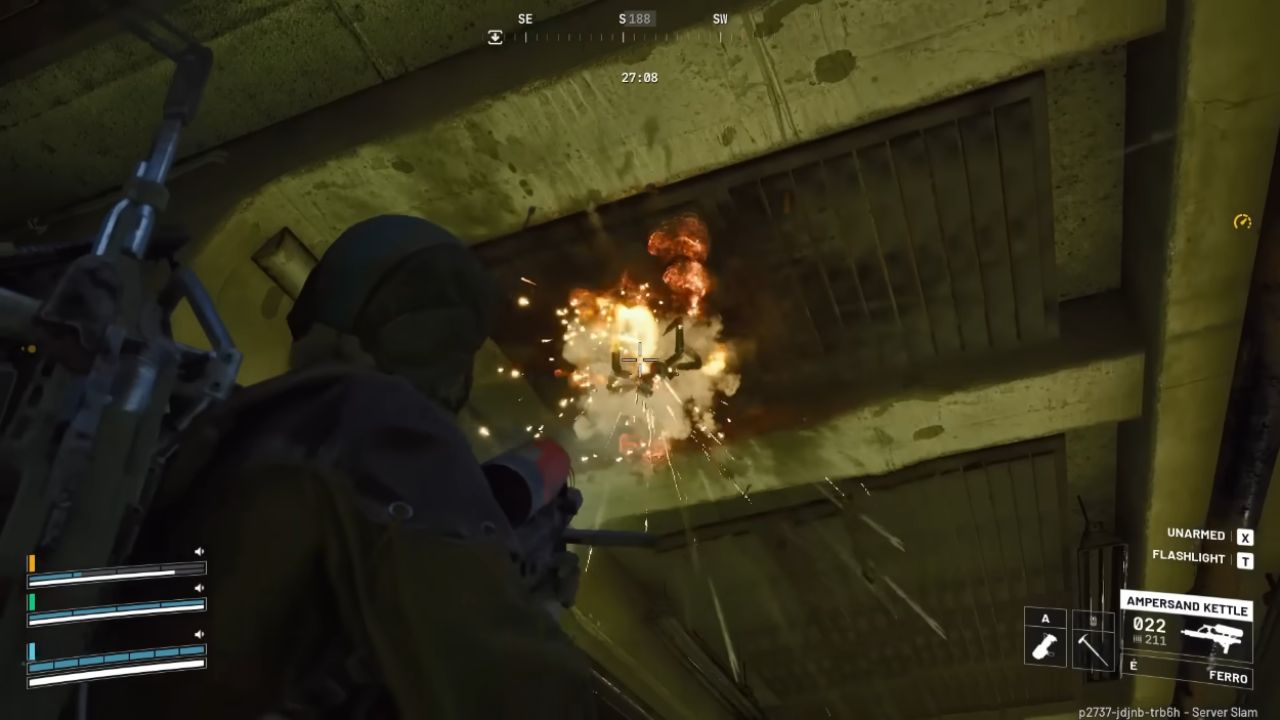
Indoors Threats — Small but Lethal ARC
Indoors, tiny ARC can still ruin your day. The Tick hides in dimly lit areas on walls or ceilings and emits a small noise when you enter its “hug zone.” Shoot it as it scuttles toward you or it will leap onto your face.
There are no weak spots, but a single shot—or even your Axe—destroys it. If face-hugged, rapidly tap the prompt to throw it off, then finish it. Tick Pods are valuable for an early quest and for building the Equipment Bench.
The Pop is easy to handle; it loves to self-detonate and will roll toward you at high speed to explode at your feet. One timely shot usually ends it, and you can outrun it if you have stamina. Loot can include recyclable items for basic crafting and ARC Power Cells to repair a small portion of shields.
The Fireball unleashes a flamethrower if it gets close, dealing heavy damage over time with both the flame stream and lingering ground fire. Be reactive indoors and shoot it before it starts.
The Turret, mounted on walls or ceilings, fires a heavy machine gun when it sees you. Wait for its reload window or peek in and out of cover to chip it down. Drops include ARC Alloy, Light Ammo, and Simple Gun Parts.
The Sentinel functions like a turret with a sniper, often overlooking large open areas. Bait its shot by peeking; once the laser turns red, it will fire—duck behind cover, then counter during its downtime. It drops similar useful items.
The Surveyor rolls around on its own and does little until it stops to open a scanning radar. That’s when you shoot to deal huge damage to its exposed parts. Once it closes up, it rolls away quickly and is hard to catch. Expect typical utility drops suitable for crafting.
Queen & Harvester — Endgame Challenge and High-Value Vaults
You can take down the Queen, but it requires a lot of ammo, experience, and a big team. Alternatively, avoid the Queen and loot the Harvester it guards. You can play a minigame to open the Harvester loot vaults with very few resources, making it a smart objective when you are not yet equipped for the main fight.
Also, check our ARC Raiders Review and other guides below:
- ARC Raiders Beginner’s Guide | Gameplay Tips & Tricks
- ARC Raiders Guide | How to Get Overpowered Early
- ARC Raiders Guide | Best Skill Tree Passives & Level 75 Build Path
- ARC Raiders Guide | Top 10 Advanced Tips & Tricks
- ARC Raiders Guide | How to Level Up Fast (Best XP Farming Methods)
- ARC Raiders Guide | How to Complete the Harvester Event & Get Legendary Blueprints
- ARC Raiders Guide | How to Win as a Solo Player
- ARC Raiders Guide | How to Level Up Scrappy Fast
- ARC Raiders Guide | How To Dominate PvP
- ARC Raiders Guide | Dam Control Tower Key Location & Safe Extraction Route
- ARC Raiders Guide | Dam Surveillance Key Location & Room Access
- ARC Raiders Guide | How to Complete A Symbol of Unification Quest
- ARC Raiders Guide | How to Complete Untended Garden Quest
- ARC Raiders Guide | Best Money Farm Routes (Fast & Safe)
- ARC Raiders Guide | Dog Collar Location
- ARC Raiders Guide | Best Talent Tree Builds for PvP & Loot
Contributor, NoobFeed
Latest Articles
No Data.