
Farthest Frontier Guide | Best Farm Placement & Fertility Management (Early–Mid Game)
Build fertile, efficient farms with smart map selection, field sizing, soil tuning, compost, and cattle synergy.
Game Guide by Faviyan Mustafiz on Oct 27, 2025
This guide explains exactly how to set up farms that thrive from the early population climb into the mid-game.
You learn how map types affect Fertility, where to place your Town Center for the best soil, when to build farms, which field sizes make sense, how to read the crop rotation panel, and how to string together reliable rotations using Clover, Maintenance, and fertility-positive crops.
Along the way, you see how Compost Yard and cattle provide long-term soil boosts, and why aligning fields to 10×10 pays off when pastures arrive.
Choose the Right Map Type for Fertility
Map choice determines how much good soil you get before any farm is placed. Lowland Lakes offers the most naturally fertile ground, followed by Plains and Alpine Valleys, with Arid Highlands being the most challenging for crop viability.
If you roll a random map, survey the land first and decide how to use the Fertility you have rather than forcing a layout that the soil cannot sustain.
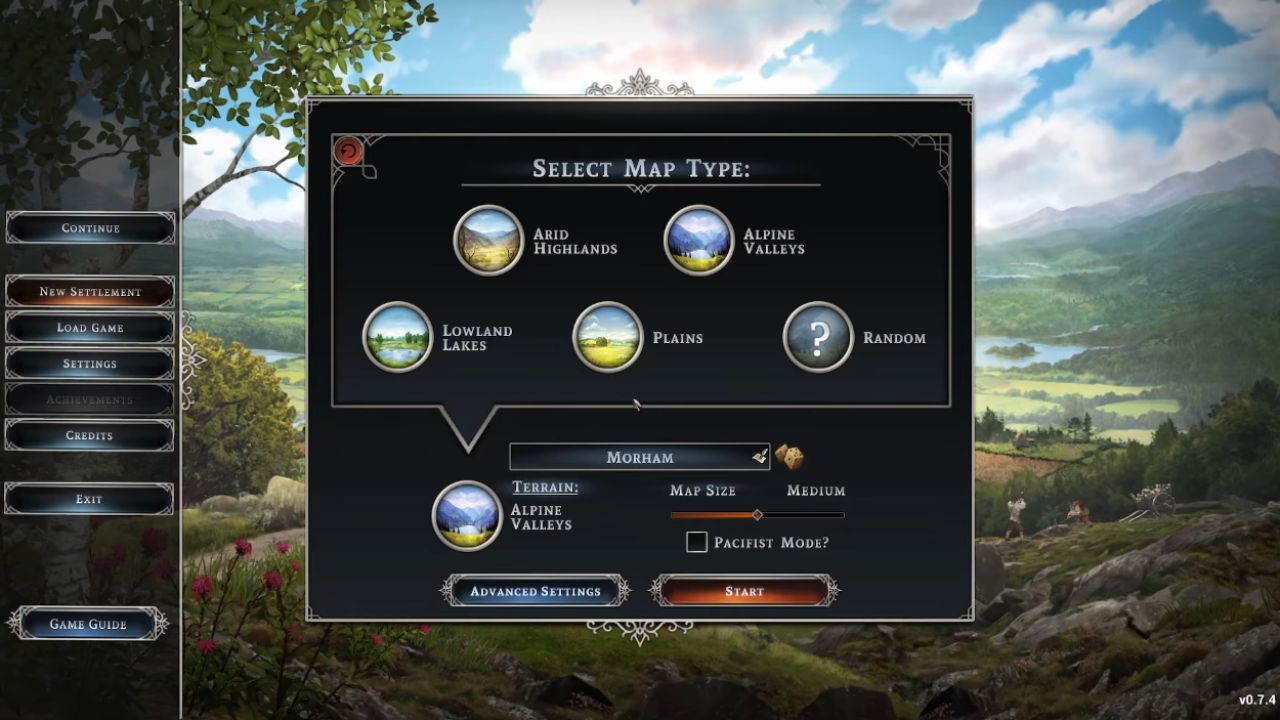
Place the Town Center with Fertility in Mind
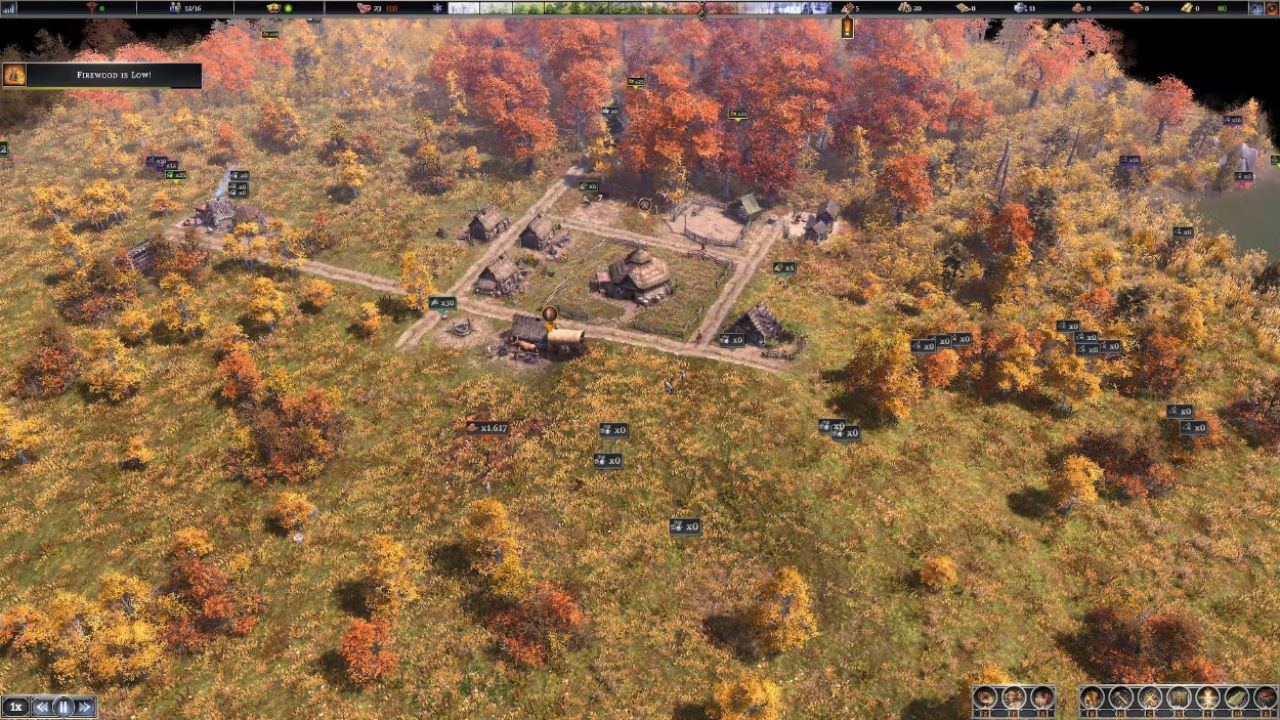
Before committing to a location, press F to open the Fertility Overview and scan for deep blue-green patches—the most fertile soils. Center your settlement so fields sit close to those rich tiles while keeping travel time short to resources and water.
Prioritize setting the Town Center near fertile belts; you want fields within easy walking distance so workers spend more Time tending and less Time traveling.
Early Food Production Before Farming
In the first stretch, you can rely on Fishing Shack, Forager Shack, Hunter Cabin, and Smokehouse to feed a small settlement.
Farms become necessary around ~50 population, though nothing stops you from preparing fields earlier if you can spare the 1–3 workers. Expect to shuffle foraging zones seasonally to keep yields up until you transition to agriculture.
Farm Placement and Field Sizes That Work
Place fields close to homes and roads to minimize travel, leaving space to wall them in later. For starter fields, a 5×5 tops out around 550 yield under ideal conditions from one worker. Bumping to 5×6 is an efficient upgrade because it adds roughly 110 more max yield without needing a second worker.
Avoid 5×7 due to the worker step-up. A 5×10 can double output (≈1100) with appropriate staffing. Over Time, plan to expand toward 10×10; that footprint matches a cow pasture and lets cattle graze Clover directly on fields for manure-driven fertility gains.
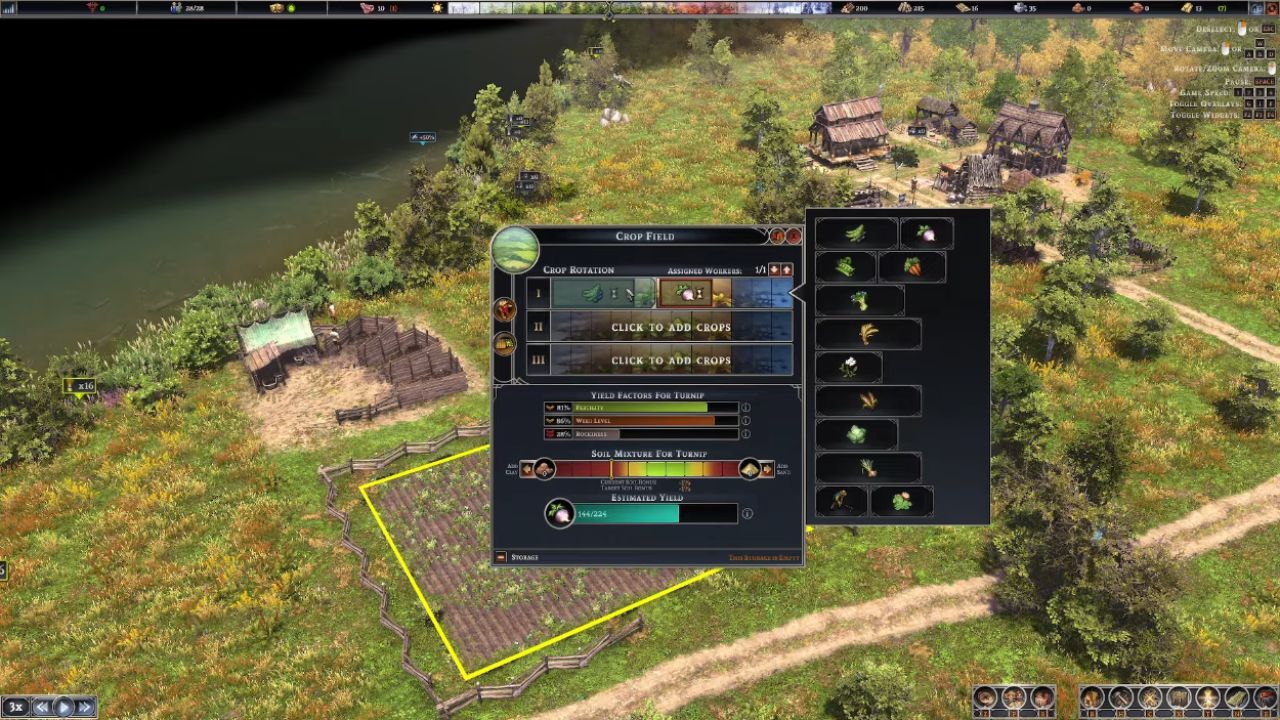
Understanding the Crop Rotation Panel
The rotation panel shows three years at a glance, divided by months from late winter through winter. It tracks current Fertility, Weed Level, Rockiness, Soil Mixture, and projected yield for planned crops as the year advances.
Use “Add Crops” to queue crops, then drag them to fine-tune planting and harvesting windows. “Expand Field” adds to the current plot without rebuilding, letting you scale as your workforce grows.
Know Your Crops: Tolerances, Fertility Impact, and Dependence
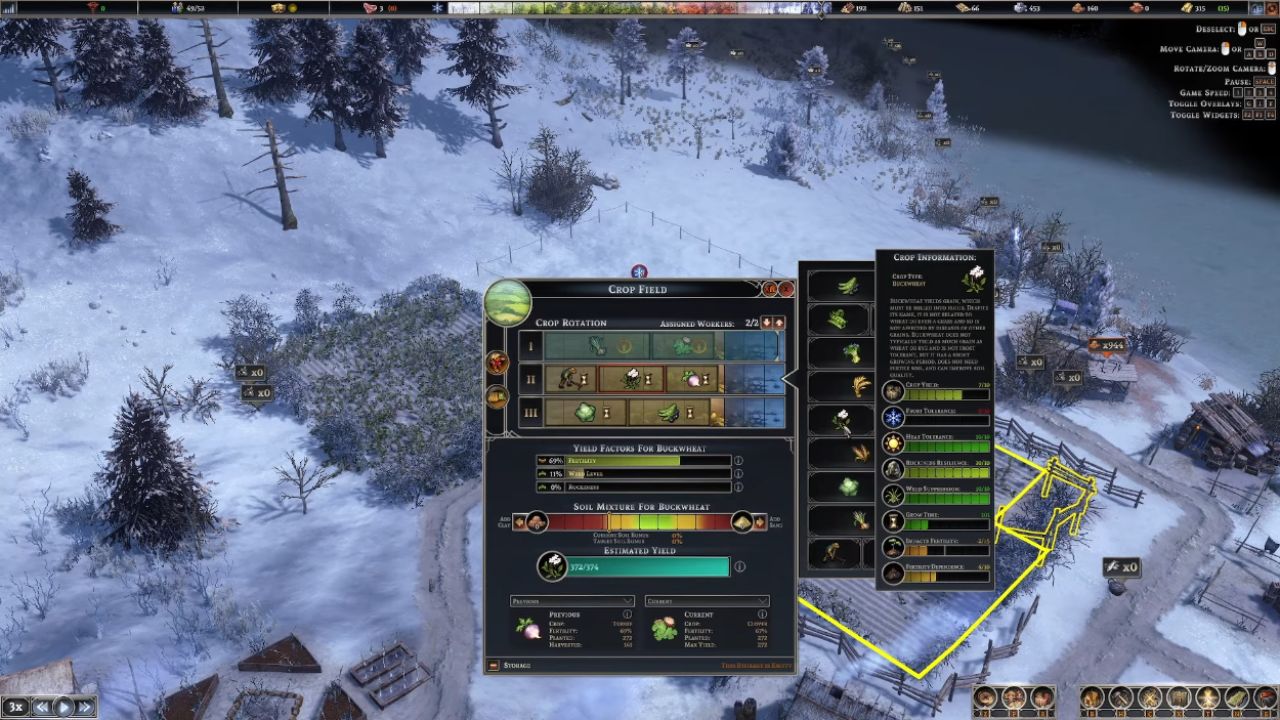
Each crop has traits that decide where and when it thrives. Crop Yield describes the potential food. Frost Tolerance and Heat Tolerance dictate safe seasons. Rockiness, Resilience, and Weed Suppression affect how hard poor soil fights back. Grow Time determines how many fit into a year. Two fertility numbers matter most:
Fertility Impact shows how a crop changes base fertility; Beans raise it (positive), Turnips lower it (negative). Fertility Dependence shows how much a crop cares about high Fertility; the lower the number, the less it suffers in average soil.
Cabbage and Wheat are dependence-heavy and shine in rich, well-kept fields; Beans tolerate middling ground and help nudge Fertility upward between heavy feeders.
Maintenance, Clover, and Soil Mix
Maintenance reduces Weed Level and removes rocks; Weed Suppression slows weed growth but cannot replace Maintenance. Clover has no food value but restores about +5 fertility on a run, making it the early game’s best “reset switch.”
Match the Soil Mixture slider to your planned crop’s sweet spot to unlock strong yield bonuses—Cabbage, for example, often sits near the target mix and pays off with excellent returns when the soil is right.
A Practical Early Rotation (Year 1–3)
Start by preparing a new Crop Field with three back-to-back Maintenance runs. This puts Weed Level near ~20–30% and knocks down Rockiness, which meaningfully boosts every future harvest.
If a fragment of the year remains, fill it with a short grow-time crop that can stomach late heat; Turnips or Carrots fit ~3–3.5 months, though Turnips handle heat slightly better than Carrots, while Peas dislike midsummer heat.
With weeds low, launch a high-value early sequence that fits your soil. A strong, general-purpose path looks like early-season Cabbage (great frost/heat tolerance and strong yields on target soil), then Beans in the heat to offset fertility loss and keep food flowing.
In the following year, start with cool-season Peas, slide in a quick Turnip window, and end with Maintenance to hold weeds down.
In year three, repeat Cabbage and then run Clover to push Fertility back above its starting point. Adjust months by dragging crop blocks so harvests avoid temperature extremes and align with each crop’s tolerance.
Multi-Field Setups for Continuous Harvests
Once two fields are online, stagger the same three-year rotation by one year so each field grows a different line of the cycle at any given time.
Add a third field and you can secure a constant stream of key foods: one field delivering Leeks and Clover, another supplying Buckwheat with Maintenance and Turnips, and a third producing Cabbage and Beans.
This staggering ensures a steady flow of greens to prevent scurvy, grain for milling and Bread, and vegetables in every season without hammering any single field’s Fertility.
Fertility Boosts: Compost and Cattle
Build a Compost Yard early. When the bin reaches 100%, apply compost to a field to spike Fertility, often replacing a scheduled Clover run with another food crop.
Later, when cattle arrive, park them on a Clover year inside a 10×10 field; grazing adds manure and raises Fertility while the Clover run restores the rest. This synergy lets you maintain high Fertility without constantly sacrificing harvest windows.
Field Size Synergy and Ongoing Adjustments
Grow early with 5×5 or 5×6 to conserve labor, expand to 5×10 as staffing allows, and aim for 10×10 to integrate grazing and maximize long-term soil quality. Keep watching Weed Level and base Fertility.
If weeds creep up, convert part of a year to double Maintenance. If Fertility dips below ~70%, run a year of Clover (or compost plus Clover) to recharge. Monitor soil targets per crop and rearrange monthly blocks to keep harvests inside comfort tolerances for heat and frost while rotating in fertility-positive Beans between heavy feeders like Cabbage or Wheat.
Also, check our Farthest Frontier Review and other guides below:
Contributor, NoobFeed
Latest Articles
No Data.