
Farthest Frontier Beginner’s Guide | Gameplay Tips & Tricks
Build a stable, efficient settlement from Day 1 and reach Tier 2 fast.
Game Guide by Faviyan Mustafiz on Oct 27, 2025
This guide streamlines the first critical years in Farthest Frontier—from choosing a start location and securing Water and Firewood to optimizing early Food Production, Work Radii, Housing desirability, Storage and Spoilage, Roads, a quick but reliable Farming rotation, and smart Building Relocation—so you can stabilize growth and upgrade to Tier 2 efficiently.
Choosing the Perfect Start Location
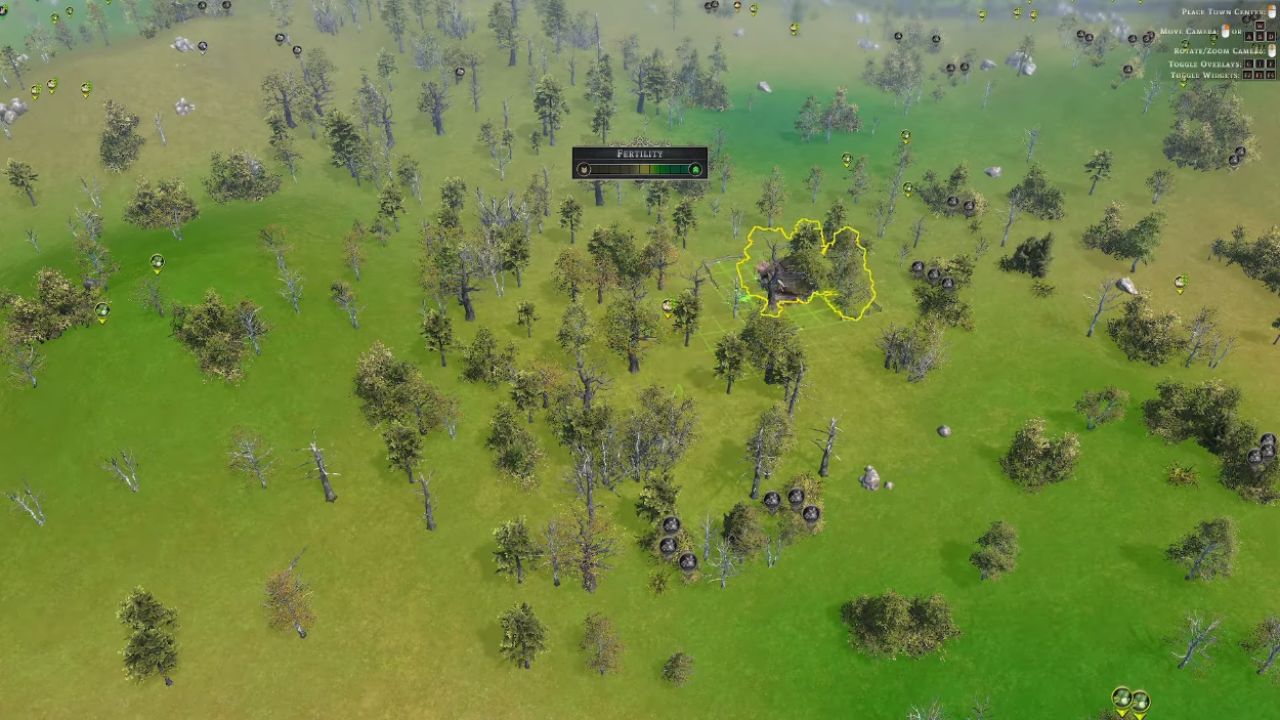
The first major decision is where to place the Town Center. Prioritize reliable Water access because Fish provide an early, steady food source. If a map lacks lakes, food is tougher to secure, so consider starting on Lowland Lakes to make the early game smoother.
Favor flat ground and be cautious around hills, which can harbor Wolves and Bears. Scan the surroundings for valuable resources such as Sand, Willow Bushes, Bird Nests, and Greens.
Press F to reveal Fertility overlays and target areas with rich soil; extensive fertile land near water is ideal. After selecting the site, your villagers automatically teleport to begin constructing the Town Center, so distance from the initial spawn is not a concern.
Firewood and Water Needs
Firewood and Water are essential for both industry and housing, and Water is crucial for firefighting. Build a Well and a Firewood Splitter immediately. Site the Well where the groundwater bonus exceeds 50%—70% or higher is best, especially near lakes.
Because the Firewood Splitter is an industrial structure with negative Desirability, place it away from future neighborhoods. Begin thinking in zones—residential, industrial, and commercial—so services and production do not harm housing desirability.
Harvesting Resources
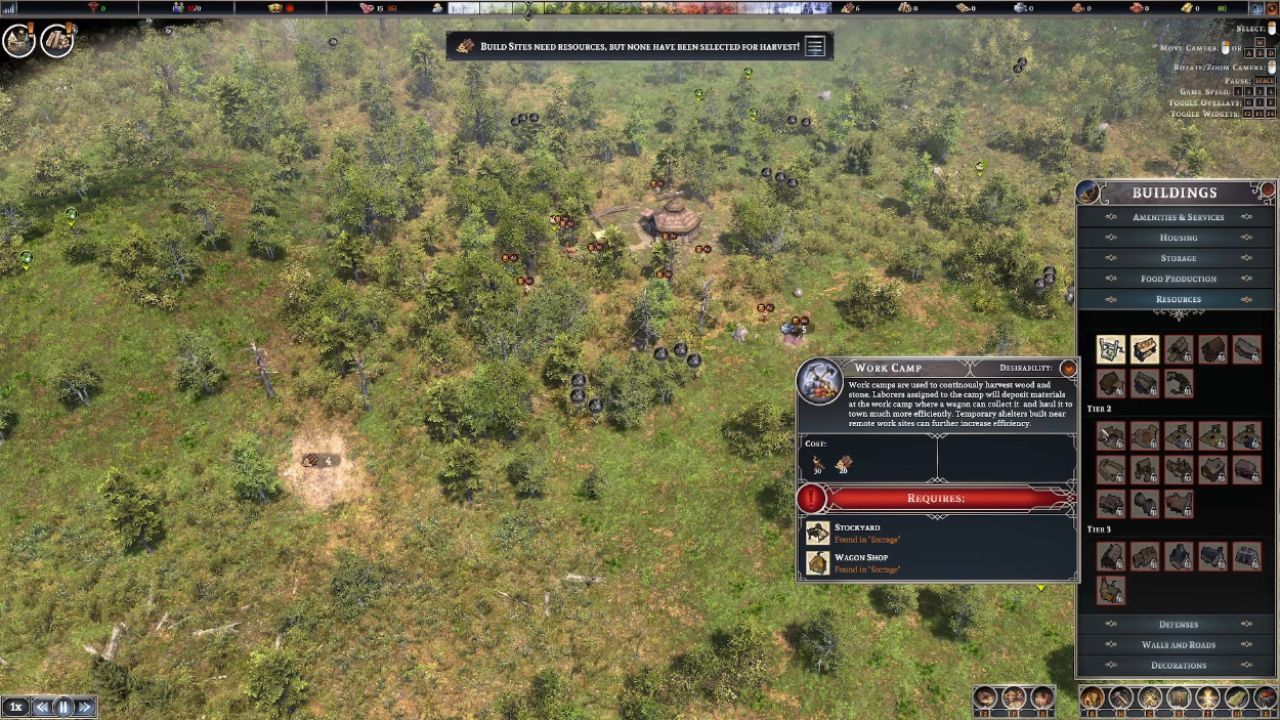
The Firewood Splitter consumes Logs, and early on you do not have a dedicated Lumberjack building. Continuous harvesting comes from the Work Camp, but it unlocks only with a Tier 2 Town Center and requires a Stockyard and Wagon Shop. Until then, manually gather Wood and Stone by using Harvest Resources (or pressing H) and dragging an area.
Idle Laborers will deliver materials to the Storage Cart, which has a capacity of 750 and holds weapons, food, and raw materials. Ensure you repeatedly set manual harvests for Wood and Stone so early construction never stalls.
Food Production
Food is a major pillar of survival. Early options include the Hunter Cabin, Forager Shack, Fishing Shack, Crop Field, and Smokehouse. Start a Farm early because Crop Fields take several years to complete.
A compact 5×5 field is recommended at the start; larger fields take too many workers when population is limited. Once built, the field supplies a continuous, controllable food source that complements hunting, foraging, and fishing.
Work Radius
Many gathering buildings allow retargeting their work area. Select the structure and use Retarget Building Work Radius to reposition. Aim the Fishing Shack to cover as many Fishing Spots as possible.
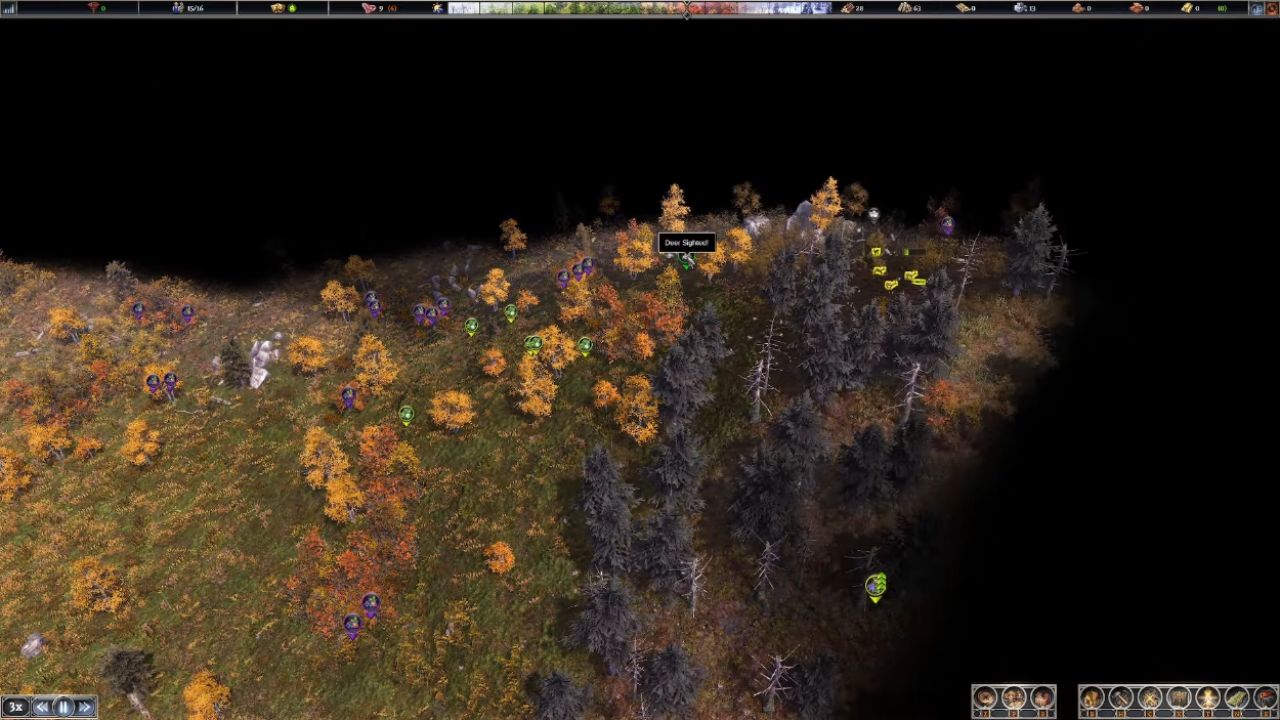
Shift the Forager Shack to capture Willow and other nearby goods, moving it again later as resources deplete. For the Hunter Cabin, slide the radius until the hunting icon turns green; that indicates Deer are in range.
Press F4 to see not just icons but counts—how many Greens, Berries, Deer, and Mushrooms are present—so you can make smart, data-driven moves without overbuilding.
Housing & Desirability
Keep housing clusters away from industry because most production buildings reduce Desirability. Build homes in tight groups to maximize the impact of Decorations.
A Shrine is an excellent early option; although it costs 50 Gold, it delivers a substantial desirability boost—on the order of 9–10 percentage points in the covered area. Strategically drop such boosts in the center of housing clusters for outsized benefits.
Storage & Spoilage
Build Storage early to slow spoilage and smooth logistics. Prioritize a Storehouse, Stockyard, and Root Cellar, with the Root Cellar placed near the Forager Shack to shorten travel time. Barrels (available starting at Tier 2) reduce food spoilage by 5% per barrel housed in a building.
As you advance, upgrading storage reduces Spoilage, increases Durability, and expands Storage Capacity—enable Auto-Upgrade so these improvements apply as soon as requirements are met. If you are short on a specific material, such as Stone, explicitly select it for harvesting and set it to Prioritize to pull Laborers off lower-value tasks.
Roads
Roads dramatically improve movement and hauling efficiency. Press N or click Dirt Road and lay out a network that connects housing, resource nodes, and production sites. Angled or curved roads are perfectly fine; the travel-time impact is minimal compared to the organizational benefit of clear paths.
To remove an unbuilt segment, click the build icon and choose Destroy; for built paths, select the road and use Salvage Building to clear a larger section and rebuild cleanly.
Quick Farming Guide
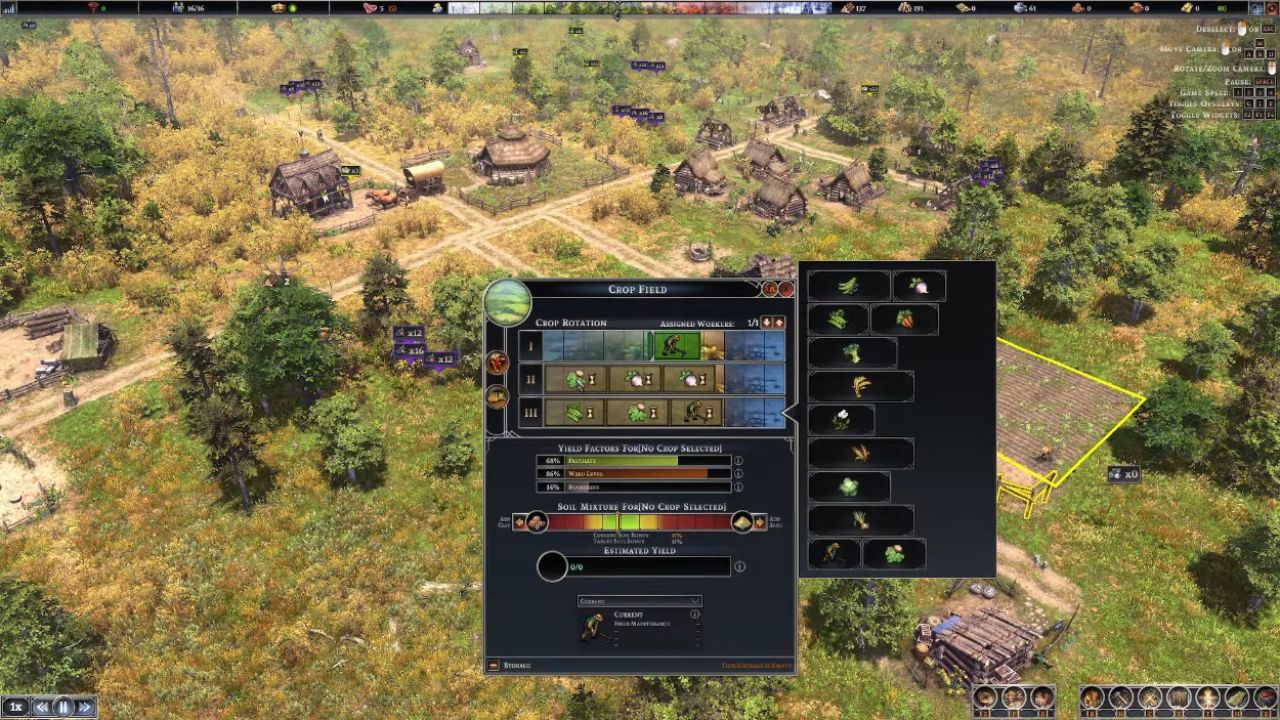
Farming is more involved here than in many city builders. Fields track Yield, Weed Level, Rockiness, Soil balance, and require thoughtful Crop Rotation. If a field begins late in Year 1, schedule Maintenance to start clearing and prepping.
In Year 2, plant Clover to enrich the soil, followed by two runs of Turnips. In Year 3, plant Peas, add another Clover, and schedule Maintenance again. Heavy use of Clover and Maintenance keeps weeds down and fertility up.
Once weeds are under control, Turnips can produce around 184 each cycle (twice in the season), while Peas add roughly another 100; this rotation stabilizes food until larger fields and additional crops come online. Later, a Compost Yard further boosts fertility via compost applications.
Building Relocation
Do not hesitate to move structures as the settlement grows. Use Relocate Building to reposition any building after clearing the destination; contents transfer with no loss. As your plan evolves, shift industrial sites, storage, and services to match expansion and neighborhood layouts.
When all Tier 1 essentials are in place—Compost collection functioning, Shoes and Coats produced at the Tannery and Cobbler, and the prerequisites met (8 Shelters, a Market, 30 Population, Wood Planks, and Stone)—upgrade the Town Center to Tier 2 and unlock the next wave of progression.
Also, check our Farthest Frontier Review and other guides below:
Contributor, NoobFeed
Latest Articles
No Data.