
NieR: Automata Guide | How To Get All Endings (A–Z)
Unlock every ending from Ending A to Ending Z, including the true Ending E, with clear chapter-based steps.
Game Guide by Faviyan Mustafiz on Jan 06, 2026
There are 26 different endings for NieR: Automata. There are only five true story endings, and Ending E is the best one for bringing everything to a close. The other 21 endings are "what if" scenarios that can occur at different times; hence, they are not considered official.
When chasing any ending from Ending F through Ending Z, save first if needed. These are bad ends that kick you back to the title screen without saving, and a single mistake can end a long run fast.
True Endings (A–E)
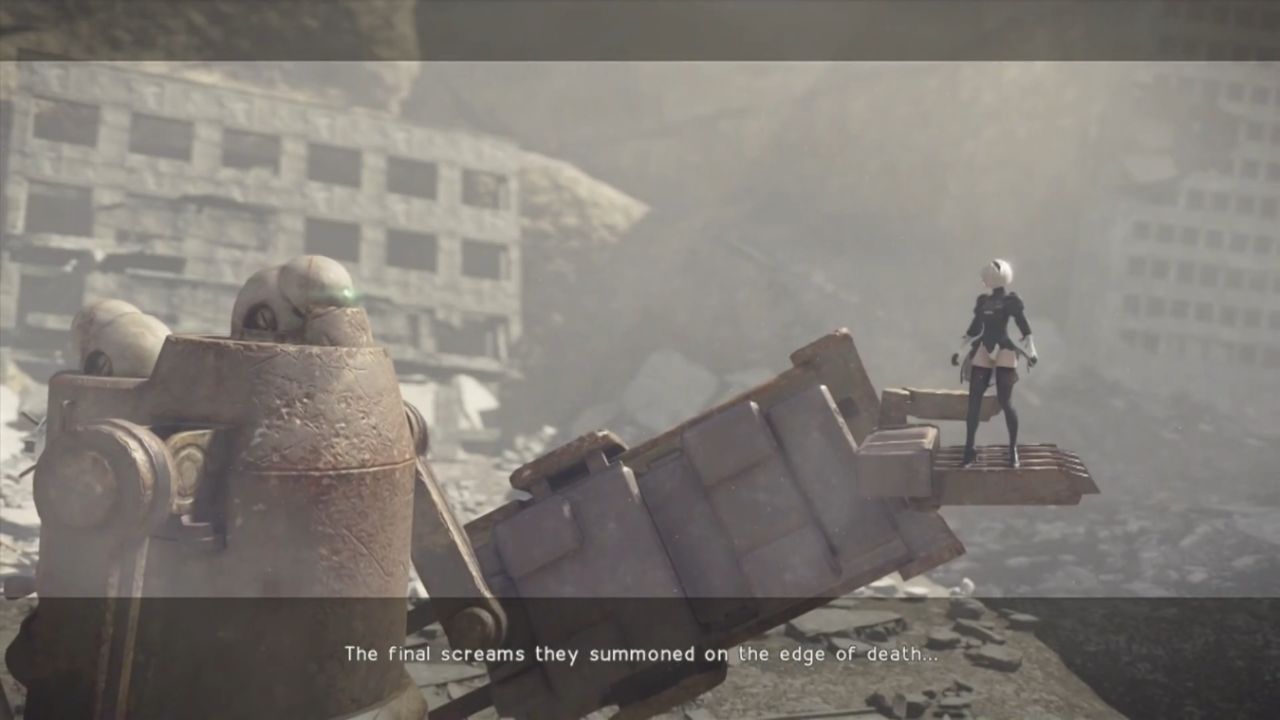
Ending A: Flowers for m{A}chines. Complete the game normally on the first playthrough by finishing all Main Story Quests.

Ending B: Or not to {B}e. Load the cleared save after earning Ending A, then replay and complete all Main Story Quests again to unlock this ending.

Ending C: Meaningless {C}ode. Load the game for a third run. In the final boss choice, pick A2. If 9S is picked instead, use Chapter Select and jump to Ch. 17-09 to get this ending quickly.
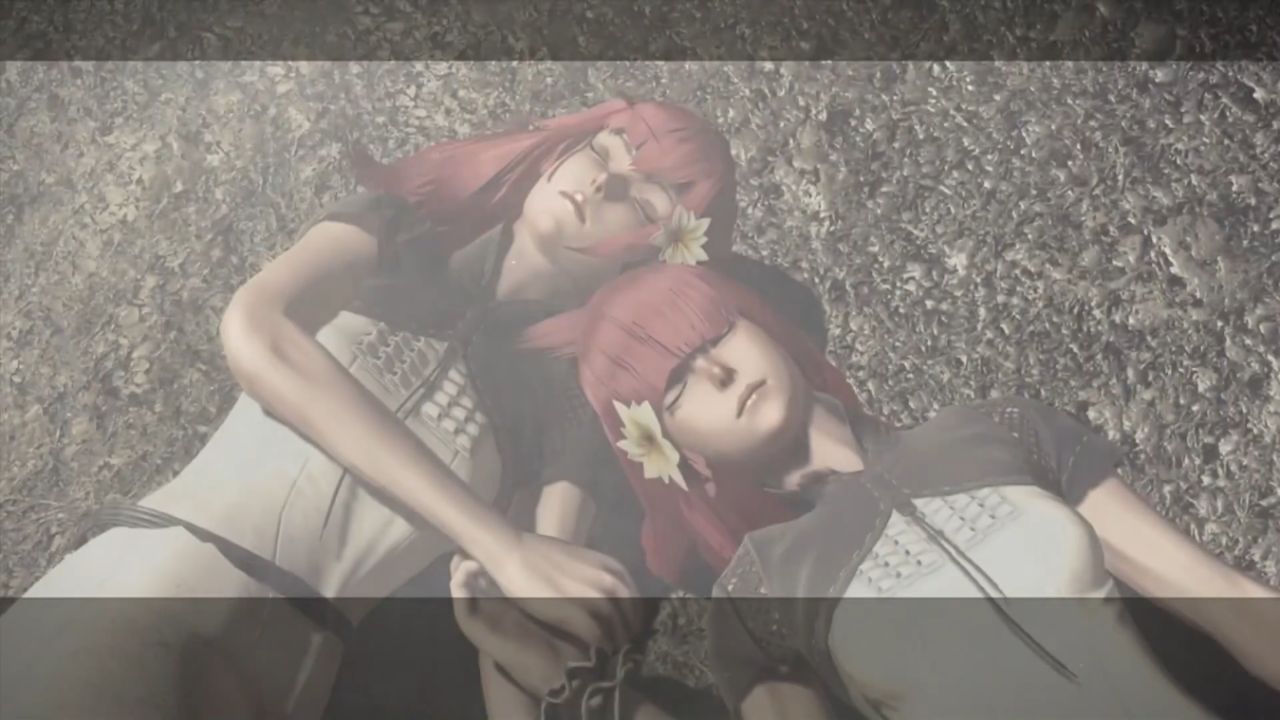
Ending D: Chil{D}hood’s End. During the third playthrough, pick 9S for the final boss. In the text section, choose either “I’ll go with you” or “I’ll stay.” Either choice unlocks this ending, but the content differs. If A2 was chosen instead, use Chapter Select and replay Ch. 17-09 to obtain Ending D.
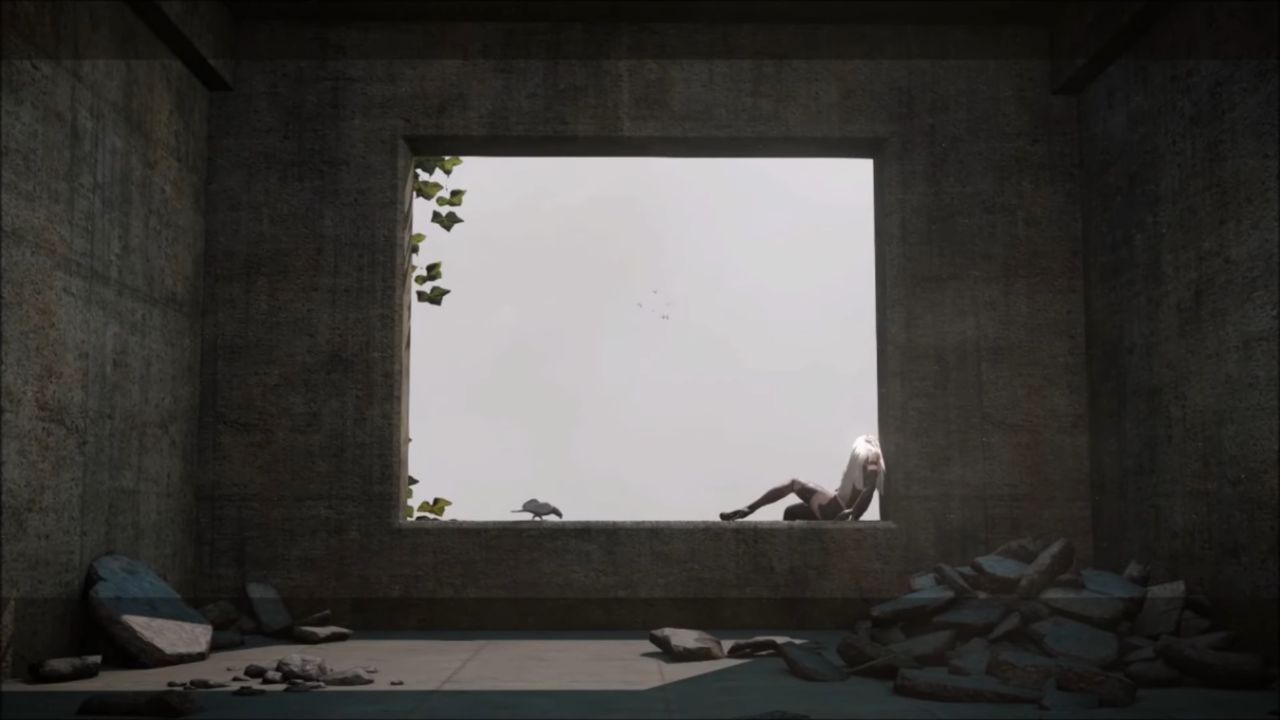
Ending E: The {E}nd of YoRHa. After viewing Ending C or Ending D, view one of them again, which can be done quickly via Chapter Select at Ch. 17-09. During the credits, Pod 153 will request a data check.
Accept it, then accept again when prompted, and choose the option that says you “wish for them to survive.” This starts a shooting minigame. Clear it to unlock this ending.
If you keep failing and are connected online via PSN, help can appear, making this part much easier. Be careful with the final warning. If the game asks to delete the save file, it is real, and all progress across save files will be lost.
Secondary Endings (F–R)
Ending F: Mission {F}ailed. In Ch. 01-03_2, after Engels knocks 9S down, let the repair timer run out instead of fixing the system.
Ending G: Hun{G}ry for Knowledge. In Ch. 01-01_2, when controlling 9S for the first time, walk to the crane and ignore the mission.
Ending H: A Mountain too {H}igh. In Ch. 05-02, ignore the order to stop the Goliath attack and abandon the mission. Taking the route from Pascal’s Village to the Amusement Park makes this easy.
Ending I: No {I} in Team. In Ch. 08-01_2, beat the boss in the Copied City, then walk away from 9S.
Ending J: Bad {J}udgment. In Ch. 09-01_3, when entering the Factory and meeting the machines, kill any of them.
Ending K: Aji wo {K}utta. In Ch. 06-01, after reporting to the Commander, an email titled Jackass: Fish arrives. Talk to Jackass at the Desert Camp to get the Mackerel in the “Caught Fish” menu, then eat it.
Ending L: {L}one Wolf. In Ch. 10-01_3 or Ch. 10-03, either leave the Resistance Camp while it is under attack, or abandon the entrance to Pascal’s Village when the boss shows up. The ending text always references leaving the Resistance Camp.
Ending M: Break ti{M}e. In Ch. 14-03 as A2, do not go to Pascal’s Village during the attack. Run toward the back of the Resistance Camp, the Factory, or the Amusement Park to trigger it.
Ending N: {N}o Man’s Village. In Ch. 05-01, destroy every machine in Pascal’s Village. Focus on the machines waving flags. The reclusive machine is not required, though it can still be hit through the house walls.
Ending O: Just y{O}u and me. In Ch. 11-03, run back toward the Factory instead of continuing to the City Ruins. In Ch. 11-04, when the EMP downs 2B, hack other YoRHa units until failure, or simply walk away.
Ending P: Corru{P}tion. In Ch. 11-06, let 2B die from the virus. Stopping near the bridge to the commercial facility can speed it up because the infection spikes near the objective.
Ending Q: {Q}uestionable Actions. In Ch. 11-07, avoid going to 2B near the commercial facility. Head to the desert area or return toward the Resistance Camp.
Ending R: Mav{R}ick. In Ch. 14-05, attack the peaceful robots near Pascal. Going berserk in the room with Pascal and the children can also trigger it.
Joke Endings (S–Z)
Ending S: City e{S}cape. In Ch. 17-01, while trying to access the Tower, abandon Popola and Devola after they step in to protect you.
Ending T: Fa{T}al Error. Remove the OS Chip.
Ending U: Deb{U}nked. In Ch. 06-01, self-destruct inside the Bunker. This can also work during other visits, but this Chapter is a quick pick with Chapter Select.
Ending V: Reckless bra{V}ery. In Ch. 17-01, fight alongside Popola and Devola instead of hacking the Tower, or just stand and do nothing.
Ending W: Broken {W}ings. In Ch. 01-01_1, die during the prologue, including getting hit by the giant laser. Unequipping healing or defense chips can help, since chips cannot be changed during flight sections.
Ending X: Time to Rela{X}. In Ch. 11-06, after reaching the commercial facility with virus-infected 2B, the game switches control to A2. Run away instead of helping.
Ending Y: Head{Y} Battle. Let Emil self-destruct at the End of the boss fight in Emil’s Determination. This is the only truly missable ending and can block the Transcendent Being trophy or achievement through normal play. Save carefully, because the fight cannot be repeated after completion. Saving at Desert: Center helps if a restart is needed.
Ending Z: Over{Z}ealous. In Ch. 14-01, after leaving the desert, rescue Pascal outside the Resistance Camp, then choose to kill him instead of sparing him.
Also, check our NieR: Automata Review and other guides below:
Contributor, NoobFeed
Latest Articles
No Data.