
Ratatan Guide | Best Elements & Ratakaruta Tier List
A simple, up-to-date tier list and build guide covering Elemental Force synergies, Shock/crit priorities, and the best Ratakaruta to pick in Ratatan 0.5.5.
Game Guide by Faviyan Mustafiz on Nov 07, 2025
This guide ranks choices by power and practicality: S (best), A (excellent), B (strong), C (usable), D (minor impact), E (underpowered), F (harmful). For Patch 0.5.5, damage-over-time from Poison and Burn is small (roughly 10–30 damage), so these are weak compared to Shock or critical builds.
Freeze is inconsistent and its constraints are unclear; critical hits still outperform flat damage, so Ice/Water Normal Attack/Hustle Tech enhancers sit below Shock or crit but above Poison/Burn. Heavy knockback is a liability because it makes follow-ups whiff, often doubling run time when stacked.
Recommended Element Priority and Force Synergy
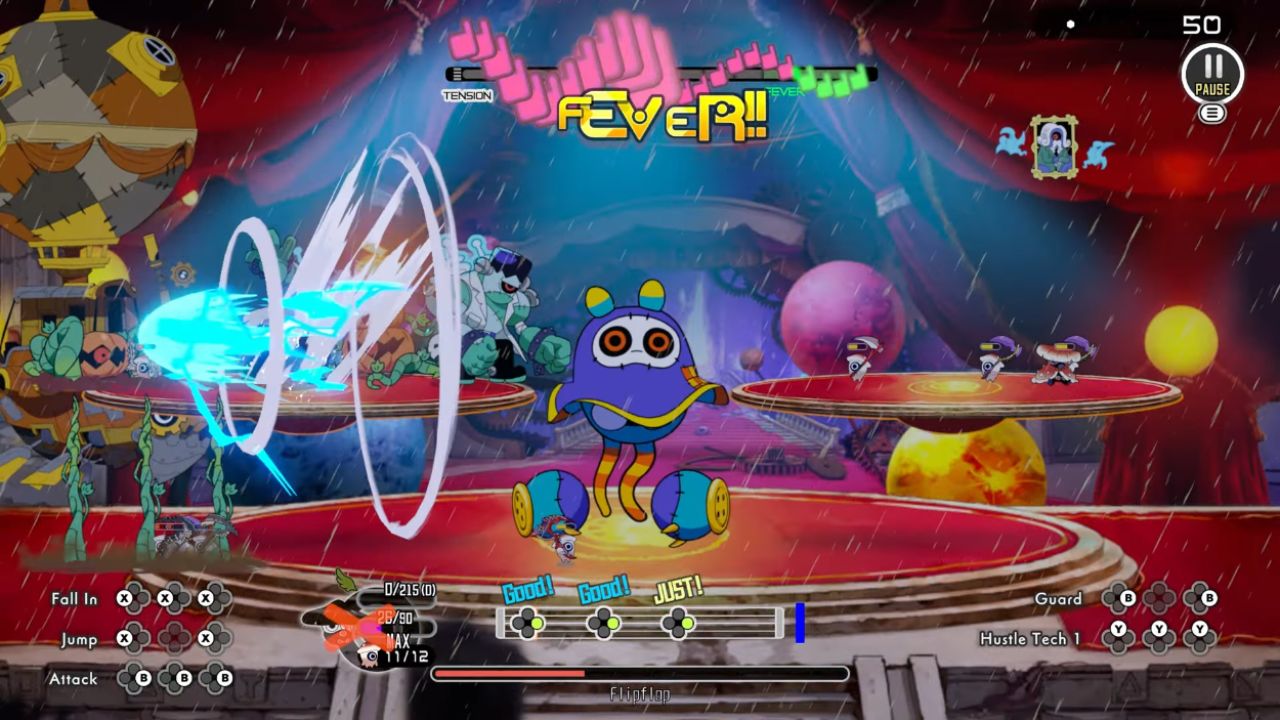
The Lightning Elemental Force is the most useful overall: lightning bolts plus Shock scale better than others; Shock stacks well with other lightning effects; and the bolts auto-aim precisely. Water is second for survivability and synergy.
Wind is the one Force that tends to hurt pace; the tornado’s knockback is disruptive—not a run-ender, but worth avoiding. Consider restarting if your first element isn’t Lightning or Water.
You gain an Elemental Force by collecting two Ratakaruta of the same element (up to three Forces across six elements). Expect to have a stable source of Shock by Stage 3; fill gaps with crit (Wind) as needed.
A practical priority is: Lightning until you have enough Shock > Wind (but ideally no Wind Force) > Water > Ice if you can apply Freeze > Fire if you can apply Burn or Poison if you can apply Poison. Runs vary; grab enough Shock to carry each stage.
Fire Ratakaruta (C–E)
Tier C includes Sacrificial Valor, which sacrifices some HP to “temporarily” increase Hustle Tech attack power by 20%. The description is vague, and the timing window is unclear. It appears to drain about 10 HP on Hustle Tech use, then not drain again for roughly 20–30 seconds.
If it truly costs ~10 HP per 20–30 seconds for +20% damage, it sits at B purely because it conflicts with Chilly Challenge (a damage increase above 75% HP). With plenty of HP or steady shields, it can feel closer to A.
Big Booms periodically creates small-radius explosions around Ratatan, dealing 20%/30% of max HP every ~4–6 seconds.
Spicy Guts increases attack power by 25%/50%/100% as Ratatan loses HP, but the threshold scaling is unspecified. Spicy Guard reduces damage by 10%/20% when Ratatan is at 50% HP or less. Collector’s Cover gives 1% damage reduction per item (max 10%).
Tier D includes Burning Bummer, which reduces enemy attack power by 20%/40% while Burn is active, Blaze Ball, which boosts Fire Elemental Force damage by 50%, and Burning Boost, which restores 3% HP every 2 seconds near burning enemies when you are below 30% HP.
Tier E covers Burning Blast, where Normal Attacks create an explosion that deals +15%/35%/45% damage and inflicts Burn, Hustle Blast, where Hustle Techs do the same for +15%/25%/45%, and Burning Dread, where Burn causes Teshita to flee for 2–3 seconds. Fleeing means pacing back and forth; it is less annoying than knockback and stops attacks, but it can still cause your hits to miss.
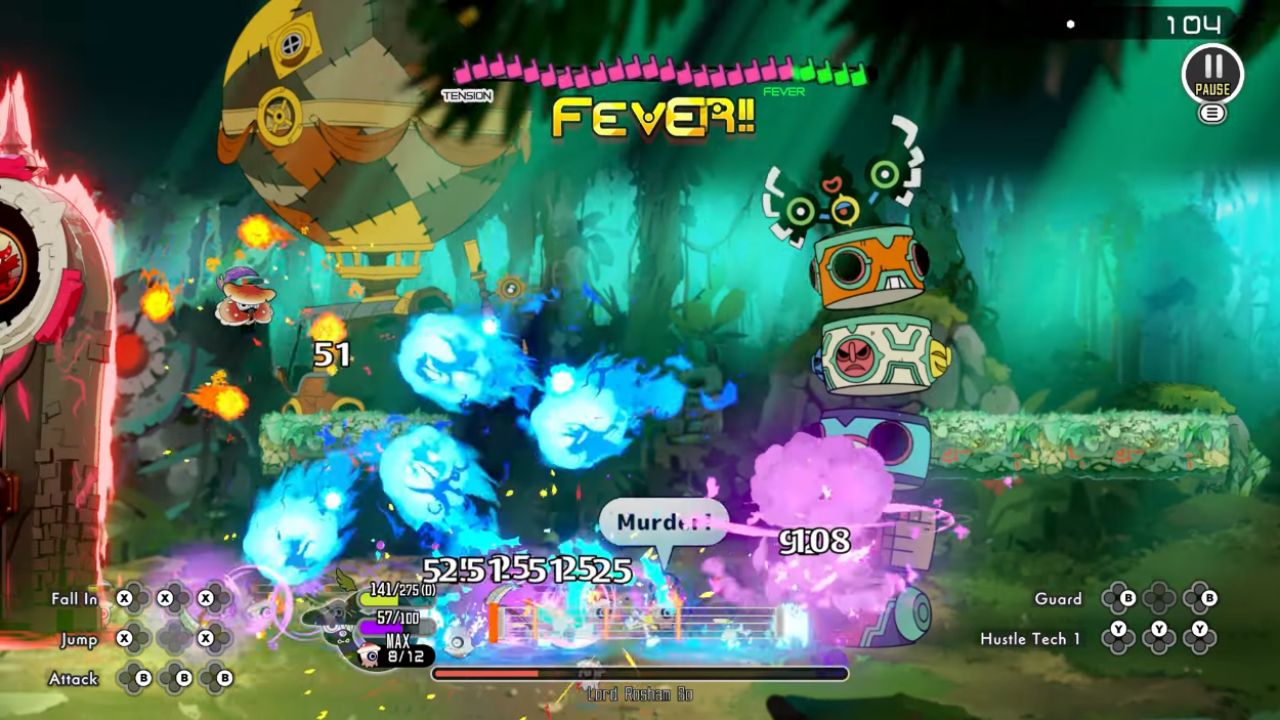
Water Ratakaruta (S–E)
Tier S features Barrier Swell, restoring MP by 2% per second while a barrier is active. This pairs perfectly with defensive pacing and Hustle Tech uptime.
Tier A includes Splash Initiative, which grants +10%/30% attack power for 30 seconds at battle start, and Splash Barrier, granting a starting barrier equal to 20% HP. These speed early fights and stabilize risky openings.
Tier B brings Whirlpool Shield, a +50% max barrier boost that shines on higher difficulties (overkill for farming), Splash Barrier+, which increases barrier strength by 10%/20%/50% on pickup, and Oasis Power, which adds +5%/7% attack power when using healing springs (not retroactive).
Tier C is Raindrop Hop. Jumping drops a water orb for 20 + 150% of barrier as AOE damage. The AOE is narrow with no vertical reach; it will not touch half the bosses and is risky to use. Still, it can hit hard (flat ~500) and can be used three times before your next rhythm command.
Tier D includes Splash Combo, which chains another splash on splash kills for +20%/+25%/+30% damage (interaction with Raindrop Hop is unclear), and Supreme Soaker, which increases splash damage by 60%/120% and adds knockback. The damage bump often outweighs the knockback downside when you already commit to splashes.
Tier E features Soaking Splash, adding a splash on Normal Attacks for +25%/55%/70% damage, and Hustle Splash, doing the same for Hustle Techs at +25%/40%/55%/70%.
Ice Ratakaruta (S, C–E)
Tier S is Chilly Challenge, increasing strength by 25%/35%/50% while Ratatan stays at or above 75% HP. This pairs awkwardly with Sacrificial Valor, so plan around one or the other.
Tier C includes Glacial Heal, which restores 10%/30%/60% of max HP when acquired; Grand Finale, which fully recovers HP if you finish a battle at or above 75%/60%/50% (likely Ratatan only, Cobun uncertain); Grand Entrance, which heals 2% HP every 2 seconds for the first 30 seconds; and Macho Minuet, which adds +10/+15 max HP per boss defeated (not retroactive, mini-bosses count).
Tier D offers Shatter Smash, which shatters Frozen enemies at low HP for +500%/+1000% damage (the exact threshold is unclear), Frigid Fury, where Frozen enemies take +75%/+100% damage, and Slow Thaw, slowing Teshita and native fauna by 40% when Freeze ends.
Tier E covers Bitter Chill, which increases Normal Attack damage by 20%/25%/35%/45% with a chance to Freeze, and Hustle Chill, which does the same for Hustle Tech damage with Freeze chance.
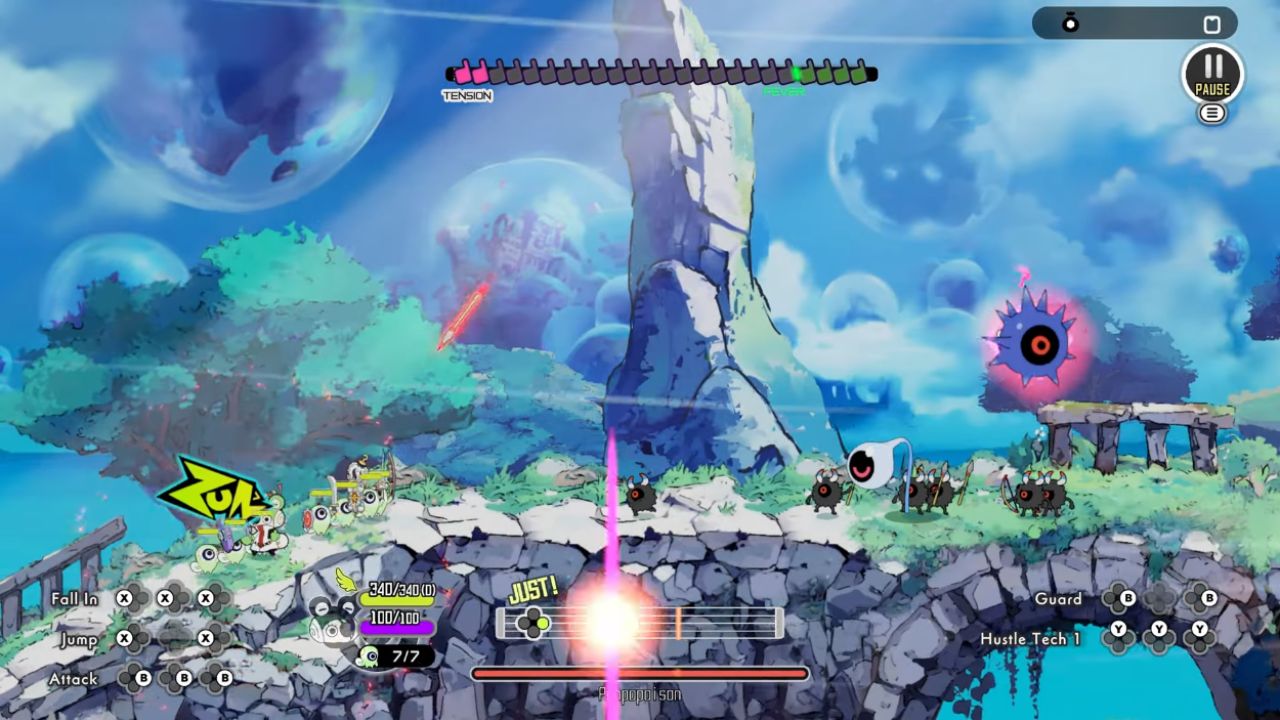
Poison Ratakaruta (Utility and B–E)
Goodie Gatherer increases the number of items acquired by +1. It has no combat value, so it sits outside strict rankings.
Tier B features Boss Basher, adding +10%/+15%/+25% damage to boss enemies. It is unclear if mini-boss types are included, so treat it as a boss-only spike.
Tier D includes Poison Pinch, which accelerates Poison ticks by 20%/50%, Poison Drop, adding +50% Poison Elemental Force damage, Toxic Curse, slowing Teshita and native fauna by 40%/50%/60%/80% while Poisoned, Toxic Corruption, reducing defense by 10%/30% when Poisoned, and Toxic Boost, a 20% chance to deal +100% damage to Poisoned targets. These sound good, but the low DOT baseline holds them back.
Tier E includes Poison Punch, applying Poison on Normal Attacks, and Toxic Hustle, applying Poison on Hustle Techs. Again, application isn’t the problem; scaling is.
Lightning Ratakaruta (S–B)
Tier S is Autocharge+, restoring 10 MP every 4/3/1.5 seconds when you stand near Shocked enemies. It is risky around large packs because proximity is required, but this is what enables nonstop Hustle spam on bosses.
Tier A includes Zap Strike, which applies Shock on Normal Attacks, Hustle Zap, which applies Shock on Hustle Techs, and Thunder Freebie, giving a 15%/33%/50% chance to reduce Skill or Hustle Tech MP cost to zero. These are excellent, but not S because you can source Shock elsewhere and crit (Wind) can sometimes edge out raw uptime.
Tier B brings Thunder Recovery, restoring 1%/2%/3% MP on Hustle Tech kills, Amped-Up Zapper, boosting Normal Attack damage by 20%/30%/50%/75% for six seconds after Hustle (better when MP regen is low), Zap Zinger, increasing Shock damage by 25%/50% and briefly downing enemies, Wizardly Waltz, adding +3%/+5% max MP per boss defeated (not retroactive, mini-bosses count), and Bolt Boomer, giving Hustle Techs a +50%/+100% chance to fire extra lightning bolts.
Wind Ratakaruta (A–F)
Tier A features Whirlwind Strike, giving Normal Attacks a +40%/+60% crit chance, Hustle Strike, adding +40% crit chance to Hustle Techs, and Hurricane Combo, where crits deal +60% damage and cause knockback. The damage spike is huge; the knockback tax is worth it in most fights if you manage spacing.
Tier B includes Hurricane Haymaker, where crits deal +50%/+150% damage to low-HP enemies (the exact threshold is unclear), Knockback Crusher, adding +10%/+15% crit damage against knocked-back enemies (boss applicability is unclear), and Hurricane Havoc, where Cobun stop moving while attacking but gain +50% crit damage.
The last one is potent, yet Cobun not walking into range can hinder certain weapons; many Hustle Techs compensate with leaps or long-range moves. Cha-Ching Critical also lands in B, granting +5/+7 tokens on crit kills and helping snowball shops and upgrades.
Tier C is Lucky Rebate, with a 10%/20%/50% chance for partial cashback in the Shop; the “partial” amount is unspecified.
Tier F is Whirlwind Tornado, which spawns two traveling tornadoes when you use Wind Elemental Force. Extra tornadoes push enemies away, ballooning fight times. At best they herd enemies into a far corner; in practice this often adds minutes to a run with little gain.
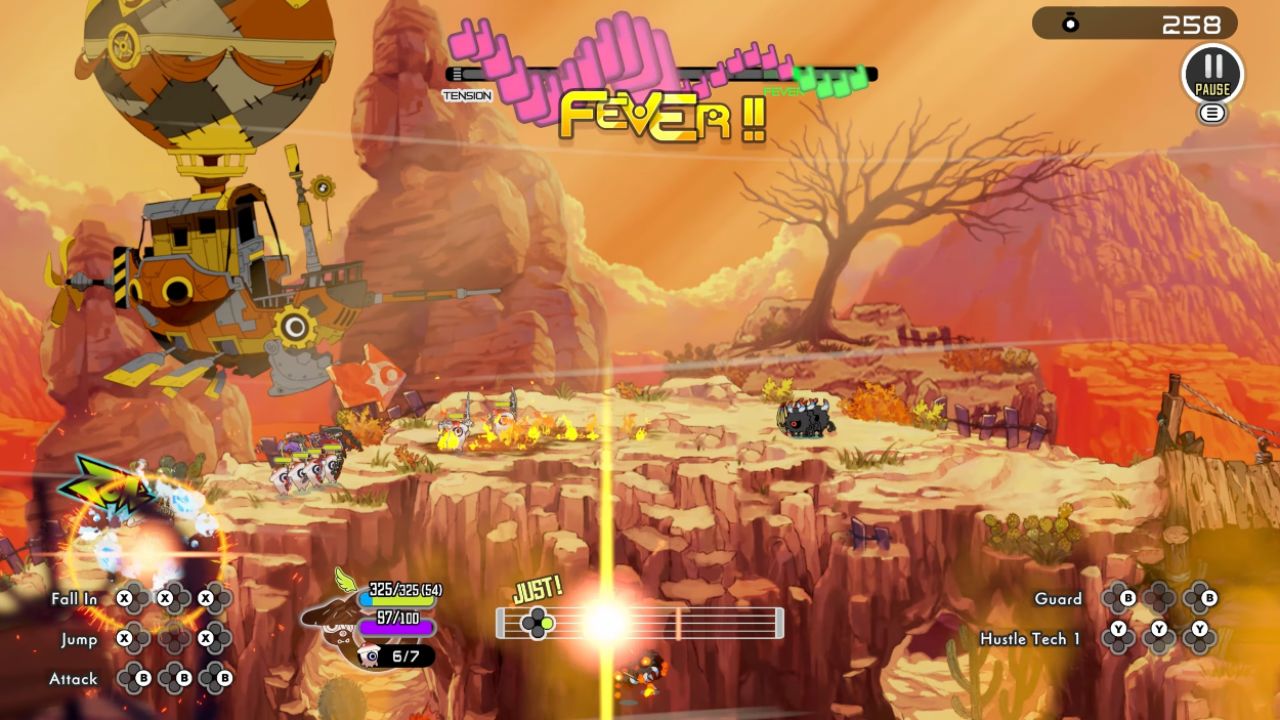
Practical Build Flow (Shock, Crit, and Survivability)
Open runs aiming for Lightning or Water first. Establish reliable Shock and then lean into crit via Wind picks that do not add disruptive Wind Force tornadoes. Use Barrier Swell, Splash Barrier, and Whirlpool Shield to stabilize difficult stages.
Avoid excessive knockback (including tornado effects) so your follow-ups land consistently. When RNG is unkind, prioritize anything that restores MP or guarantees Shock uptime; then layer crit damage to keep pace with boss health.
Contributor, NoobFeed
Latest Articles
No Data.