
ARC Raiders Beginner’s Guide | Gameplay Tips & Tricks
Master essential combat, stealth, crafting, and extraction tactics to survive ARC Raiders from your very first drop.
Game Guide by Faviyan Mustafiz on Nov 01, 2025
This guide gives you practical, no-nonsense help to survive early raids, expand workshops, and ultimately challenge the Queen. You will learn how to target enemy weak points, read the battlefield through sound, move smart with third-person mechanics, optimize loot routes, master Blueprint progression, and secure clean Exfil—without losing gear you can’t afford to lose.
Know Every Weak Point Before You Pull the Trigger
All hostile units are robots with specific vulnerabilities. A well-placed shot to a Wasp thruster can end a fight before it starts. The black panel over a front propeller is armored, but the rear propellers are exposed.
The Bastion hides a gas canister on its back; hit it to break the stalemate. Do not assume the weak spot is always visible. Some enemies rotate their weak points mid-fight, so coordinate angles with teammates and avoid dumping magazines into armor.
Turn Sound Into a Sixth Sense
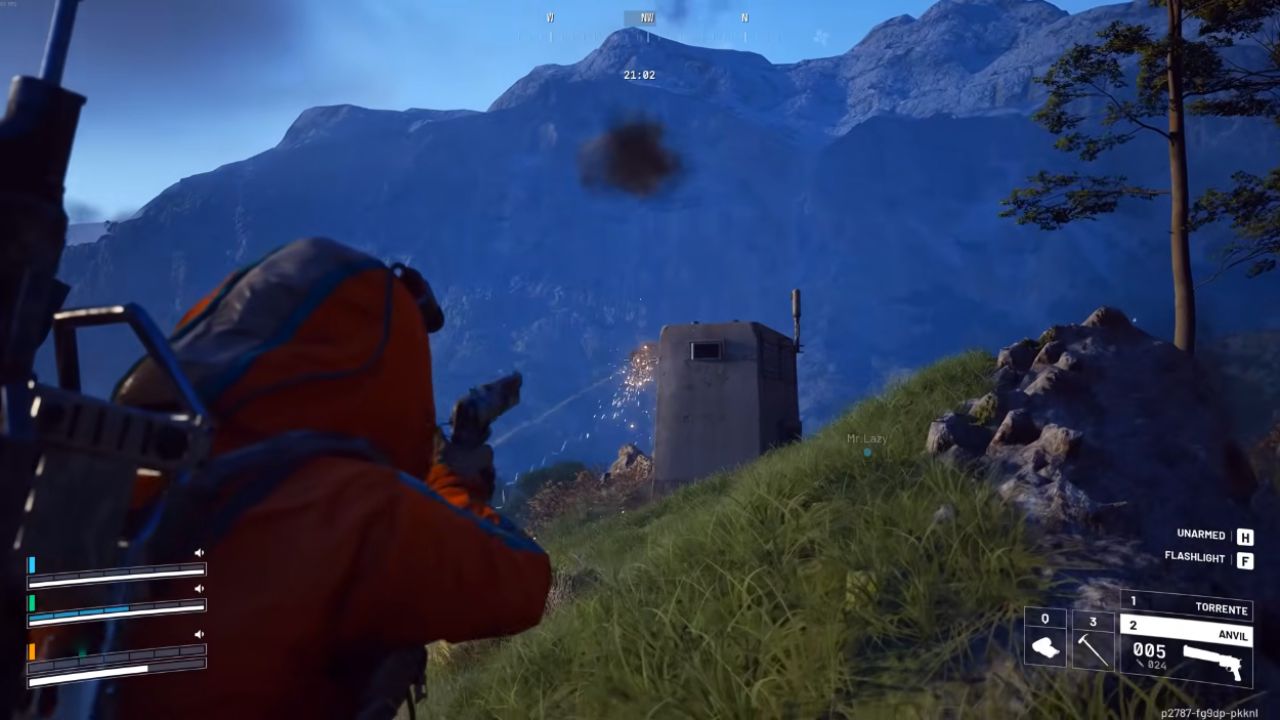
Audio is a strategic advantage. The hum of Shield Generators, wildlife chirps, and distant gunfire reveal enemy locations and priorities.
Birds erupting into flight typically means a squad has spooked them. Long, sustained firefights often mean someone is stuck on a big AI pull or battling another squad—prime for a third-party flank.
Use the Meteor Event for Free Stealth
At the five-minute mark, a meteor event rattles the entire map. The boom covers your movement, spooks birds, and triggers car alarms, briefly muting common sound traps.
Use this window to cross open terrain, flank distracted enemies, or slip past a squad unnoticed. Timing rotations with the meteor is an easy stealth multiplier, especially when solo.
Exploit Eye Relief and Third-Person Vision
Photorealistic lighting can hide you in dark interiors while making outside threats struggle to see in. Combine this with third-person peeking to scout around corners without exposing your body. Do not trust a seemingly empty hallway—someone may be hugging a wall and watching with third-person vision.
Read Shield Strength at a Glance
The device on an opponent’s left shoulder is the Shield Generator. One arm signals Level 1, two arms signal Level 2, and three arms signal heavy shielding. Arms wobble when low and collapse when broken.
Use this instant read to decide whether to take or avoid an engagement and to pick out the softest target when third-person peeking.
Communicate Smartly—But Don’t Give Yourself Away
Pings are contextual and loud. Ping a crate, and teammates see a loot icon. Ping an enemy, and your character shouts a callout that nearby squads can hear. If you are ratting in a building, a panic ping can give up your position. Keep comms deliberate and silent when stealth is the plan.
Move Like a Pro: Rolling, Shoulder Swap, and Crosshair Discipline
Fall damage is unforgiving, so break long drops with a roll to save meds. Shoulder-swapping in third-person gives better corner peeks indoors; use it constantly.
The dynamic crosshair shows obstruction—if you see the block icon, your rounds will hit the wall or ledge in front of you. Step back a few inches to clear barrel collision and avoid losing fights to geometry.
Hunt for Hidden Value: Barrel Stashes, Field Depots, and Field Crates
Barrel stashes tick softly; follow the sound for mid-game loot spikes. Field Depot terminals unlock only when you carry a Field Crate to them.
Crates occupy your hands, slow you down, and prevent shooting, so drop them during fights. Deposited crates can reveal high-end weapons, components, and Blueprints that permanently expand your crafting options.
Blueprint Progression Is Account-Wide and Permanent
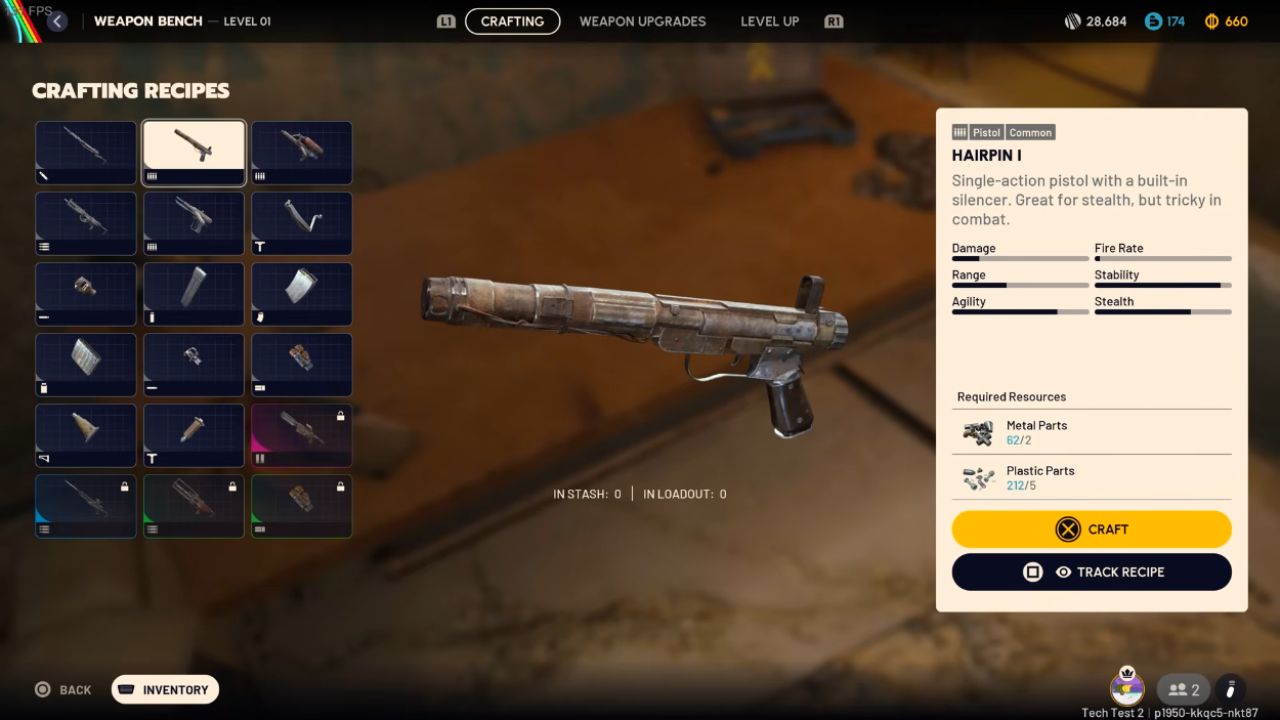
Securing a Blueprint—from depots, loot, or enemy packs—unlocks it forever. There is no need to hoard duplicates. Some Blueprints craft full weapons; others unlock components and attachments. High-tier Blueprints may require upgraded workbenches and quest progress before you can use them, so keep pushing your base to meet the requirements.
Craft Mid-Match to Swing Fights
You are not locked to your spawn kit. If you gather Agave, Fabric, Resin, and other base materials—or break down valuable finds in-raid—you can craft on the fly.
Make bandages, impact grenades, or Shield recharges between engagements. Breaking items in-raid yields fewer resources than recycling after the raid, so craft only what is needed now and save the rest for later efficiency.
Read Item Descriptions—They Hide Powerful Uses
Many seemingly “junk” items have clutch applications. An ARC Battery can act as a small Shield Cell for quick mid-fight recharge. A Snitch Core can call in an ARC strike that wrecks enemies and the environment—use with care.
Some items double as grenades when thrown; others are quest-critical or break into high-value crafting fodder. Descriptions often hint at uses and recipes; slow down and read them.
Build a Deadly Kit: Weapon Draw Times, Levels, and Attachments
Weapons have unique swap speeds. A heavy hitter like the Pharaoh pairs well with a fast-drawing sidearm for a clean punch-finish combo. Guns also have individual levels and rarities from gray to gold; leveling improves handling, magazine size, reload speed, and more.
Certain upgrades are transformative: the Rattler can essentially double its magazine size at higher tiers. Attachments level up, too, and a blue or purple grip dramatically calms recoil. Not every weapon accepts every attachment, so learn compatible builds.
Master Inventory Weight, Space, and Safe Slots
No Tetris here—each item takes one slot—but weight still matters. Extra weapons are heavy; dropping a spare gun can free crucial kilos during a desperate Exfil sprint. Larger backpacks increase capacity but reduce safe slots for protected loot.
If you are carrying rare items you cannot lose, do not overpack. Use attachment slots as hidden space by parking attachments on weapons rather than clogging bag slots. Materials like Agave and Fabric can sit in consumable quick slots to free your main inventory.
Learn Raid Timing and Server State at a Glance
Check the raid timer as soon as you deploy. Thirty minutes suggests a fresh server with untouched loot. Fifteen minutes often means mid-raid chaos with bodies to scavenge and squads rotating for Exfil—perfect for intercepts. The later a raid runs, the more respawns and fresh raiders you can encounter, so expect action to snowball rather than taper off.
Upgrade Shields Mid-Raid, Loadouts Out of Raid
You can swap your Shield on the spot if you find a better one, but increasing backpack size or changing your primary loadout requires extraction. Make sure your starting rig is dialed before dropping, and be realistic about what you can change mid-mission.
Extract Even When Downed
While downed, you can still crawl at a decent speed. Reaching an extraction console allows you or a teammate to call the elevator and Exfil even without a revive. If your screen fades to black, it is over, but until then, take advantage of mobility and get out.
Defibrillators Enable Wild Social Plays
A Defibrillator can fast-revive teammates and even revive enemies. With proximity chat, this opens up bargains, traps, and uneasy truces. Whether you show mercy or bait a rescue is your call—but the tool makes both possible.
Style With Purpose: Modular Cosmetics
Outfits are modular, not just skins. Hats, goggles, and scarves can be removed to fine-tune your look. Third-person design puts cosmetics front and center, so customize for visibility and comfort as much as style.
Your Base Is the Backbone of Progression
Upgrading the Hideout—especially the weapon bench—unlocks better Blueprints, gear, and crafting shortcuts. Early quests are fine, but prioritize structures that expand long-term power. Do not neglect Scrappy, the friendly chicken that passively gathers scrap outside of raids and cushions losses when things go wrong.

Harvest Early: Herbs, Lemons, and Stash Space
Gather Agave, fruits, and quest plants early; healing items and progression gates depend on them. Even Lemons tie into key upgrades. Expand stash capacity immediately via the plus icon in the stash view so valuable extractions never go to waste.
Spend Talent Points Where Movement Matters Most
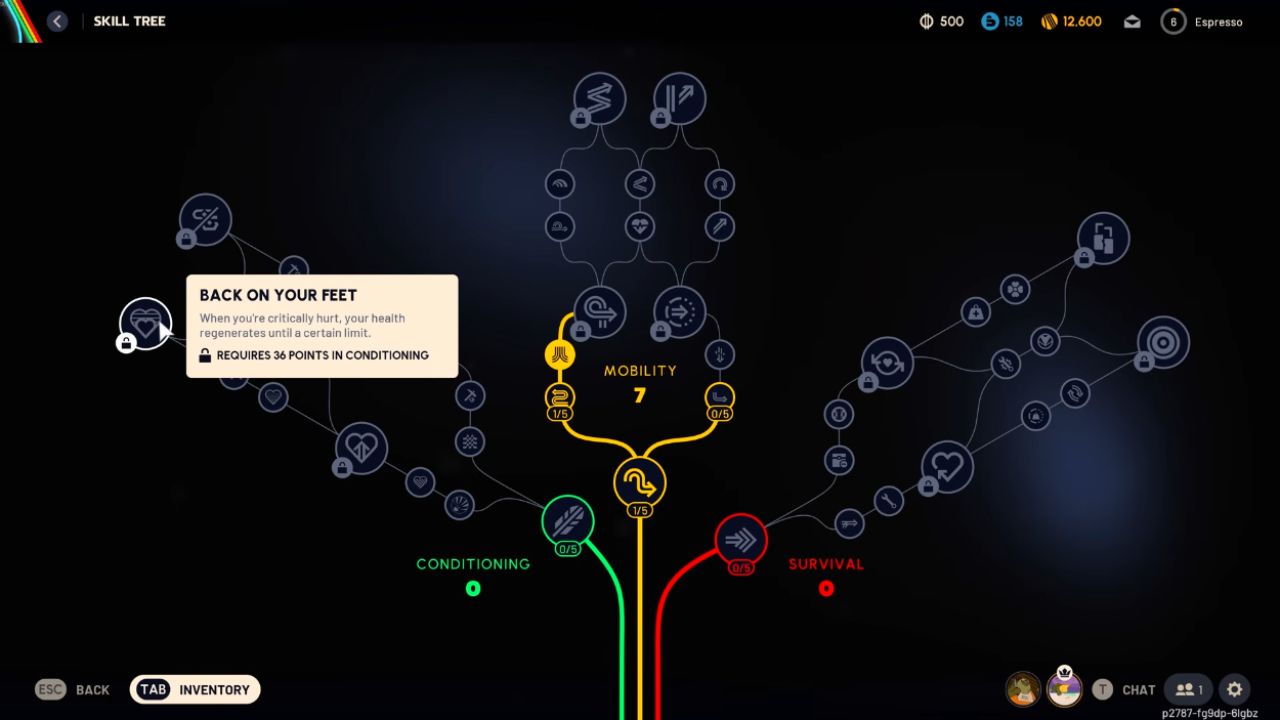
The Talent Tree is generous but finite. Stamina, traversal, and chase/escape upgrades pay off in every raid by enabling better flanks, faster resets, and safer Exfil. Loot-speed perks are tempting, yet movement often decides who lives long enough to spend loot at all.
Calibrate Expectations if New to Extraction Shooters
ARC Raiders offers chaotic, large-scale extraction action without the extreme micromanagement of games like Escape from Tarkov. It is still punishing, tactical, and deeply rewarding once weak points, audio cues, rotations, and Blueprint progression click. Stay alert, stay tricky, and always check a Bastion’s back.
Also, check our ARC Raiders Review and other guides below:
- ARC Raiders Guide | How to Beat Every ARC Enemy
- ARC Raiders Guide | How to Get Overpowered Early
- ARC Raiders Guide | Best Skill Tree Passives & Level 75 Build Path
- ARC Raiders Guide | Top 10 Advanced Tips & Tricks
- ARC Raiders Guide | How to Level Up Fast (Best XP Farming Methods)
- ARC Raiders Guide | How to Complete the Harvester Event & Get Legendary Blueprints
- ARC Raiders Guide | How to Win as a Solo Player
- ARC Raiders Guide | How to Level Up Scrappy Fast
- ARC Raiders Guide | How To Dominate PvP
- ARC Raiders Guide | Dam Control Tower Key Location & Safe Extraction Route
- ARC Raiders Guide | Dam Surveillance Key Location & Room Access
- ARC Raiders Guide | How to Complete A Symbol of Unification Quest
- ARC Raiders Guide | How to Complete Untended Garden Quest
- ARC Raiders Guide | Best Money Farm Routes (Fast & Safe)
- ARC Raiders Guide | Dog Collar Location
- ARC Raiders Guide | Best Talent Tree Builds for PvP & Loot
Contributor, NoobFeed
Latest Articles
No Data.