
ARC Raiders Guide | Top 10 Advanced Tips & Tricks
Master the loot economy, maps, loadouts, skills, stealth, and extraction to win more raids.
Game Guide by Faviyan Mustafiz on Nov 01, 2025
Arc Raiders is a tense PvPvE extraction shooter where you scour the rust belt for valuable gear, fight the ARC, outmaneuver other raiders, and extract before the clock runs out. This guide turns hard-earned lessons into concise, actionable advice.
Learn how the loot system works, where to find the right resources, how to optimize your loadout and skill tree, how to read sound and visual cues, when to disengage from overwhelming ARC threats, how to move smart, how to use items properly, and how to extract without losing it all.
Whether fresh out of the tutorial or pushing late-game crafting, you will find the essentials here to survive topside and bring the best haul back to Speranza.
Understand the Loot Economy
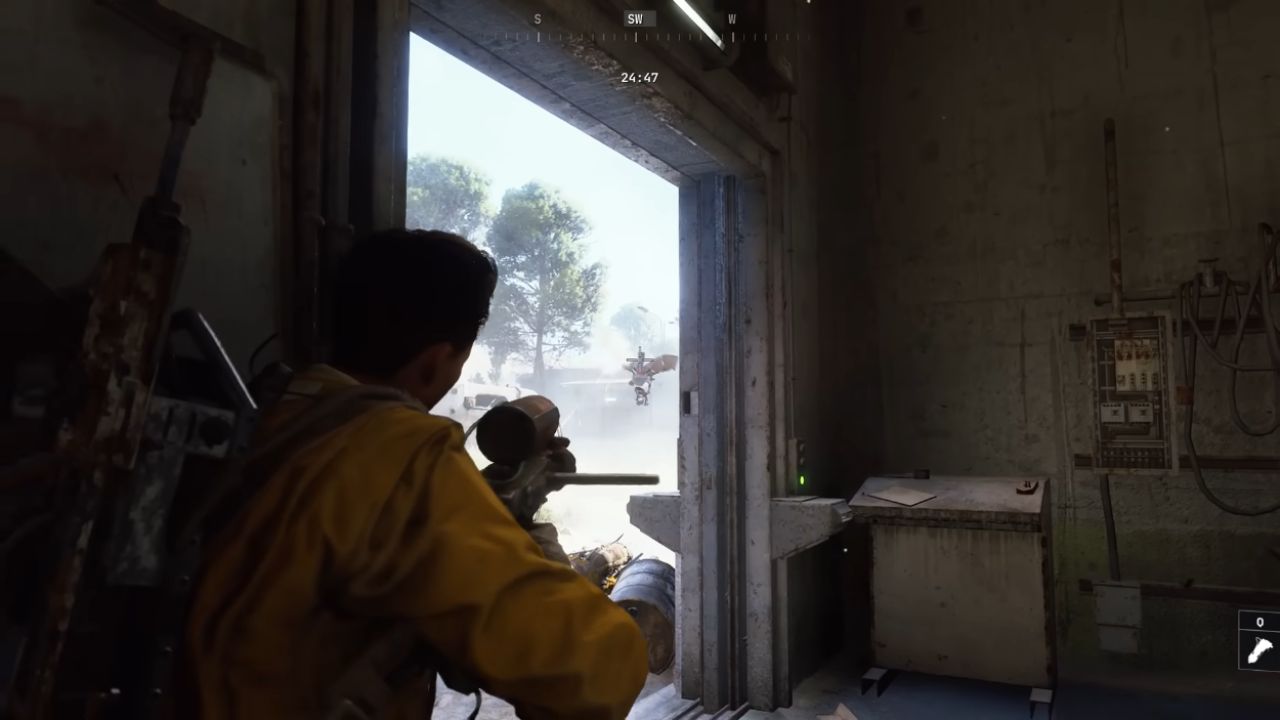
Rarity follows familiar color rules: common is white, uncommon is green, rare is blue, epic is pink, and legendary is yellow. Item corner icons explain purpose at a glance.
A Wrench icon signals a material you can recycle for crafting. Keys open high-value areas and enable stealth extractions. A Plus icon marks consumables that replenish health, stamina, or shields.
A Jewel icon denotes valuables you can sell for coins or sometimes spend on random upgrades. Coins fund purchases from Speranza vendors, each with different wares and quest lines. Completing vendor quests levels them up, unlocking better items, so even common materials can be top priority depending on your current crafts.
Track craftable items in the Workshop to highlight needed resources during a raid, and check in with Scrappy the Rooster for periodic material drops that save time. Expect to build and upgrade Workbenches for higher-tier gear.
Among the most valuable finds are Recipes—legendary, book-icon drops that let you craft high-end Weapons, Tools, Traps, and Shield Components. If you see one, put it in a safe slot immediately; it’s vital for late-game progression.
For component lookups and recipe references while planning, community databases like ARDB.app are helpful.
Read the Map Like a Pro
Launch maps share common logic. The left panel shows tracked quests and Recipes; the right panel legend lists Cargo Elevators (extraction), Raider Hatches (key-based stealth extractions), ARC Probes, Field Depots, and themed loot types (Nature, Industrial, ARC, etc.). The center map marks extractions with timers—watch them, because once a point closes you must rotate.
Color shading telegraphs loot density: white indicates scarce, yellow decent, red abundant—and higher danger. Red zones attract tougher ARC patrols and other raiders, but they pay out.
On Dam Battlegrounds, specific points of interest like a Baron Husk can anchor high-value routes; learning these POIs and their surrounding sightlines dramatically improves survival.
Build a Smarter Loadout
Two weapon slots, one Armor slot, Augment slots, a Backpack (up to 10 items), six Quick-Use slots, and Safe Pockets define your kit. Know ammo matchups. Light Ammo pairs with SMGs and light handguns—great in close quarters, weak versus ARC armor plating.
Medium Ammo (assault/battle rifles) is balanced, with some armor effectiveness. Heavy Ammo (snipers/hand cannons) excels against ARC and shields at range but stacks small. Shotgun Ammo can work versus armor in close fights.
Energy Ammo powers the Equalizer—a legendary beam rifle extremely effective against ARC plating and limbs. Light Shield grants a basic buffer; Medium Shield increases mitigation with slight speed loss; Heavy Shield offers the most charge and resistance with substantial speed penalties.
Higher-tier shields require Raider Augments; legendary augments can also expand Backpack, Quick-Use, and Safe Pocket capacity. Safe Pockets preserve their contents on death—reserve them for Keys and Blueprints. A Free Loadout exists for resets but lacks augments and safe pockets; use it to bounce back, knowing nothing will be saved.
Spend Skill Points Wisely
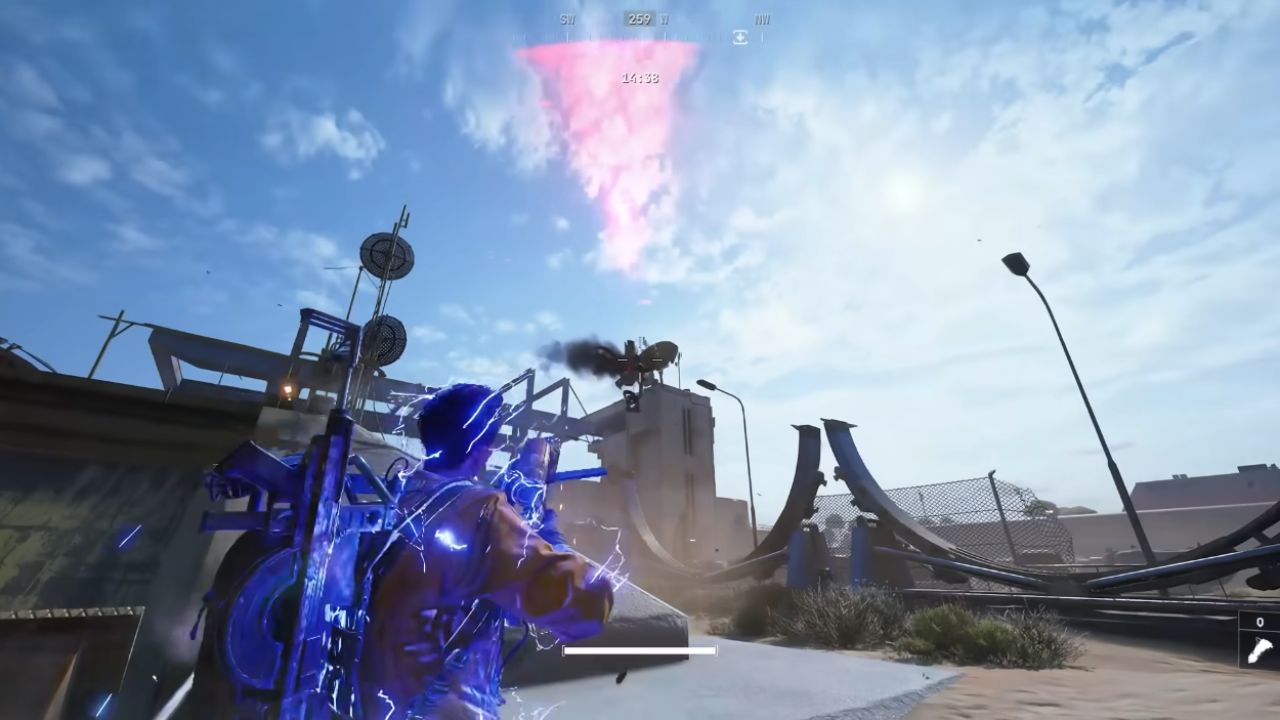
You earn skill points to invest in three trees with roughly 45 total skills: Conditioning (stamina, strength, endurance), Survival (healing, crafting, stealth), and Mobility (movement speed, climbing, dodging).
Many skills can be ranked multiple times, and major nodes demand prior investment. Foundational picks include Youthful Lungs for maximum stamina, Good As New for stamina regen under healing, Calming Stroll for walking-state stamina regen.
They also include Nimble Climber for faster traversal, Survivor’s Stamina for regen when critically hurt, Carry The Momentum to sprint for free after a dodge roll, Minesweeper to defuse explosives, Looter’s Instincts to reveal loot faster, Security Breach to open security lockers, Flyswatter to one-hit drones like Wasps and turrets, and Unburdened Roll to get a free dodge after a shield break. A balanced spread across the three trees pays off early; then specialize.
Master Sound and Visual Cues
The world constantly broadcasts information. Tiny security cameras trigger alarms when you enter line of sight unless you destroy or leave them. Turrets are louder, fire back, and draw attention.
Metal Detectors, Car Alarms, and similar traps create noise that telegraphs presence—for you and for enemies. Consider leaving some intact to act as perimeter tripwires while focusing on objectives.
ARC Probes often have alarms; firefights against PvE units are noisy by default. Environmental tells matter: flocks of birds spook, metal flooring amplifies steps, and breaching doors is extremely loud.
Extraction elevators blare alarms on approach and summon. In fights, there are no hit markers; flashes mean shield hits, while small blood clouds signal health damage. Downed raiders fire a flare—loot fast because nearby enemies will notice.
Treat the ARC Like They’re Dangerous (Because They Are)
Know when to disengage. Early on, some enemies simply out-muscle your kit. Bastions, Rocketeers, and Bison can overwhelm you even in a team. The towering Queen demands specialized gear, plentiful heals, and strong ammo economy; without those you risk a wipe.
Encounters are risky not only because of raw damage but because long fights invite third parties. Instances last 30 minutes, but you won’t always spawn at the start; over-long brawls can cost the extract window entirely.
When the timer ends, you die—plan engagements around extraction timing. Use proximity chat strategically to de-escalate or to band together against overwhelming ARC threats, and complement voice with pings for precise team communication.
Move With Purpose

Stamina management is a core skill. Sprinting, dodging, rolling, and vaulting drain stamina; getting caught exhausted is lethal. Standing still regenerates fastest; walking and sliding also recover stamina, and Calming Stroll makes walking regen act like standing still.
Holster weapons to run faster, and stay under weight capacity to keep mobility. If needed, pop an Adrenaline Shot to fully restore and temporarily boost stamina regeneration.
Against ARC, learn telegraphs; roll-dodging through a laser lock and shot is often the difference between extraction and a body bag. Use Shoulder Swap to peek corners without exposing your whole body—third-person camera position is offset, so swapping shoulders lets you slice the pie safely.
Use Your Items—or Lose Them
Items in your Backpack that go unused are wasted if you die. Beyond core Bandages and Shield Recharges, leverage Frag Grenades to finish fights, Smoke Grenades for repositioning, Traps and Barricades to control space, Zip Lines to traverse quickly, Binoculars for long-range scouting and pinging, and ARC Power Cells (loot them from ARC units) to recharge shields.
Prioritize Health over shields when low; both deplete together, and max shields won’t save you if health is at zero.
Extract Like a Veteran
Extraction happens at Cargo Elevators or with Raider Hatch Keys. At an elevator, activating the panel starts a ~45-second countdown and sets off alarms that pull danger toward you. Take cover and watch angles.
When the elevator arrives, step in and activate the interior panel; the doors take uncomfortably long to close. You can still extract if downed—be alive and inside when the doors seal. Raider Hatches allow stealth extractions without alarms, provided you have a Key.
They work for squads, but the hatch remains open for only about 15 seconds, so enter together. On routes that swing through POIs like a Baron Husk, time your final rotation so an extraction point is still open by the time you arrive.
Pro Tips for Map & Resource Planning

Red-shaded regions promise more loot and more risk; hit them early when the instance is freshest, then rotate through yellow zones to stabilize before extraction. Track Recipes in your Workshop to auto-highlight required materials during raids.
Use community tools like ARDB.tools and ARDB.app for POI layouts, Baron Husk locations, and drop tables to pre-plan efficient runs that match your current crafting bottlenecks.
Also, check our ARC Raiders Review and other guides below:
- ARC Raiders Beginner’s Guide | Gameplay Tips & Tricks
- ARC Raiders Guide | How to Beat Every ARC Enemy
- ARC Raiders Guide | How to Get Overpowered Early
- ARC Raiders Guide | Best Skill Tree Passives & Level 75 Build Path
- ARC Raiders Guide | How to Level Up Fast (Best XP Farming Methods)
- ARC Raiders Guide | How to Complete the Harvester Event & Get Legendary Blueprints
- ARC Raiders Guide | How to Win as a Solo Player
- ARC Raiders Guide | How to Level Up Scrappy Fast
- ARC Raiders Guide | How To Dominate PvP
- ARC Raiders Guide | Dam Control Tower Key Location & Safe Extraction Route
- ARC Raiders Guide | Dam Surveillance Key Location & Room Access
- ARC Raiders Guide | How to Complete A Symbol of Unification Quest
- ARC Raiders Guide | How to Complete Untended Garden Quest
- ARC Raiders Guide | Best Money Farm Routes (Fast & Safe)
- ARC Raiders Guide | Dog Collar Location
- ARC Raiders Guide | Best Talent Tree Builds for PvP & Loot
Contributor, NoobFeed
Latest Articles
No Data.