
Back 4 Blood Guide | How To Kill The Hag Boss Fast
Take down the terrifying Hag in Back 4 Blood before it swallows you whole with smart positioning, teamwork, and the right tools.
Game Guide by Faviyan Mustafiz on Dec 06, 2025
In Back 4 Blood, the Hag is a powerful special Ridden that feels a lot like the Witch from Left 4 Dead, but with its own twists.
When you are moving through a forest or any other map and suddenly hear an incredibly harsh, distorted, and horrifying scream, that sound means a Hag is nearby. It might be ahead of you or even behind you, waiting to attack.
The Hag fills the same role as a roaming horror that can punish careless teams. It can be easier to handle than the Left 4 Dead Witch at times, but only if you and your team understand how it works and stay calm under pressure. Once you know what to expect, you can turn a terrifying fight into a controlled takedown.
When you encounter a Hag, you usually have three choices. You can commit and kill it. You can try to move around it, if the map is wide and open enough.
However, if you leave it alone, it can show up later in the level when you are in a worse position. Your last option is to run away in panic, but that rarely ends well in higher difficulties.
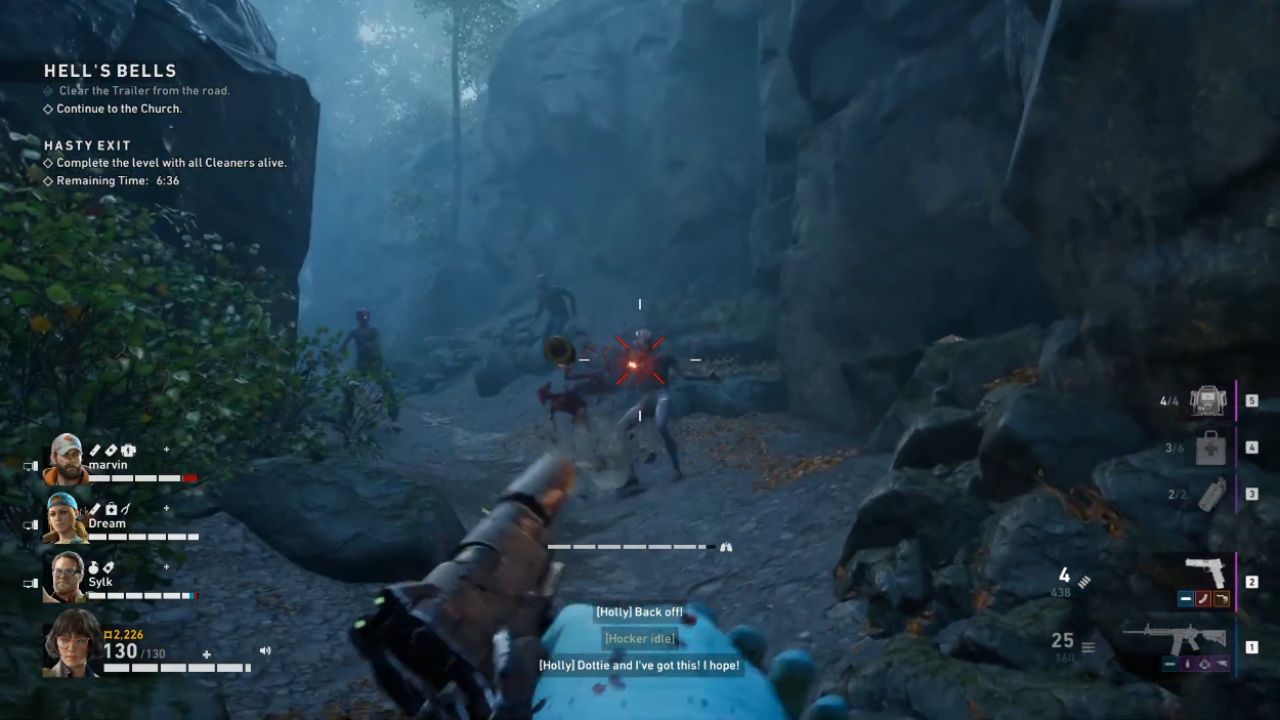
How The Hag Works And Why It Is So Dangerous
The Hag has a very specific behavior pattern that makes it different from other special Ridden. When someone startles the Hag, that first person does not always keep its aggro.
Unlike the Left 4 Dead Witch, where the first person to startle her stays the main target until they are downed, the Hag in Back 4 Blood is more flexible. After being startled, it can switch targets and go after different Cleaners during the fight.
Once the Hag grabs a Cleaner, it will try to eat you. You do not want this to happen. If you get grabbed, your teammates must damage the Hag quickly to force it to spit you out before you are swallowed.
If the Hag manages to swallow you and trap you inside its body, it will then try to burrow underground with you.
If the Hag successfully burrows underground while you are inside it, you die. There is no saving you after that point. On top of this, its regular swipes hurt a lot, so even if you are not grabbed, you can lose a huge chunk of health in just a few hits. This is why positioning, focus, and fast reaction are critical in every Hag encounter.
Preparing The Area Before You Engage The Hag
Before you decide to kill the Hag, you should clear the area as much as possible. Make sure there are no dangerous environmental hazards like flocks of birds that can trigger extra hordes, and look around for any other special Ridden that might be hiding nearby. Taking a few moments to secure the area pays off in a big way.
If you ignore the surroundings and focus only on the Hag, you can easily get overwhelmed by common Ridden and other specials joining the fight.
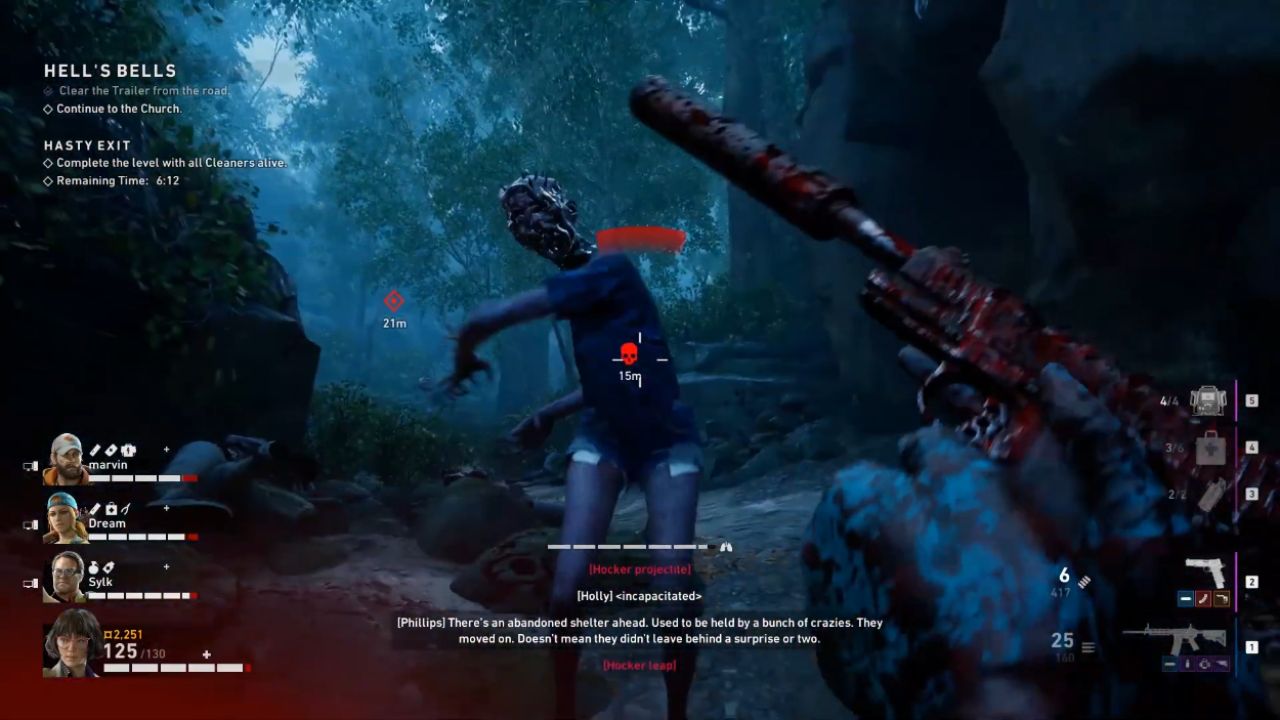
Many teams go all-in on damaging the Hag and forget about its weak spot positioning, which allows other enemies to swarm them. By clearing the area first, you free your team to concentrate on the Hag itself and its weak spot without constant interruptions.
You should also decide in advance where you want to fight the Hag. Choose a space where your team has room to spread out and kite if needed, and make sure everyone knows which direction to fall back to if things go wrong. Good preparation keeps the fight under your control instead of the Hag’s.
Positioning And Team Roles Against The Hag
Once you pick the area where you want to kill the Hag, set up your team’s positions before triggering it. One Cleaner should be the one to draw aggro, often someone positioned toward the back so the rest of the team can already be spread out and ready to shoot the weak spot.
The Hag has a vulnerable weak spot on its back. Hitting this weak spot is the key to killing it quickly. Your goal is to control the Hag’s movement so that at least one or two teammates can consistently shoot that weak spot while another Cleaner keeps its attention.
In practice, this can look like having a point person move forward to wake the Hag, while the others stay slightly to the sides, ready to circle behind it. As the Hag chases its aggro target, the rest of the team can stay on its flanks and back, pouring damage into the weak spot.
Depending on the environment, your exact formation will change, but the core idea stays the same: one Cleaner baits the Hag, everyone else burns the weak spot.
If your team holds these positions and does not panic, the Hag goes down much faster, and the chances of it grabbing and swallowing someone drop significantly.
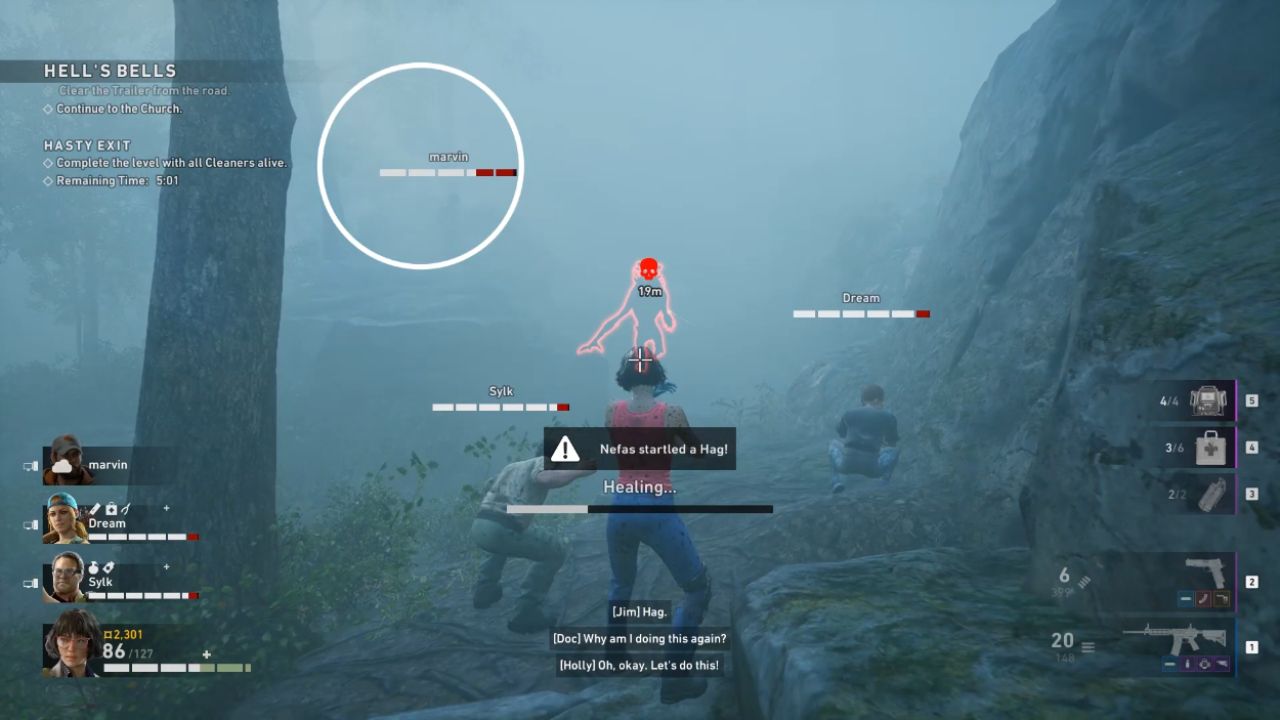
How To React If The Hag Grabs You
Even with good positioning, the Hag may still manage to grab you or a teammate. When that happens, the response must be immediate. As soon as the Hag grabs a Cleaner, the rest of the team needs to focus all damage on the Hag to force it to release its victim.
You should not hesitate or keep shooting at common Ridden at that moment. Saving the grabbed Cleaner is the priority, because if the Hag swallows them and begins to burrow, the fight becomes much more dangerous. If it completes the burrow with someone inside, that Cleaner is instantly dead.
This is where voice or text communication helps a lot. Calling out when you are grabbed, when you see the Hag preparing to burrow, and when its weak spot is clearly exposed keeps everyone focused on the right target at the right time.
Best Items To Use: Flashbangs And Utility
One of the most powerful tools against the Hag is the Flashbang. Many players underestimate Flashbangs because they do not explode like Frag Grenades or spread fire like Molotovs, but for a Hag fight, Flashbangs are extremely strong.
When you throw a Flashbang at the Hag, it stuns the boss. This stun gives you free time to reposition, surround the Hag, and line up shots on its back weak spot.
On top of that, the stun applies a damage debuff to the Hag, which means it takes increased damage for a short time. During this window, your guns and explosives hit much harder.
If your team brings at least two Flashbangs into a level where you expect a Hag to spawn, you can chain stuns and keep it locked down for a long period.
One Flashbang lands, everyone focuses the weak spot, then as the stun ends, another Flashbang goes in to keep the pressure up. With good timing, the Hag barely has a chance to fight back.
While Flashbangs are the star utility item here, other throwables still help. Frag Grenades and Molotovs add extra damage, especially during the stun windows, but if you must choose, prioritize at least a couple of Flashbangs when you know a Hag is likely to appear.
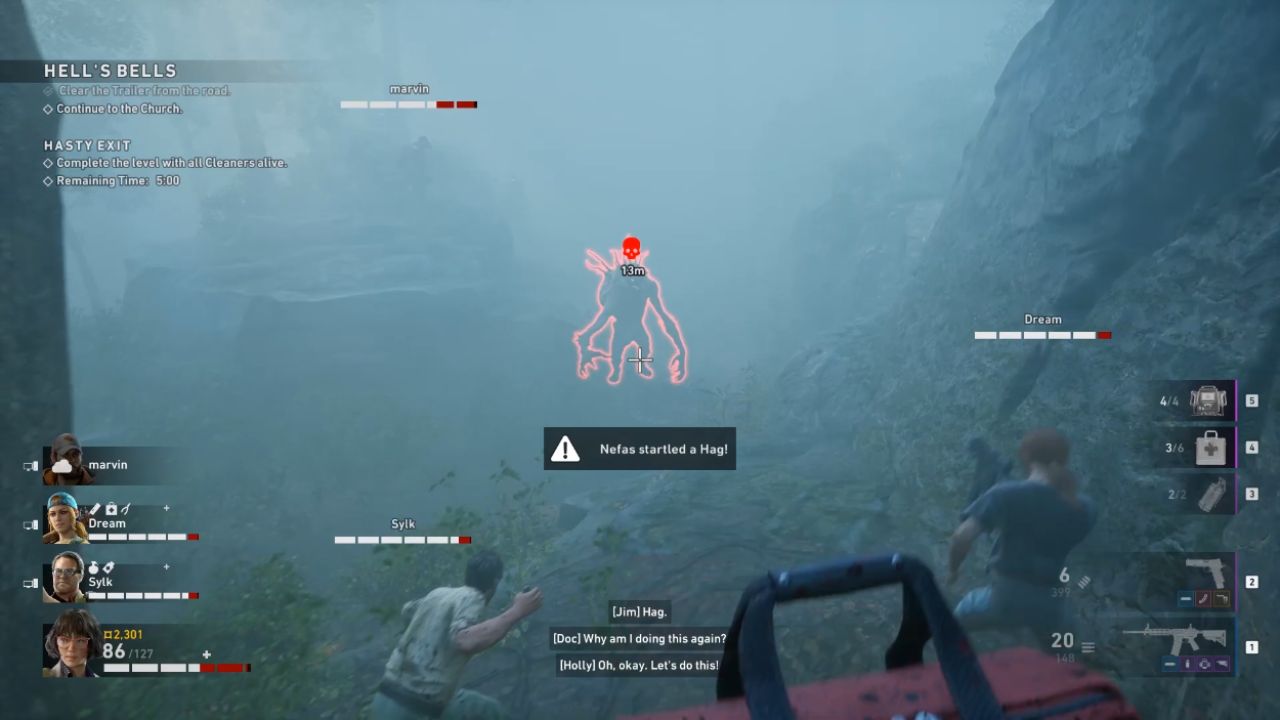
Teamwork And Communication For Consistent Hag Kills
Killing the Hag in Back 4 Blood is always a team effort. Good communication turns a chaotic panic into a smooth, controlled kill. You should call out when you hear the Hag’s scream, decide together whether to fight or avoid it, and agree on where to set up the ambush.
Once the fight starts, keep talking. Call out who is drawing aggro, who is rotating behind the Hag, when a Flashbang is ready, and when someone is grabbed. Even if you are playing with random teammates, a few clear messages can be enough to get everyone on the same page.
With smart preparation, solid positioning, high-focus damage on the back weak spot, and good use of Flashbangs, you can turn the Hag from a nightmare encounter into a reliable source of satisfaction and progress in your Back 4 Blood runs.
Also, check our Back 4 Blood Xbox Series X Review and other guides below:
Contributor, NoobFeed
Latest Articles
No Data.