
Back 4 Blood Guide | How To Beat Veteran And Nightmare Difficulty
Survive Back 4 Blood on Veteran and Nightmare with smart teamwork, strong decks, and clean aim.
Game Guide by Faviyan Mustafiz on Dec 06, 2025
Jumping into Back 4 Blood for the first time feels exciting, but the game’s hardest modes can break even confident shooter fans. The campaign gives you three difficulty choices: Recruit, Veteran, and Nightmare.
These do not line up with the usual easy, normal, and hard scale. Each one plays like it is at least a step above what you might expect. Recruit can already feel rough if your squad does not coordinate.
Veteran becomes almost impossible for disorganized groups, and Nightmare lives up to its name. To clear these higher difficulties without losing your progress or your sanity, you need a focused approach, not just good aim.
This guide walks you through eight key ideas: understanding difficulty, building a proper team, using the best Cleaners and cards, learning every map, handling Ridden mutations, looting smart with Tool Kits, and fine-tuning your aim on console. Follow these ideas and your squad has a real shot at beating Veteran and Nightmare.
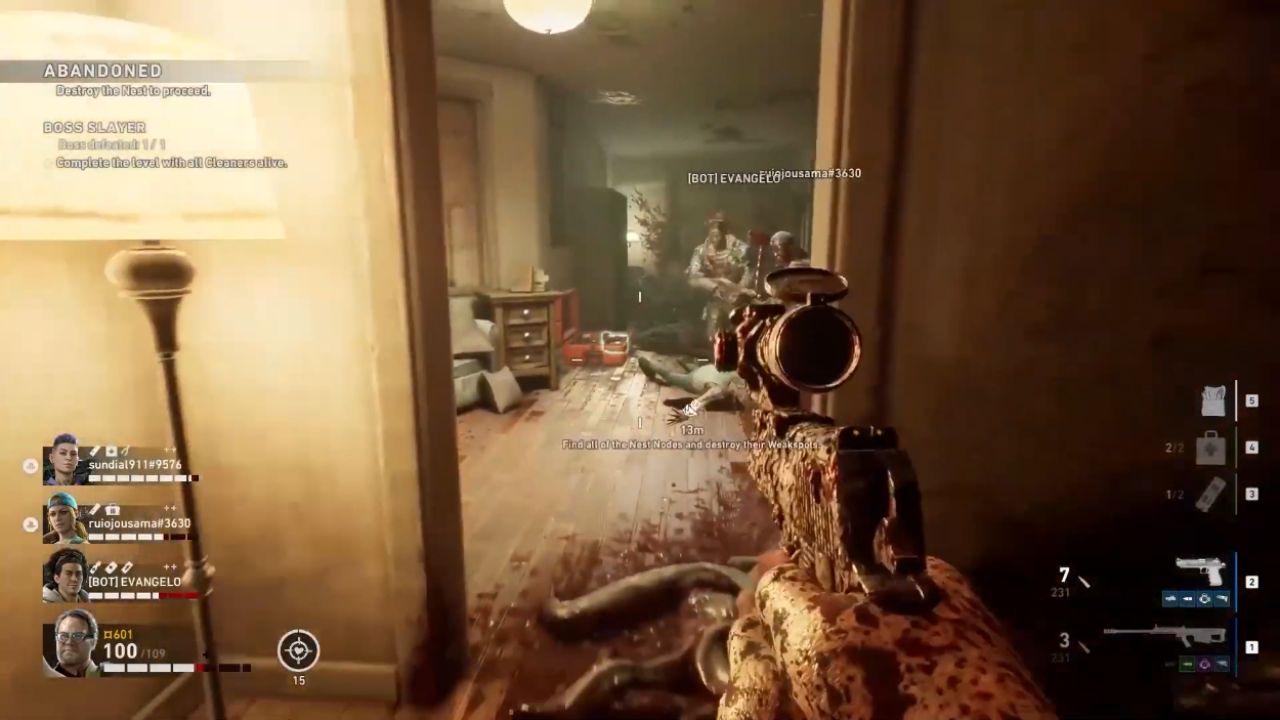
Know How Back 4 Blood Difficulty Really Works
The three main campaign difficulties, Recruit, Veteran, and Nightmare, change far more than just damage numbers. On Recruit, enemies already hit hard if you overextend or split up.
On Veteran, enemy health and damage jump enough that bad positioning or sloppy pathing can wipe a full team. On Nightmare, every mistake feels lethal.
Because of this, you should treat Recruit as a serious warm-up and a farming ground, not a throwaway mode. Use it to learn enemy behavior, map layouts, and objective flow.
Then you can move into Veteran and Nightmare with clear expectations instead of blind trial and error. Understanding that each difficulty plays like “one step higher than labeled” will help you respect every encounter and avoid lazy pushes that get everyone killed.
Use Voice Chat And Communicate Every Second
Back 4 Blood is playable with randoms, but Veteran and Nightmare almost demand clear communication. Running around silently with three strangers makes success very unlikely.
You and your team should use voice chat from lobby to safe room. Call out Ridden spawns, ping Special Ridden, and share your movement plans before opening doors or triggering objectives.
Friendly fire is enabled on higher difficulties and enemy damage is much higher. Small mistakes become deadly when someone accidentally sprays a teammate or walks into a crossfire.
If you do not call your positions, flanks, or retreats, the squad will suffer constant chip damage and sudden wipes. Talk before you push a room, before you open a crate, and before you start big events.
Going in guns blazing with no plan is a bad idea. A calm, loud team beats a quiet, nervous one every time. Do not be the quiet Cleaner who never turns on the mic. Your squad needs your callouts as much as your damage.
Build An Optimal Cleaner Team For Veteran And Nightmare
Every Cleaner in Back 4 Blood has useful perks, but some lineups shine especially bright on the hardest modes. A very strong four-person core for Veteran and Nightmare is: Karlee, Mom, Hoffman, and Jim.
Karlee works well as your point Cleaner. She can sense Special Ridden and environmental hazards, which helps you avoid ambushes and traps. She also gets an extra quick item slot, letting her carry more utility like stun guns, Tool Kits, or extra grenades.
Mom acts as a safety net. Her free instant revive can save a run that would otherwise end on the spot. She also brings an extra support inventory slot, so she can carry an additional med kit or bandage and keep the team topped up between fights.
Hoffman excels at resource control. He has a chance to spawn ammo whenever you kill a Ridden, which becomes vital when enemies are tankier and every bullet matters.
On top of this, he gets an extra offensive item slot. More grenades and explosives are perfect for dealing with flocks of birds, tight chokepoints, and elite enemies.
Jim gives the squad serious single-target damage. His damage increases with each precision kill, turning him into a top-tier DPS Cleaner. Give Jim a sniper rifle so he can sit back, pick off weak spots, and delete high-priority threats before they reach the team.

Weapon choices should match these roles. Let Jim hold that high-damage sniper rifle or precision weapon. Put a shotgun or strong close-range weapon on Karlee, since she leads the group and deals with anything that slips through the front.
There are strong substitutes once your card collection improves. Doc looks average at first, but pairing her with healing cards like Medical Expert and Antibiotic Ointment turns her into a powerful dedicated healer.
Holly becomes a melee monster with the right deck. Cards such as Cross Trainers and Slugger help her offset movement and stamina limits, and Vanguard lets her support the team by granting temporary health on melee kills. With the correct cards, these Cleaners can easily replace parts of the core lineup and still keep runs stable.
Farm Cards And Supply Points On Recruit First
To build reliable decks for Veteran and Nightmare, you need a large pool of cards. The default set is not enough to carry you through the entire campaign at high difficulty. That means you must put time into unlocking cards by playing the game and grinding Supply Points.
The good news is this grind is not extremely long. After only a few hours of play, you can already assemble specialized decks that handle the early Veteran maps.
The best path is to play through the campaign on Recruit first. Use this run to gather Supply Points, experiment with different weapons and roles, and get comfortable with the flow of each act.
Once you have a healthy stash of Supply Points, pour them into Supply Lines. These unlock new cards that open up stronger builds. The deeper you go in these lines, the more absurdly powerful some of the cards become. A well-built deck often matters as much as raw aim, especially on Nightmare.
Create Role-Based Decks For High Difficulty
Your in-game role should shape every card choice. If you are the squad’s main sniper or long-range threat, stack offensive cards that boost damage, precision, and weak-spot hits.
If you typically take point and soak damage, you should lean toward health, stamina, and damage resistance cards. There is always a deck that fits your preferred style, but you need to commit to it.
Specialized decks are strong, but advanced decks that mix synergy cards become even more effective. One popular example is a sniper shotgun deck built around the card Two Is One And One Is None.
This card lets you equip a primary weapon in your secondary slot, so you can carry a sniper rifle and a shotgun at the same time. The tradeoff is a weapon swap speed penalty.
On high difficulty, this is manageable if you usually hang back and pick off enemies at range. Quick swapping is less important when you are not constantly diving into close-quarters brawls.
If you still want fast swaps, you can pair Two Is One And One Is None with separate cards that boost weapon swap speed, canceling out the downside. This kind of synergy shows how creative decks can get. Sniper to shotgun, back to sniper, all with high damage and flexible engagement ranges.
Do not forget about defensive and utility cards. Enemies hit extremely hard on Veteran and Nightmare, and you will sometimes get jumped or slammed by surprise.
A few well-chosen cards that add health, trauma resistance, or damage reduction can be the difference between a clutch recovery and a full team wipe. Good decks strike a balance between offense, defense, and utility so you can survive both clean runs and messy ones.
Learn Objectives And Map Layouts Before Pushing Higher
Back 4 Blood objectives look simple on paper, but charging into each map blind on higher difficulties is a quick way to suffer.
You should learn every level on Recruit before attempting them on Veteran or Nightmare. This is even more important if you want to step into Nightmare, where even basic mistakes cascade into disaster.
Pay attention to collectible Supply Points, achievements, and hidden paths while you explore. Useful items often sit in side rooms or secret areas, and some of these are locked behind special doors.

Knowing where these are located lets you plan routes, choose when to detour, and decide when to sprint to the safe room.
For example, early in Act 1 you can find a Minigun that becomes incredibly useful during a scripted horde attack.
By setting up the Minigun before the swarm arrives, you can shred Ridden while saving a huge amount of ammo for the rest of the level. If you stumble into this event without that prep, you may waste grenades and bullets just to survive.
Near the end of Act 1, a sequence unfolds where enemies pour out of a Mine Shaft in classic survival-horror fashion. You need to blow up the area using Explosive Barrels scattered across the arena or your own Grenades.
Knowing this in advance lets you conserve explosives and position them ahead of time. You also get a clear idea of how many Ridden to expect and where they will come from. This kind of map knowledge turns chaotic set pieces into manageable fights.
Understand Ridden Types And Exploit Their Weaknesses
Common Ridden appear in huge numbers but go down fast. They are dangerous mainly when you are caught off guard, stuck in a bad corner, or overwhelmed by a horde. Special Ridden and boss-type enemies are the real threat on higher difficulties. You must learn where to hit them and how to handle them as a group.
The Snitcher should usually be avoided entirely. If you alert it, it will cry out and trigger a horde, which can ruin an otherwise clean run. If you decide to kill it, do so quickly and in a controlled area.
The Tallboy family and similar bruiser types have obvious weak spots, such as the glowing arm. Hit these areas to bring them down faster and keep them from smashing your frontline. Proper focus fire on these weak spots keeps your team from getting pinned or chain staggered.
Large boss Ridden like the Ogre can feel overwhelming at first. Use your first Recruit playthrough to notice where they spawn, when they appear during objectives, and how they behave. The Ogre hates Flashbangs and is very vulnerable to Explosives. Use grenades, offensive accessories, and well-timed flashes to stun and damage it while your team keeps a safe distance.
In high-difficulty runs, knowledge is power. Knowing when boss enemies arrive, how to avoid triggering extra hordes, and which tools counter each mutation lets you stay ahead of the chaos instead of reacting when it is already too late.
Always Carry Tool Kits For Hidden Rooms And Events
Many levels in Back 4 Blood contain locked doors and secret rooms that require a Tool Kit. These spaces almost always reward you with top-tier gear, extra ammo, or clutch items that make the rest of the level easier. On Veteran and Nightmare, skipping them is a big handicap.
Someone on your team should always carry at least one Tool Kit if possible. That early Minigun in Act 1 sits in a locked crate that needs a Tool Kit to open. Later on, there is a memorable sequence that turns part of the level into a heavy-duty lawn-mowing experience. To trigger and fully enjoy that scene, you again need a Tool Kit.
Many other powerful weapons and support items hide behind similar locked entrances. Refusing to invest in Tool Kits means fewer strong weapons, less healing, and fewer chances to swing difficult fights in your favor.
If you choose to ignore them, you are basically opting into a harder version of the game. If you do bring them, your squad will feel the difference in almost every chapter.
Tune Aim Assist And Sensitivity On Console
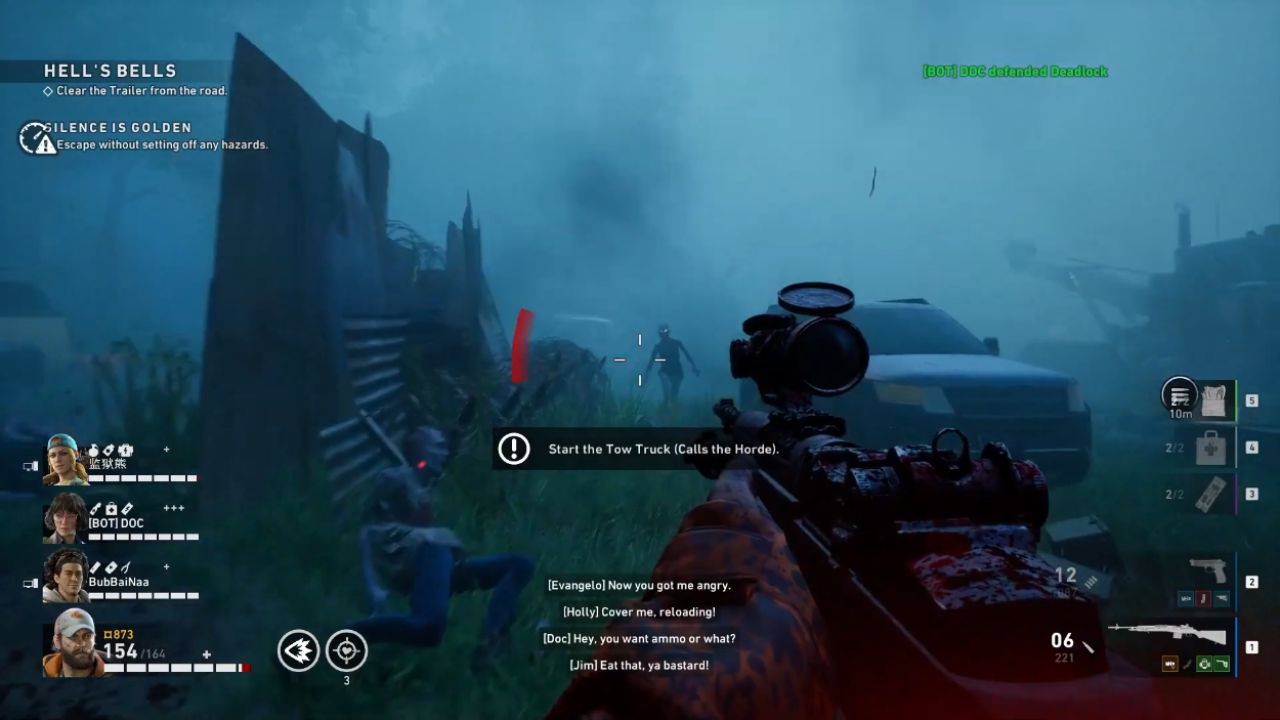
If you play on PlayStation or Xbox, pay special attention to your aim settings. By default, Back 4 Blood uses fairly aggressive aim assist on console. This can be helpful if you rarely play FPS games, but on high difficulty it may feel too strong and slow your reaction to priority targets.
You should experiment with your sensitivity, dead zones, and aim assist strength until the reticle feels natural.
The goal is to track Ridden smoothly, snap quickly to weak spots on Special Ridden, and avoid dragging your crosshair onto teammates. Remember that friendly fire is active on the hardest modes, so a wild burst can chunk an ally’s health just as easily as it chunks an enemy.
Take a few missions on Recruit or early Veteran to dial in your settings. Once your aim feels comfortable, you can focus on positioning, callouts, and card synergies instead of fighting your own controller.
Clean settings plus good communication and smart decks give you everything you need to push through Veteran and make serious progress into Nightmare.
Also, check our Back 4 Blood Xbox Series X Review and other guides below:
Contributor, NoobFeed
Latest Articles
No Data.