
Death Howl Guide | How Each Stats Work
Here's a guide on how each stats work in Death Howl.
Game Guide by Ragib Rawnak on Dec 21, 2025
Understanding how stats and actions work in Death Howl helps you predict enemy behavior and manage combat flow. Enemy information, movement rules, and card interactions all influence how each encounter plays out. Knowing how these systems function allows you to decide when to move, when to attack, and when to avoid engagement.
Viewing Enemy Stats
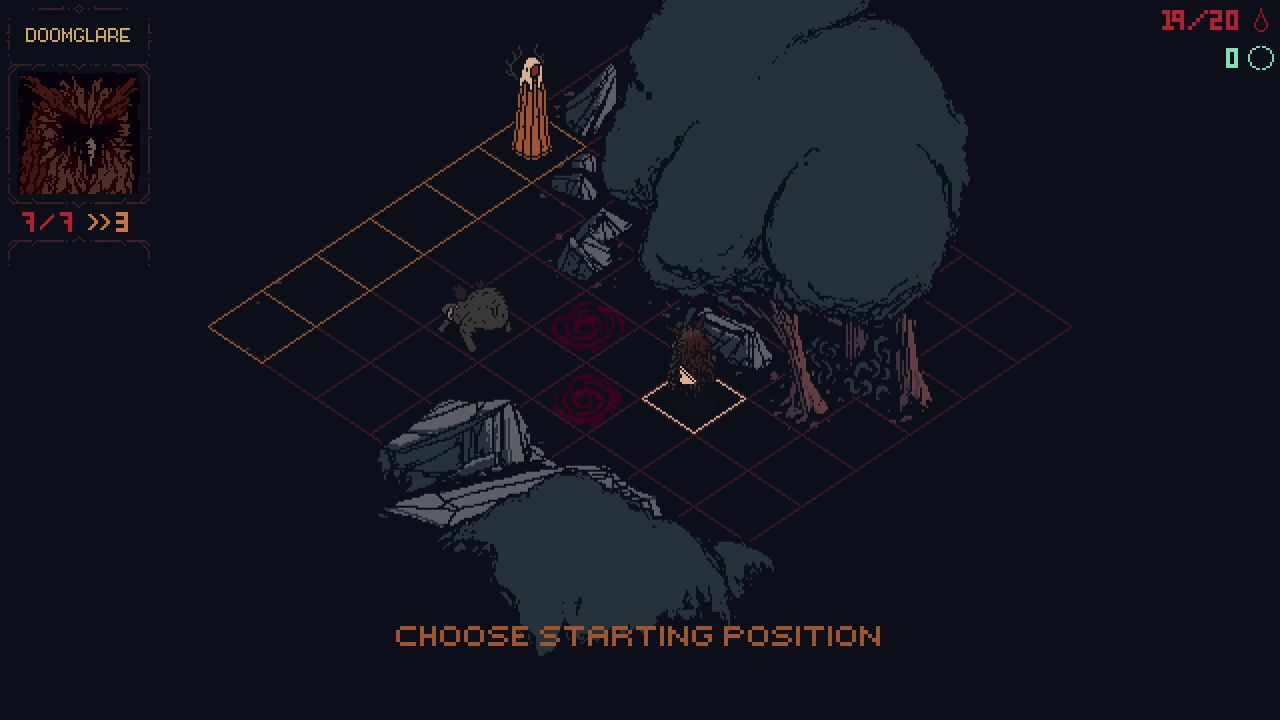
When you select an enemy, its name and information appear in the top-left corner of the screen. Health and movement values are shown directly below the portrait.
Damage values are not displayed. Below these basic stats, you can see the enemy’s abilities. These details give you an outline of what the enemy can do, but they do not fully explain how the enemy behaves in combat.
Enemy stats alone do not describe their full behavior. Many Spirits have more than one attack. For example, the Boar has both standard and strong attacks in Death Howl.
Enemies also follow specific action priorities. The Boar will use its powerful attack if available. If it cannot, it will move toward you and attack if it is adjacent. This movement can put it in a position to execute a strong attack on the next turn.
Some Spirits attack only when you are close and use other actions when you are farther away. Others will attack when adjacent and then move away afterward. Bird-type enemies often follow this pattern and do not remain in melee range.
Movement and Distance Rules
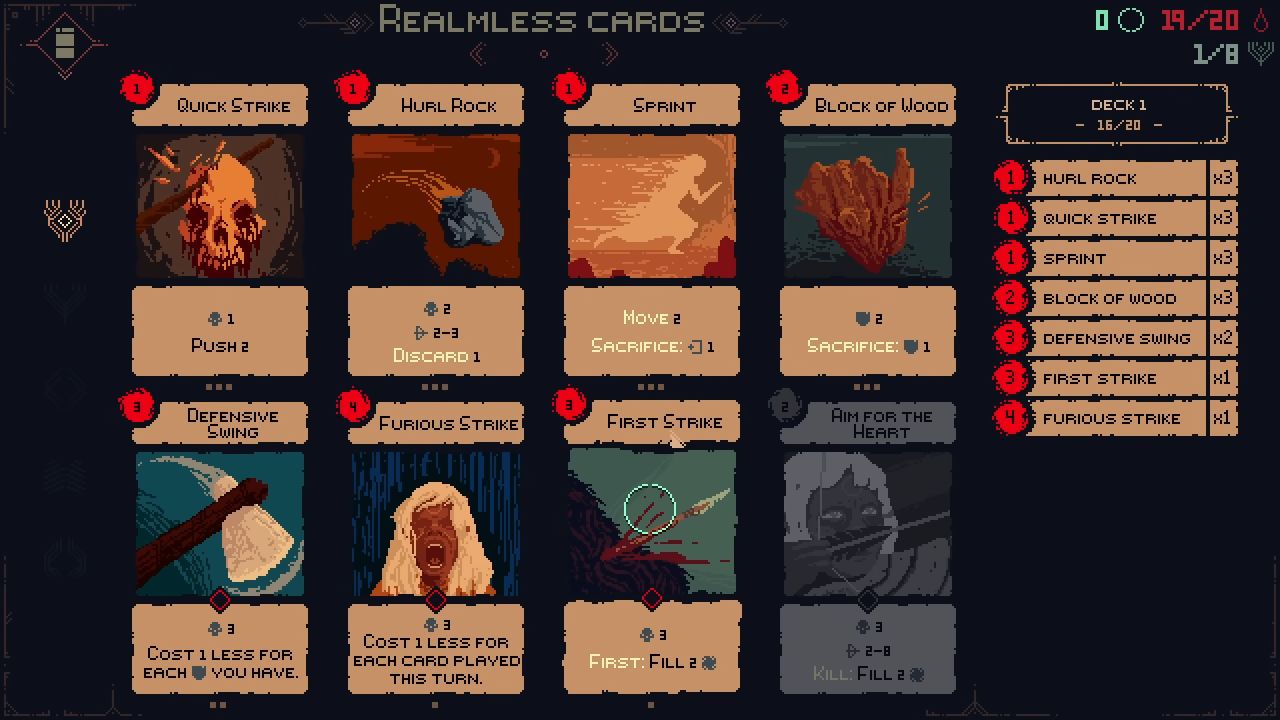
If a creature has a movement stat of three, you must be four tiles away to stay out of its reach. Creatures can attack when they are adjacent to you.
Some enemies have ranged attacks, movement abilities such as jumping or teleporting, or attacks that affect the entire grid in Death Howl.
Certain Spirits will close the distance quickly, making movement important in the first round. Others try to stay at range and rely on abilities that can be more disruptive than direct attacks.
Some Spirits can apply debuffs or deal damage from anywhere on the grid. Because of this, movement is essential in some encounters and less relevant in others.
Card Functions and Synergies
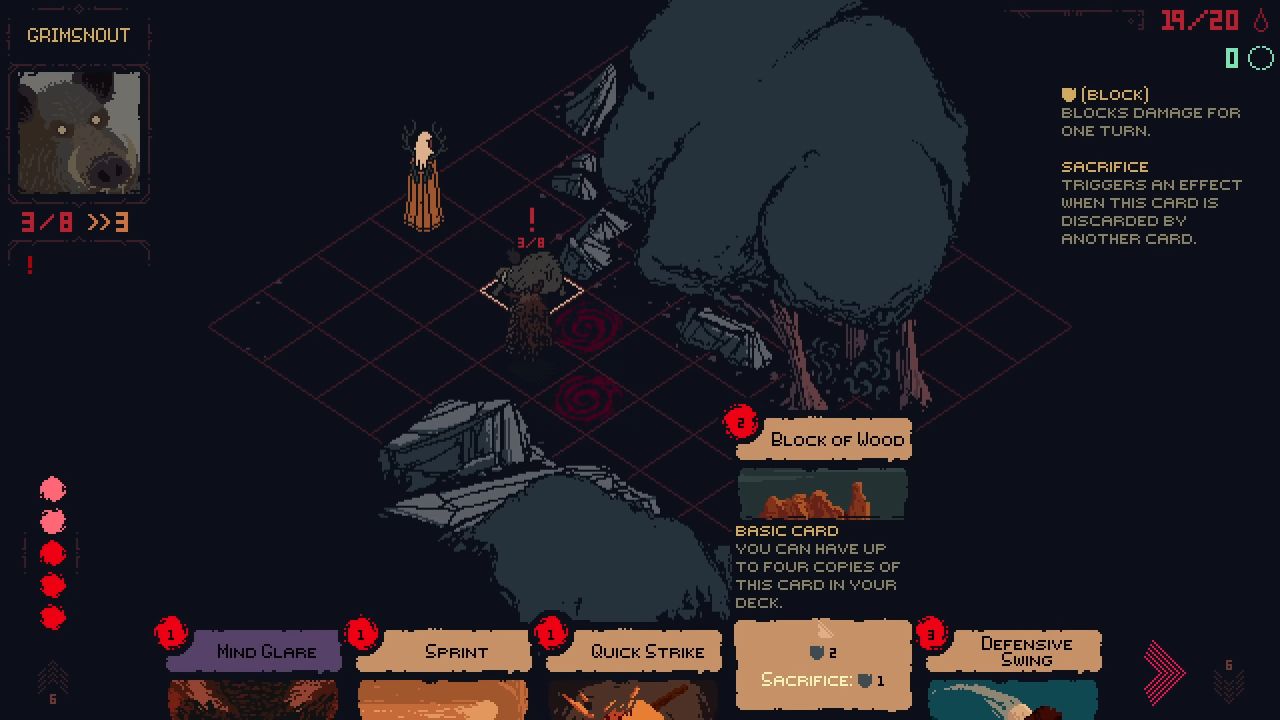
Many cards do not deal damage. Some cards let you draw more cards, some give you a lot of Block, and some allow you move more than one tile for one mana unit. Several cards activate effects when they are discarded.
For example, Blockoff Wood grants a stack of Blocks when discarded as part of another card’s effect. You can use Throw Rock, discard Blockoff Wood to gain defense, and then use Defensive Strike, which costs less mana for each stack of Block you have.
Positioning and Movement Cards
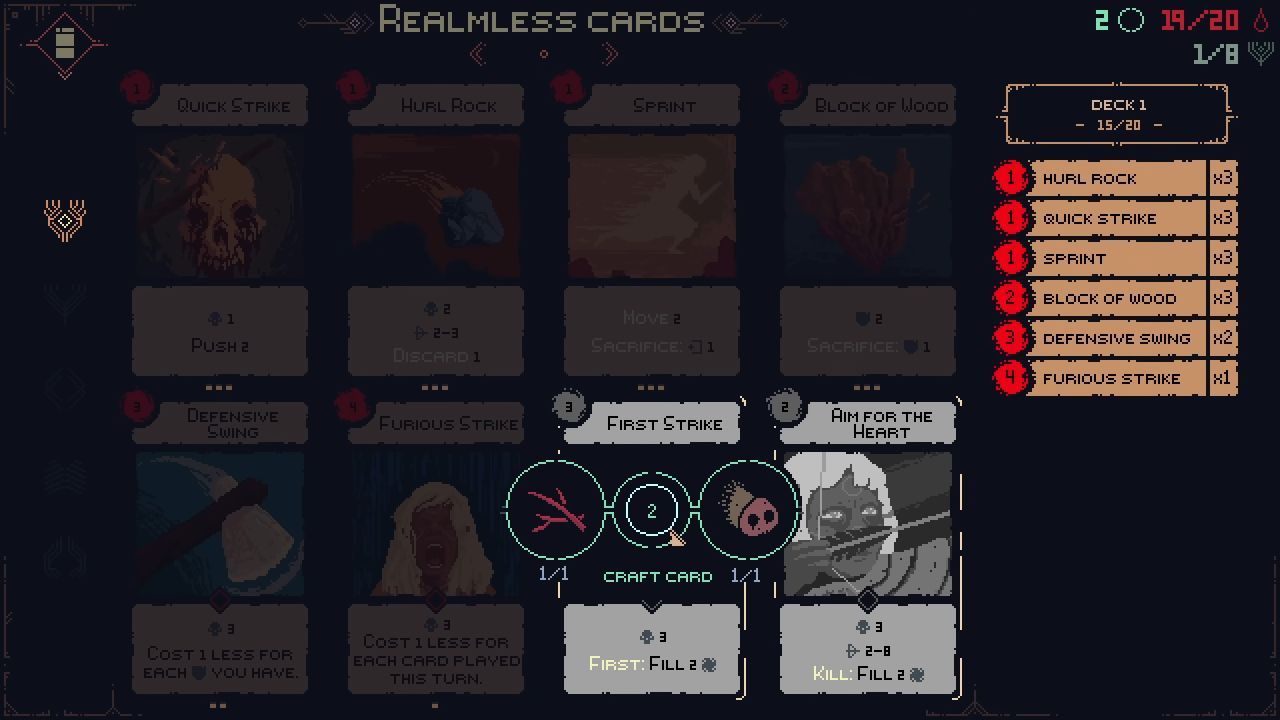
Since positioning plays a significant role in combat, movement cards such as Sprint are sound. Sprint allows you to move multiple tiles for one mana, and its discard interactions can support other card effects. You should avoid using Sprint if you plan to move only one tile, as it reduces its value.
Your decisions should account for the enemy’s abilities, your current health, and your position on the grid. In some situations, it is better to avoid damage and attack in a single move in Death Howl.
In others, it is better to attack multiple times and accept a hit. The correct choice depends on the Spirit you are facing and the tools at hand.
Also, check our Death Howl Review and other guides below:
- Death Howl Guide | How to Master Defense
- Death Howl Guide | How to Heal and Spawn Efficiently
- Death Howl Guide | How to Use Totems and Escape Cards
- Death Howl Guide | How to Advance the Progress Tree
- Death Howl Guide | How to Build a Deck
- Death Howl Guide | How to Place Each Card
- Death Howl Guide | How to Use Flygge
- Death Howl Guide | How to Craft the Best Cards
- Death Howl Guide | How to Navigate the Map
- Death Howl Guide | How to Defeat Elder Spirits
- Death Howl Guide | How to Use Cards Effectively
- Death Howl Guide | How to Defeat Goats
- Death Howl Guide | How to Defeat Enemies
- Death Howl Guide | How to get Buff and Debuff
- Death Howl Beginner’s Guide | Gameplay Tips & Tricks
- Death Howl Guide | How to Master Combat and Positioning
Senior Editor, NoobFeed
Latest Articles
No Data.