
Death Howl Guide | How to Master Combat and Positioning
Here's a guide to mastering combat in Death Howl.
Game Guide by Ragib Rawnak on Dec 21, 2025
Learning Positioning, encounter selection, is necessary to master combat in Death Howl. Each fight gives you power before and during battle, which lets you plan your movements, evaluate your enemies, and choose when to commit.
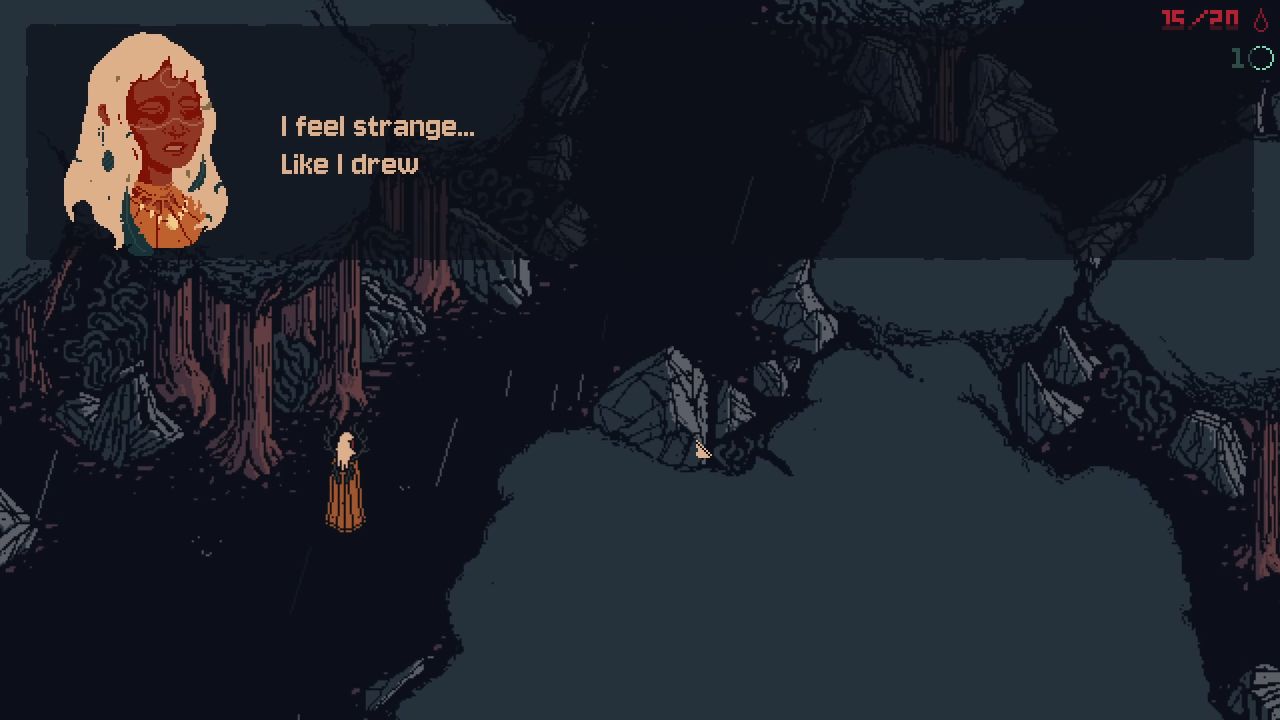
Selecting Encounters
While exploring, you will often find paths that lead to different encounters. When choosing between multiple Spirit encounters or a single Elder Spirit encounter, taking the single encounter can reduce the total number of fights you must complete.
This can help conserve resources over time, even if the encounter itself requires more planning in Death Howl.
Stepping onto an encounter grid does not begin combat immediately. Instead, it allows you to choose your starting tile. You can leave the grid right away without penalty, allowing you to inspect the encounter before starting. During this phase, all creatures in the encounter are visible.
Some encounters allow multiple points of entry. You can move around the encounter to access different sides of the grid, giving you different starting tile options depending on how you want to approach the fight in Death Howl.
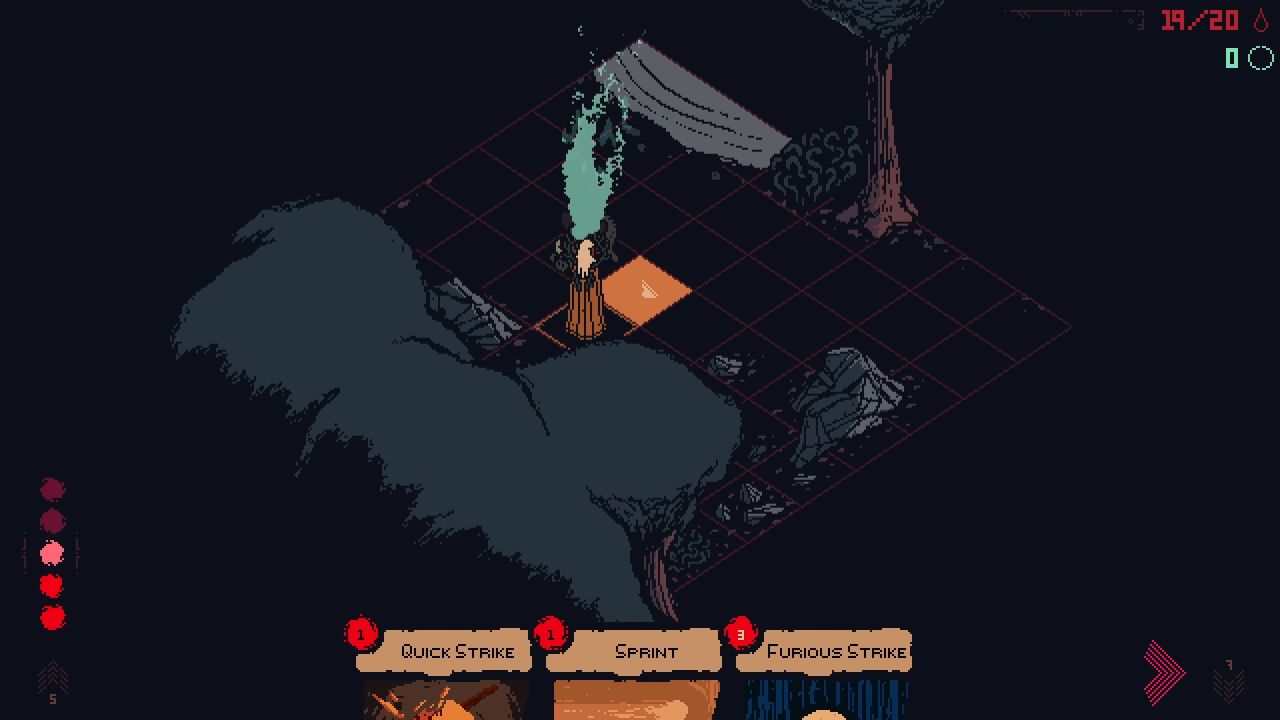
Leaving Combat When Needed
Once combat has started, you can still abandon the encounter. The penalty for doing so is limited in the larger scope of the game. If positioning or enemy behavior becomes challenging to manage, leaving the encounter can be a valid option.
Before choosing a starting tile, you can examine every enemy. You are shown each enemy’s health, movement range, and abilities. This information allows you to decide which targets to prioritize and how to position yourself before drawing your first hand.
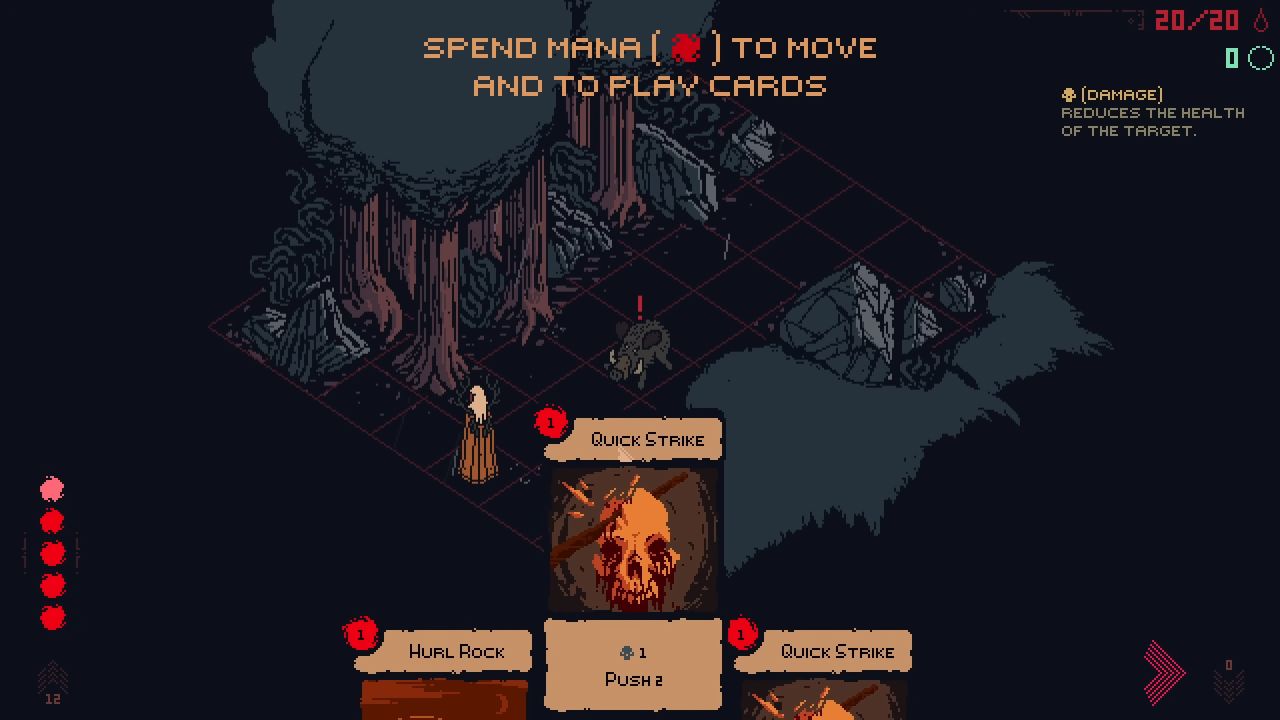
Movement and Attack Rules
All Spirits encountered so far do not move or attack diagonally. This may change later, but current encounters follow this rule. Some abilities ignore positioning, though these attacks are limited in effect.
Most damage occurs along shared rows with your character, forming diagonal and straight-line patterns across the grid. Stones and barriers block many attacks. Some cards deal damage to all adjacent enemies in Death Howl.
Your character does not have a front or back, but some Spirits do. Attacks without a range icon can only target enemies on adjacent tiles.
Most ranged cards require a minimum distance, preventing use on adjacent enemies, though some ranged cards do not have this restriction. Ranged attacks can target enemies behind other creatures, affect multiple enemies within range, hit entire rows, or damage all tiles within a row.
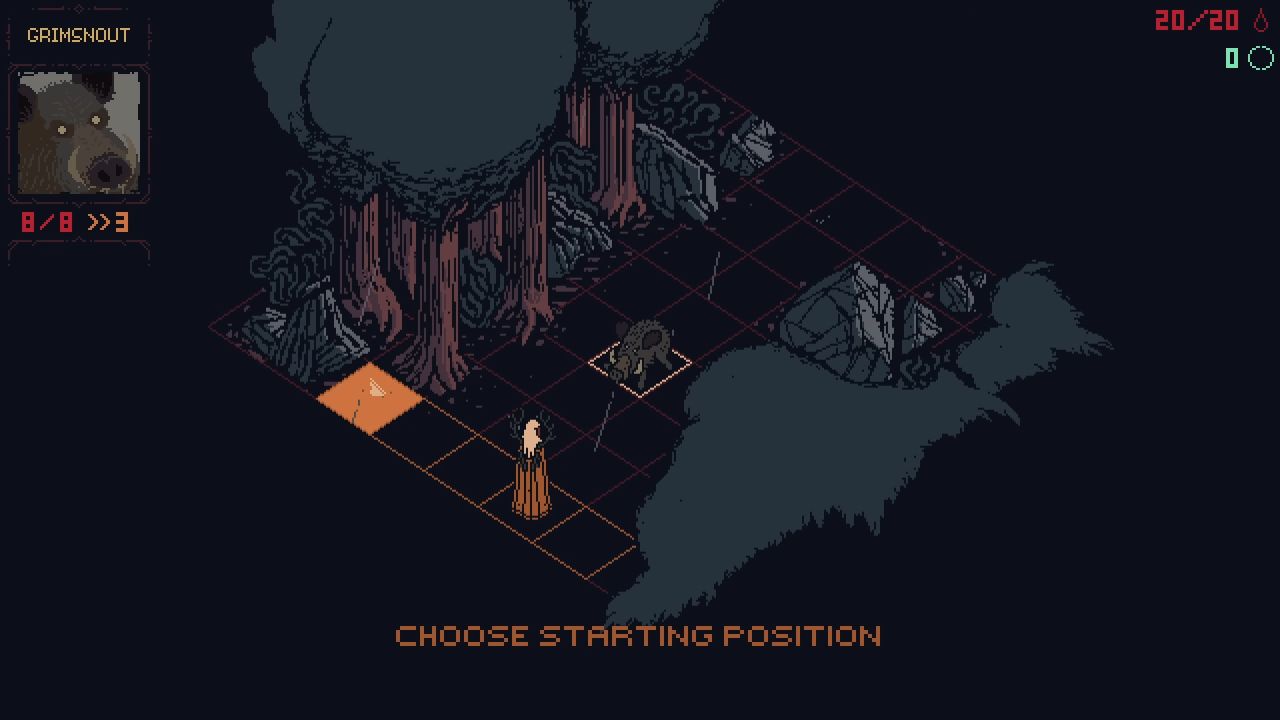
Using the Grid Layout
Each encounter grid has a unique layout. Positioning yourself near walls can reduce the number of enemies that can reach you, though being pushed can increase damage taken.
Some grids include narrow paths that are two or three tiles wide. Depending on your deck and the Spirits present, these paths can be used to control enemy movement and limit how many enemies engage you at once.
Other grids include corners, turns, and enclosed spaces. These layouts allow you to avoid certain enemies temporarily and divide encounters into more minor engagements that are easier to manage in Death Howl.
Also, check our Death Howl Review and other guides below:
- Death Howl Guide | How to Master Defense
- Death Howl Guide | How to get Buff and Debuff
- Death Howl Guide | How to Heal and Spawn Efficiently
- Death Howl Guide | How to Use Totems and Escape Cards
- Death Howl Guide | How to Advance the Progress Tree
- Death Howl Guide | How to Build a Deck
- Death Howl Guide | How to Defeat Elder Spirits
- Death Howl Guide | How to Place Each Card
- Death Howl Guide | How to Use Flygge
- Death Howl Guide | How to Craft the Best Cards
- Death Howl Guide | How to Navigate the Map
- Death Howl Guide | How to Use Cards Effectively
- Death Howl Guide | How to Defeat Goats
- Death Howl Guide | How to Defeat Enemies
- Death Howl Guide | How Each Stats Work
- Death Howl Beginner’s Guide | Gameplay Tips & Tricks
Senior Editor, NoobFeed
Latest Articles
No Data.