

Destiny 2: Renegades Guide | All Praxic Blade Exotic Catalysts Locations & Time Trials
Master every step to unlock the Praxic Blade catalysts fast and clean.
Game Guide by Ornstein on Dec 10, 2025
A new wave of exotic power arrives with the Renegades expansion, and the Praxic Blade sits at the center of it. This guide walks you through every catalyst currently available outside the unreleased dungeon drop, showing where to go, what to hit, and how to avoid the most common mistakes.
The goal is simple: enter the Fire And Ice exotic mission, execute the special mechanics, and walk out with the catalysts that turn an already strong “lightsaber” sword into a monster.

What These Catalysts Do For You
Each Praxic Blade catalyst significantly amps the weapon’s already excellent performance. You gain more damage uptime, better add clear, and smoother boss phases when the mechanics are done right.
You can earn the three currently available catalysts in a single run if execution is tight, though doing so while the timer is active is demanding. Normal or Legendary difficulty can work, but Legendary has proven reliable for drops. If a drop feels buggy, enabling the time trial tends to improve the odds.
Prerequisites Before You Start
You must already own the Praxic Blade before attempting any catalyst steps. You cannot perform the catalyst mechanics in the same run where you initially earn the sword.
When you finish the Renegades campaign, you receive an exotic quest that asks you to take the blade out, get some kills, and then replay Fire And Ice to secure either a blue or green crystal—whichever you did not obtain first.
Knock this out while you chase the catalysts to save time. Knowing the Fire And Ice encounter language—dimension swaps, deposit sites, and Taken oddities—helps a lot since each catalyst expands on those ideas.
Activate The Time Trial (Optional But Helpful)
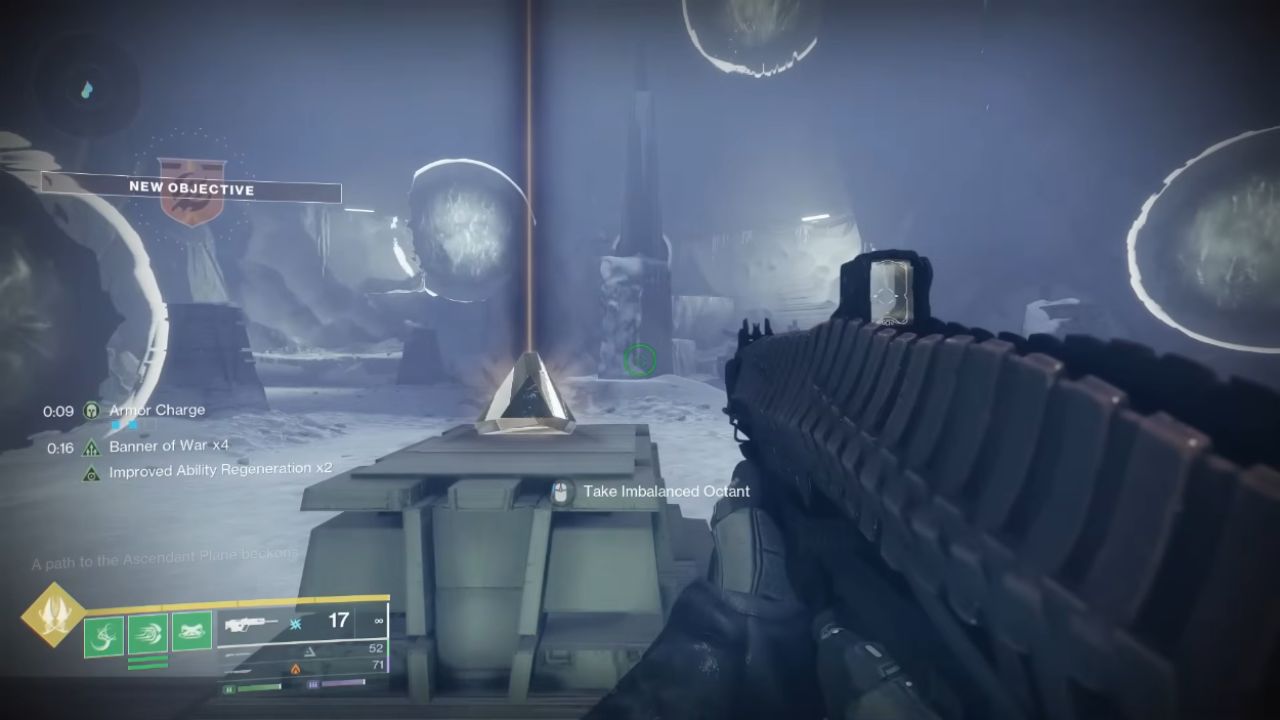
After clearing the opening waves of Taken, move through the portal to swap dimensions. Interact with the new device you see and look for additional objects that were not present on your first pass.
Shoot all of them, but not too quickly in a blur; firing too fast can fail the trigger. Do it clean and a 30-minute timer starts. This timer boosts rewards. It’s not strictly required for catalysts, but many Guardians report better luck with it on. If drop behavior acts strange, the timer often fixes the vibe.
Bonus Power For Your Block: The Spaceport Trick
Visit the Tharsus Spaceport and check the right-hand side as you load in. You may find a Dreg lounging nearby. Buy from this Fallen repeatedly.
Most purchases do nothing, but eventually you receive a Power Core that adds elemental keywords to your blocking ability with the Praxic Blade. This is a small but meaningful boost, especially in sections where blocking through chip damage preserves heavy ammo flow and tempo.
Catalyst #1: Imbalanced Warden Route And Realm Remnants
Before entering the Cabal base in the mission, peel off to the right and then swing left through the side paths. Follow the exterior route and you encounter an Imbalanced Warden—a Taken mini-boss.
Defeat the Warden and watch for the text, “the realm trembles.” Now head to the opposite side of the area. Track down a second Imbalanced Warden and kill it as well. You see the text, “the remnants of darkness persist through time.”
Continue the mission until you trigger the realm inversion cutscene and get shunted back to the original realm. Return to the two Warden sites. You find Taken spheres—Remnants—where the mini-bosses fell.
Use your Praxic Blade to strike both Remnants. Hitting both guarantees the catalyst drop when you finish the run. This is the most straightforward catalyst: two mini-bosses, then two Remnants after the flip, then clear the mission to claim it.
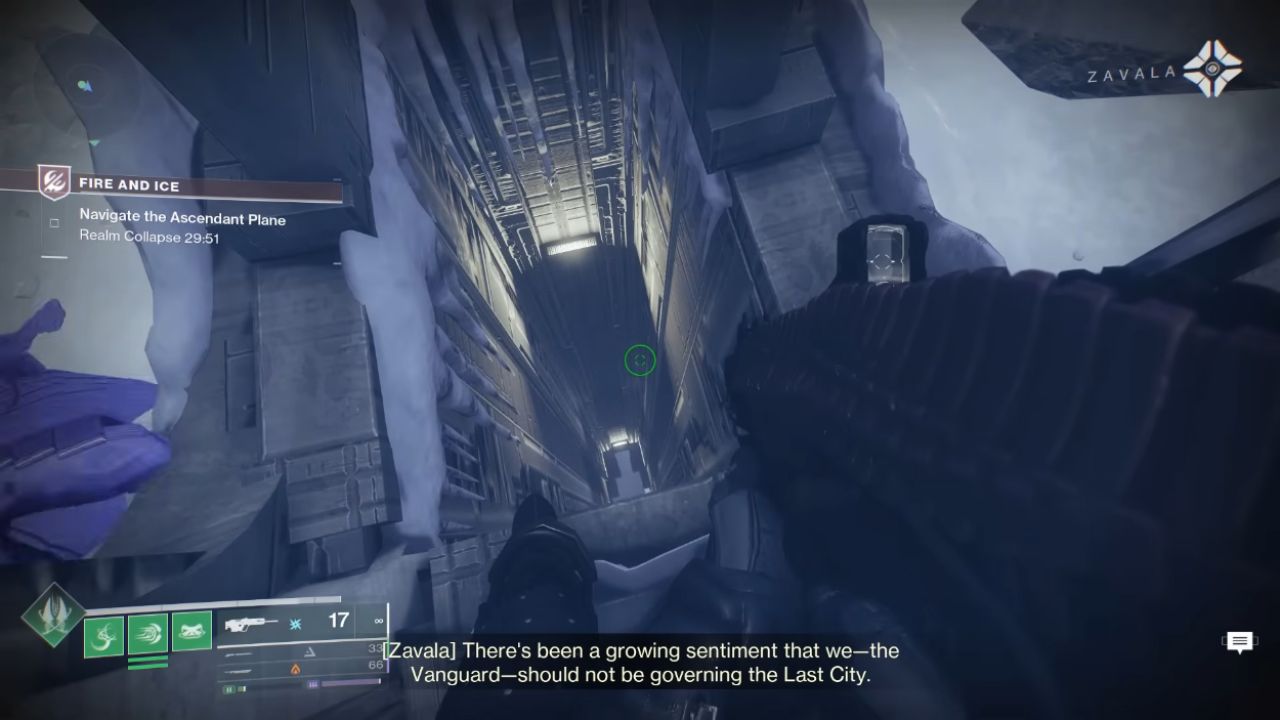
Catalyst #2 (Echoing Blade): Seven Oddities In The Jumping Puzzle
The second catalyst, Echoing Blade, hides seven Taken spheres—Oddities—throughout the jumping puzzle segment. Each Oddity must be struck with the Praxic Blade. You can melee or throw the blade. Keep an eye out for special ammo chests near each Oddity so you can keep throwing.
The first Oddity sits on a ledge partway down the spire descent. Do not drop straight to the floor. Land on the lit ledge, follow the lit path across narrow shelves, and look through a barred “window” to spot the sphere.
You cannot hit it directly from the window. Touch the disappearing rune-blocks along the ledge to open the angle, then stand back and throw the blade across the gap to tag the sphere cleanly.
The second Oddity appears just after that drop. Move to the corner with another rune-block. Activate it, climb to the tight ledge, crouch through the slit of geometry, and snake into the next pocket space. Crouch past a slanted block, turn the corner, and throw or smack the sphere.
The third Oddity hides beyond the long crouch-walk wall with pushers that try to punt you off. Go all the way to the far right edge, even past the visible platform. There’s a tucked-away ledge around the corner that lets you climb into position. Ascend carefully and you see the sphere ready for a quick throw.
The fourth Oddity sits behind a narrow window further on. To reach it, hop onto a small lip, crouch-walk forward, and use a light blade-throw to nudge yourself through the gap onto another micro-ledge. Drop onto a hidden path with more rune-blocks, then open the route and throw the Praxic Blade to connect.
The fifth Oddity is housed inside a ceiling pillar with a hollow cavity. Look for rune-blocks directly above the cavity. One pillar won’t allow a jump; the adjacent one does. Trigger the rune, mantle into a secret room, and aim through a thin slit in the wall to throw the blade at the sphere.
The sixth Oddity is near a set of stairs that represent a break from the vanishing floor. Peer over the edge and find a breadcrumb chain of tiny outcroppings.
The intended solution appears to bounce the blade off a colored diamond into the sphere, but the angle can be inconsistent. A reliable method is to leap as if sacrificing yourself and release a blade-throw mid-fall to tag the sphere before the wipe threshold catches you.
The seventh Oddity crowns the top of the tower. Grapple makes this trivial; without it, inch up the ice-wall lips that barely hold your weight, then wrap around the backside route if needed. At the peak, you see the final sphere in a recessed pocket.
The “double-bounce off colored diamonds” route often fails. Instead, jump straight up, line sight through the tiny opening, and hurl the Praxic Blade at the top of your arc. Expect a few attempts here; this is the tightest check of the set.
Once all seven Oddities are hit, finish the mission. If the time trial is active, stay on pace; the catalyst awards at completion.
Catalyst #3: Overload Every Deposit And Spawn The Ogre
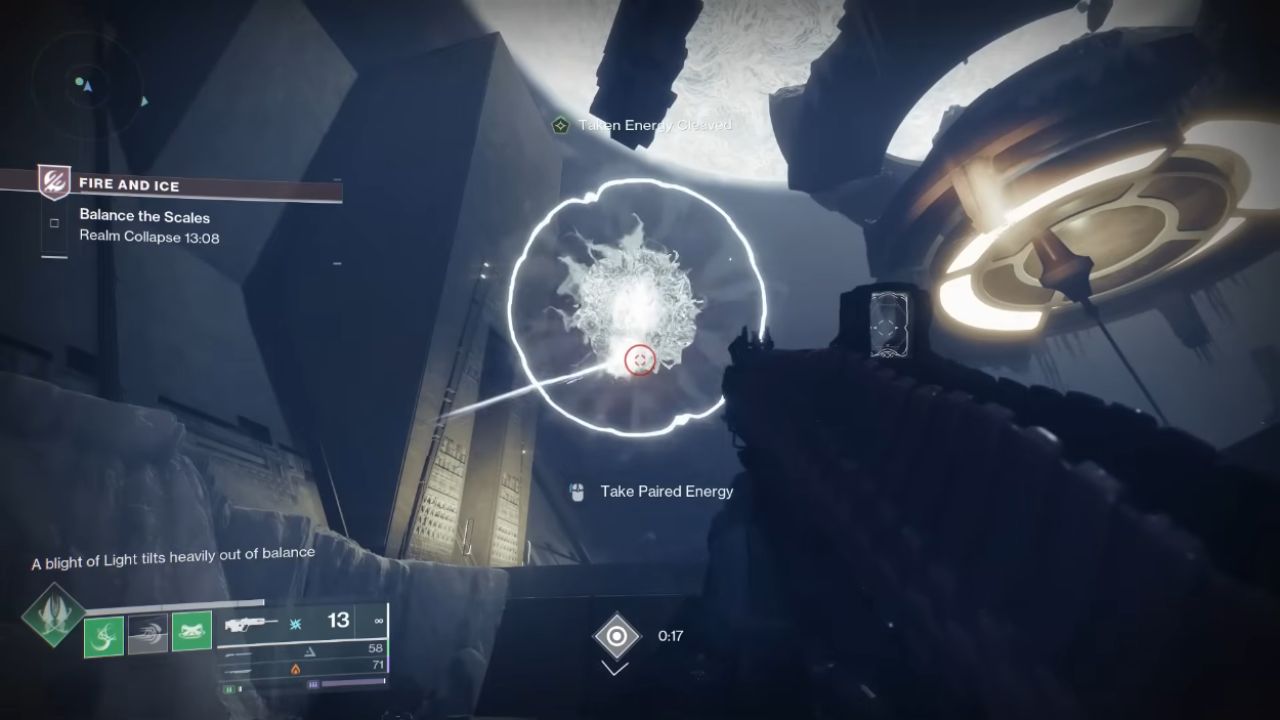
Right after the jumping puzzle sits the encounter with the airborne deposit sites. Normally you balance light and dark energy between the two sides. For this catalyst, you must overload each of the four different deposit holes, one at a time, and you cannot reuse the same hole for multiple overloads.
When you kill a Cleaved enemy that drops a light-aligned orb, feed every light orb you generate into the same light deposit to overload it. Overloading a light hole spawns Cabal mini-bosses. Kill them and a Taken sphere appears on a central pillar; leave it untouched for now.
Next, generate dark (unpaired) orbs by switching spawns and dump all of them into a single dark deposit. Overloading a dark hole spawns a Taken mini-boss in a different corner. Defeat it to pop another central sphere.
Repeat until you have overloaded each of the four distinct holes, fought two Cabal and two Taken mini-bosses, and spawned four central spheres. Now pull the Praxic Blade and destroy all four spheres in quick succession.
Do it fast enough and a special Taken Ogre boss spawns in the arena. Kill the Ogre to see the message that “something has shifted in the Praxic vault.” This confirms the catalyst flag is set for the run.
With the shift confirmed, stop overloading. Return to the normal balancing loop—alternate deposits properly until the encounter completes. Maintain add control and conserve heavy.
Boss Fight Changes: Balance Light First, Then Dark
In the final arena, new light deposit holes appear alongside the usual dark pair that gates the last chunk of the boss’s health. Chip the Cabal boss to the final damage threshold that forces orb spawns. Now prioritize light.
Only one side’s Cleaved enemies spawn at a time, and you must interact with the arena’s activation device to flip which side is active.
Have one runner get the first Cabal kill for a light orb, then intentionally flip, kill the other Cabal, and juggle the timing so you do not waste the light spawns. Avoid having multiple teammates delete both Cabal at once before you flip; that desyncs the flow and forces extra cycles.
Deposit light orbs evenly. Balance both light holes, just as you did in the mid-mission encounter when not overloading. After both light deposits are balanced and locked, switch to dark.
Spawn the Taken side, secure dark orbs, and balance the dark holes. When both dark deposits settle, the boss’s shield drops for the finisher burn. Clear stragglers to keep the arena calm, then execute the final DPS.
Claiming Your Rewards
At the end of the mission, look for the special Praxic Blade chests—the “lightsaber parts.” Interact with them to receive the catalysts flagged by your earlier mechanics.
If you handled the Wardens and Remnants, the seven Oddities, and the four-hole overload plus Ogre spawn, you walk out with everything earned in that run.
If any step feels off—especially with drops—rerun on Legendary with the 30-minute timer enabled. That combination has produced consistent rewards and smooth turn-ins.
Extra Tips For Clean Runs And Better Drop Odds
Ammo economy matters when blade-throwing is required. Use the special ammo crates near Oddities to keep momentum. In the seventh Oddity climb, grapple is worth swapping into your build even if you do not run it elsewhere.
During the overload encounter, call out which hole you are feeding so nobody splits deposits by accident. In the boss room, keep a clear rotation for flipping the spawn device and designate a single runner per side to avoid wasting Cleaved enemy spawns.
If you are chasing multiple catalysts in one timed run, resist the urge to speed-shoot the time-trial targets; clean sequencing beats raw rate of fire and prevents failed triggers.
By following these steps—two Imbalanced Warden kills and post-flip Remnants, seven Echoing Blade Oddities, and the four-hole overload into the Taken Ogre—you lock in every available Praxic Blade catalyst outside the dungeon source.
Each mechanic is repeatable, each failure state is fixable, and the whole route gets faster once the puzzle lanes are memorized. Enjoy the power spike, and keep that block charged with the Power Core trick from the Tharsus Spaceport when you get it.
Also, check our Destiny 2: Renegades Review other guides below:
- Destiny 2: Renegades Beginner's Guide | Gameplay Tips & Tricks
- Destiny 2: Renegades Guide | How to Get the Praic Blade Exotic Sword
- Destiny 2: Renegades Guide | How To Use Heat Weapons (Blasters) Efficiently
- Destiny 2: Renegades Guide | Best Praxic Blade Titan Build (Unkillable Stronghold Prismatic Setup)
- Destiny 2: Renegades Guide | How To Max Syndicates Fast For Tier 5 Loot
- Destiny 2: Renegades Guide | How To Get Praxic Blade & Master The Equilibrium Dungeon
- Destiny 2: Renegades Guide | How To Maximize Weekly Shipments, Vanguard Alerts & Bright Dust
- Destiny 2: Renegades Guide | How To Beat The Renegades Legendary Campaign
- Destiny 2: Renegades Guide | Unkillable Praxic Blade Stronghold Titan GM Build
- Destiny 2: Renegades Guide | New Xur Exotic Weapons & Armors
- Destiny 2: Renegades Guide | How to Beat Equilibrium Dungeon
- Destiny 2: Renegades Guide | How to Farm Vanguard Alerts for Tier 5 Loot
- Destiny 2: Renegades Guide | Everything About Equilibrium Dungeon Contest Mode
- Destiny 2: Renegades Guide | Vanguard Alerts Best Loot Farm (Fast Tier 5 Rewards)
Contributor, NoobFeed
Latest Articles
No Data.