
Mina the Hollower Beginner's Guide | Gameplay Tips & Tricks
Here's a beginner's guide on some gameplay tips and tricks in Mina the Hollower.
Game Guide by Rubaiyat Shihab on Jun 05, 2026
Welcome to Tenebrous Isle, the dark setting of Mina the Hollower, where danger lurks around every corner and errors will be costly. You will have to trust your instincts, be resourceful, and understand the tactics of your adversaries to make it through as a Hollower. Checkpoints are harsh, and will cost you your hard earned money if you die.
This guide will help you to pass through the early hours of your journey, get your build right and to survive the trials ahead.
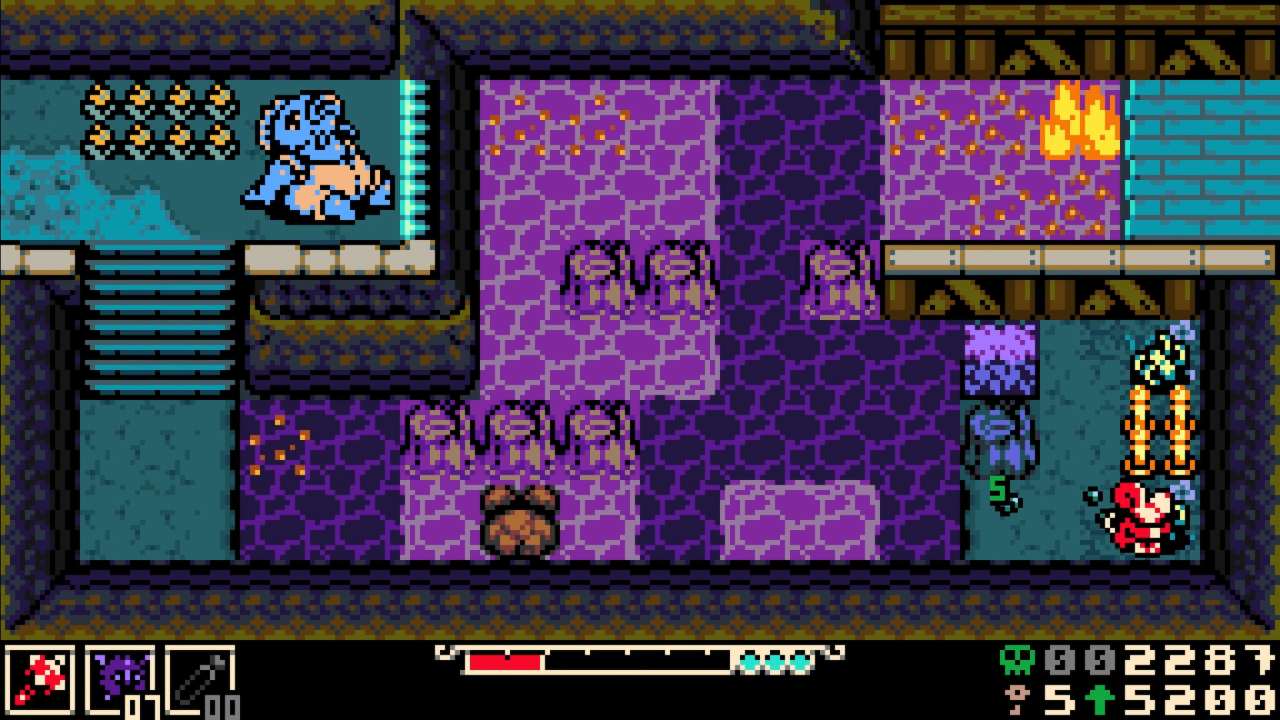
Starting Your Journey in Ossex
You can customize your experience and proceed without getting bogged down in the issues the island presents. For those who wish to explore instead of worrying about currency, there are various options in the settings that can be toggled such as No Bone Loss or Weak Boss modes. These options can be modified anytime. Based on the readable patterns of the enemies, so the most effective thing to do is to observe your opponents rather than grinding for stats. If a region seems too tough, it is best to back out and proceed another route.
On initial arrival in Ossex talk to Lionel. The thing you have to do is repair 6 generators. The first 4 of these can be done in any order you want. To find your way, go south through the mini-dungeon of the Hollowers' Guild. You have to save a fellow Hollower named Rhene and then buy a map from Drillhardt. This map remains in Mina's burrow and will guide you to the 4 generators. Drillhardt also offers an upgrade that monitors the collectibles still in each area.
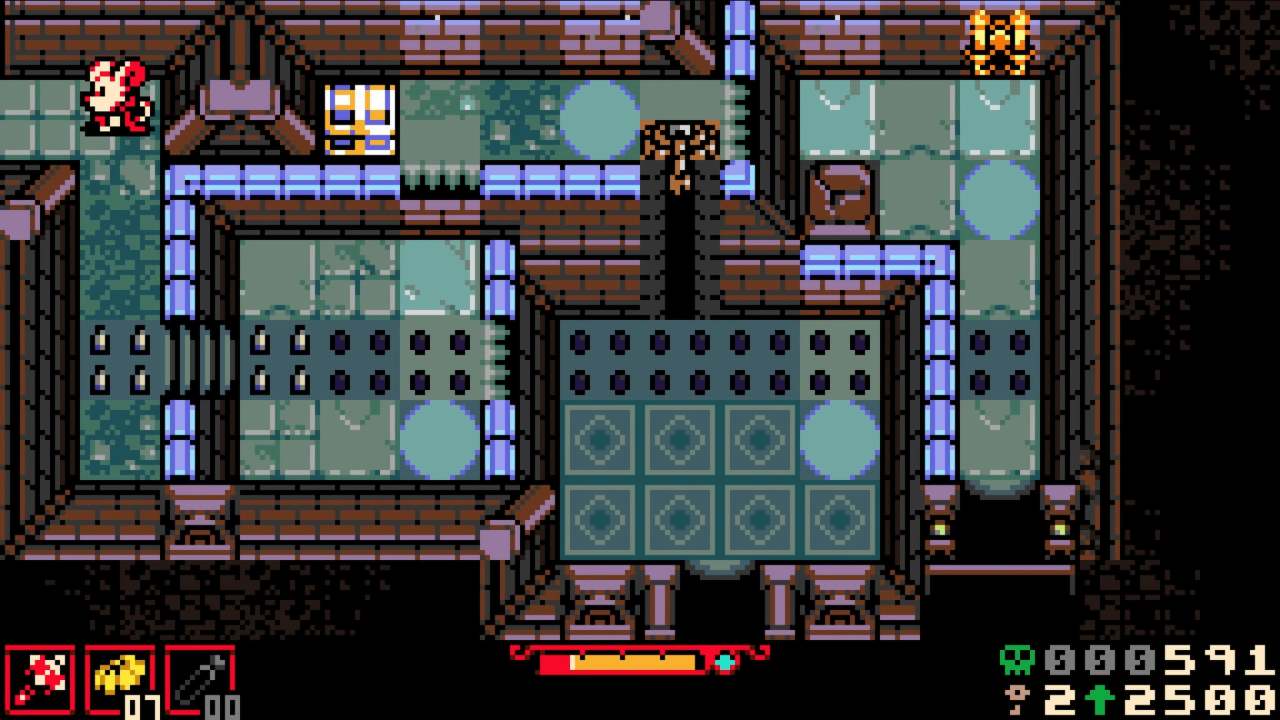
It would be advisable to begin in the northeast generator at Queensbury Crypt. It's as hard as the southwest crypt, but has one of the strongest items in the early game. After the crypt, the recommended route is to the southwest, then northwest and then southeast. If you're stuck, though, you can wander around as much as you wish.
Essential Early Trinkets and Exploration Tips
There are 2 accessories that will make you more likely to survive early in the game. The initial is the Proto Spark, also referred to as the Proton Spark. This will revive Mina with most of her health restored when she dies, as well as resetting every time you use a checkpoint. It can be earned by a ghost NPC at the end of the graveyard area as a sidequest where you have to take him to a locked room past the boss fight.
The second is the Primed Vial Pouch which gives you two extra healing slots. This can be accessed by going in the chimney of a house to the south of Ossex. Although you'll find better pouches later, this is a great pouch to get you started in combat.
As you wander around you will find many different systems that are easy to overlook. The printed in-game manual should be read, and it will help you understand details about in-game mechanics and lore which aren't presented in the user interface. In addition, there are a number of features to watch for around the globe. To find out where to go, read The Tenebrous Times newspaper at the front of each train station, after repairing a generator, to get a new edition. Mind also the appearance of Mina, as if she turns red and starts to sweat, there's danger lurking like a wall collapsing, or like an enemy in hiding. Be sure to note all of the mirrors you're going to find as well, because you will need at least three mirrors to continue the main story later. Lastly, purchase any keys you see; locked rooms will often have valuable loot inside, and it will often be worth the price of the keys to unlock it.
Managing Health and Currency
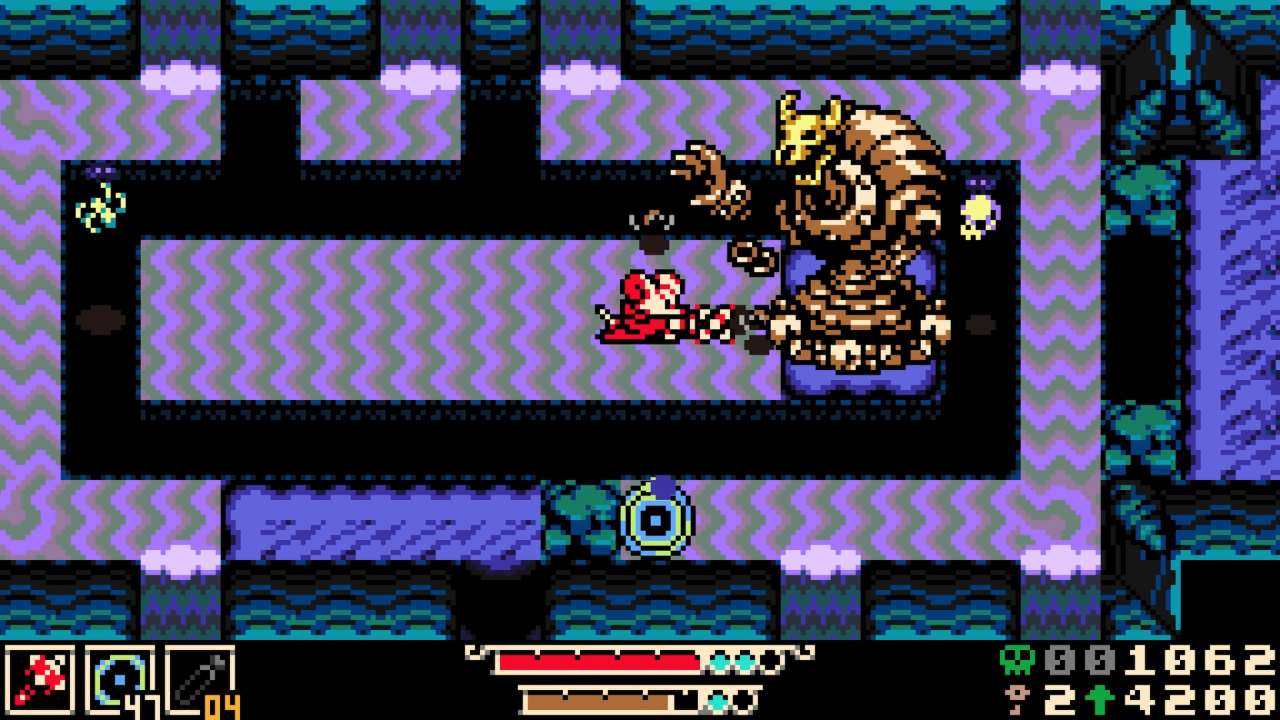
It takes time to heal, as you need to hit enemies to gain charge for your flask. The activation animation is slow and it does not work when you're full and have full flasks and the boss is still in the middle of their animation. Healing will NOT be possible until the enemy has stopped their attack combo. Don't wait for the right time, even small improvement in health at a safe time is better than death. When you are still in some difficulty, you can outfit accessories that support healing to ease your way.
Bones are money and experience points. When you die you drop them. You will have a couple of tries to get them, but if you die twice in a row the lost items disappear. Fortunately you can always farm respawning enemies and the amount of currency you can earn also increases as you get further into the game.
Don't save up resources, spend them! Invest your currency by spending it first on Sparks to earn more lives and open doors that need a certain number of Sparks. Consider using passive bonuses over pure stats, so put your resources into Trinket Slots next. Next, assign 10,000 resources to the train station network so that one of the map areas requires only train travel. Then, put 10,000 resources into the train station network to unlock fast travel between the five main stations, as one map area can be accessed only by train. Save your Bonestones with this goal in mind. Lastly, if you are leveling up your core Bone Up stats, put points towards Attack and Defense first, then Sidearms and Bonestones.
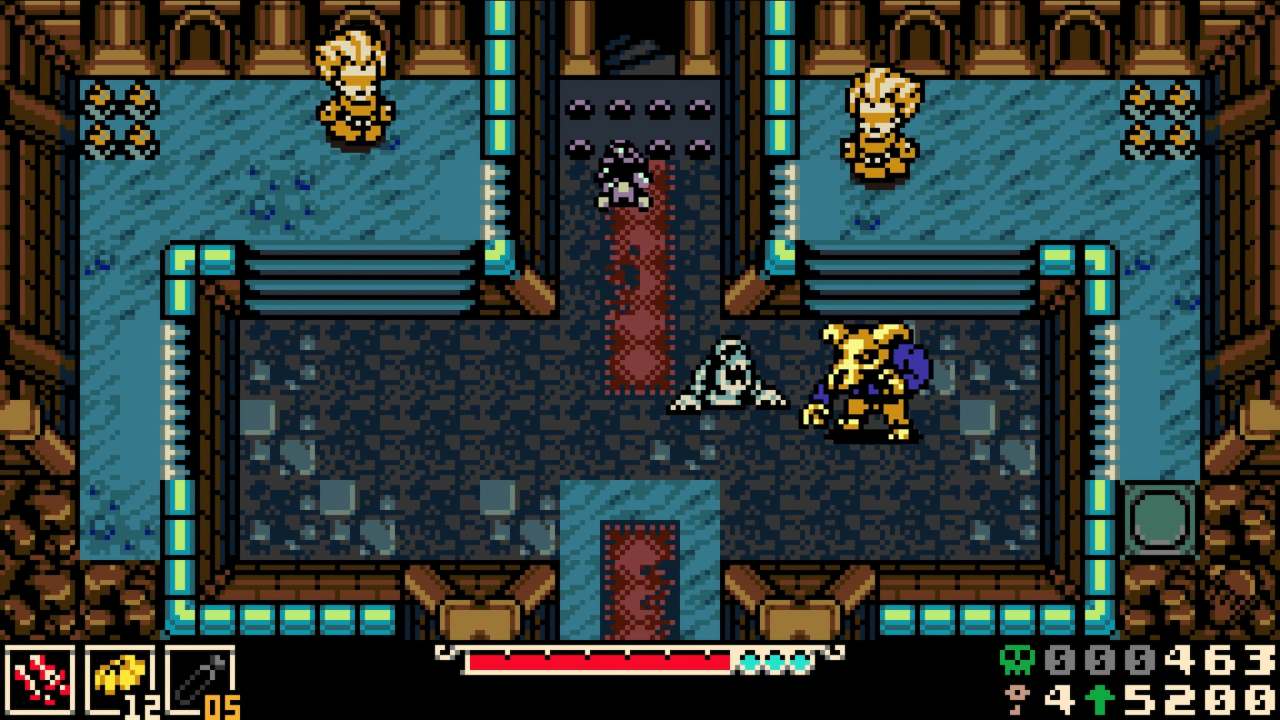
Combat, Weapons, and Sidearms
There are five basic weapons to select from, with three of them being available from the beginning. When you first choose your weapon, take your time as shops are expensive and other weapons are found in hard dungeons. Thankfully, your damage increase will work with all weapons and you can change your guns later without forfeiting power.
Your secondary weapons are similar to normal sub-weapons. They are powered by Joule energy and include things such as throwing axes or projectiles. These should be reserved for elite enemies or puzzles; do not use them on basic enemies.
These secondary tools also serve to move around the environment. For instance, you can cross over huge distances using the bike. Be sure to see if a secondary tool will assist you in crossing to another platform before concluding that you don't have the right story progression. After level 5, talk to Brandish in Ossex to receive a licence and you can now carry two tools at once. Both will be from the same energy pool, and you will be able to switch them freely and instantly in combat and at normal times during exploration.
Also, check our Mina the Hollower Review.
Editor, NoobFeed
Latest Articles
No Data.