

Monster Hunter Stories 3: Twisted Reflection Guide | How to Use Stamina & Skills Effectively
Here’s a guide to how to use your Stamina and Skills effectively in Monster Hunter Stories 3: Twisted Reflection.
Game Guide by TauxicPandA on Mar 14, 2026
In Monster Hunter Stories 3, the old ways of fighting have changed. Now, everything relies on a Stamina Bar. Both you and your Monstie have your own separate bars to manage.
You gain some Stamina back at the start of every turn. Some Buffs can make you get it back even faster. Each Monstie is different, so some have better Stamina stats or faster recovery than others.
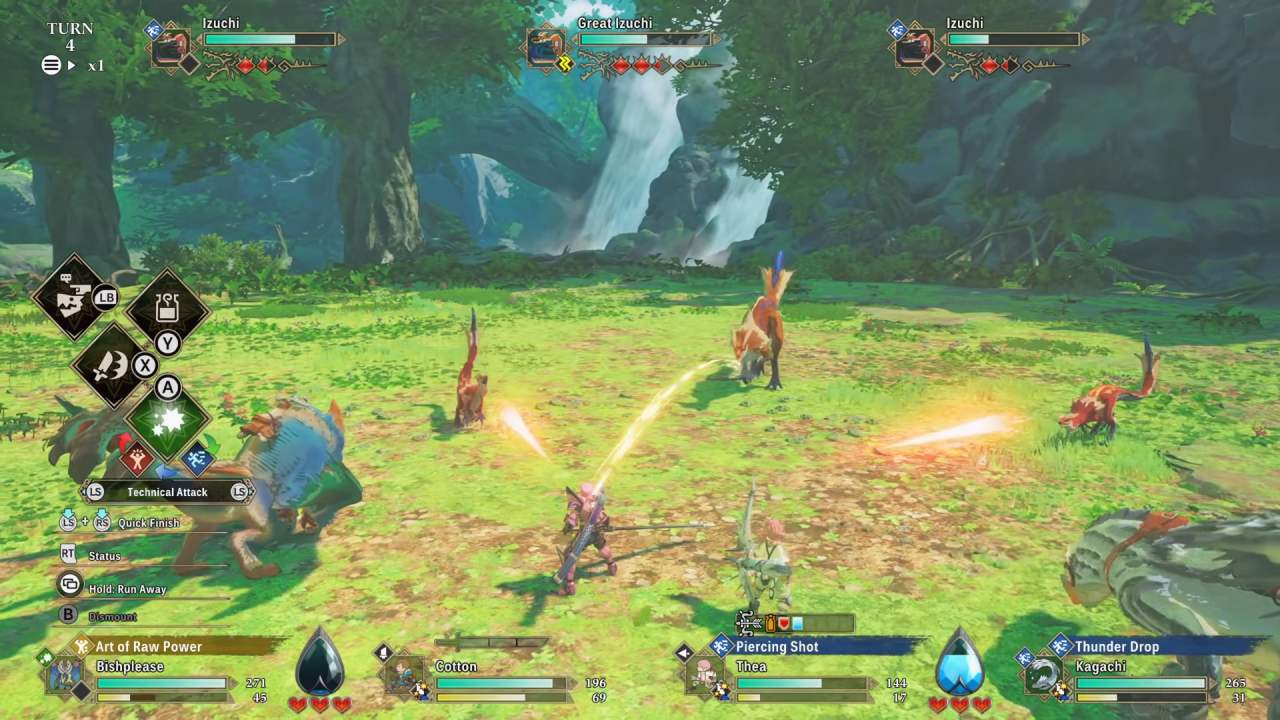
You need this resource to use Skills. Your own moves cost Rider Stamina, and your partner's moves cost Monster Stamina.
Most of these moves still fit into the Power, Speed, and Technical system. This means you can choose the right type of attack to win a head-to-head. You can also aim most Skills at a specific Part of the enemy, though moves that hit multiple targets usually can't be aimed this way.
Breaking Parts
Targeting a specific Part is a big deal for your strategy. First, different parts take more damage from certain weapons. You might find that a Tail is weak to Slash damage, but a Shell is weak to Blunt damage. Using the right Weapon Type on the right spot makes the fight go much faster.
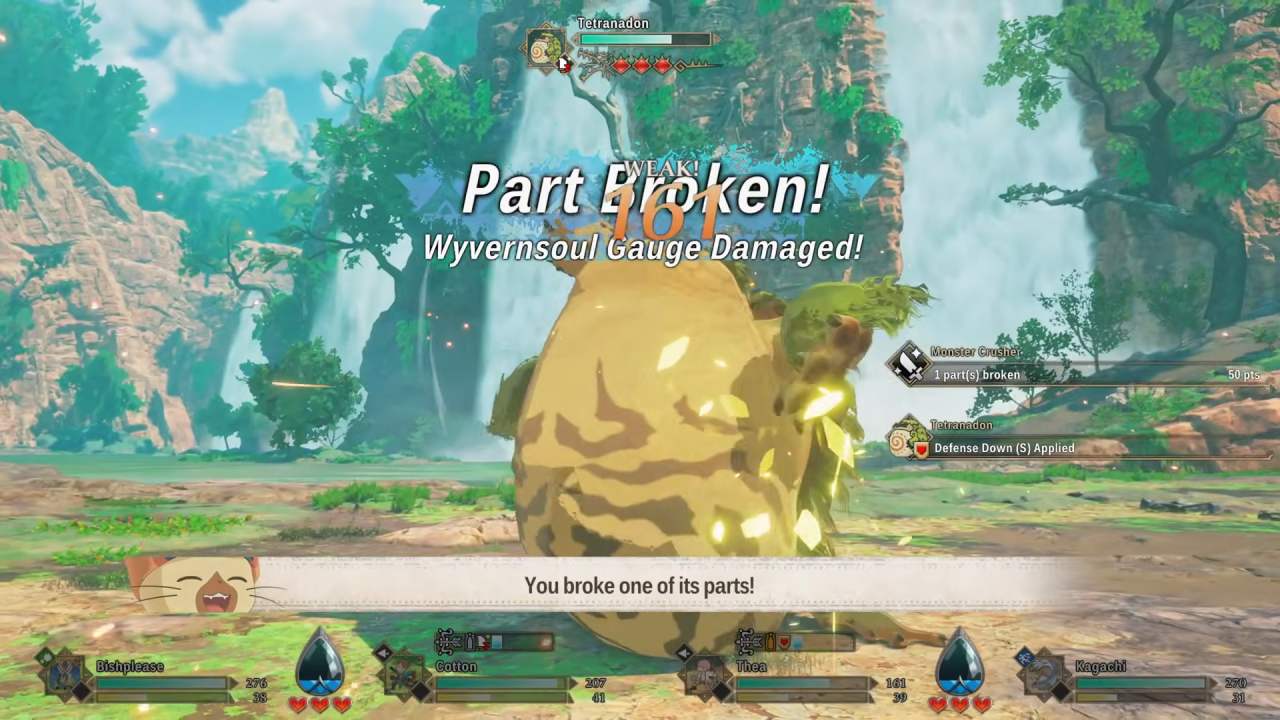
The second reason is the Part Break. Every Part has its own health. When you drain that health, the part breaks in Monster Hunter Stories 3: Twisted Reflection.
This can stop a monster in its tracks or cancel a big attack. It can also make the monster's own Skills less powerful. Sometimes, a break will even knock the monster over or deal a lot of damage to the Wyvernsoul Gauge.
Wyvernsoul Gauge and Wyvernfell Damage
A new part of the fight is the Wyvernsoul Gauge. You can see it right under the monster's health. To lower this bar, you need to deal Wyvernfell damage. Most Skills do this naturally. However, a Rider's basic attacks won't help unless you are using a Hammer.
If you empty the gauge in Monster Hunter Stories 3: Twisted Reflection, you will Stagger the monster. This cancels whatever move it was about to make.
It also leaves them Fatigued, which makes them miss their attacks more often. Stronger enemies have Wyvernsoul Stock, shown as little circles. You have to break through these stocks like checkpoints before you can fully knock the monster down.
The Topple Choice
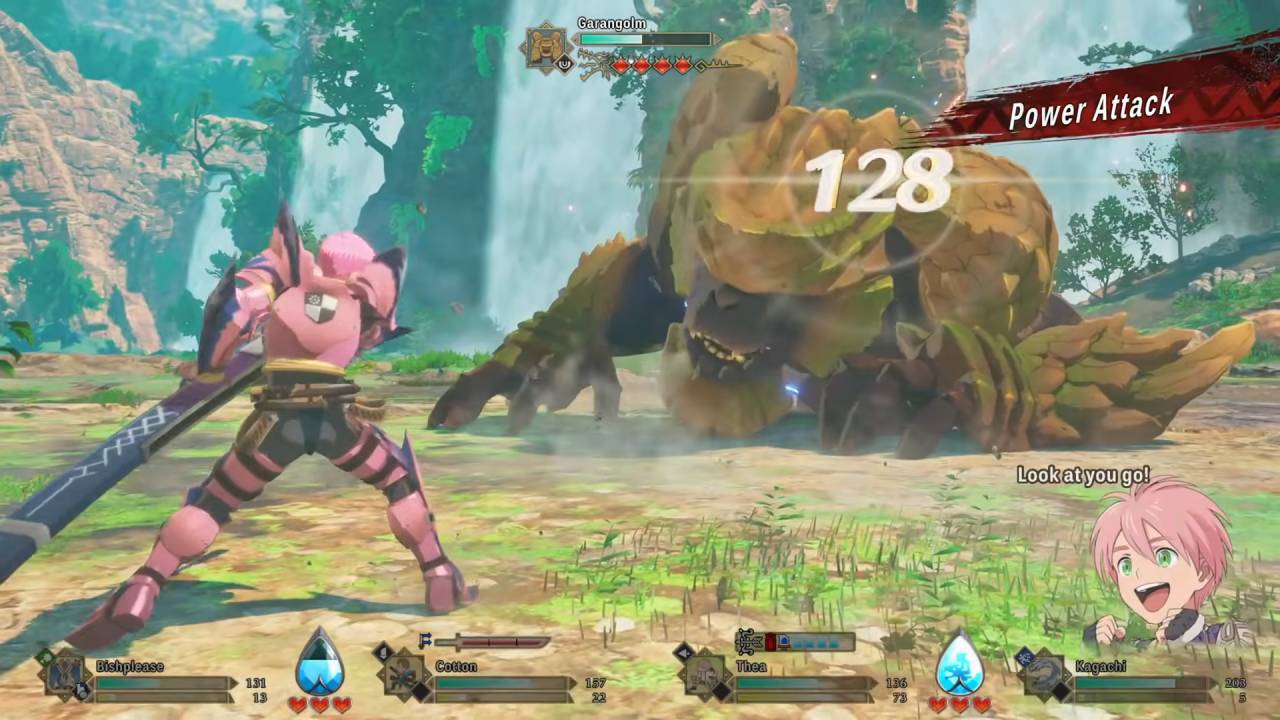
When the gauge is empty and the Wyvernsoul Stock is gone, the monster will Topple. This is your chance to pick one of two paths. You can trigger a Synchro Rush. This lets your whole team attack at once for free. It deals a good chunk of damage and gives you a lot of Kinship.
If you don't take the prompt, you get a free turn instead. The monster just lies there, and every hit you land will be a Critical Hit in Monster Hunter Stories 3: Twisted Reflection.
This is useful because a Synchro Rush doesn't deal any Wyvernfell damage. By taking the free turn and using regular moves, you can start working on the next Wyvernsoul Stock while the monster is still on the ground.
Also, check our Monster Hunter Stories 3: Twisted Reflection Review and other guides below:
- Monster Hunter Stories 3: Twisted Reflection Guide | How to Win Combat Encounters
- Monster Hunter Stories 3: Twisted Reflection Guide | How to Do Kinship Attacks
- Monster Hunter Stories 3: Twisted Reflection Guide | Basic Weapons Skills & Stats
- Monster Hunter Stories 3: Twisted Reflection Guide | How to Use the Bow
- Monster Hunter Stories 3: Twisted Reflection Guide | How to Use the Hunting Horn
- Monster Hunter Stories 3: Twisted Reflection Guide | How to Use the Hammer
- Monster Hunter Stories 3: Twisted Reflection Guide | How to Get Calamity Elder Dragon’s Equipment
- Monster Hunter Stories 3: Twisted Reflection Guide | How to Get Garangolm Equipment
- Monster Hunter Stories 3: Twisted Reflection Guide | How to Get Deviljho Equipment
- Monster Hunter Stories 3: Twisted Reflection Guide | How to Get Dreadqueen Rathian
- Monster Hunter Stories 3: Twisted Reflection Guide | How to Use the Long Sword
- Monster Hunter Stories 3: Twisted Reflection Guide | How to Get Sir Reginald Monstie
- Monster Hunter Stories 3: Twisted Reflection Guide | How to Get Boltreaver Astalos Monstie
- Monster Hunter Stories 3: Twisted Reflection Guide | How to Get Purple Gypceros Monstie
- Monster Hunter Stories 3: Twisted Reflection Guide | How to Use the Gunlance
- Monster Hunter Stories 3: Twisted Reflection Guide | How to Get Lagiacrus Equipments
- Monster Hunter Stories 3: Twisted Reflection Guide | How to Get Hellblade Glavenus
- Monster Hunter Stories 3: Twisted Reflection Guide | How to Get Silverwind Nargacuga
- Monster Hunter Stories 3: Twisted Reflection Guide | How to Get Deadeye Yian Garuga
- Monster Hunter Stories 3: Twisted Reflection Guide | How to Get Boltreaver Astalos
- Monster Hunter Stories 3: Twisted Reflection Guide | How to Get Chest Weapons Early
- Monster Hunter Stories 3: Twisted Reflection Guide | How to Get Best Monsties Early
- Monster Hunter Stories 3: Twisted Reflection Guide | How to Get Lumu Armor
- Monster Hunter Stories 3: Twisted Reflection Guide | How to Use the Great Sword
- Monster Hunter Stories 3: Twisted Reflection Guide | How to Transfer Gene
- Monster Hunter Stories 3: Twisted Reflection Guide | How to Do Habitat Restoration
- Monster Hunter Stories 3: Twisted Reflection Guide | How Elements & Resistance Work
- Monster Hunter Stories 3: Twisted Reflection Guide | How to Use Battle Allies
- Monster Hunter Stories 3: Twisted Reflection Guide | How to Decorate Monsters
- Monster Hunter Stories 3: Twisted Reflection Beginner’s Guide | Gameplay Tips & Tricks
Senior Editor, NoobFeed
Latest Articles
No Data.