
No Rest for the Wicked Guide | How to Beat Warrick the Torn DLC
Here's a guide on how to beat Warrick the Torn in No Rest for the Wicked.
Game Guide by Mash Rahman on Jun 09, 2026
No Rest for the Wicked is a dark, atmospheric action role-playing experience that challenges players to a game of tactical planning for victory. Before you can even think of setting foot inside the fortified sanctuary city of Sacrament, you must pass a massive test of mechanical discipline. This first milestone is presented as the main campaign goal of killing Warrick the Torn, the first actual required boss fight in the game.
Warrick is a hulking monstrosity, mutated by the plague, the ruthless gatekeeper at the very end of the northern mountain pass. He’s a huge spike in strategic difficulty, and will punish button mashing or reckless, too-aggressive positioning immediately. But in order to prove you are worthy of being a legendary Cerim warrior and unlocking the rest of the island, you need to defeat this corrupted titan.
This fight comes so early on in your journey, you will be working with default and very limited gear configurations and attribute stats. You can't just brute-force your way through his devastating sweeping combinations, with high-tier armor ratings and overpowered magical spells. Instead you’ll need to learn the basics of stamina management, directional dodging and proper counter-strike windows in order to survive.
Improving Logistics and Resource Management
Mariner’s Keep. It is highly recommended to have a perfect tactical base established before entering the blood-soaked courtyard where the titan awaits. Explore the lower stone courtyards in great detail to save Filmore the blacksmith from an unfriendly bandit camp. Once freed, this important merchant will fully repair your broken starting weapons and armor for a small fee.
The blacksmith’s forge is right beside a working cooking fire pit, which is your main survival station. Combine all of your gathered mushrooms, crab meat and herbs to make a large stash of healing stews. A well mastered inventory hotbar can mean quick health replenishment in a chaotic skirmish.
Also, it’s extremely helpful to always watch your equipment’s weight distribution profile before you begin the sequence. As long as you stay below the weight limit for light or medium, your character has a very fluid and responsive animation for dodge rolls. If your character falls into the heavy fat-roll category, then you can’t really avoid Warrick’s massive AOE slam attacks.
Getting to the last mountain pass checkpoint
When your logistical arrangements are complete, take the main dirt road due east through the misty Orban Glades. This scenic route is heavily patrolled by elite variants of the Risen who will try to whittle down your resources before the big fight. You need to use careful hit and run tactics to systematically eliminate these lesser foes so as to preserve health pools.
.jpg)
Right before the foggy boss clearing, at the very top of the mountain trail, there's a key blue Whisper terminal. This magical anomaly must be activated at all costs as it creates a new respawn point just outside the arena. If you die to Warrick's greatsword you'll instantly respawn right back at this gate, instead of having to do the whole trek again.
One last silent moment at this terminal will allow you to burn any passive attribute-boosting items you might still have in your inventory pouches. Ensure your main weapon is fully out and your focus-draining rune abilities are bound to easily accessible hotkeys. When you are prepared to face your destiny, stride confidently through the narrow stone opening into the arena.
Decomposing First-Stage Attack Patterns
The moment you step into the center of the muddy clearing, a dramatic cinematic sequence begins, showcasing Warrick's horrifying biological mutation. The boss is equipped with a colossal health bar and a colossal iron greatsword with tremendous structural range. Once the movie sequence is over, you have to be ready to counter his first move.
Almost always, Warrick begins the encounter with a high speed running charge that ends with a wide horizontal slash. The massive opening strike cannot be blocked by a standard shield as it will instantly shatter your guard and drain your stamina. Instead, time your directional dodge so you roll straight through the blade's path and end up behind his back.
During this first stage of the confrontation the titan leans on a predictable two hit combination of horizontal swings He will sweep his greatsword back over his left shoulder with care, before slashing it in quick succession through the mud. The absolute golden rule here is to be totally patient, and wait out the whole second swing before trying to hit.
Exploiting the Stagger Windows and Recovery Loops
When Warrick finishes his heavy two-hit swing combination, the massive physical weight of the iron greatsword will momentarily pull him forward. This short recovery sequence is your absolute number one opportunity window to open up your own offensive combinations. Quickly get into melee range and hit him with a couple of quick light attacks to chip away at his massive health pool.
In these very short defensive openings you must absolutely resist the dangerous urge to be overly greedy. If you try to get in a third or fourth strike you will inevitably run out of blue stamina bar and your character will be completely unable to escape. The second your quick strikes land, do a backward dodge roll to reposition yourself back to a safe mid-range distance.
As you keep dodging his powerful blows, your blue focus meter will naturally build points for your character. Once this meter is full, wait for his next recovery window and unleash your weapon’s unique runic arts. These magical skills are specialized in dealing posture damage, and a lot of it. Use them to systematically stagger the giant into a vulnerable state.
How to Survive Blood Frenzy in Phase Two
When Warrick’s health points drop below sixty percent of his total health points, his mechanical behavior will change dramatically. The titan screams bloodcurdlingly, his body erupting in a violent glowing plague aura that signifies his second phase. His attack animations speed up quite a bit, and he will start to pull off completely unpredictable moves to disrupt your defensive rhythm.
His most dangerous addition to his mechanical arsenal is a multi-hit overhead ground slam sequence. He holds up his giant greatsword vertically with both hands, then brings it crashing down onto the earth three times in a row, in quick succession. These heavy impacts send ripples of localized shock waves across the dirt that can easily stun your character from a distance.
You need to keep strafing around the outside of the clearing so you don't get pinned against the rock walls. Don't try to do a forward dodge roll during this particular sequence, because his third slam will track you. The second is to stay with a very strict side to side motion, and only roll side to side when the blade is coming down on you.
How to master the lethal aerial diving leap
Along with his quick ground slams, the frenzied version of Warrick also has a devastating diving leap from the air. His powerful mutated legs will send his massive frame flying high into the rainy sky, breaking your target lock interface completely. He will track your position in the air and try to splat your character when he comes down quickly.
.jpg)
The absolute key to making it through this lethal airborne sequence is to watch the physical shadow that appears on the ground below. The instant his dark silhouette is rapidly looming over your character's location, do a perfect dodge roll in any direction. When it hits , it will make a huge dust cloud but you will be perfectly fine if you timed it right .
This jump requires a lot of physical effort, and Warrick will be stuck in the mud for a couple of seconds after he lands. This is the longest vulnerability window in the whole encounter, and the best time to activate your cooking stews. If your health is maxed out, take this massive opening to unleash your most devastating heavy charge attacks.
Delivering the Last Blow and Winning the Day
In the final stretch of the grueling battle, your absolute mechanical discipline is paramount to securing the victory. Don't panic-roll when Warrick's health is low, because a single mistake can still result in an instant death sequence. Keep your systematic hit and run cycle, look for clean positioning not risky, high damage gambles.
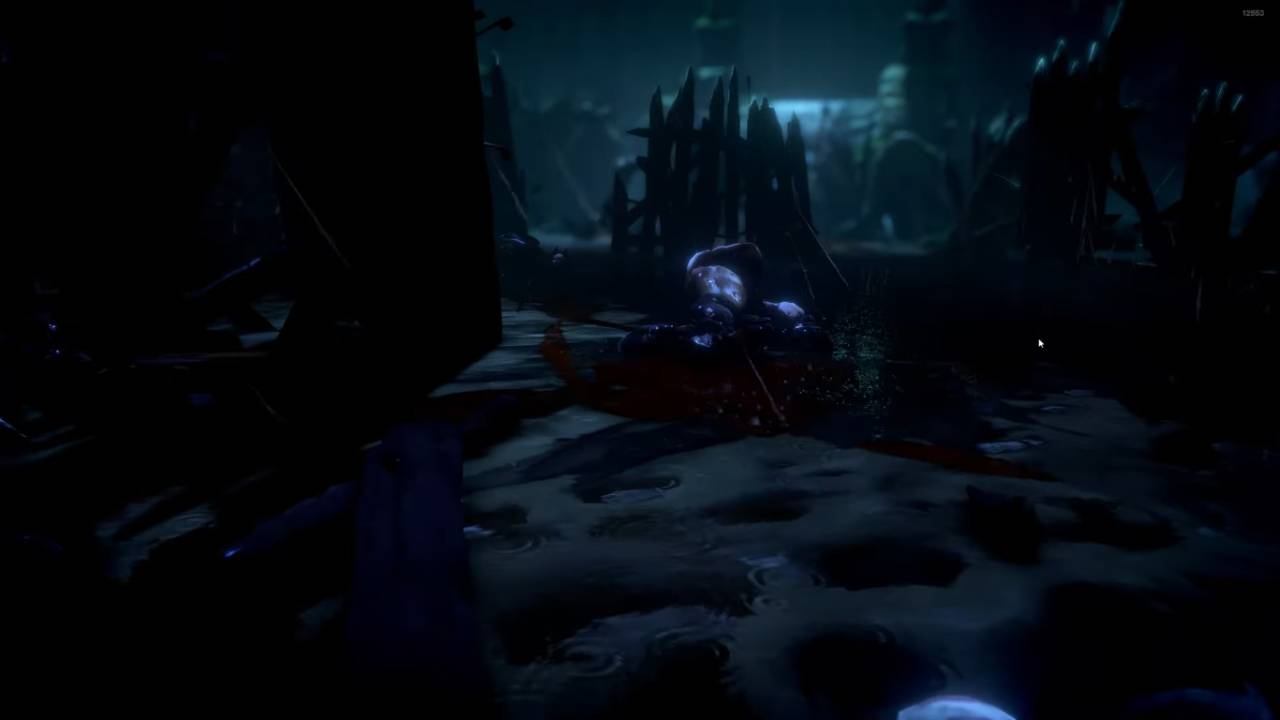
Pay attention to his arm movements, and use your perfect evades. Keep chipping away at the last bits of his health bar. But the mutated giant is stumbling, and after one last well-timed blow he finally loses his footing and falls face-first into the blood-stained mud. Your user interface will flash a triumphant victory prompt, the official end of the terrifying gauntlet.
Vanquishing this tainted champion grants you a wealth of premium endgame loot drops and experience points for your heroic efforts. You will automatically receive your first legendary weapon artifact, known far and wide throughout Sacra as the Corpse-Smeared Blade. Gather the loose stuff from the arena floor and proudly march to the newly-opened northern gates to enter the city of Sacrament.
Also, check our No Rest for the Wicked Review and other guides below:
- No Rest for the Wicked Guide | How to Make a Paladin Build
- No Rest for the Wicked Guide | How to Complete Faith and Flame
- No Rest for the Wicked Guide | How to Unlock All Houses
- No Rest for the Wicked Guide | How to Complete Weeping Sisters
- No Rest for the Wicked Guide | How to Complete Sacrament
- No Rest for the Wicked - The Breach Guide | Best Starting Build Tips
Editor, NoobFeed
Latest Articles
No Data.