
No Rest for the Wicked Guide | How to Complete Roots That Bind
Here's a guide on how to complete Roots That Bind in No Rest for the Wicked.
Game Guide by Mash Rahman on Jun 09, 2026
An endless challenge to your dark fantasy survival skills with a highly detailed map design and unrelenting environmental hazards. Once you’ve managed to settle the initial political turmoil in the city of Sacrament, your main campaign path will eventually require you to branch out into the wilderness. This momentous change officially begins the main story questline known throughout the island of Sacra as Roots That Bind.
This large mission requires you to leave the safety of civilization and explore the dense, overgrown networks of the mysterious Marin Woods. The whole area is characterized by suffocating flora, ancient giant trees and dark, mist-filled swamps that hide your line of sight. Your main goal on this dangerous mission is to find the hidden rebel forces and deal with a spreading biological plague.
If you want to survive the journey, you’ll need to have your character build well prepared before you leave the city gates. Native enemies wandering in these wild thickets have larger health pools and utilize erratic, tracking attack patterns that can quickly overwhelm a careless vanguard. Make sure you pack your inventory to the hilt with solid defensive gear, elemental infused weaponry and a huge stockpile of health restoring stews
The First Dire Nettle Spores Collection
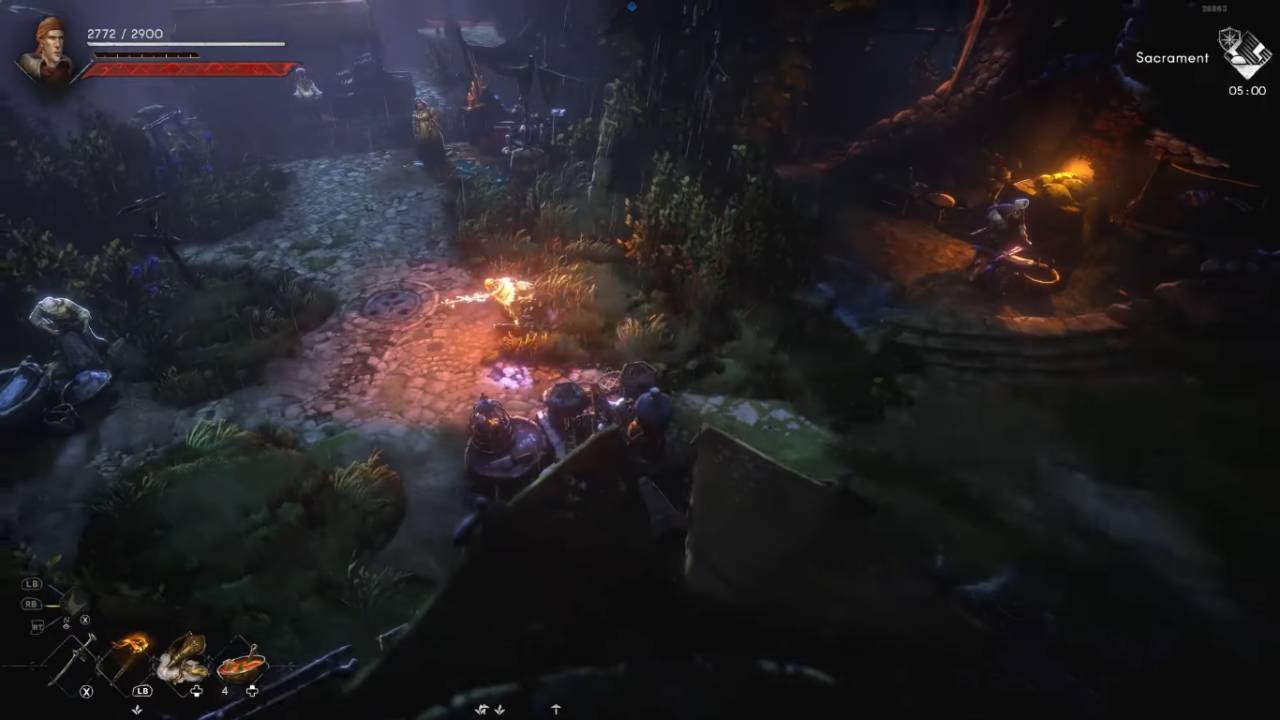
Your first route will take you safely over a broken wooden bridge as you cross into the entrance of the Marin Woods. Directly across this ravine is a crucial blue Whisper checkpoint terminal that you need to activate immediately. This magical terminal is your main respawn location, so you don’t get sent all the way back to the capital city if you die in combat.
Directly past this checkpoint, the dirt road will soon stop you dead in your tracks against a massive, pulsating biological root entity. This parasitic creature completely blocks the main road and no amount of physical weapon strikes will do anything to damage its thick outer hide. To overcome this annoying roadblock, you will need to scavenge the immediate surrounding areas for a highly specialized resource known as Dire Nettle Spores.
Drop your character carefully into a shallow moss-filled pond below, moving directly left of the blocked clearing. Safely wade across the cold water to get to the other side where a vertical wall of vines grows right up the face of a steep rock. Climb the thick vines up to a stone ledge high above and grab the glowing item orb that contains your very first batch of spores.
Head back down the vines and back to the main road to face the disturbing biological barricade again. Open the inventory interface, and interact directly with the creature to apply the freshly gathered Dire Nettle Spores to the creature’s sensitive outer surface. The parasitic growth will immediately shrivel and dissolve into the soil, cleanly opening the path forward for your vanguard to continue exploring.
Wagon Area and Labyrinthine Caves
Walking down the newly found brick road will eventually lead your character to a heavily guarded crossroad with hostile renegades. A balanced mix of directional dodge rolls and well-timed counter-strikes will help you clear out the area around you completely. Get rid of these first wave defenders. Carefully scan the right mountain face past the campfire for another secret vine wall that leads to a high altitude ledge.
Scale this second vine wall to locate a second required Dire Nettle Spore resource quietly nestled inside a small stone alcove. Slide down to the ground again and use this item to break down a second biological creature actively blocking the middle fork of the path. This particular action lets your party safely access a new Whisper terminal, securing your ongoing narrative and exploration progression.
Continue along the main brick road until you reach a large overturned wooden cart, which is completely deserted in the middle of a clearing. Carefully step into the ruined carriage interior and use the broken wooden door as a functional ramp to vault your character onto an adjacent ledge. From here, carefully jump down to a large mossy tree stump below, giving access to a deep cave system full of mushrooms.
.jpg)
The inside of this underground cavern is very dark, so a hand torch or an illumination spell is very useful to avoid slipping. Move the glowing fungi clusters to a hidden wall of vines just to the left of the thunderous underground waterfall. Climb the wet vines all the way up, go around the top of the waterfall and drop down to a hidden alcove for another important resource of spores.
Infiltrate the Ruins of the Marin Village
Climb out of the subterranean waterfall cavern again and use your new spore item to break the last biological barrier protecting the exit to the northern valley. Upon walking through this new archway, your character will be officially welcomed into the ruined borders of Marin Village. The spreading pestilence has completely decimated this settlement. Its wooden huts have been destroyed, its streets are patrolled by elite infected humanoids.
For your own safety when exploring this hostile village, turn right away towards the left path to find a localized Greater Whisper terminal. Activating this key landmark creates a forever fast-travel node, so when your gear needs fixing, you can teleport back to Sacrament with ease. Once you’ve got your logistics sorted, head back to the center of the settlement and start exploring the dilapidated buildings to the right.
Cross a narrow creaking wooden bridge to enter the upper level of an abandoned residential hut filled with broken furniture and debris. Discover a small gap in the floorboards, directly next to a vertical wooden ladder, and carefully drop down to the level below. Walk around the inner structural walls to find a hidden exit on the back of the house that overlooks a deep environmental chasm.
Take a very precise running jump over this open gap to safely land on an isolated wooden platform with another Dire Nettle Spore. Carefully lower yourself down from the ledge and make your way back to the main town square via the main path, through a huge wooden beam archway. Soon you will see a large overturned carriage blocking the road. This can be easily dissolved with the spore item you just acquired.
Meeting the Rebels and Discovery of Shortcuts
Climb the iron-reinforced ladder, directly past the cleared carriage obstacle and automatically trigger an incredibly tense narrative cinematic sequence. You will witness a secret meeting with Odessa, the elusive leader of the local rebel groups, organizing her troops against the Inquisition. When the cinematic is over, you need to concentrate on mapping the surrounding environment to set up permanent defensive shortcuts.
Head down the north path and interact with a wooden ladder hanging in the air to knock it down, creating a quick way back to the village center. Next, move west to find a second shortcut ladder, then carefully cross a narrow, swaying wooden beam over the ravine. Eliminate the aggressive guards patrolling this high ridge and then move right to kick down a wooden bridge to improve your mobility.
Turn left again and crawl through a huge cave filled with fungus to reenter a deeper area of the Marin Woods with no break. Jump straight onto a huge clump of overgrown fungi that is growing out of a giant tree trunk right in front of you. Slide down the side of the trunk slowly until your feet are on solid ground next to a fast flowing fresh water stream.
Stay on the left side of the rushing stream to discover a hidden vine on the cliffside wall that will enable you to climb down into a deep secluded pond. Climb out of the water and head down to the lower right corner of the valley to find a secret campfire tucked away in a small, cozy cave. Climb a nearby wooden ramp after cooking a high-tier restorative meal, unlock a shortcut door that leads back to a residential hut with this fire pit.
Scaling the Peaks of the Holy Beak Temple
Successfully create all your shortcuts and return to the main mountain trail and enter a huge ancient stone cave structure. Eventually, this winding tunnel leads to a dramatic cinematic sequence where you reunite with Irmgard, a vital ally who gives a massive update on the situation. She tells you the true solutions to the spreading contagion are hidden inside the sacred Temple of Day and Night.
Climb the great stone stairs to your right. You will come out of the dark cavern onto the outer terraces of the holy mountain. You will find a massive edifice, sculpted in the likeness of a giant bird, which the local villagers call The Great Beak. Step carefully through the open mouth of this architectural wonder, into the inner entrance foyer, where you will find a new, smaller Whisper terminal.
Switch on the saving terminal and ascend the wooden ladder immediately in front of you to reach the upper floors of the temple complex. Cross a long, thin stone bridge and take the wooden ramp going up on the left to the second floor of the building. To your immediate right is a huge wall of vine that you have to climb to get into a hut covered with branches, hanging high above the valley floor.
Head to the platform to the southeast of the hanging hut, then carefully walk down a series of small ledges to arrive at a secluded outdoor clearing. Go straight to the southern boundary of this open zone and jump across a number of risky jumps on hanging wooden platforms. If you land safely on the far left landing, you will be able to get to the final Whisper terminal, just before the inner sanctum.
Beating the Caretaker and The Tusk
You officially enter a large circular arena covered in ancient runes when you run down the big stone steps past the last Whisper checkpoint. As soon as you step into the heart of this holy chamber, you will be triggered to go up against The Caretaker and The Tusk in an epic dual boss fight. This legendary encounter is a real test of tactical positioning as you have to deal with two completely different threats at the same time.
.jpg)
The Caretaker is an extremely fast and agile blade-entity, and it will constantly harass your vanguard as it darts around the arena floor at blinding speed. Meanwhile, the Tusk is a giant plague-mutated bear that utilizes slow, but devastating ground slams with large area-of-effect potential. Trying to block their highly synchronized attacks blindly will drain your stamina bar very quickly and leave your character completely defenseless.
The absolute golden rule in this high intensity confrontation is to maintain a strict mid-range distance from both targets in order to maximize your movement speed. It is strongly advised that you direct all of your opening aggression at The Caretaker to get his high-velocity pressure off the field first. Wait for The Tusk to go for a slow, heavy overhead ground slam to create a massive opening to punish his faster companion.
When The Caretaker finishes a quick rushing combo, use your weapon's best runic arts to stagger him backwards into a forced stagger. If you’re able to kill the faster boss, you can now dedicate all your damage to chipping away at the bear’s massive health bar. Play your positioning right and roll dodge behind the exposed side of the beast, keep chipping away until that titan finally goes down.
Odessa and the Brink of Faith and Fire, Revisited
Once the dual bosses are fully defeated their corrupted physical forms will shatter into a huge pile of premium loot drops. Thoroughly scour the blood-splattered arena floor for rare crafting materials, legendary gear and precious experience scrolls. If your inventory is full, leave the sacred inner sanctum by taking the great stone staircase in the upper right corner.
Now ascend the stone steps and return to the fresh air of the upper terraces where Irmgard awaits your report. Talk with her at length to hear her deep thoughts on the historical importance of the temple cleansing you just performed. She will tell you to carry a narrow wooden beam up an upward trail to the main rebel headquarters.
Cross the tall wooden bridge and walk through the huge stone archway where Odessa is standing by a decorative iron balcony. Speak to the rebel leader directly in order to hand him the mystical Kestrel's Egg item that you have been able to protect through your long journey. Odessa will shower you with thanks for your unmatched heroics, unleashing a ridiculously dramatic closing cinematic sequence between the local factions.
Once the quest is officially over, your main goal will again be to report your findings to the religious authorities in civilization. Fast travel straight to the capital city of Sacrament and follow the stone stairs up to the high Rookery tower. To submit your progression officially, speak with Rowan inside the archives to unlock the next epic story arc, Faith and Flame.
Also, check our No Rest for the Wicked Review and other guides below:
- No Rest for the Wicked Guide | How to Make a Classic Paladin Build
- No Rest for the Wicked Guide | How to Beat Warrick the Torn
- No Rest for the Wicked Guide | How to Make a Lightning Paladin Build
- No Rest for the Wicked Guide | How to Complete Faith and Flame
- No Rest for the Wicked Guide | How to Unlock All Houses
- No Rest for the Wicked Guide | How to Complete Weeping Sisters
- No Rest for the Wicked Guide | How to Complete Sacrament
- No Rest for the Wicked - The Breach Guide | Best Starting Build Tips
Editor, NoobFeed
Latest Articles
No Data.