
Ready or Not Guide | Best Loadout for Every Mission
A balanced all-round build for damage, control, speed, and tools across the toughest situations.
Game Guide by Faviyan Mustafiz on Dec 27, 2025
A loadout that works well under pressure is frequently the key to getting consistent outcomes in Ready or Not. You need good damage, trustworthy recoil control, adequate protection to get through unfavorable angles, and the correct tools for small spaces and suspects that are hard to forecast.
All the essentials of a tried-and-true "one loadout for everything" configuration are detailed here, including your main weapon, attachments, sidearm selection, armour, ammunition, and useful extras. You may easily replicate the setup and grasp its significance thanks to the given instructions.
Best All-Around Loadout Overview
With this configuration, you can maintain control and speed while dealing massive damage. You have a primary weapon that excels at close-quarters combat, a secondary weapon that puts an end to clashes in no time, lightweight armour to protect you, and utility to prevent foes from evading you and resuming the fight.
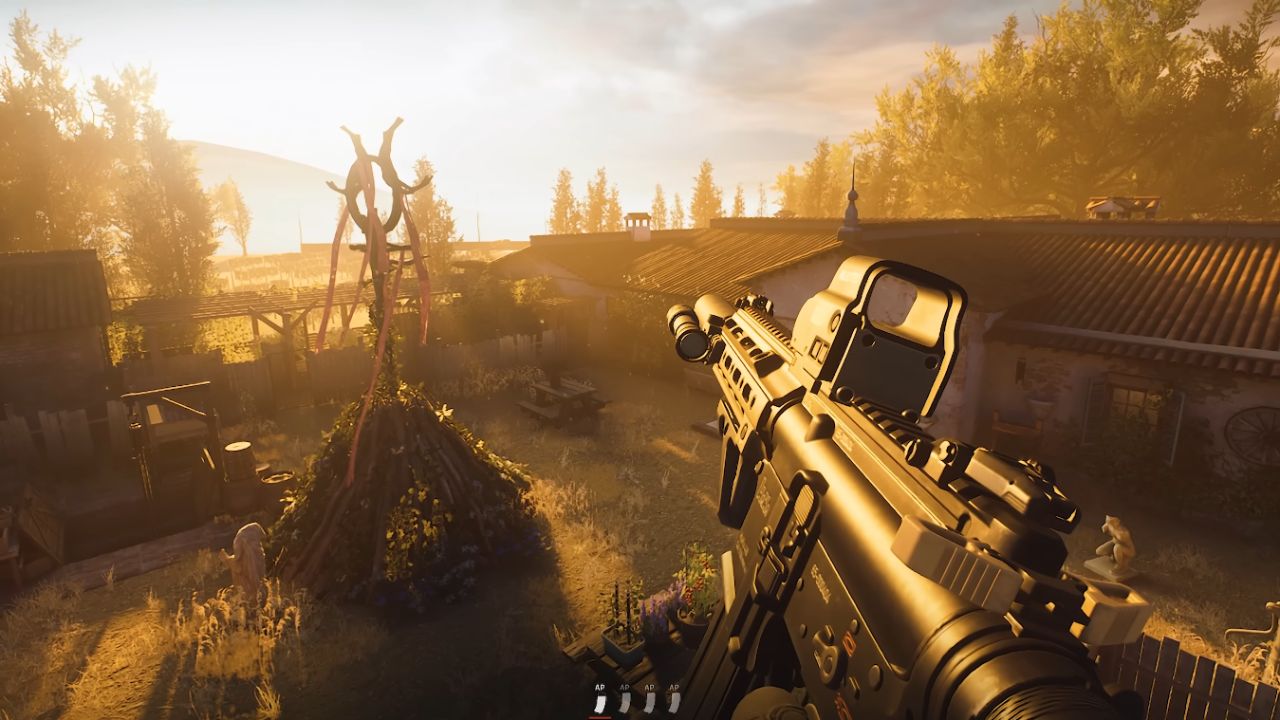
Best Primary Weapon: G416
The G416 is the best general-purpose main choice here. It does a lot of damage and is easy to hold, which is important for quick, accurate shots when a fight starts out of nowhere.
The SA-58 possesses a tremendous punch, but it may not be practical in the long run due to its low ammunition supply and high penetration rate. In addition to having the necessary power, the G416 feels more adaptable across a variety of settings and ranges.
Damage Output That Stays Effective
The G416 stays strong with damage sitting around 122 to 132 when using Armor-Piercing rounds or JHP rounds. That should be enough to win most encounters with enemies, even those with armor.
Suspects usually start with about 320 health and can't move below about 160, so a few accurate shots can terminate a fight swiftly. A headshot is much more important because most guns have a significant headshot multiplier, which means that clean aim is better than spraying.
Fire Rate That Wins Close Fights
At almost 750 rounds per minute, the G416 is one of the fastest-firing guns in the game. The SPC submachine gun fires significantly faster, but the G416 still has the edge because it can use 5.56 ammunition, which makes it better in more circumstances.
The gun also stays steady when you fire it for a long time, which is helpful when suspects are hostile or in groups.
Easy Recoil Control and Handling
Even with heavy damage and a high fire rate, the G416 remains easy to manage. It's light, and the correct attachments make the recoil manageable. That helps you move quickly, shoot accurately, and stay on target with a mouse, keyboard, or joystick.
Best G416 Attachments for Control and Visibility
The modifications make this weapon work really well. The idea is to have better recoil control without making it harder to handle your gun or blocking your view in small spaces.
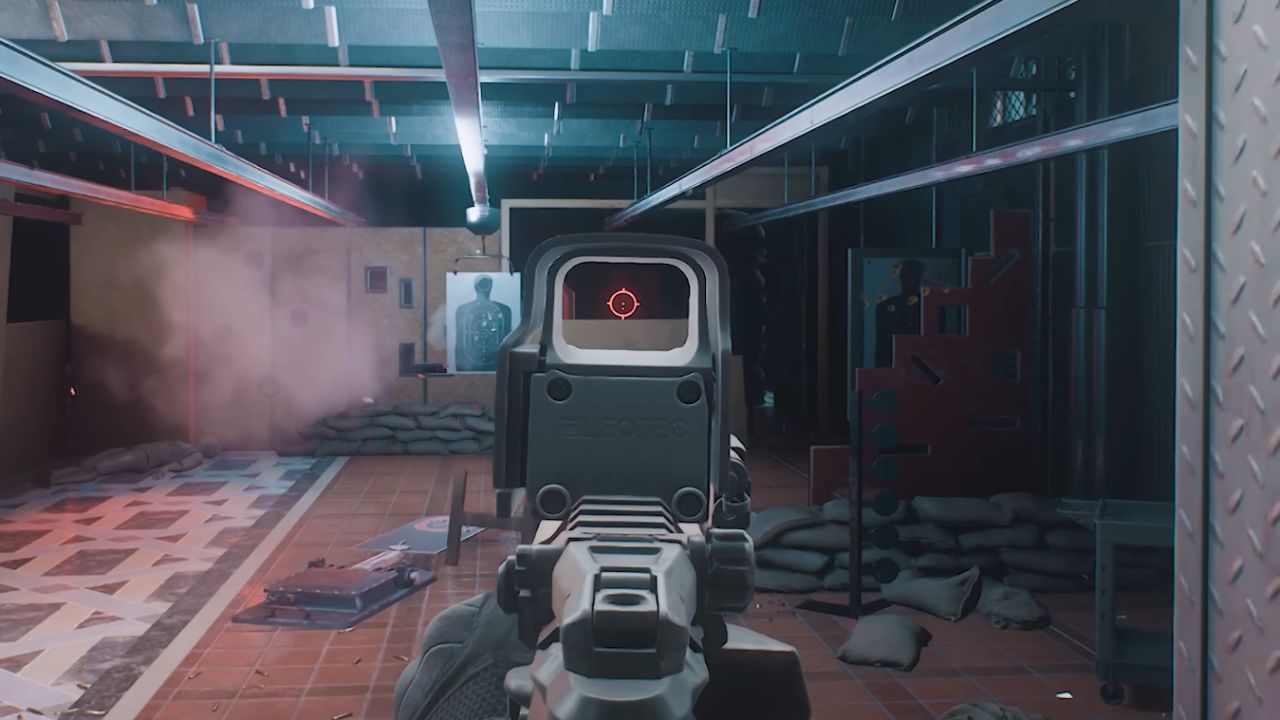
Optic: EXPS3 Holo Sight
You can aim more accurately and maintain focus while clearing a room with clean optics. The EXPS3 Holo Sight has a large viewing area and a clear circle-and-dot reticle.
It keeps your sight picture open. The SDR Sight, on the other hand, blocks your view and makes it hard to scan at close range.
Underbarrel: Angled Grip
The Angled Grip is a good fit because it lowers horizontal kickback by 20% and is easy to use. It speeds up aim-down-sight, so you can quickly focus on things that are dangerous.
When you shoot in bursts, it's usually easier to control vertical recoil. By lowering horizontal recoil, you may focus on this part of managing bursts.
Muzzle: SOCOM Suppressor or SFMB Brake
What matters most in your run will help you pick a muzzle. The SOCOM Suppressor cuts down on loudness and vertical recoil by roughly 10%. It also helps lower the tension level of the suspect with each shot, which can be important depending on the situation and the pace of the mission.
Some missions start with suspects already stressed, including Club, Hospital, and Elephant, so the suppressor's stress impact isn't always the main benefit there.
The SFMB Brake can cut vertical recoil by about 40% more than the other brakes if reducing recoil is the most important thing. That deal can make you feel like you have complete control, especially when you want the rifle to stay locked while you take quick follow-up rounds.
Rail Attachment: Flashlight
A weapon-mounted flashlight stays useful on every mission. A lot of places are dark enough to hide hazards, but not always dark enough to employ night vision all the time. A strong spotlight lets you see around corners, look into deep rooms, and see what you can see as you walk in.
Best Sidearm Choice: USP45
A sidearm matters most when there is no time to reload. That moment is when you need quick, clean stopping power. The G19 can hold more bullets, but the fact that 9mm bullets do less damage can be a problem if you need to use the gun right away.
The USP45 is the preferred choice here because the .45 caliber hits harder while remaining accurate with well-placed shots. It also keeps a respectable 12-round capacity, which is enough for most critical situations.
The USP45 can consistently take down suspects, even those wearing level two armor, usually with two good blows. It has a fire rate of about 500 rounds per minute, so it stays responsive when you need to shoot quickly.
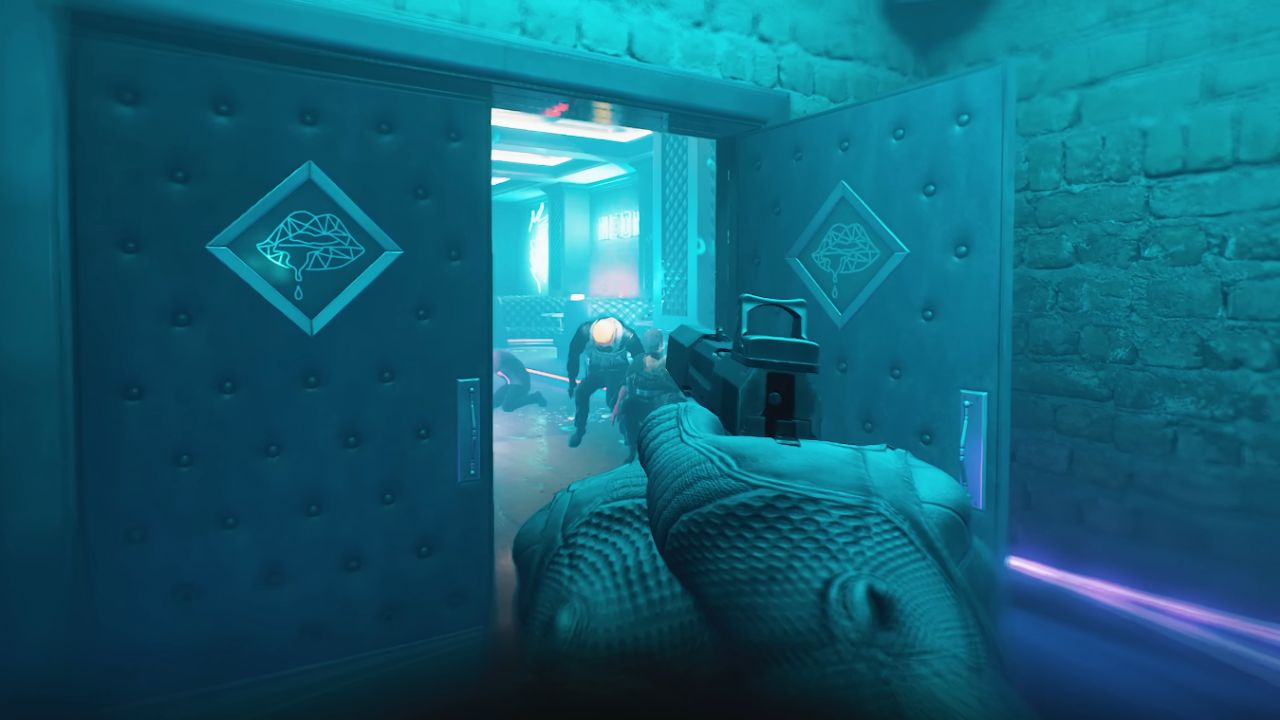
USP45 Attachments
The Standard Suppressor is the superior choice for the suppressor here because it reduces recoil by around 10% vertically, which is the most it can do.
The RMR Red Dot Sight lets you aim more quickly and accurately, plus it makes the pistol look cleaner when you need to change sights quickly. A flashlight is still an important attachment for your pistol when you need to control the light while moving about in tight spaces.
Best Armor and Vest Setup for Speed and Protection
Protection matters, but so do speed and flexibility. A strong recommendation is Light Armor with front and back plate coverage using Ceramic Plates.
Steel plates can make it feel like a bother to quickly move, return to cover, or clear areas without being clumsy. A lighter vest makes missions longer and battles more chaotic because it frees up space for ammo and other important gear.
Ammo Setup for Flexibility
The gun choice is meant to be flexible. You can adjust to face armor, close-range combat, or different ranges of combat if you take a mix of armor-piercing and JHP.
A balanced method for the main rifle uses three AP magazines and three JHP magazines. This way, you have enough ammo and can switch types when you need to.
One round of each type of ammo is normally enough for the sidearm since the gun isn't the main weapon and isn't used very much in a full run.
Tactical Grenades and Essential Tools
Flashbangs are still an important part of the kit, and bringing two of them gives you safe choices for doors where danger is present, stacked suspects, and high-risk pushes. Utility tools matter just as much as grenades, and wedges are a standout choice.
Wedges help stop flanks, control civilian movement, and prevent time-wasting chases caused by panicked civilians running into unknown areas. They also help lock down routes so you can clear with more confidence and fewer surprises.
Best Headwear and Vision Tools
Flash errors are common, especially when you're doing quick entries or disorganized pushes. If a flashbang hits in the wrong spot, Anti-Flash Goggles can help keep you safe, no matter if it was thrown by you or your teammate. A ballistic mask gives a little more protection, which can help if you get an unlucky hit to the head from lower-caliber rounds.
For visibility, Night Vision Goggles cover the darkest spaces where a standard flashlight is not enough. The White Phosphor option is a strong choice because it can feel clearer and easier to read when scanning rooms and spotting movement.
Also, check our other guides below:
Contributor, NoobFeed
Latest Articles
No Data.