
Ready or Not Beginner's Guide | Gameplay Tips & Tricks
A faster, clearer way to survive missions, avoid penalties, and earn better grades.
Game Guide by Faviyan Mustafiz on Dec 26, 2025
In Ready or Not, players get points for advancing slowly. You can keep secure by knowing a lot, making timely stops, and knowing when to use force.
If you conceive of each door as a threat and each suspect as a choice, missions seem more steady. The post talks about the habits, skills, and decisions that can help you get incredibly successful really quickly. It will be easy to learn the basics.
How Force And Scoring Really Work
Scoring has to do with control and restraint. You can lose points for using deadly force on a suspect who isn't a danger. Adding extra force on a compliant suspect can also hurt the findings. Arrests, not bodies, get better grades most of the time, so cuffs are just as important as aim.
A simple way to judge actions is the Use of Force Triangle. At the same time, you think about how people act, how they see things, and the tactical situation. What the person is doing is behavior. What you think is going on based on what you see and hear is called perception.
The tactical scenario includes the weather, the angles, the number of people, and how dangerous it is. When these two things match, it's easy to make choices and penalties go down.
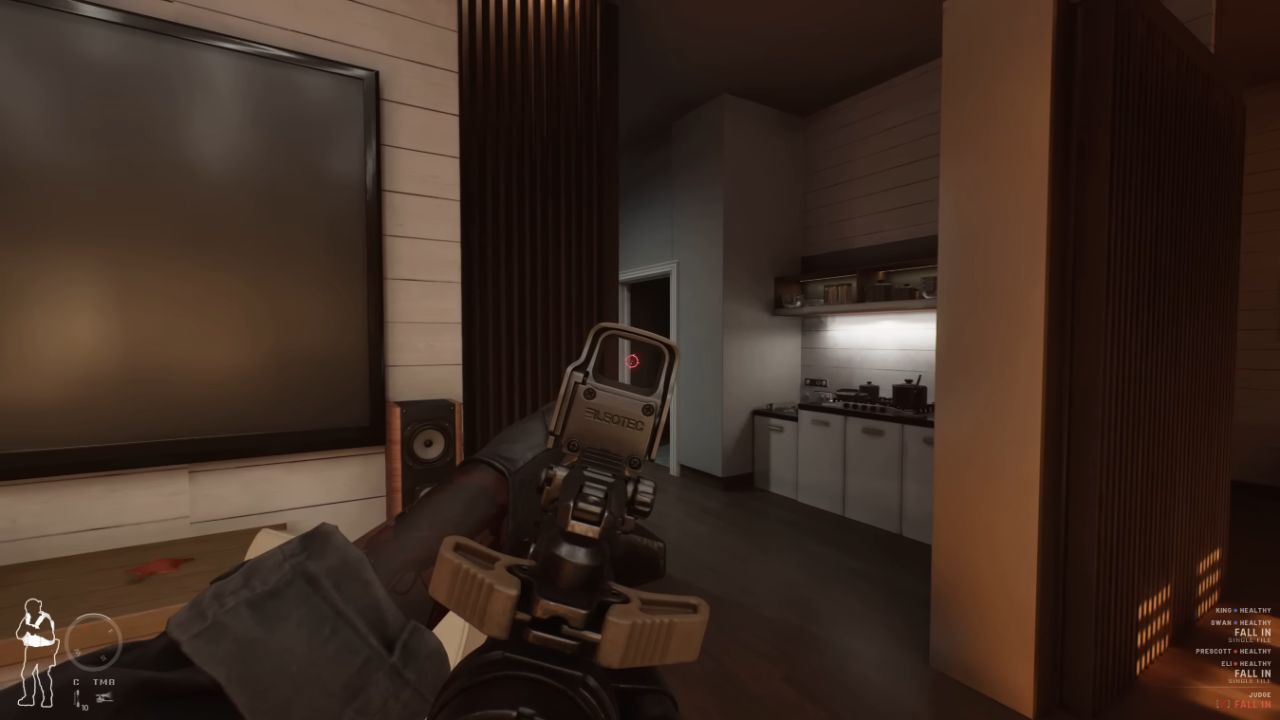
Choose The Right Mode Before Grinding
The best method to grow is in Commander Mode. It causes long-term stress on the system since officers can be lost for good. Over time, frustration can build up in a team, and untidy work might make later runs harder.
Quick Play is good for fast runs, but mission access is usually tied to what has been unlocked through Commander Mode. Multiplayer Mode is co-op, and it can be played solo, but it does not provide AI teammates. That makes solo Multiplayer Mode much more dangerous than a normal single-player run.
A Strong Beginner Loadout That Works Anywhere
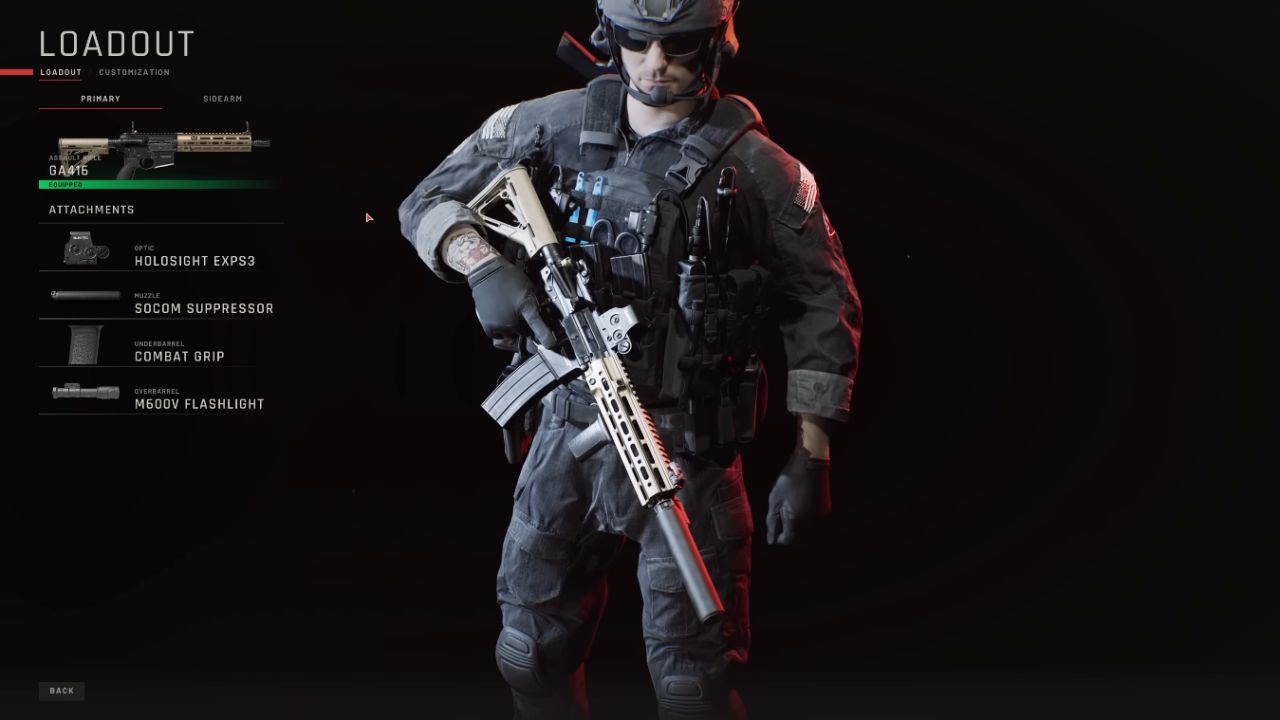
Starting with a gun is best. It handles defense better than many other SMGs, and it works well on most maps. The GA416 is a safe and easy-to-use device that comes with a Holo sight, a SOCOM silencer, a combat grip, and a flashlight. This build helps you control recoil and easily spot your target in the dark.
The Glock 19 with a flashlight is a reliable sidearm. When capacity and armor performance are more important, the 57 USG is also helpful. A flashlight is usually better than a laser that you can see since it lets you see threats immediately away. An infrared laser is more useful when you use Night Vision a lot.
Armor, Plates, And Ammo Choices That Save Runs
Light armor is a nice place to start. You can carry more things and still be flexible. When you have heavy armor on, it's hard to change your loadout quickly, and a stab vest won't keep you safe enough when the bullets start flying.
Plates are important. The standard that is safer is to have a front plate and a back plate. People generally choose ceramic plates over steel plates since they don't have the same risk of spalling. The ammo should fit the mission. AP rounds work better against people in armor. JHP rounds operate best when armor isn't expected to be present.
Control The Map With Door Wedges And Info Tools
The Mirror Gun is one of the best things you can have to stay alive. It cuts down on random entries and helps you plan your next move. Seeing a suspect, a civilian, or a trap before opening a door makes things less chaotic and keeps the squad safe.
Door wedges help control routes and stop sides. Since they can be taken off and used again, they stay useful for the entire task. When doors are properly blocked, the building is easier to read and safer to clear.
Breach Safely By Respecting Traps
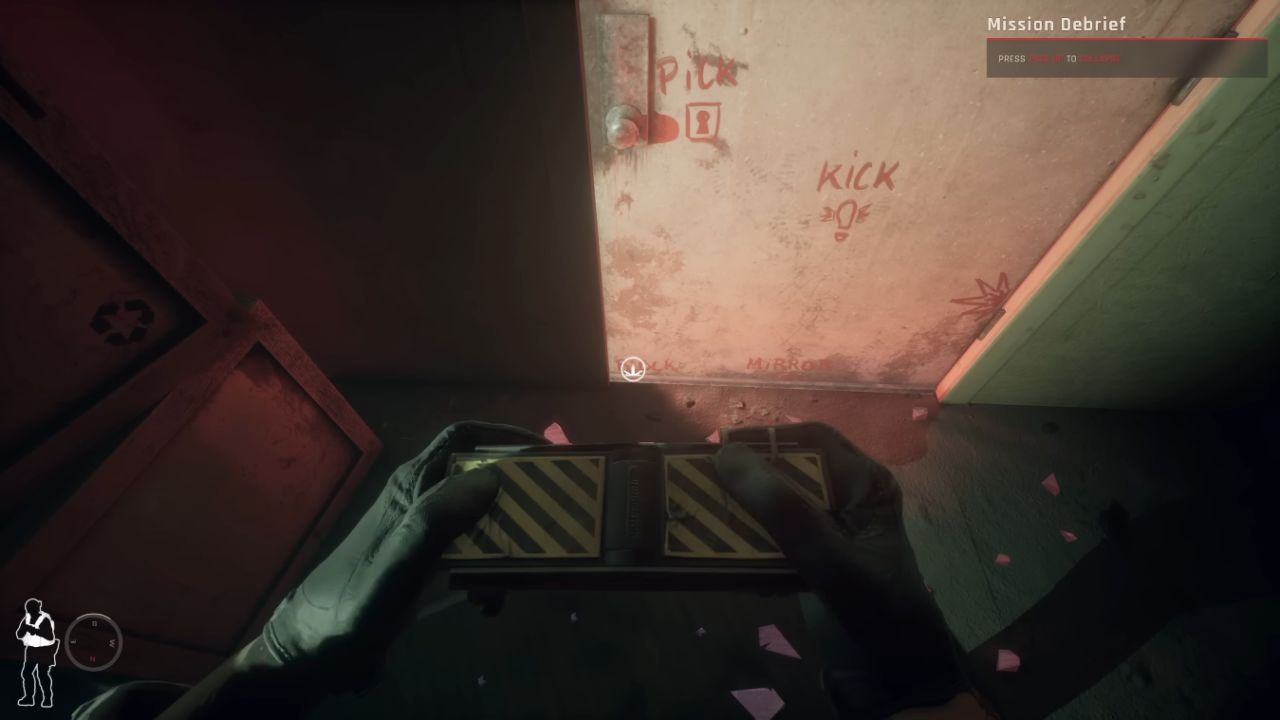
Checking the trap should be a regular thing, not something that is done only sometimes. Scan with the Mirror Gun first, then slowly open it. Opening the door a little and looking again is a good way to do this. A second look stops cheap deaths because wires can be hidden by lights and angles.
A C2 Charge can help with faster entry, but make sure to space correctly. If something goes off, staying back lowers the risk. Once it's clear there is a trap, removal is no longer a guess, but a planned move.
Move, Mark, And Clear Without Getting Lost
There isn't a real run, so it can feel like the movement is slow. Low Ready and High Ready help you stay ready while you move faster. This maintains smooth changes without losing power over them.
In big spaces, Chem Lights can show which areas are safe and help people avoid getting mixed up. Memory can be helped by dropping one close to an opening, but it shouldn't be used instead of security. People who were cleared as not being suspects may not be safe forever, since suspects can still change.
Use AI Commands And Double Breaches For Better Control
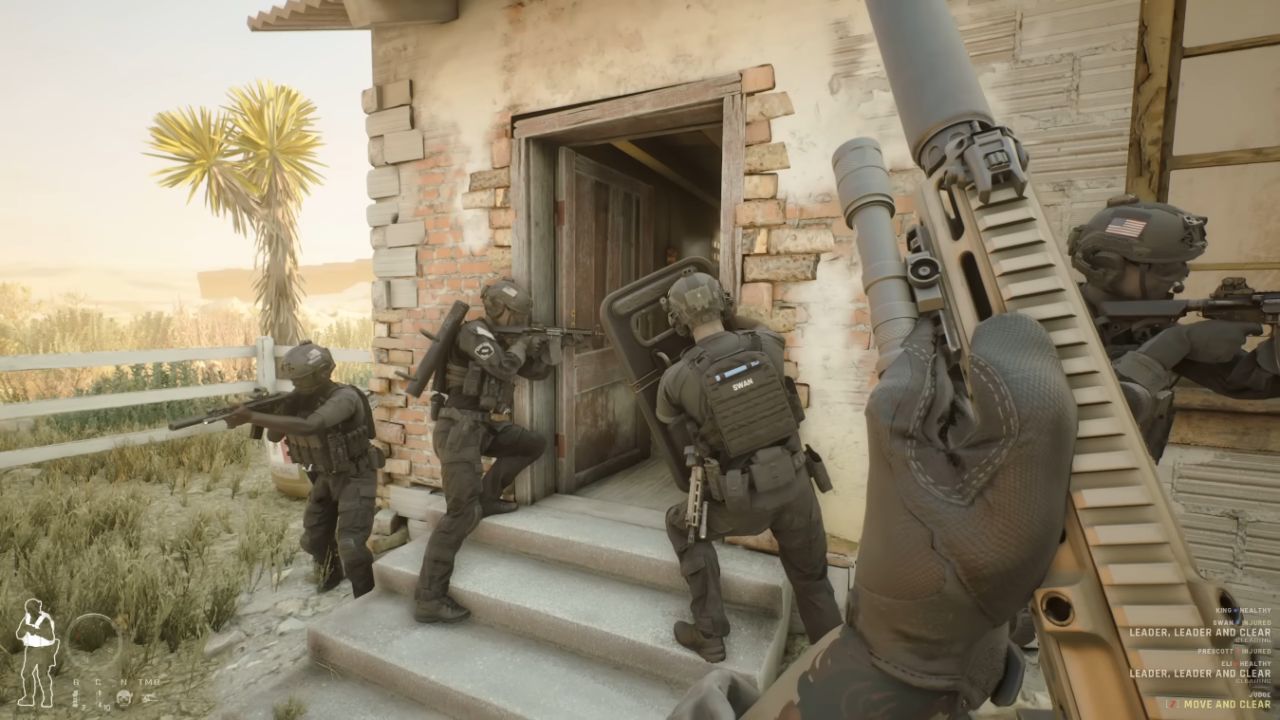
AI teammates get better when they get the same easy orders over and over. Get going. To put the team where you need help. Fall In resets the arrangement when the spacing is off. Dividing into Red Team and Blue Team helps hold angles and get into places more safely.
A Double Breach can help make places that are hard to get into safer. Because two teams came into the same place through two separate doors, suspects had to act quickly instead of just waiting at one door. When you do something, it's important. When both stacks are ready, work together to clear the room quickly and neatly.
Objectives, Arrests, And Clean Finishes
Most missions have two basic goals: Bring Order To Chaos and Save All Civilians. Check the in-game Tablet to make sure you don't miss any important chores. Some missions have hidden goals, and if you miss them, you could not get the best total score, even if you did the assignment perfectly.
Securing the scene is part of winning. Cuff suspects even when they look down. A suspect can recover and attack again. Also, make sure that dropped guns can't be picked up and used later. More arrests and fewer injuries that don't need to happen generally mean better grades and more success.
Less-Lethal Tools Need Discipline
Runs with less-lethal weapons can help with scoring, but the tools need to be used carefully. The VPL-25 can take hits over and over to get people to do what it wants, so managing ammo is important. It works best when you control the distance and keep the pressure the same.
The Beanbag Shotgun can quickly stop suspects, but it is very important to hit them. If you place something incorrectly, it can lead to death, which can ruin a clean run. Less-lethal tactics work the way they are supposed to when people are calm, focused, and in control of their shots.
Also, check our other guides below:
Contributor, NoobFeed
Latest Articles
No Data.