

Ready or Not Guide | AI Teammate Commands And Squad Control
Learn how to control SWAT AI faster, clear rooms safer, and run clean split entries with the right command flow.
Game Guide by Ornstein on Dec 27, 2025
Ready or Not can feel like a chore when you play by yourself, until your AI friends begin to act like real people. The best way to get better is to learn the Team Menu, how the Red and Blue Teams work, and how to match your pushes with queued orders.
This article breaks out the whole command logic in simple terms, so you can give clear directions, get information, and clear quickly without losing control of the room.

How The Team Menu Works
Every command starts with the Team Menu. Bind it to a button you can hit quickly, since it's used constantly. When the menu text is gold, the command is going to the whole element.
There are four officers on each team: Alpha, Bravo, Charlie, and Delta. Alpha and Bravo make up the Red Team, and Charlie and Delta make up the Blue Team. You can choose who gets the order by cycling through Gold Team, Red Team, and Blue Team.
Core Squad Commands You Will Use Most
Search Room, Move To, Fall In, Cover, Hold, and Deploy are the most popular choices in open areas. They work, but the nicest part about them is that you can always count on them. You can stop movement with Hold, change the perspective with Cover, and set the element's location with Move To when you need to take command. Fall In keeps the area small.
Bombs and other helpful tools are easily accessible using Deploy. Search Room speeds up the cleaning process while providing proof and avoiding unpleasant surprises by identifying and removing people and weapons that could be dangerous.
Fall In Formations And Why They Matter
Entering is more than just "following." Forms can be swapped to suit the available area. The line stays tight for narrow hallways using Single File. For hallways with more space, use the double file.
Diamond and Wedge are good choices when you need a bigger covering, and you're busy. The shape choice affects the element's reaction time when it comes into contact with something, especially in open areas and at sharp angles.
Deploy Options Depend On Loadout
When you deploy an element, you gain access to its contents. No option will be available if an AI Teammate does not equip an item.
Flashbang, Stinger, CS Gas, Chemlight, and Ballistic Shield are frequently available for deployment. Still, they can only be used if they are allocated to your loadout. If you request CS Gas and no one has any on hand, your plan will fail.
 x
x
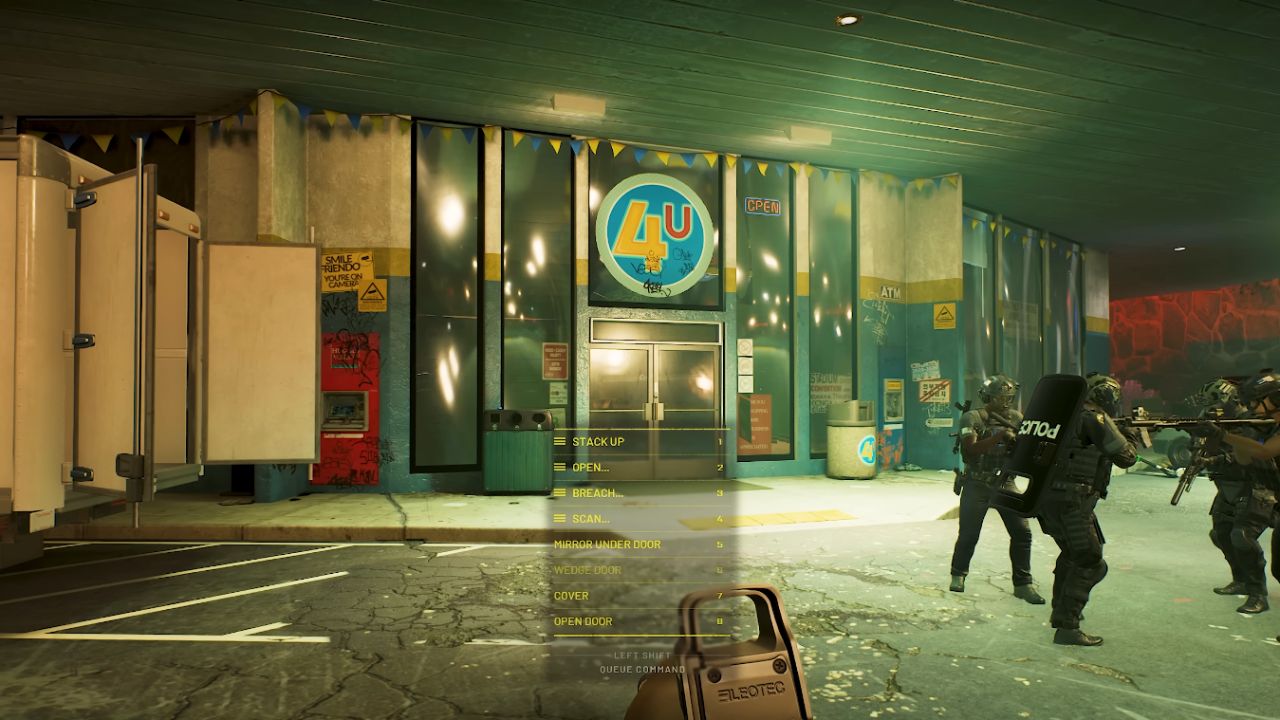
Doorway Commands Change Everything
A menu with entry-related choices appears when you choose the aim point command on a door or doorway. Since room clearance relies on this, it is the most important item to understand.
Scan, Stack Up, Open, Breach, Mirror Under Door, and Wedge Door are the core doorway set. The system can perceive your goals, and new control options become available when doors open.
Stack Up Options For Clean Entries
Stack Up allows you set up the piece before you push it. You can stack on the left or right, or select Auto to have the element fill gaps automatically. This is the part that gets everything else in order, so the rest of the steps may be completed more easily. When the Stack is neat, timing explosives is easier, teammates are less likely to become disoriented, and crossfire is reduced.
Open And Clear Variations
People enjoy having options, so let them choose how to clear, even if it's easy to open. Open and Clear makes sure that the thing can fit through the door and leave the room.
Some of the different ways to add crowd control to the entry are Open and Clear with Flashbang, Open and Clear with Stinger, and Open and Clear with Gas. There are also leader-style options in which the part does not move until you do. If you want to take the first angle and have them follow, this is useful.
Breach Options And What They Signal
Breach makes it easier to get in faster. Breach Kick, Breach C2, and Breach Ram are some of the most popular options. If the element doesn't have the right tool, like a Breaching Shotgun, some alternatives may be grayed out.
A breach menu can also include a second layer that connects to it. In this layer, you first pick the breach method, then the clearing method. For example, you could choose Breach Kick into Clear With Flashbang. This is the quickest way to call a complete entry sequence in one go.
Scan For Quick Intel Before You Commit
A scan is a safer approach to get information before you go inside. An officer can use options like Slide, Pie, or Peek to open the door a little and examine the angles before rushing in, not knowing what they're getting into. This helps you identify potential risks and provides a rapid verbal overview of what's inside, which makes the following command more precise.
Mirror Under Door With The Optiwand
You can order Mirror Under Door to check the opposite side without opening it if the element contains an Optiwand, also called a Mirror Gun. The officer uses the tool and then calls out what he sees. This is a good approach to double-check contacts and stop bad pushes into rooms you don't know.
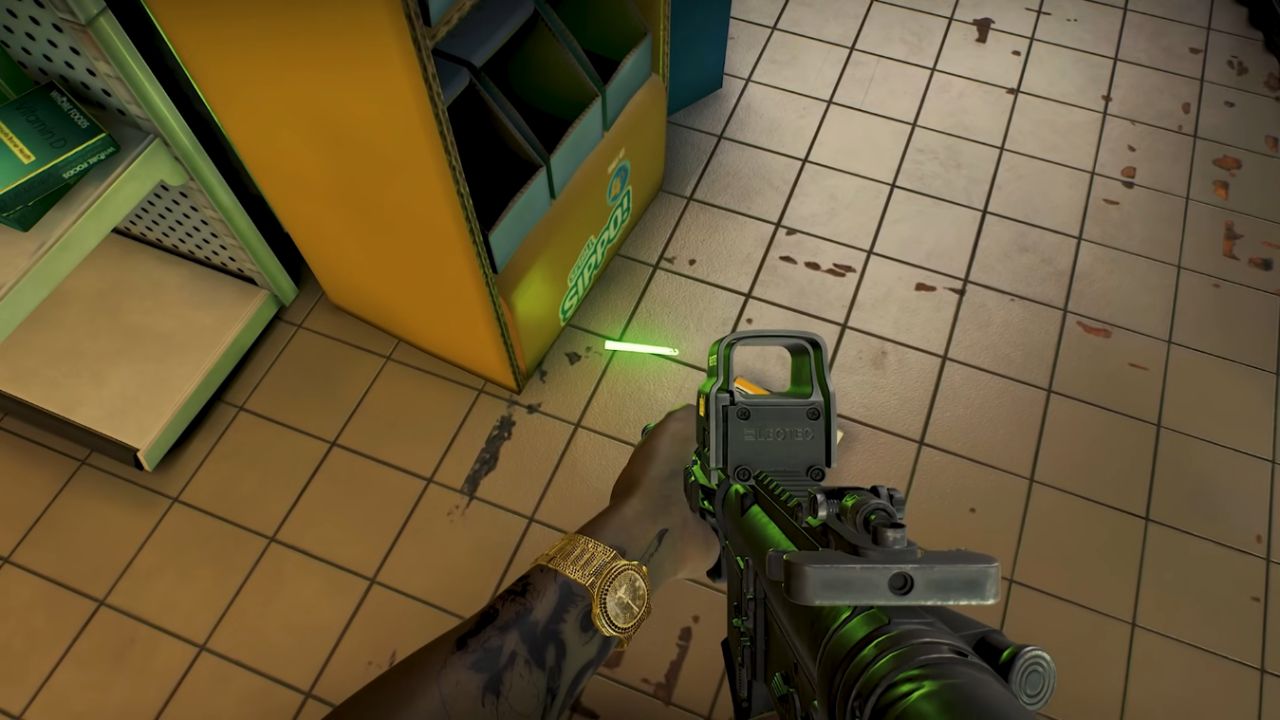
Using Chemlights As A Clear-Room Signal
Watching for a dropped Chemlight following a clear is a quick method to see how far you've come. The element can indicate the entry is complete and the room is secure. This makes it easy to go back, cuts down on confusion on bigger maps, and helps you avoid clearing the same area again when things get tense.
Search Room To Secure Weapons And Evidence
Search Room helps you accomplish the task after you get in touch. The aspect looks for fallen weapons and evidence that isn't safe, which could cost you control later. This also helps identify cases where suspects or civilians haven't yet been dealt with correctly. Using it often keeps rooms clean, not simply "quiet."
Advanced Control With Queue And Execute
Once you get used to basic commands, the next step is to learn about queued orders. You can put a command in a queue so that the element moves to the right place and waits for you to click Execute. This is how you make timing.
It's great for doors because you can set up a stack, pick the exact type of entry, and then start it when you're ready. Many people say this strategy is the most important part of synchronized entry, especially when both teams are ready.
Split Team Entries With Red Team And Blue Team
Dividing the element affects how you clear large areas. You can put Blue Team in line to run an entry like Open And Clear With Flashbang, and then put Red Team in line to run another entry like Open And Clear With Stinger. You can either execute from the Gold Team at the same time or execute one team first and hold off the other.
Timing A Two-Door Push For Better Control
An emerging pattern is to advance with one entry while diverting attention with the other. Everyone in the room is startled and distracted by a flash entry.
People who are suspected of something can be seen moving forward, turning, or stopping by a second group approaching from a different direction. This works best in big dining rooms, halls, and rooms with more than one door. That way, if the push goes only one way, no one will sneak past you from the other angles.

Handling Locked Doors During Queued Commands
If the door is locked, queued commands might not work. A team can stage for Open and Clear, check the door, and then say that it is locked. At that time, the activity that is waiting will not finish. The solution is easy.
Cancel the in-line order. Then, choose a method that works for you, such as Pick Lock or a breach method like Breach Kick. This is quicker than the other way, and it stops the element from freezing in a bad place while threats move.
Putting The System Together In Real Runs
The beat of a smooth run is usually the same. You can stack the piece with Stack Up and then use the Optiwand to acquire information by scanning or mirroring under the door. Finally, choose an Open or Breach entry that matches the level of danger.
If you're not sure if you're following the rules, use Deploy to add Flashbang, Stinger, or CS Gas. After you have possession of the room, use Search Room to find a Chemlight mark to maintain the area clean.
Rooms with mixed contacts get messy quickly. Suspects can stay close to people, and things can get out of hand very quickly if entry timing is off.
Clean commands lower panic, keep control of the situation, and make it less likely that a suspect will take a hostage if the clear is halted. The safer the flow of the entrance, the easier it is to get things under control before they get worse.
Also, check our other guides below:
Contributor, NoobFeed
Latest Articles
No Data.