
ROG Xbox Ally X SSD Upgrade Guide for More Storage
Detailed instructions for safely replacing the internal SSD on the ROG Xbox Ally X handheld console.
Hardware by Shinji Okazaki on Dec 20, 2025
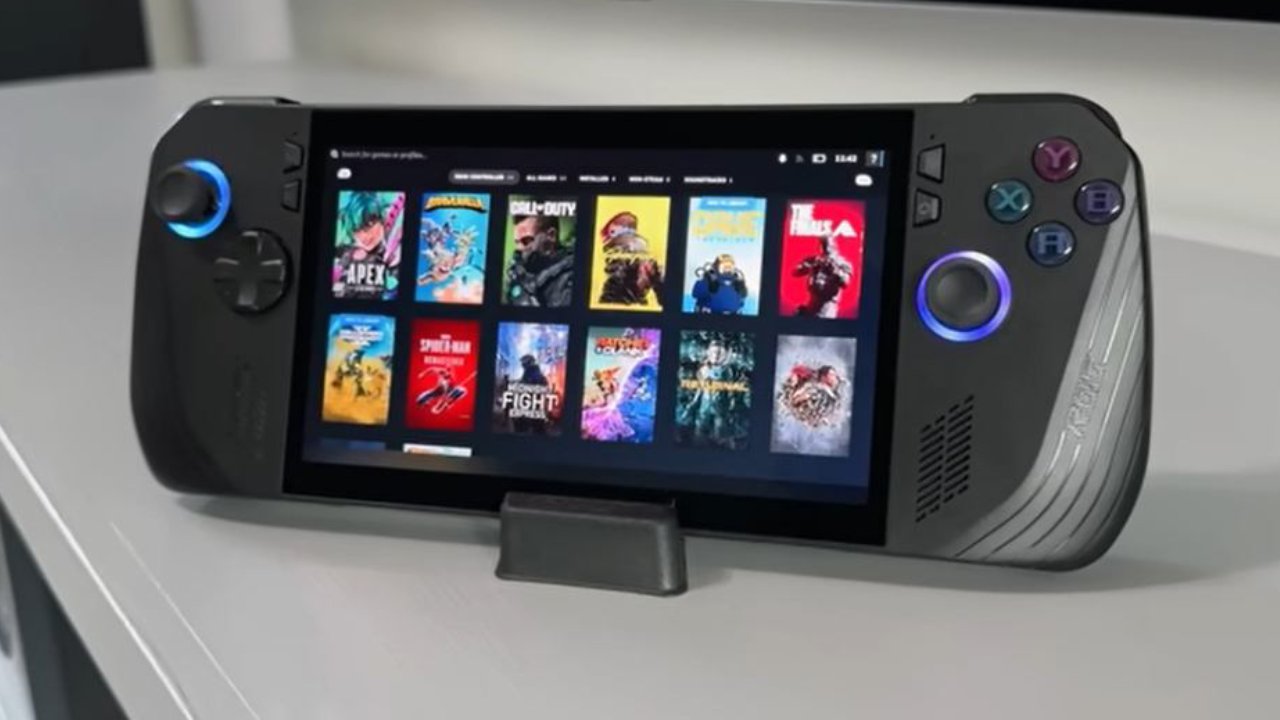
ROG Xbox Ally and Ally X offer ample storage for games. Still, people with large libraries may need more capacity. You can replace the SSD yourself with a suitable M.2 SSD and a Phillips-head screwdriver with a size 0 bit.
It is best to drain the battery to 25% or less and take out any microSD cards from the smartphone before you start. This reduces the risk of damage to external storage and makes disassembly safer.
.jpg)
Taking off the Back Panel
To begin, take out the five screws from the back panel and three more from the bottom of the device. Put all the screws in a safe place so they don't roll away. One of these screws is a captive pop-up screw that stays on the device and helps keep the case separated. After removing the screws, open the case a little so you can unclip the corners. You can carefully pull the two sides of the chassis apart with your fingers or a plastic shim, like a guitar pick.
When the clips are released, open the bottom cover like a clamshell. Don't apply too much force to the ribbon cable connecting the two sections. If you need extra room to work, you can either leave the cable connected or carefully unplug it.
Taking the Battery Out
Next, for safety, you need to detach the battery cable. You can pull the battery connector straight out of its socket on ROG Xbox Ally X. To disconnect the battery connector on the ROG Xbox Ally X, first slide the metal locking mechanism back, then raise the connector.
Changing out the SSD
After you unplug the battery, take off the M.2 screw that holds the original SSD in place. The drive will come out at an angle, making it easy to take out. Put the new M.2 SSD in the slot and make sure it fits snugly.
Some ROG Xbox Ally X versions have a short strip of conductive cloth under the SSD. If the battery is there, you have to unscrew it and take it out to get to and move this strip before putting in the new drive. If you took the battery out, put it back in its chamber after the SSD is fitted.
Putting the Device Back Together
To put everything back together, do the opposite of what you did before. Put the battery cable back in position, line up the bottom cover, and press lightly until all the clips snap back into place. To firmly secure the chassis, reinstall all the screws.
Final Thoughts
Windows needs to be installed on the new SSD after everything has been put back together. Remove all microSD cards, then plug the Ally into the wall with the included charger. To turn on the gadget, hold down the volume down button, then press the power button. The BIOS menu should appear when the system starts.
To leave simple mode, press the Y button. Then, go to the Advanced tab. Press A to start after choosing ASUS Cloud Recovery. To download the cloud recovery image, you need a Wi-Fi connection, and it may take a while. The device might need to restart several times during setup. Please don't stop it.
After the process is done, the gadget will be back to how it was when you first got it. After that, you can download games again and use the system as usual.
Also, check our other articles below :
- ASUS ROG Ally X Handheld Review: Double the Battery, Double the Comfort
- Nintendo Switch 2 Vs. Original Switch 1: A Full Comparison
- How To Connect A Camera And Join Voice Chat With Nintendo Switch 2
- Nintendo Switch 2 Review: Handheld Performance, Features & Value Breakdown
- ROG Xbox Ally X Vs. ROG Ally X: Display, Battery & Controls
- ASUS ROG Ally X vs. Steam Deck OLED: Display, Battery & Gaming Benchmarks
- MSI Claw 8 AI+ Review: Display, Controls & Gaming
- Nintendo Switch 2 vs. Steam Deck OLED: Gaming, Performance, Battery, Display and Value
- PlayStation Portal Review: Remote Play, Cloud Streaming & Travel Gaming
- PlayStation Portal vs. Lenovo Legion Go: Best Portable Gameplay
- Cyberpunk 2077 Patch 2.3 FPS Test on MSI Claw 8 AI+
Editor, NoobFeed
Gaming Hardware Updates
No Data.