
GRIME II Beginner’s Guide | Gameplay Tips & Tricks
Here's a gameplay tips and tricks, a beginner guide for GRIME II.
Game Guide by Rubaiyat Shihab on Apr 03, 2026
GRIME II doesn't explain itself. You get dropped into a strange, hostile world full of painted nails, giant pottery, and mutated teeth, and the game expects you to figure things out on your own. You play as a Formless — a creature that absorbs enemies and uses their biology as weapons. It sounds straightforward, but the early hours will grind you down if you don't know what you're doing. This guide covers everything the game doesn't bother to tell you, so you can stop respawning and start making progress.
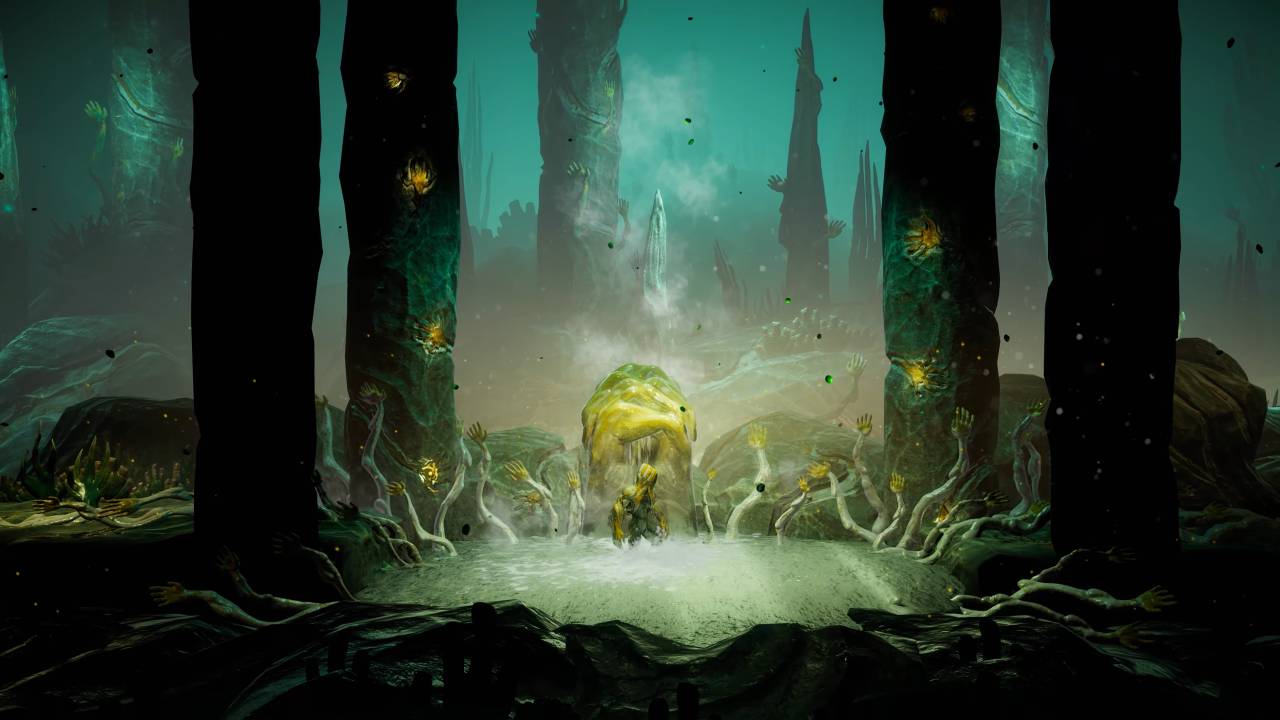
The World Will Try to Kill You in Ways You Don't Expect
There Is No Fall Damage
The game never tells you this, but you can fall from anywhere without taking damage. No matter how high the ledge is, you'll land fine. Drop down freely to find shortcuts and secrets. A lot of upgrade materials are hidden in places you'd only reach by jumping into what looks like a void. Don't hesitate — just drop.
The Floor Has Teeth
The ground is full of Spiked Fingers. These enemies look exactly like regular floor spikes, but they're alive. They stay still until you get close, then they snap at you. If a patch of spikes looks a little off or sits in a hallway that seems too empty, pull your weapon out before you walk through. Also watch for weak floors and platforms — stand on them too long and they break. Sometimes you fall into spikes when that happens, but breaking them on purpose is often how you reach hidden areas and stat upgrades.
Maps Are Locked Away
Basic cartography in GRIME 2 is hidden behind Seals scattered across the world. You won't automatically know where you are or where you're going. Exploration takes patience, and you'll second-guess every turn until you find them.
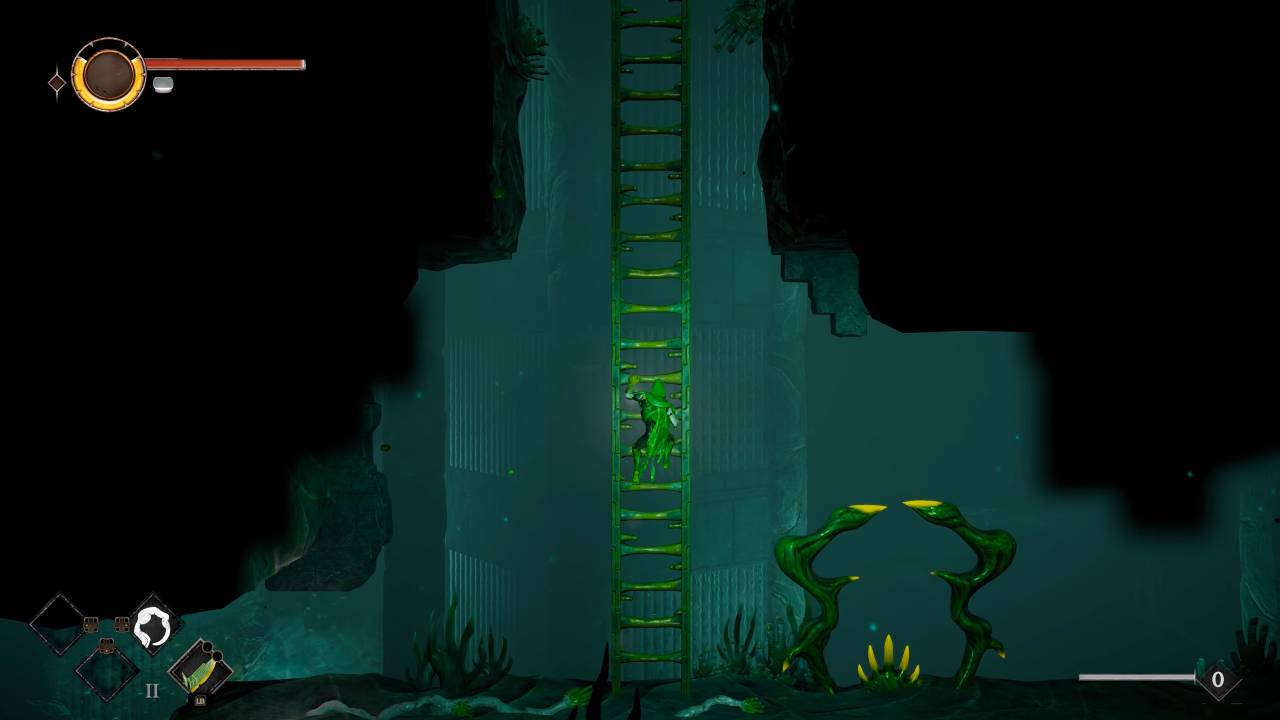
How Combat Actually Works
The Starting Weapon Is Worth Keeping
You get a Maul Axe at the beginning. It scales with both Strength and Dexterity, and it stays useful for the entire game if you're comfortable with its pace. The temptation to swap it out for something new is real, but don't give in too quickly. Give it time and it pays off.
You Have to Parry
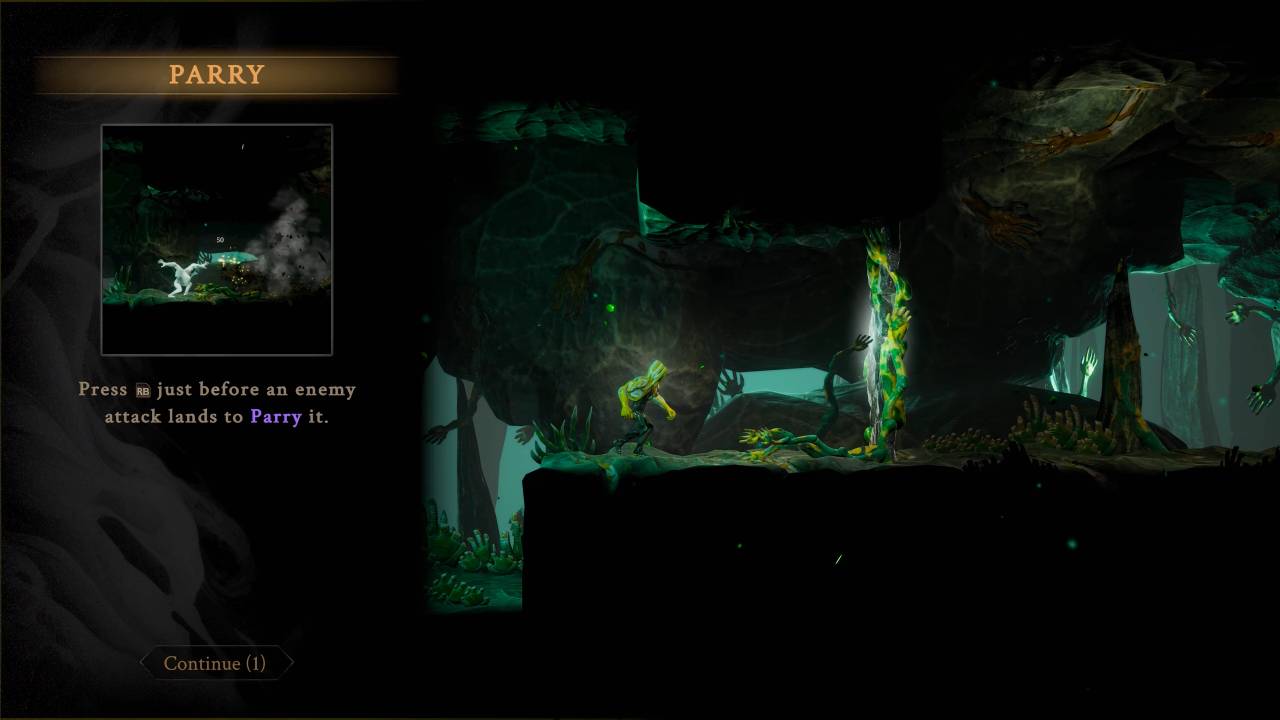
Dodging alone won't carry you through this game. Parrying in GRIME 2 does damage, staggers enemies, and breaks certain boss defenses. Learn the Grasp Counter early. It works as an alternative to a standard parry and opens up big damage windows. The timing is tight against tougher enemies, but getting used to it early makes a real difference later.
Healing Comes From Enemies
Healing items are scarce, especially early on. Your main healing resource is the Breath Charge, and you get it by targeting Breath Wards — the yellow section on certain enemy health bars. When an enemy's health drops below that yellow marker, use your Grasp ability to stun them and instantly recover a full Breath Charge. In any tough fight, the Breath Ward is your first priority. Missing it can mean losing all your progress.
Building Your Character Without Wasting Resources
Get the Handcloth Set First
Paint is the resource you spend to use Mold abilities. Early on, your Paint builds back up too slowly to use those abilities in regular fights. The fix is the Handcloth armor set. Wearing the full set speeds up Paint generation significantly. Find it as early as you can. Once you have it, you can actually experiment with your abilities instead of saving them for bosses.
How Stats and Respecs Work
The leveling system isn't explained well. The Force Meter can't be leveled directly, and Hunt Pigments go into a separate skill tree. Stats like Diverging and Pliability don't explain themselves either. If your build goes wrong, look for Prismatic Pearls. These items let you reset all your stat points and start fresh. They're not common, but there are enough in the world to fix a bad build before it becomes a real problem.
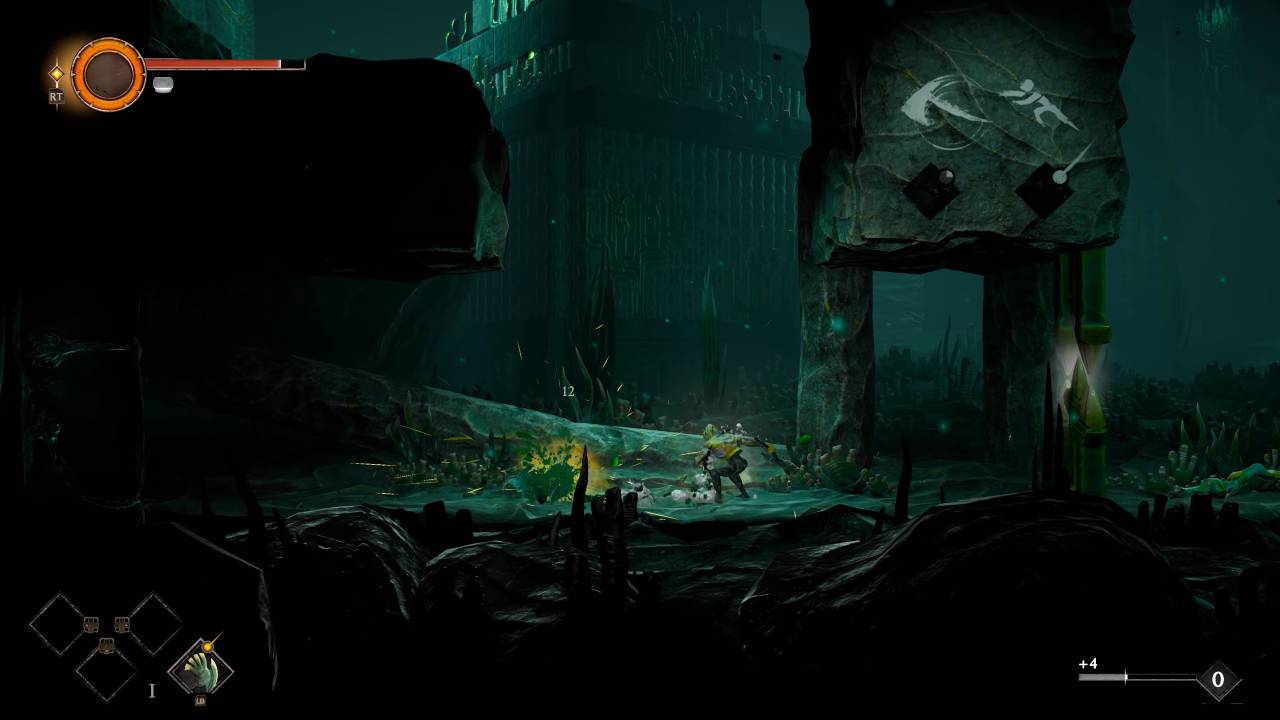
Enemies Worth Paying Attention To
Dropot Runners
Dropot Runners are unique enemies that don't respawn. They hit harder than everything else in their area, but they're worth going after. When you kill one, it drops an exclusive container. Take those containers to a merchant named Addo in Kankan. He trades them for upgrade materials and Item Molds that you can't get anywhere else.
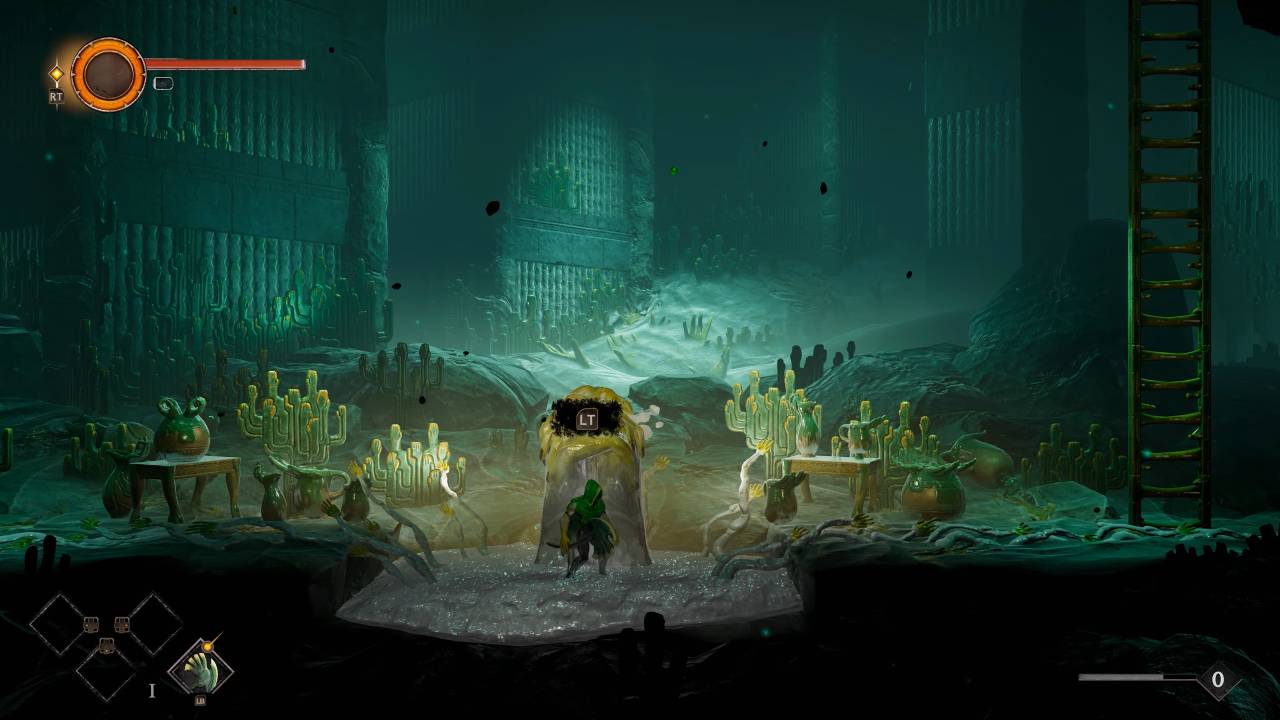
Understanding the Mold System
There are two types of Molds and they work differently.
Standard Molds trigger when an enemy's health bar reaches the white Mold Ward marker. Dash into the enemy to absorb a charge. Collect enough charges and you permanently unlock that enemy's form as an ability you can equip. These cost Paint to use.
Item Molds are single-use consumable skills. They don't cost Paint and their charges reset every time you rest at a Surrogate. If you find duplicate copies out in the world, your total uses per rest go up. Don't burn through them carelessly — treat them as backup tools for situations where your regular kit isn't cutting it.
Also, check our Grime II Review and other guides below:
- GRIME II Beginner’s Guide | Gameplay Tips & Tricks
- GRIME II Guide | How to Farm Best Early Molds
- GRIME II Guide | How to Enhance Weapons
- GRIME II Guide | Where To Get More Item Molds
- GRIME II Guide | How to Unlock The Map
- GRIME II Guide | How to Unlock Best Talents
- GRIME II Guide | How to Get Best Early Weapons
- GRIME II Guide | How All Stats Work
Editor, NoobFeed
Latest Articles
No Data.