
Hollow Knight: Silksong Guide | How to Beat Cogwork Dancers
Here's a guide on how to beat the Cogwork Dancers.
Game Guide by Mash Rahman on Oct 21, 2025
At the very top of the Citadel Coral Chambers lies one of Hollow Knight: Silksong's most beautiful and punishing boss battles—the Cogwork Dancers.
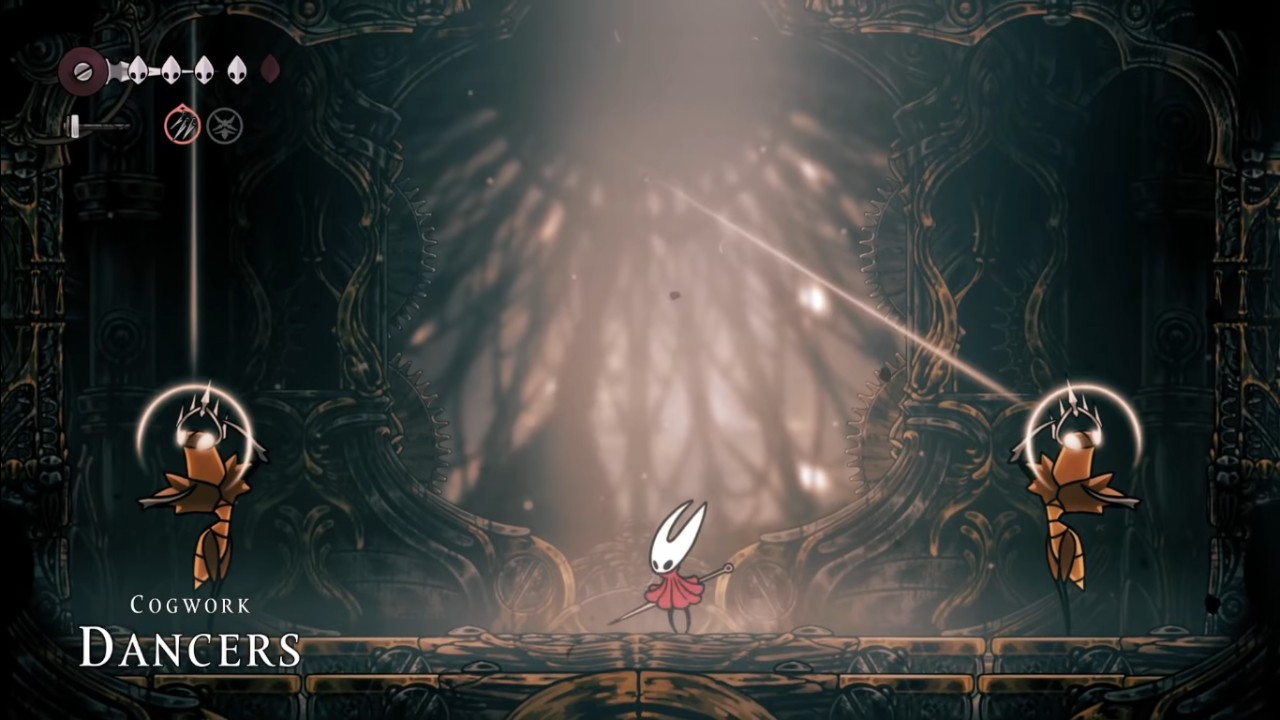
In this guide, I will help you beat the Cogwork Dancers.
As their name suggests, this duo dances with a mechanical rhythm that makes it seem like a warped performance, with each stride and swing precisely fitting into a lethal routine. It seems more like dancing than fighting, and the player has to be patient and precise.
When you initially arrive in the arena, you'll notice the stage-like setup— the blazing coral backgrounds and rhythmic banging of gears foreshadow what's in store. The Cogwork Dancers are designed to overwhelm through pattern identification and space management rather than sheer aggression. Their attacks appear formulaic to the naked eye, but the real danger lies in not knowing their range and coordination.
The fight starts off peacefully enough. Phase one simply acclimates you, so you can get a feel for their timing and movement. You'll see one dancer perform ground-slam attacks that create shockwaves on the floor.
The effect is visually misleading—the radius of effect is larger than it appears, and this catches many players off guard at first. Range is the trick here. If you catch one of them slamming down, even if you are positive you have space at the edge, take a little more room than you think you need. It is better to wait until the full animation finishes before moving in for a strike.
Movement control is the key here. Float or dash just out of range, then counterattack during the brief windows between their swipes. Their attacks feel soft at first, but positioning errors turn deadly in a flash. The latter half of the fight speeds up—a good metaphor for the "dance" theme that defines this battle.
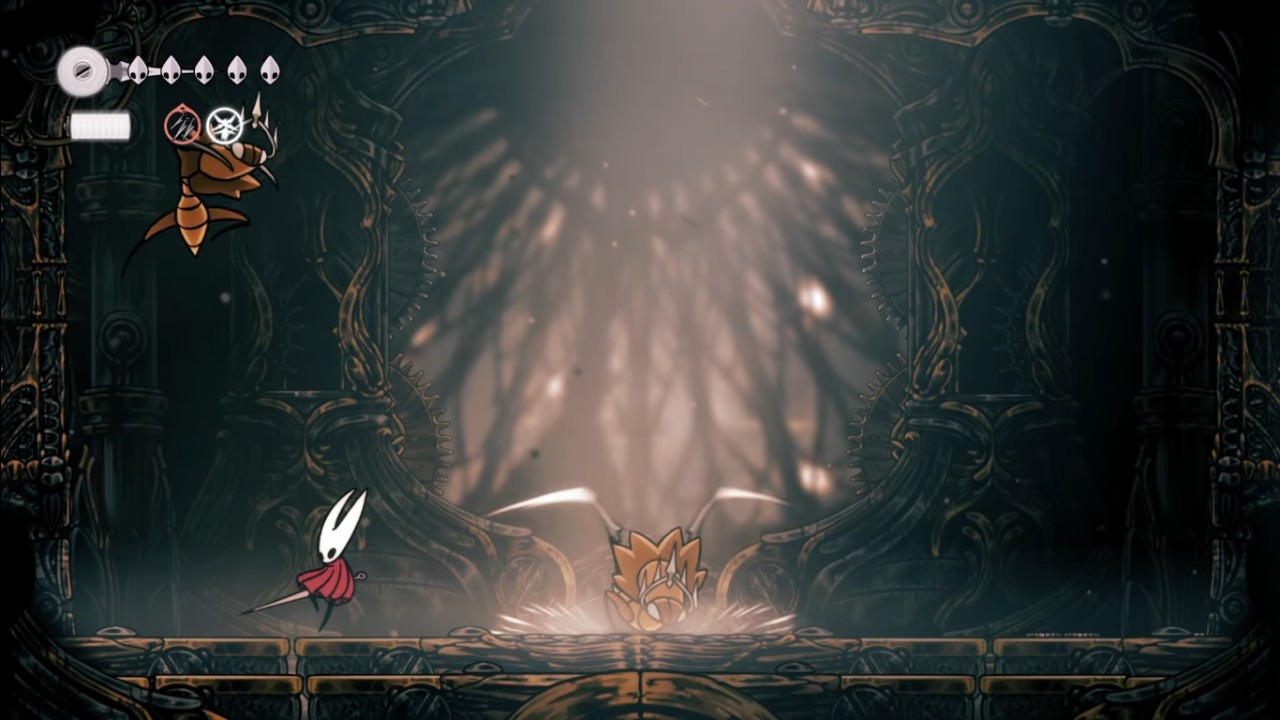
Phase two starts when their health bar dips below a certain level. The fight becomes faster, and the Dancers begin to sync their attacks, covering much more of the field. You'll start seeing sequences where they both attack simultaneously from opposite sides.
This is where panic often sets in, but the key to survival lies in spatial control. Try to hover near the middle of the arena—not too close to either wall. Briefly being in the middle frees you to go either way when the couple splits or comes together.
A common mistake at this juncture is being squished between the two when they collide. If you are trapped, rush or jump up as soon as you can—anything to reestablish your position. Getting squished here will most likely result in taking a hit, so defense over aggression is the motto at this point.
By this time, healing opportunities are slim. The safest time to heal is usually when a dancer teleports out and the other is recovering from an area slam. There is a brief moment after some area attacks where you can catch your breath for a second — or bandage up, provided you react in time.
When phase three begins, the tone of the fight entirely shifts. The Cogwork Dancers desynchronise, so you can no longer use mirrored timing on attacks. This is the most difficult portion of the fight and demands your full attention and sharp eye for movement lines. Their desynchronisation makes dodging a million times more difficult — attacks come in at random angles, and your head can no longer handle both sides simultaneously.
Patience is your greatest asset in this case. Don't try to sync with them — just rush down and observe the pattern intersections. The "dance" aspect becomes chaotic and random, but each attack still maintains a rhythm amid the chaos.
If you can observe the lines of travel and anticipate spacing, you'll find there are narrow, safe places between attacks. Standing in these places and responding only when necessary can enable you to weather the attack.
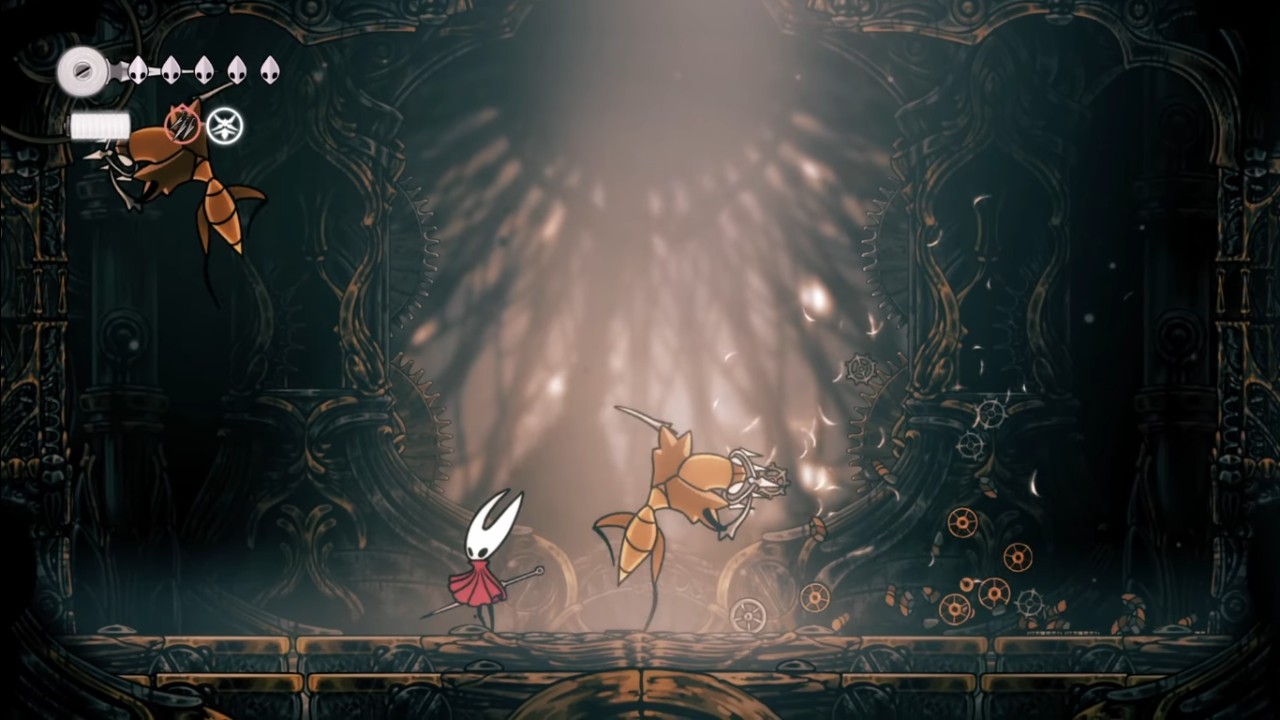
A helpful hint at this level is to pick a side of the arena. While staying in the centre was effective earlier, the randomness in phase three makes it easier for you to focus on a single direction. By hanging around one side, you reduce the number of angles you need to watch and create small, repetitive safety areas. You'll still be moving constantly, but the beat is more manageable once you stop trying to control the whole stage at once.
Expect to take a hit here — the third phase is actually designed to test your response, not your play. Healing windows don't exist, so be more about perfect dodges and less about attempting to heal. Remember, the longer you survive, the more their patterns you will start to understand. The third phase is a reward for watching rather than rushing.
Once you defeat phase three, you proceed to phase four, the emotional peak of the battle. One of the Dancers is killed, and the other remains to endure the battle alone. The atmosphere changes tremendously — the remaining partner fights in anger and grief, coupled with its rhythm, strange and out of control. It is a great work of wordless storytelling because the coordination of the erstwhile graceful twosome breaks down in the middle of grief.
The last stage is shorter but much more intense. The single dancer strikes harder, moving faster with an intense sense of desperation. Unpredictable transformations occur between attack types, but the arena is now almost sorrowful. The music, dance, and graphics combine into a final, tragic dance.
Keep light and at range whenever possible. Employ your aerial mobility — floating or wall-clinging can gain valuable seconds to heal or reposition yourself. Despite the difficulty spike, this phase is more emotionally engaging than mechanically challenging. The true challenge is staying composed after a long and punishing battle.
When you finally deal the death blow, the dancer collapses, and a somber silence falls in the room. The doors slowly creak open, and the dance is done. It's beautifully haunting — and something you're reminded of when you look at how Silksong is not just about combat mastery, but also about rhythm, emotion, and composure amidst challenge.
Beating the Cogwork Dancers isn't just a test of skill—it's a test of patience and pattern recognition. It's about learning how to move in time with danger, adjusting to the unexpected flow of battle, and mastering the choreography of combat. Once you learn the dance, you'll not only win, but you'll also have a better understanding of Team Cherry's careful design philosophy.
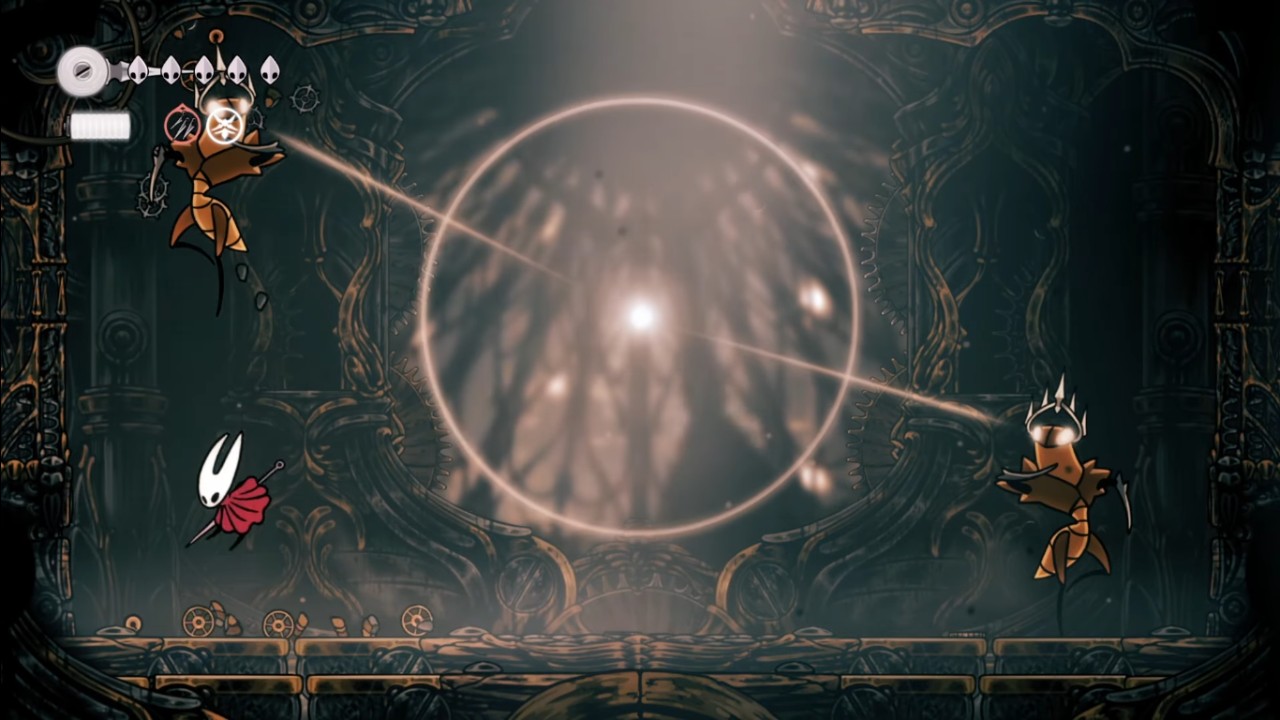
So after you do finally emerge from the Coral Chambers, take a moment. You did not simply survive battle—you performed within it. The Cogwork Dancers' set is a challenge and performance alike, one that reminds every player that even in stillness, Hollow Knight: Silksong has volumes to speak through motion.
Also, check our Hollow Knight: Silksong Review and other guides below:
- Hollow Knight: Silksong Guide | How to Beat the Clove Dancer
- Hollow Knight: Silksong Guide | How to Beat Disgraced Chef Lugoli
- Hollow Knight: Silksong Guide | How to Complete the Trail's End Quest
- Hollow Knight: Silksong Guide | How to Beat Grand Mother Silk
- Hollow Knight: Silksong Guide | How to Beat the Splinter Sister
- Hollow Knight: Silksong Guide | How to Get to the Widow Boss
- Hollow Knight: Silksong Guide | How to Get the Multibinder Tool
- Hollow Knight: Silksong Guide | How to Beat the Widow Boss
- Hollow Knight: Silksong Guide | How to Beat the Fourth Chorus Boss
- Hollow Knight: Silksong Guide | How to Find Eva
- Hollow Knight: Silksong Guide | How to Get Secret Weavelight
- Hollow Knight: Silksong Guide | How to Find Fields Memory Locket
- Hollow Knight: Silksong Guide | How to Get Wormways Map
- Hollow Knight: Silksong Guide | How to get Drifter's Cloak
- Hollow Knight: Silksong Guide | How To Get the Crest of the Witch
- Hollow Knight: Silksong Guide | How to Get the Volt Filaments
- Hollow Knight: Silksong Guide | How to Get the Voltvessels Tool
- Hollow Knight: Silksong Guide | How to Beat the Last Judge
- Hollow Knight: Silksong Guide | Which Path to Choose—Sinner's Road or Blasted Steps?
- Hollow Knight: Silksong Guide | How to Get All 4 Simple Keys
- Hollow Knight: Silksong Guide | How to Get the Crest of Architect
- Hollow Knight: Silksong Guide | How to Get Secret Ending
- Hollow Knight: Silksong | How to Get the Plasmium Phial
- Hollow Knight: Silksong Guide | How to Get the Crest of Beast
- Hollow Knight: Silksong Guide | How to find the High Halls map
- Hollow Knight: Silksong Guide | How to get the Reaper Crest
- Hollow Knight: Silksong Guide | How To Get All 8 Tool Pouch & Crafting Kit Upgrades
- Hollow Knight: Silksong Guide | How to Get the Rosary Canon
- Hollow Knight: Silksong Guide | How to Get the Silkshot
- Hollow Knight: Silksong Guide | How to Complete the Roach Guts Quest
- Hollow Knight: Silksong Beginner's Guide | Gameplay Tips & Tricks
- Hollow Knight: Silksong Guide | All Important Items
- Hollow Knight: Silksong Guide | How to Heal
- Hollow Knight: Silksong Guide | How to Use Pogo
- Hollow Knight: Silksong Guide | How to Find Deep Docks Map
- Hollow Knight: Silksong Guide | How to Complete Crawbug Clearing Wish
- Hollow Knight: Silksong Guide | How to Complete Silver Bells Wish
- Hollow Knight: Silksong Guide | How to Get Thread Strom Skill
- Hollow Knight: Silksong Guide | How to Get Cling Grip Ability
- Hollow Knight: Silksong Guide | How to Complete My Missing Brother Wish
- Hollow Knight: Silksong Guide | How to Complete Rite of the Pollip Wish
- Hollow Knight: Silksong Guide | How to Complete My Missing Courier Wish
- Hollow Knight: Silksong Guide | How to Complete Lost Fleas Wish
Contributor, NoobFeed
Latest Articles
No Data.