
Hollow Knight: Silksong Guide | How to Beat the High Halls boss
Here's a guide on how to beat the High Halls boss in Hollow Knight: Silksong
Game Guide by Mash Rahman on Oct 29, 2025
The High Halls in Hollow Knight: Silksong are some of the most challenging fight challenges in the game, where one miscalculation turns into disaster the moment it is made. The area is situated above the Citadel and is a brutal test of ability for individuals who have become too accustomed to Hornet's speed and fluid combat.
In this guide, I will help you through the High Halls boss in Hollow Knight: Silksong.
About the Fight
The battle tests your abilities at space management and target selection early on. The first stage comes in the form of lesser foes, and although they're harmless-looking, they're sly in how they make you snap into action. The most vexing of them all is a small, zipping foe that interrupts your rhythm and punishes careless aggression.
It's so easy to underestimate this opening stage and lose health; you'll be hard-pressed later on. The best tactic is to stay patient, play keep-away when needed, and use the Hunter Crest charm if available—its thrusting attack gives you decent reach and control. Try staying beneath enemies whenever possible; you'll find that many of their attacks are less threatening when you're underneath rather than directly in front.
Then comes the bell-wielding enemies—and these are the real test of awareness. Every bell they throw bounces unpredictably, creating chaos across the arena. Their bouncing trajectories can trick even the most experienced players into misjudging space.
It's no exaggeration that these bell carriers should be your top priority at all times. Disregard them for even a split second, and the arena turns into a sea of ringing bells, forcing you into stumpy dodges without the luxury of counterattacks.
Catch one sticking out, and rush in hard to slay it before it can build up too many bouncing projectiles. You may need to absorb a few hits along the way, but clearing them out quickly is well worth it in almost every case.
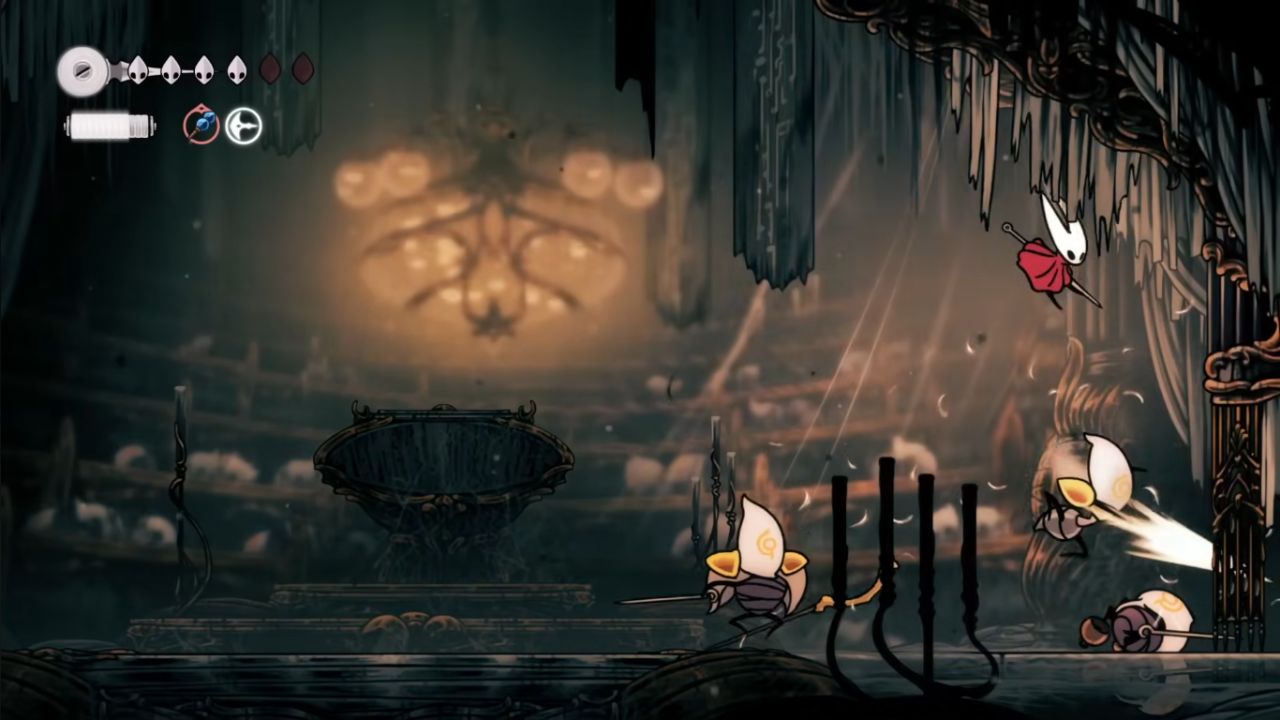
Following that, the middle part of the battle begins to seem more manageable—at least superficially. The key here is mastering each of the enemy's movement patterns and learning the timing of your dashes. A single dash gets you away from most of them, and you have a clean shot to retaliate.
Keep that rhythm going—attack, dash, reset—and you'll coast through those stages without much harm. What can make this part fatally deceptive is fatigue; the distance and length of the battle can drain you, so panicking and rushing aren't options.
As the fight progresses, you will have to handle sets of enemies at the same time, and you will have to alternate between attacking and defensive modes. It is easy to become anxious when both melee fighters and bell users crowd the arena at once, but composure is important here.
You should always dispose of the bell users first before eliminating fliers or melee fighters. If you get overwhelmed, retreat to the back of the screen and heal in brief periods rather than waiting for a gap to open up —the enemies move fast enough that delay can prove lethal.
Once you've battled through those waves, the final stage begins, and here's where the real challenge commences. Two top-tier enemies appear at the same time, and they support each other in such a manner that the battle is reminiscent of a crazy dance. There isn't a straightforward tactic for this section; it's completely adaptable.
When they're on opposite sides, you're always switching attention back and forth between them, wondering which one's going to charge in next. Trying to "pick a favorite" or corner one on your own will likely land you in hot water, since the idle one will catch you attempting to do so at the moment you try.
The secret here is to reactively fight, not proactively. Read one opponent's movement, nip them with opportunistic burst attacks, then dash off before the other gets a shot in at you. If both of them are on the same side, it may appear safer at first—but that is typically a setup.
Their pokes overlap and pin you in, so make sure to check where your escape paths are. Pogo striking and jumping are among the better ways to stay mobile and deal damage. Hornet's pogo attacks, when combined with the Hunter Needle, give you just enough range to hit enemies without taking damage yourself.
What makes this last stage so brutal, though, is how it makes you abandon predictable rhythms. The fight doesn't pay off for repetition—it pays off for smooth improvisation. You'll need to constantly adjust your positioning, alternate between aerial combat and grounded dodges, and sometimes even make risky heals in the middle of chaos.
When both enemies are active, it's not about trying to "outplay" them in a traditional sense. It's about surviving their patterns long enough to chip away at their health through small, controlled bursts of damage.
Mentally, it's best to think of the fight as controlled chaos. You're not trying to overwhelm the enemies; you're learning how to exist in their whirling storm of attack. Each exchange is a small victory.
Each successful dodge or being able to execute two hits without taking one is an improvement. That's the thinking that helps you live through this fight—not expecting perfection, but finding consistency through flexibility.
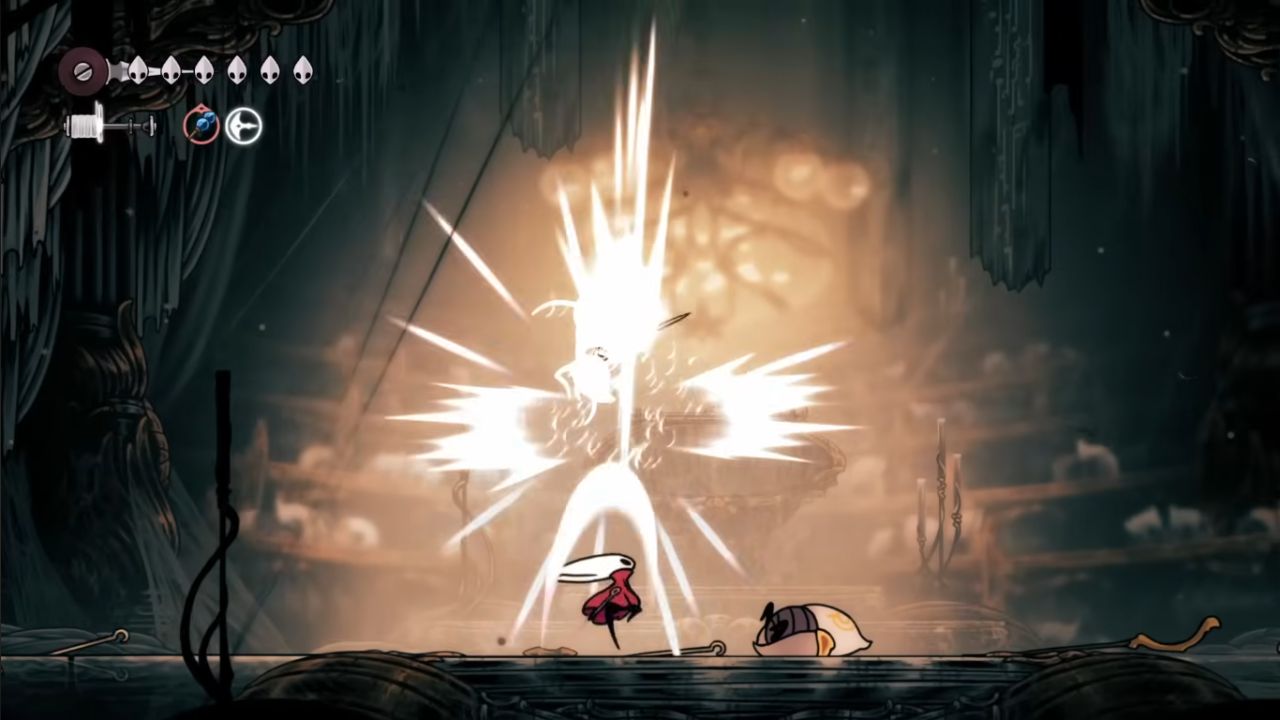
Later on, once the battle rages on, you are chipping away at the chaotic enemy one enemy at a time. Once one of them falls, the other becomes a lot easier to handle. You're able to start being more strategic with your positioning, pogoing over danger to reap gaps in their defenses.
Healing is easier, too, since there is less to deal with. It's worth noting that even with only one enemy remaining, the battle still requires attention; letting your guard down can negate all your effort. Keep your spacing tight, don't get greedy, and close out strong.
There's a certain cadence to the whole High Halls battle that makes it stand apart from most other battles in Silksong. It's not so much about learning a boss pattern and executing it as it is about responding to chaotic enemy movement. It's a realm of improvisation, reflexes, and endurance. You don't conquer it with brawn—you conquer it by keeping your cool when the screen is a whirlwind.
What you could use
Loadout-wise, bursting the Hunter Crest is a great choice because of the increased stab attack accuracy. It's useful for poke damage and offers an extra reach while pogo jumping.
Having some health-specific charms also helps a lot; there are only just enough tight spots in the early waves to fit in a quick heal if you watch out for positioning. More aggressive players will simply go for damage-increasing charms instead, but living is the priority over pure damage output here.
And that is the true lesson that the High Halls teaches you — patience rather than panic. The majority of players lose by trying to force openings instead of waiting for them. The battle against the boss is intended to punish tunnel vision and benefit vigilance. The best moves sometimes are just running out, waiting for the rhythm of the battle to shift, and attacking only when it seems safe.
The High Halls fight may not have the grand spectacle of a named boss like Lace or the elegance of the Sentinels, but it leaves its mark through sheer intensity. Every phase builds upon the last, testing everything you've learned so far. It's the kind of fight that humbles even seasoned Hollow Knight veterans and rewards persistence more than perfection.
So if you do get stuck here, remember: this fight isn't supposed to be fair; it's supposed to make you stronger. Take your time, learn its cadence, and don't be afraid to fail—fail—and fail again. Each attempt shows you something new about spacing, reaction time, or handling the arena's chaos.
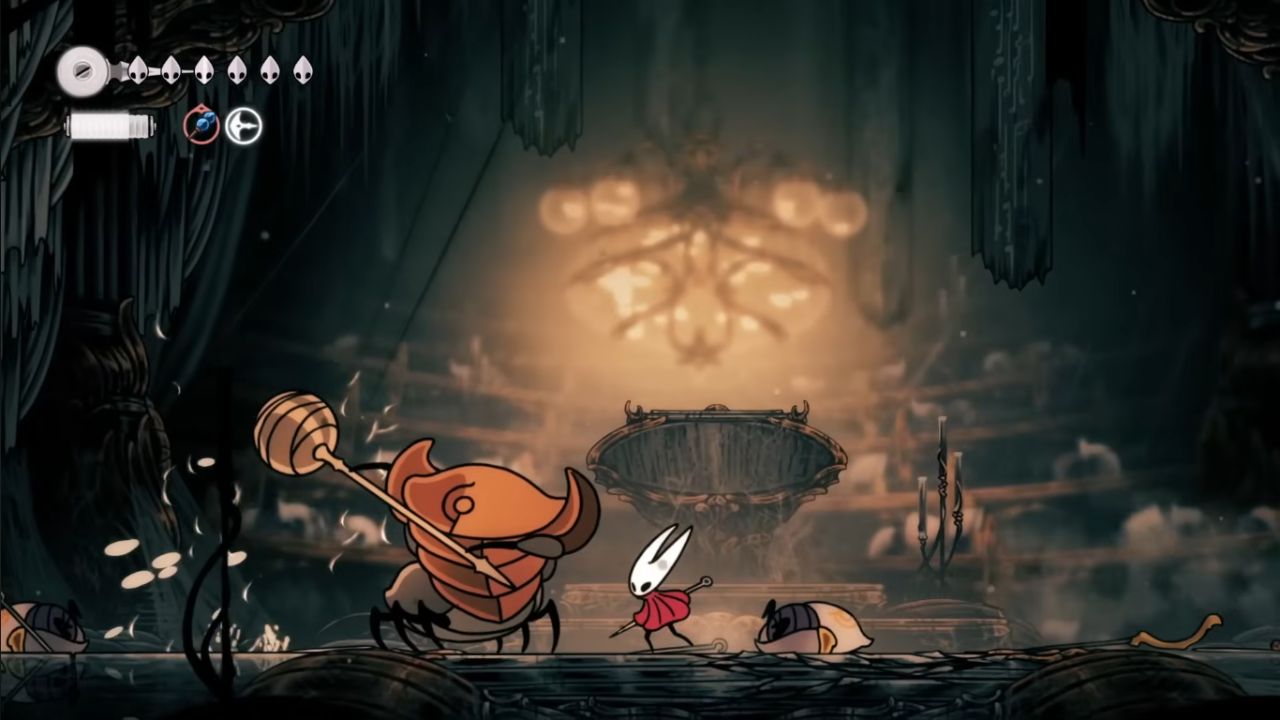
Ultimately, it all just gels—the movements, the dodges, the strikes—until something that was once impossible feels like second nature. That's the Silksong magic: it pushes you to exhaustion, but only for the best of reasons. The High Halls boss fight is an initiation through fire, and once mastered, you'll be smarter, faster, and ready to meet whatever ruthless challenge comes next.
Also, check our Hollow Knight: Silksong Review and other guides below:
- Hollow Knight: Silksong Guide | How to Beat the Second Sentinel
- Hollow Knight: Silksong Guide | How to Beat Groal the Great
- Hollow Knight: Silksong Guide | How to Beat Cogwork Dancers
- Hollow Knight: Silksong Guide | How to Beat the Clove Dancer
- Hollow Knight: Silksong Guide | How to Beat Disgraced Chef Lugoli
- Hollow Knight: Silksong Guide | How to Complete the Trail's End Quest
- Hollow Knight: Silksong Guide | How to Beat Grand Mother Silk
- Hollow Knight: Silksong Guide | How to Beat the Splinter Sister
- Hollow Knight: Silksong Guide | How to Get to the Widow Boss
- Hollow Knight: Silksong Guide | How to Get the Multibinder Tool
- Hollow Knight: Silksong Guide | How to Beat the Widow Boss
- Hollow Knight: Silksong Guide | How to Beat the Fourth Chorus Boss
- Hollow Knight: Silksong Guide | How to Find Eva
- Hollow Knight: Silksong Guide | How to Get Secret Weavelight
- Hollow Knight: Silksong Guide | How to Find Fields Memory Locket
- Hollow Knight: Silksong Guide | How to Get Wormways Map
- Hollow Knight: Silksong Guide | How to get Drifter's Cloak
- Hollow Knight: Silksong Guide | How To Get the Crest of the Witch
- Hollow Knight: Silksong Guide | How to Get the Volt Filaments
- Hollow Knight: Silksong Guide | How to Get the Voltvessels Tool
- Hollow Knight: Silksong Guide | How to Beat the Last Judge
- Hollow Knight: Silksong Guide | Which Path to Choose—Sinner's Road or Blasted Steps?
- Hollow Knight: Silksong Guide | How to Get All 4 Simple Keys
- Hollow Knight: Silksong Guide | How to Get the Crest of Architect
- Hollow Knight: Silksong Guide | How to Get Secret Ending
- Hollow Knight: Silksong | How to Get the Plasmium Phial
- Hollow Knight: Silksong Guide | How to Get the Crest of Beast
- Hollow Knight: Silksong Guide | How to find the High Halls map
- Hollow Knight: Silksong Guide | How to get the Reaper Crest
- Hollow Knight: Silksong Guide | How To Get All 8 Tool Pouch & Crafting Kit Upgrades
- Hollow Knight: Silksong Guide | How to Get the Rosary Canon
- Hollow Knight: Silksong Guide | How to Get the Silkshot
- Hollow Knight: Silksong Guide | How to Complete the Roach Guts Quest
- Hollow Knight: Silksong Beginner's Guide | Gameplay Tips & Tricks
- Hollow Knight: Silksong Guide | All Important Items
- Hollow Knight: Silksong Guide | How to Heal
- Hollow Knight: Silksong Guide | How to Use Pogo
- Hollow Knight: Silksong Guide | How to Find Deep Docks Map
- Hollow Knight: Silksong Guide | How to Complete Crawbug Clearing Wish
- Hollow Knight: Silksong Guide | How to Complete Silver Bells Wish
- Hollow Knight: Silksong Guide | How to Get Thread Strom Skill
- Hollow Knight: Silksong Guide | How to Get Cling Grip Ability
- Hollow Knight: Silksong Guide | How to Complete My Missing Brother Wish
- Hollow Knight: Silksong Guide | How to Complete Rite of the Pollip Wish
Contributor, NoobFeed
Latest Articles
No Data.