
The Killing Antidote Guide | All Chapter 2 Security Camera Locations
Here’s where to find all 32 security cameras in Chapter 2.
Game Guide by John Snow on Nov 15, 2026
Chapter 2 of The Killing Antidote adds a side objective to destroy 30 security cameras. The level actually has 32, so you can miss two and still finish. Hitting 30 unlocks a purple bow corset.
The red-laser turret cameras are a separate objective and don’t count here. Cameras like to hide high in corners and above doorways, so keep looking up.
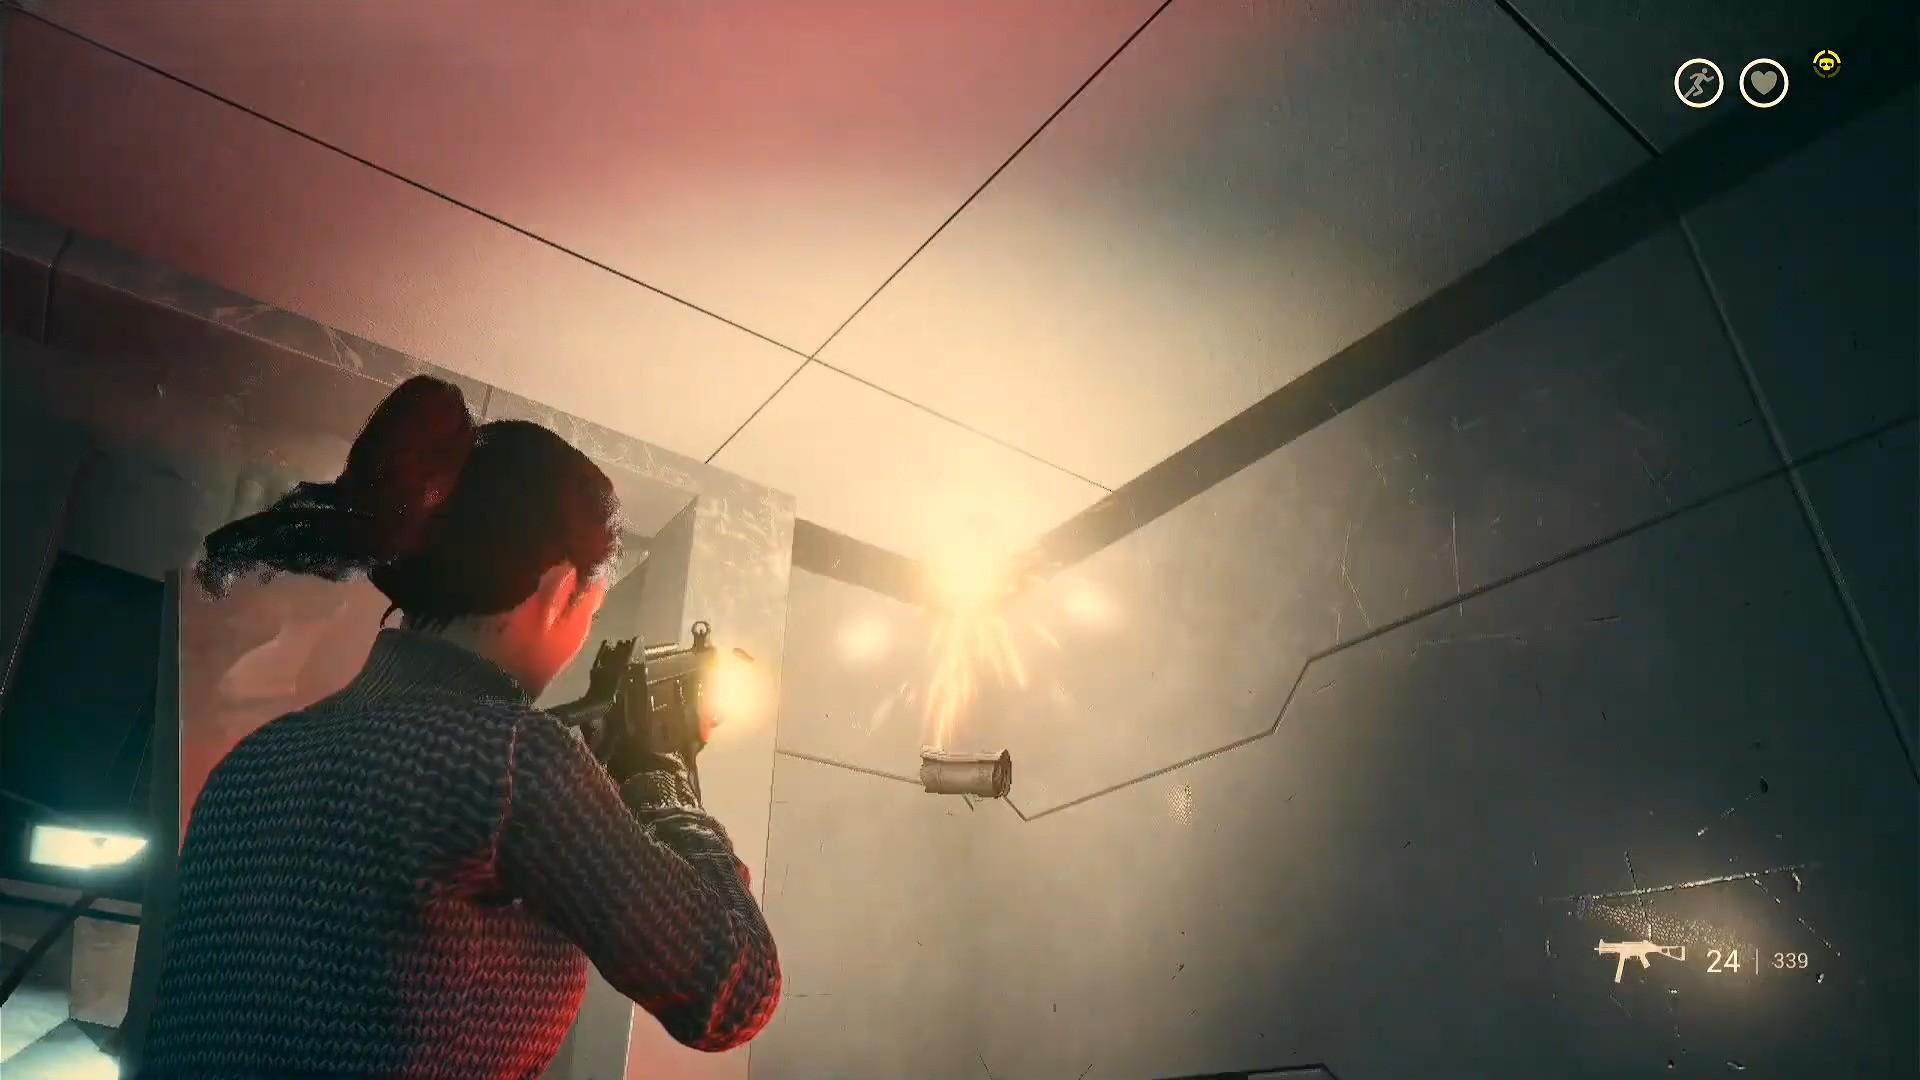
Elevator One Access (1 and 2)
The first camera is right where the chapter starts. Turn back toward the elevator you rode in; it’s in the top-right corner. For the second, shoot the canister by the glass wall on your left as you walk off. The camera is in the left corner of the room behind it.
Server Room Access Corridor (3)
Use a Canister Zombie to break the glass into a small office, then leave through its broken door. Turn around once you’re out. You’ll pass this before the button that opens the door to the Server Room.
A3 Server Room (4)
This is the room with the first keypad locker, where a zombie in a police uniform attacks. It isn’t the Server Mainframe where you meet Jason later. The camera hides against the side of a server stack, on the wall opposite the two big monitors.
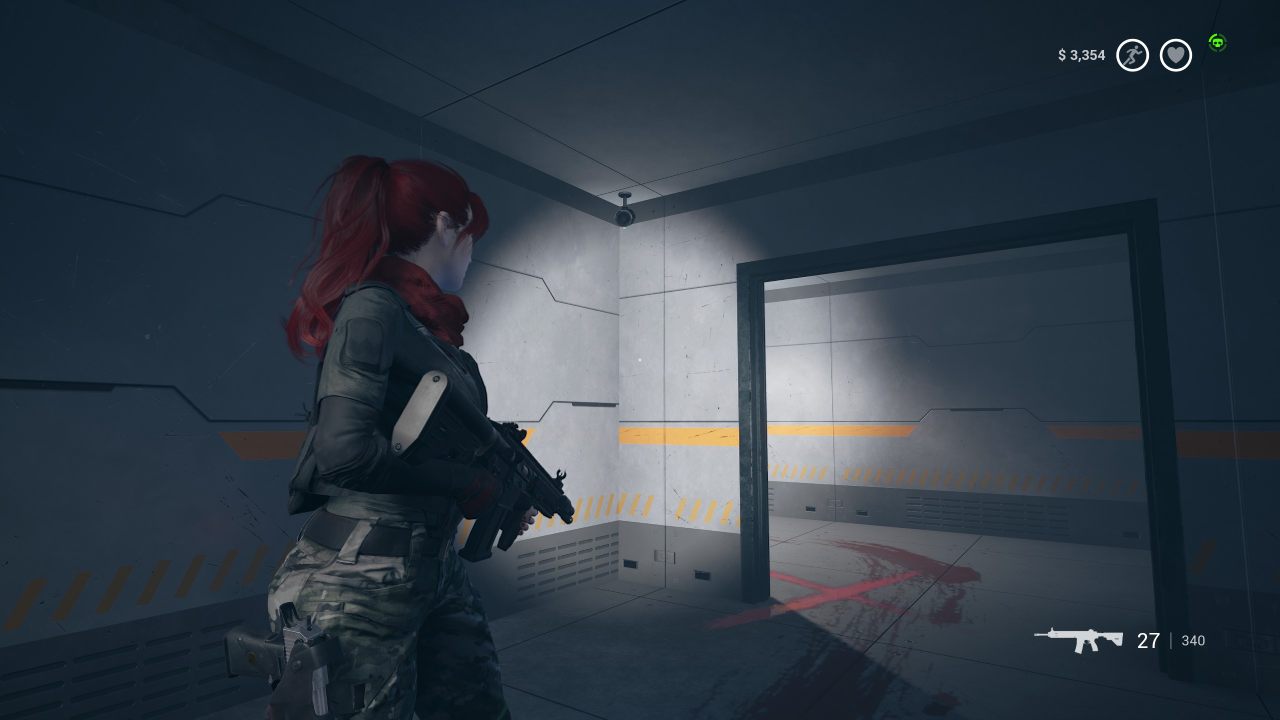
A3 Corridor (5)
Walk through the door with the blood and red X in front of it, then look right.
B2 Central Laboratory Door Area (6 and 7)
In the big room facing the Central Laboratory door, one camera sits up and to the right of the glass-walled office. The other is on the far side of the room, at the top of the stairs beside the Yellow Keycard storeroom.
Observation Area (8)
Head into the left-side room facing the vending machine. The camera is above the doorway. This is one of the two spares, next to the Yellow Keycard.
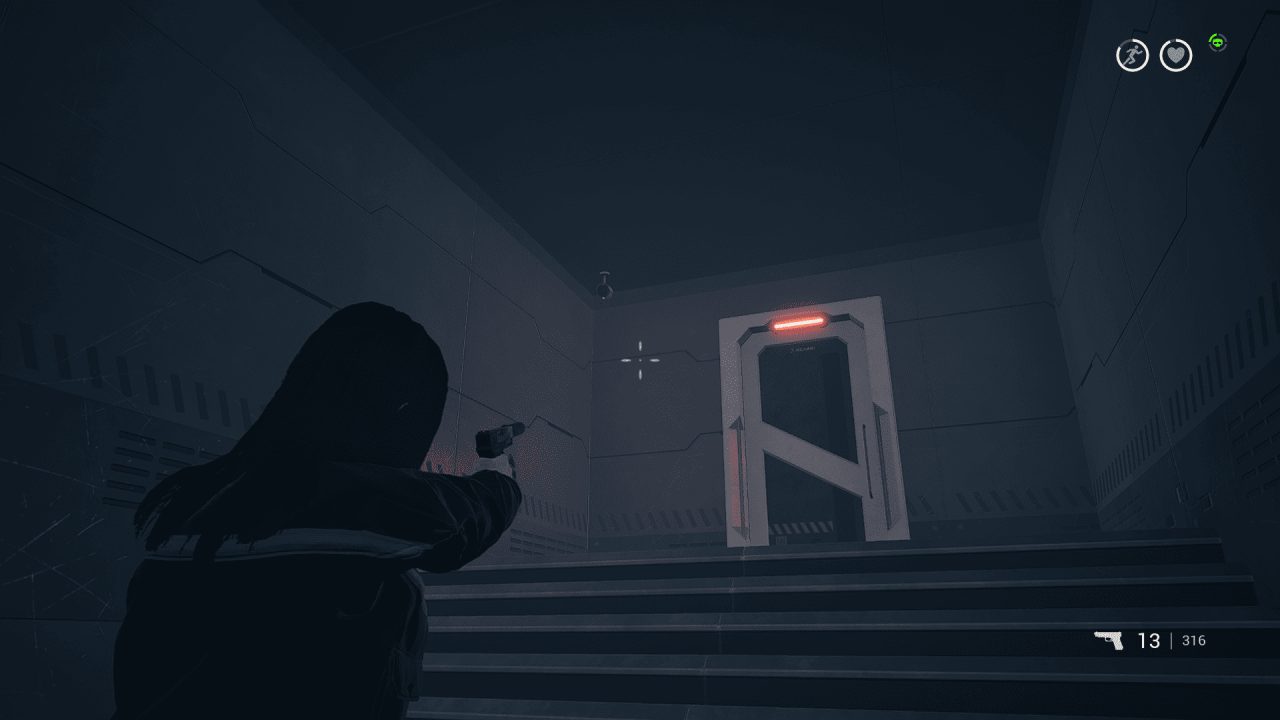
A3 Corridor to the Purple Keycard Door (9)
Take the Yellow Keycard route upstairs and follow the left wall. You’ll reach a door that needs the Purple Keycard. The camera is beside it on the left.
Elevator 3 Access (10)
Keep going to the zombie ambush area across from Elevator 3. Turn right and look beside the small door.
A3 Sunken Turret Room (11)
The next room has a sunken floor, stairs on both sides and a turret in the back corner. The camera is on the left wall just past the entrance, facing the turret across the lowered section.
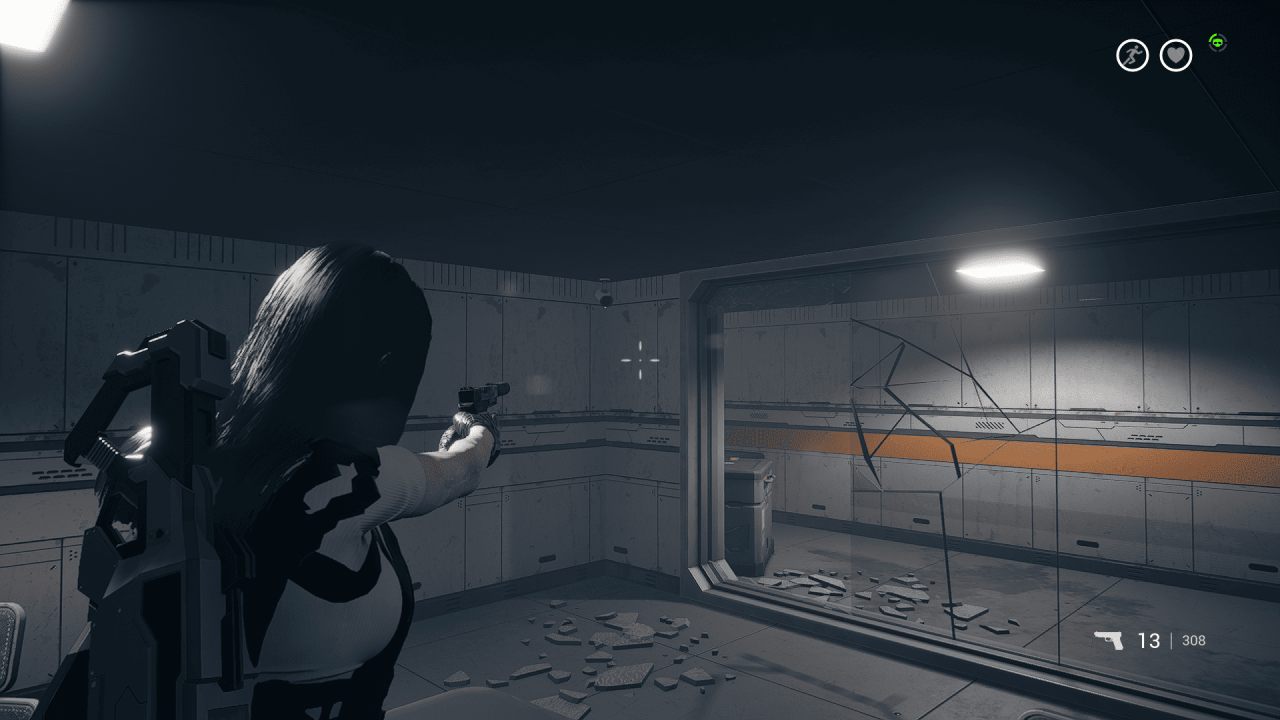
Long Graffiti Corridor (12)
Go downstairs at the wall painting of a zombie with an arrow in its mouth. Head left all the way to the back. The camera is on the left wall, and a large zombie lurks in the alcove beside it.
Large Office (13)
While following Jason, you climb into an office through a broken glass wall. The camera is right there on your right.
Reception Area (14)
The next stop on Jason’s route is a sunken reception space with stairs in and out. This is before Jason asks for a gun. Check the back left corner.
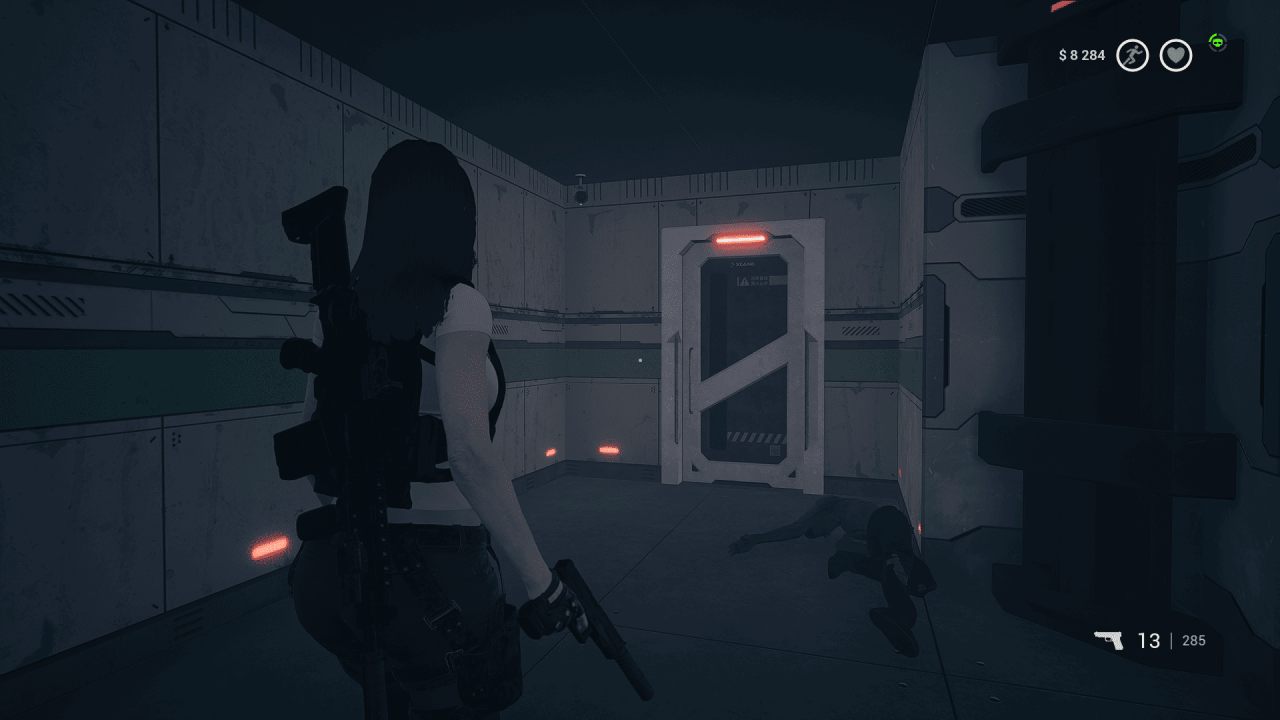
E3 Corridor After Arming Jason (15)
After you hand Jason a gun, follow the right-hand wall. The camera sits in a small alcove above a door.
Robotics Warehouse (16)
Look at the back of the warehouse, beside the large door on the right.
Long Corridor After the Warehouse (17 and 18)
Past the seating area, a corridor has red graffiti of a fat zombie on the wall. A large zombie grabs you here while you’re with Jason. One camera is behind the shelves opposite the door it bursts from. The other is on the back wall before the corridor turns right.
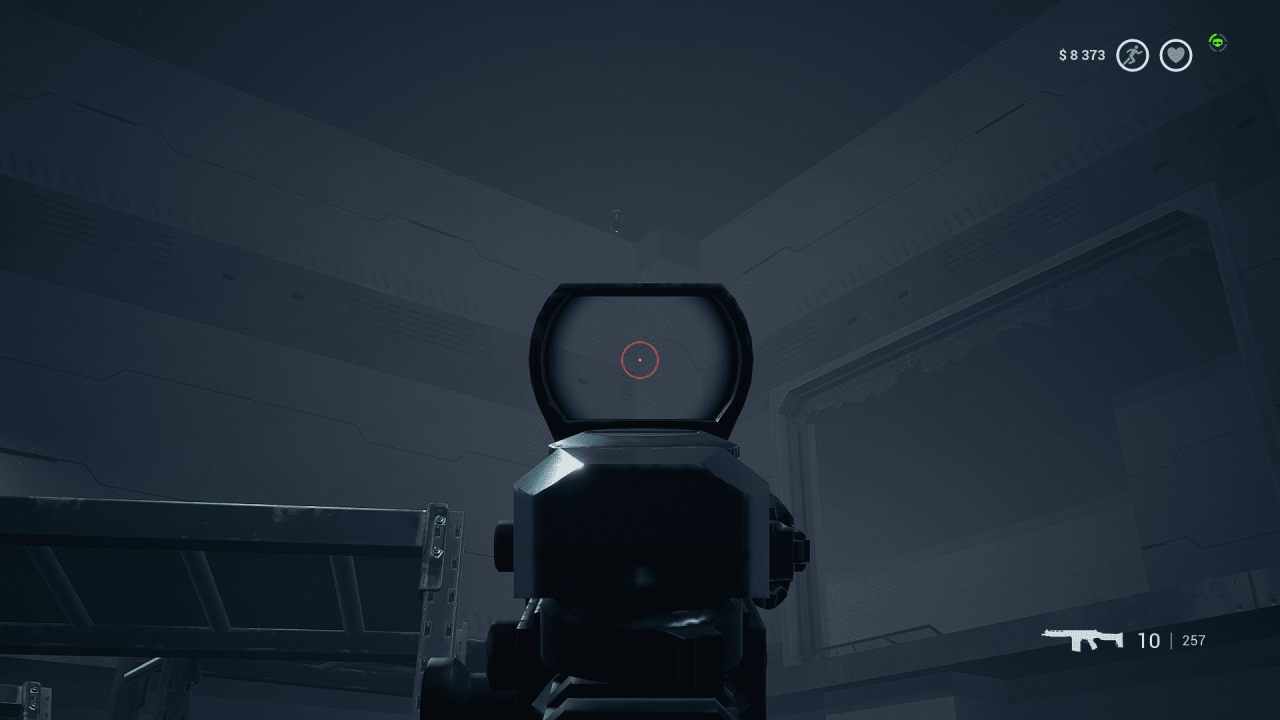
Devourer Boss Room (19 and 20)
In the arena where you fight the Devourer, one camera is above the door you came in through. The second is in the corner to the right of that door.
Combat Room (21)
The Red Keycard opens a combat room near Elevator 2. Reach it by the stairs right of the glass-walled office facing the Central Laboratory door. The camera is in the cell through the back-left door, and you can shoot it without opening that door. It’s the second spare camera.
Security Office (22)
This is also behind the Red Keycard. The camera is in the back left corner.
Robotics Warehouse Office (23)
Look to your right as you enter.
Dark Area Vat Room (24)
In the dark area, drop down, climb over the truck trailer and enter the room full of large vats. A vending machine sits in an alcove at the back left. The camera is just left of it.
Dark Office (25)
The camera is on your right as you walk in.
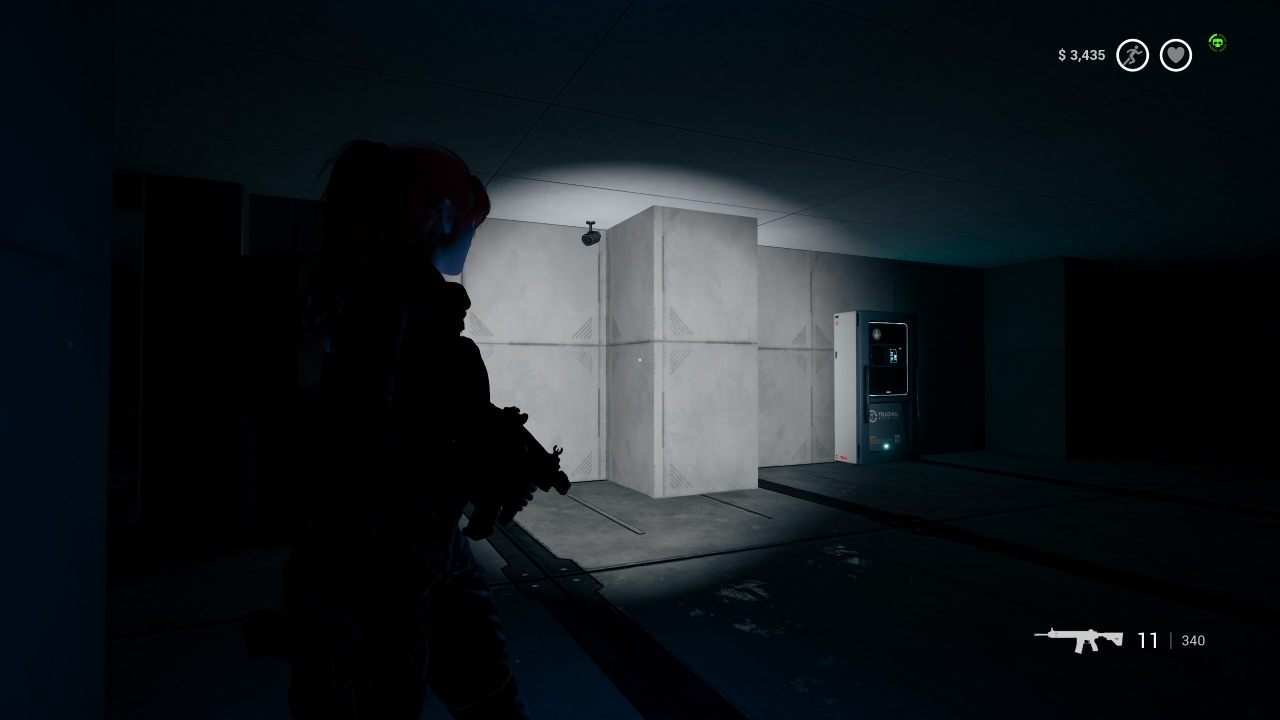
Ruined Office (26)
After you break into the office with the falling gas canister, look up through the hole in the ceiling. The camera is on the ceiling of the room above.
Gas Area Lab (27)
Inside the gas zone, cross the generator room and go upstairs to a lab. Check the back right corner.
Gas Area Vending Room (28)
The air clears once you climb the stairs at the end of the gas zone. A small vending machine room is at the back left. The camera is to the right of the door, and the room is packed with zombies on your first visit.
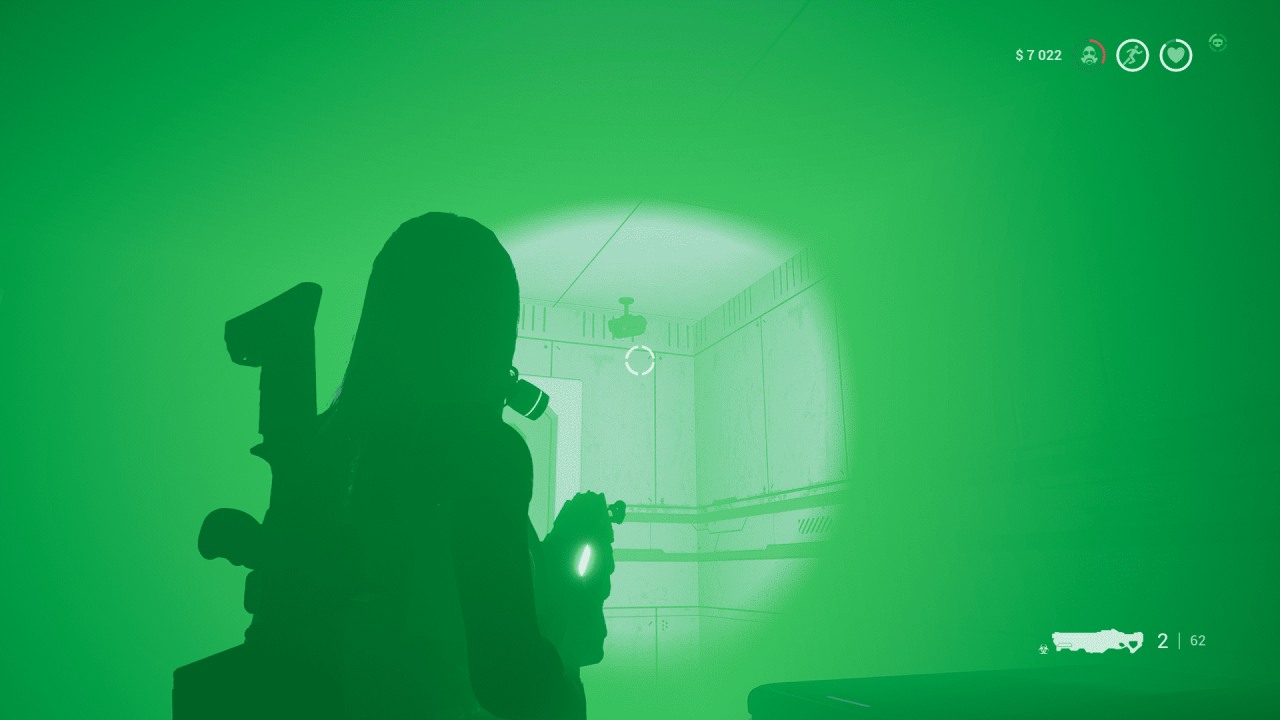
Nurse Quarters Upper Floor (29)
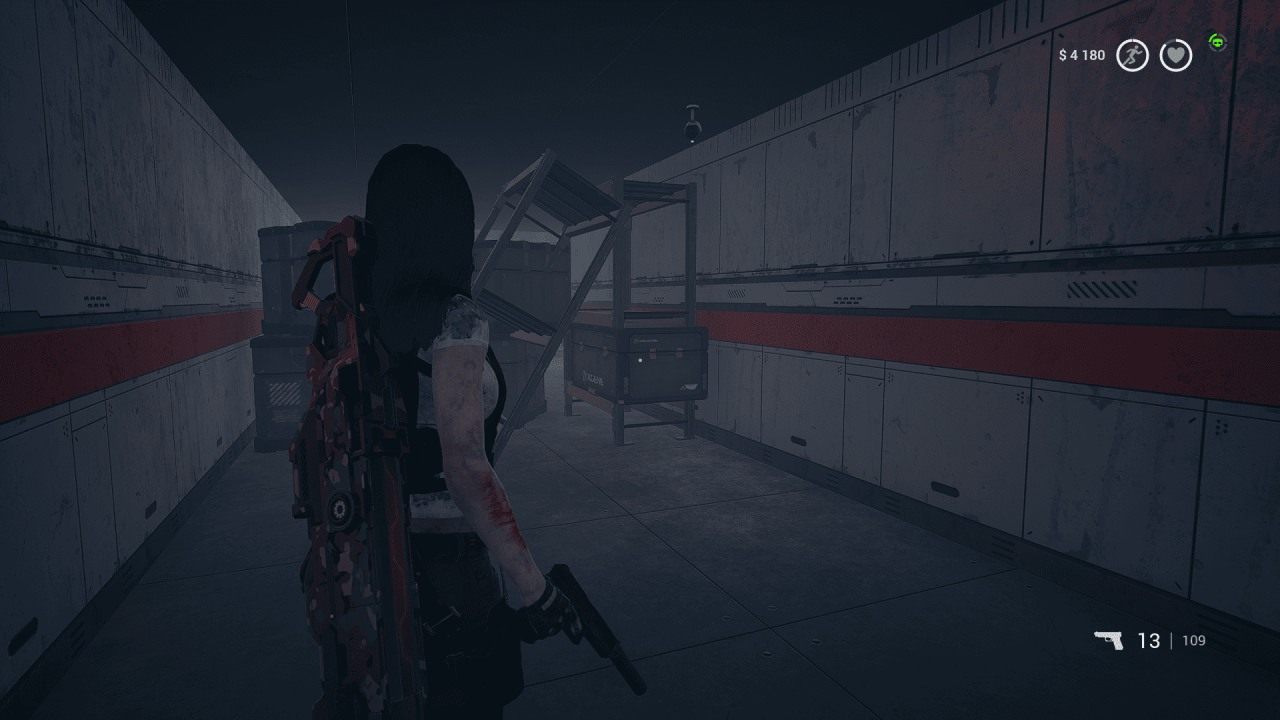
Use the Purple Keycard and follow the corridor until stairs appear on your left. Don’t take them. Instead, go down the corridor opposite until boxes and shelves block the way. The camera is on the ceiling above the blockage.
Nurse Quarters Lower Floor (30)
Head down the stairs and hug the left wall. The camera is hidden behind a pillar.
Nurse Quarters Open Area (31)
The next open-plan area has a camera in its top left corner, next to a pillar.
Nurse Quarters Upper Corridors (32)
Climb the stairs past the open area to a vending machine. Keep following the corridor until you spot the camera on the left, just past a door.
Also, check our The Killing Antidote Review.
Moderator, NoobFeed
Latest Articles
No Data.