
The Testament Of Sherlock Holmes Guide | All Puzzle Solutions
Beat every tricky puzzle and hidden clue in The Testament Of Sherlock Holmes with this focused walkthrough.
Game Guide by Faviyan Mustafiz on Dec 08, 2025
This guide targets the moments where you are most likely to get stuck in The Testament Of Sherlock Holmes. It tells you what to examine, where to stand, and how key puzzles work in clear, simple language instead of dumping full codes. Skim the section you need, get the idea, then jump back into the game.
General Tips And Sixth Sense
Your Sixth Sense is essential. Use it whenever you enter a new area. It rasps, then chimes as it recharges, and highlights important objects nearby. It does not show everything, though.
Off-screen items, clues that unlock after story events, and objects that need several checks may stay hidden. Doors and exits always glow blue, so treat them as background.
Marquise Room
If you are stuck in the Marquise Room, remember this is a lesson in thorough searching. Walk the entire room, use Sixth Sense from different angles, and circle important objects until every side has been inspected.
Some clues only register from specific spots, so keep moving until no new icons appear and new dialogue triggers.
The Diocese Of Knightsbridge
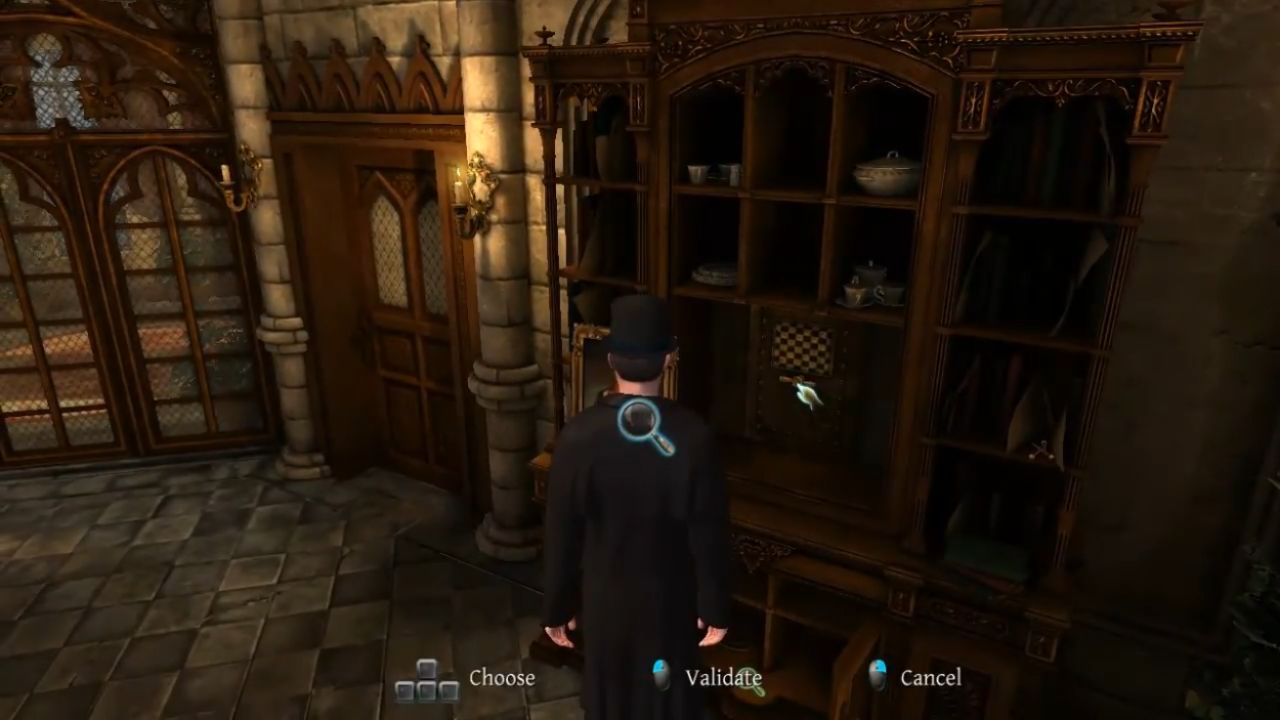
In the Diocese Of Knightsbridge, progress usually stops because a single clue near the entrance is missed. Check the bare floor by the door for tracks and re-examine the body from every angle until Sixth Sense stops reacting.
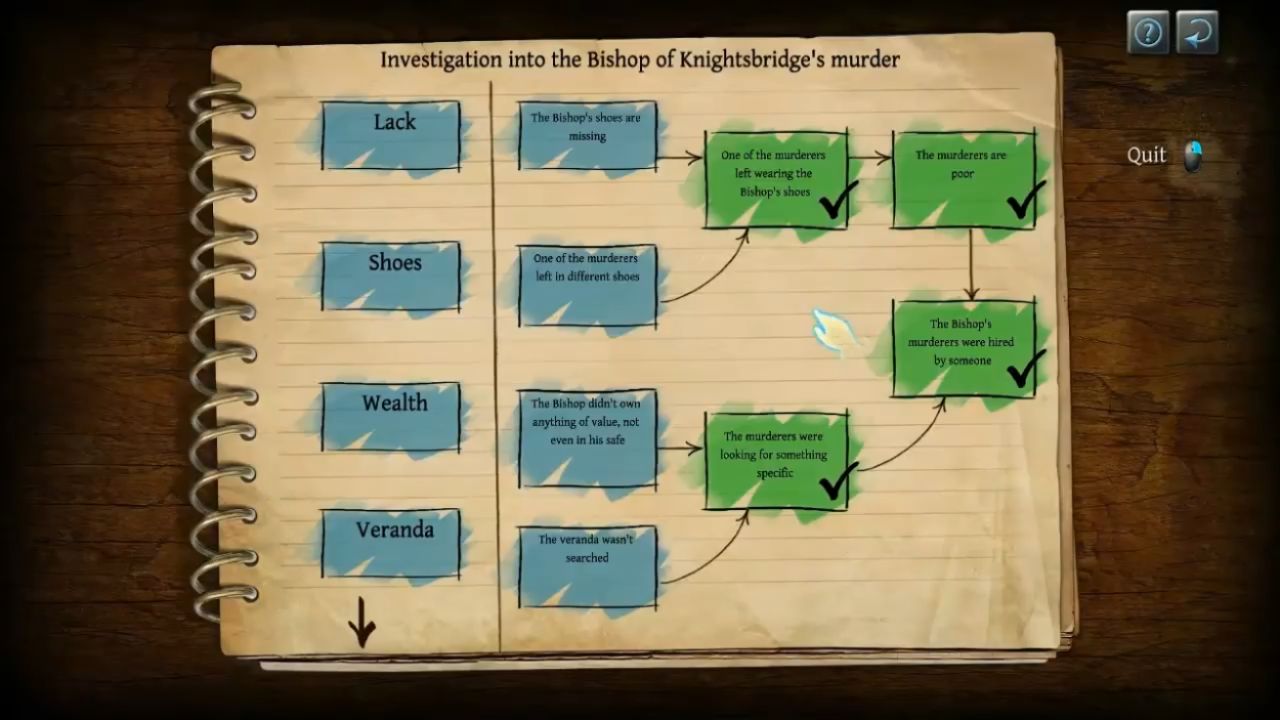
When the room seems clear, open the deduction board. The third row must be completely correct at once; the boxes turn green when you have the right combination.
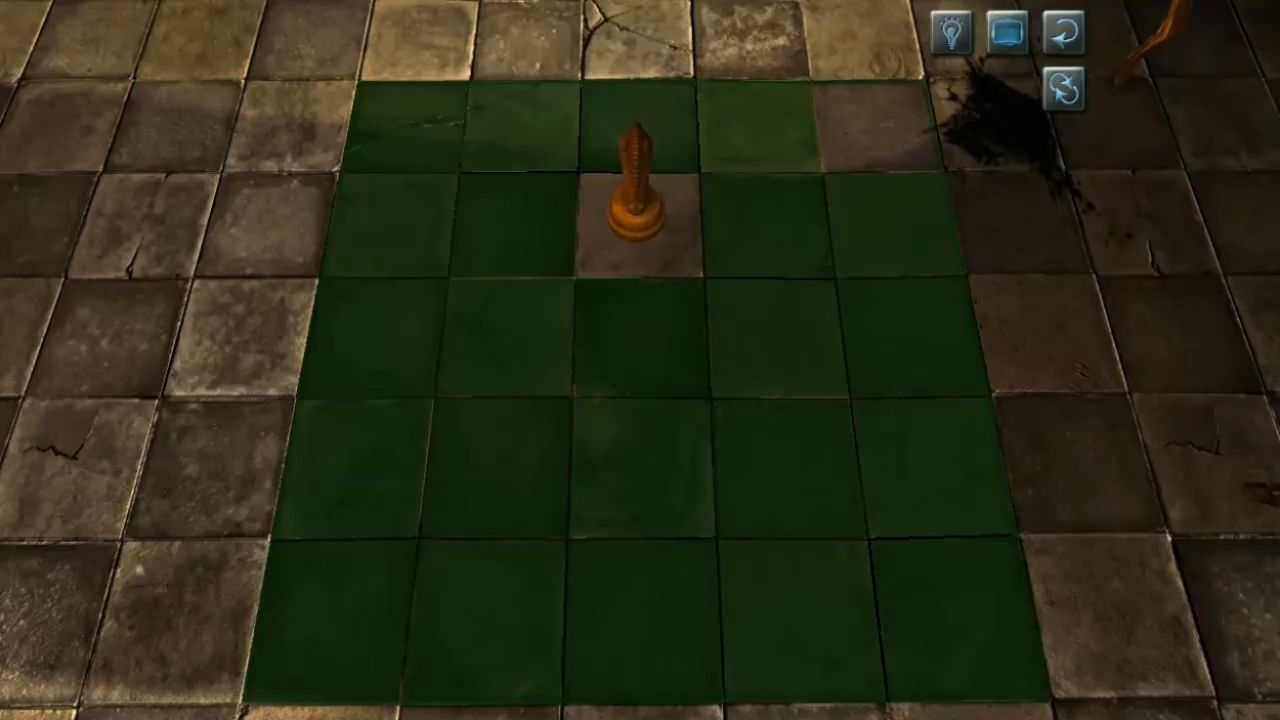
The stone chessboard uses attack patterns. Light all four corners and create lines that cross the centre, leaving the middle square for last.
For the safe chessboard, make sure you have all seven pegs, including the one on the veranda. Think back to the Knight’s L-shaped movement in chess and base your placements on that idea.
Return To Sherlock’s Apartment
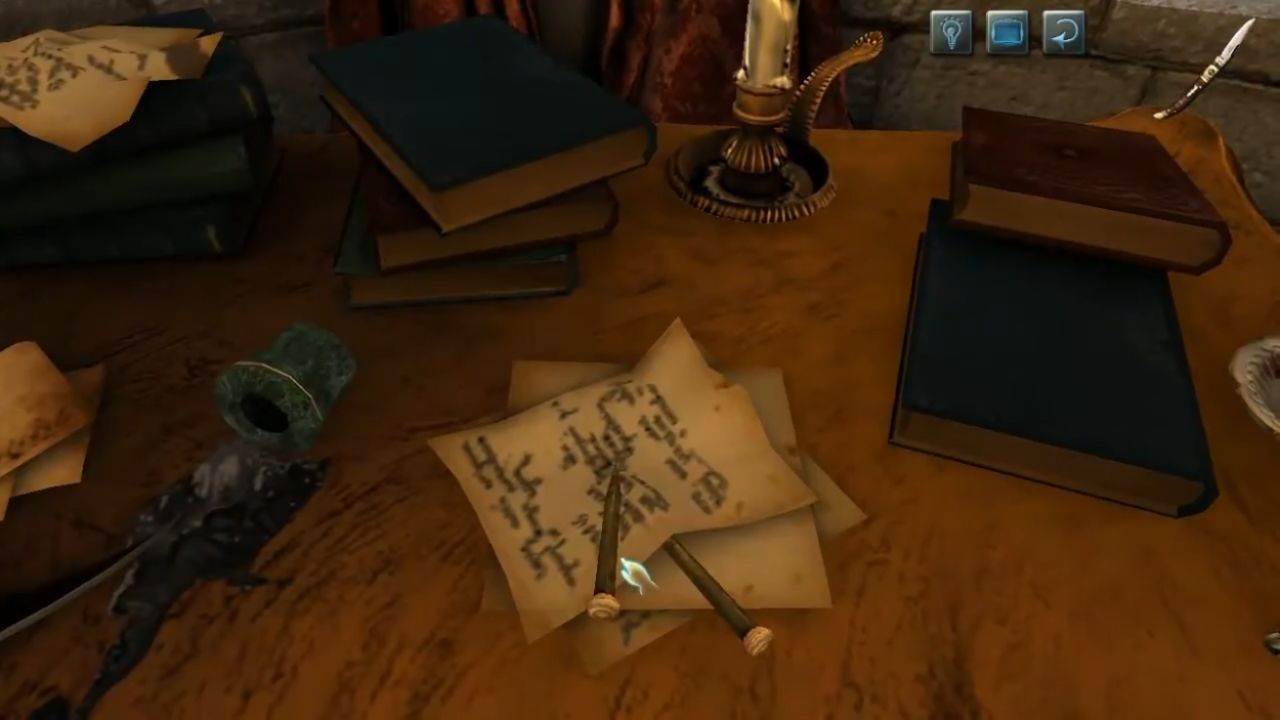
When analysing the broken bottle in Sherlock’s Apartment, rotate each vial by clicking it, then click the small spigot at the tip to pour. If nothing happens, you are still clicking the glass.
On deduction boards, there is no penalty for mistakes, so freely test combinations until the whole chain turns green.
Whitechapel
In Whitechapel, simply looking at Kurtz’s shirt is not enough. Use scissors to cut it open and expose the real evidence. If you still cannot leave, revisit the graveyard and search again. The romantic Romeo And Juliet style setup points toward the correct graves, carvings, and recent visitors.
The bank box puzzle is pure combination work. Use both lanes to shuffle numbers until they fall into order. In the Opium Den, small burnt items appear only after a cutscene near the locked door.
Once that scene plays, sweep the room again. For the guard, correct placement matters more than timing. Stand in the right spot first, then adjust when you act.
Westgate Jail And Kensington Gardens
In Westgate Jail, Hans Schielman’s lockbox is simpler than it looks. Focus on plain items such as the Blotting Paper and printed notes rather than the flashy mechanisms. Jenny Patterson’s lockbox is solved by forming a clean ring with the moving pieces; once that ring appears, the rest falls into place.
In Kensington Gardens, the most easily missed object hangs in a tree in the neighbour’s yard. Cross into that yard, use the adventure-style camera, and look up toward the shed.
Sixth Sense often fails here, so rely on your eyes. For Henry Hampford’s lockbox, study the scratched number pairs, write down the differences, and use the pattern you see to set each dial.
Dog Sequences And Warehouse
During the Toby sections, switch to first-person view near the locked door with the pulleys. Follow the rope to the dog-sized pulley under the open window and interact at nose height.
Inside the warehouse, look for box stacks that act as ramps. One ramp is a dead end, but a second, similar stack leads to the right route.
Farley’s Office
In Farley’s office, inspect the door you entered through and the cigar in the ashtray at least twice. These two hotspots often block the next cutscene.
The file cabinet is awkward: keep clicking on the drawer edge until Sherlock Holmes pulls out the correct document.
On the deduction map, think in terms of “when” more than “why.” Each option belongs to a numbered step in the timeline; make sure one event fills each time slot.
When a clue mentions “the place where the reporter should not be,” mark that location on the map to unlock the matching interaction. For the letter and number lock, remember that letter wheels stay letters, number wheels stay numbers, and alphabet order hides the number pattern you need.
Judge Beckett’s Mansion
In Judge Beckett’s mansion, the Roman numeral chest treats each of its four quarters as a separate equation. Each total must be exactly one higher than the previous one, and every matchstick plus one X must be used.
Keep the basic numerals I to X in mind. If the chalkboard will not slide, fetch olive oil from the kitchen after examining the board so the bottle becomes collectible.
For the fraternity and Coat Of Arms puzzle, read the chalkboard, the Fraternity Symbols List, and the Fraternity Invitation. They give the numbers you need. At the oar stand, rotate each oar at its hinges, moving any that block others, until the final layout matches your fraternity result.
Sherlock’s Apartment – Costumes
In the costume puzzle in Sherlock’s Apartment, three outfits must match three hats and letters. Leave the hats in place and build outfits from right to left. The tall blue hat with a blue ribbon goes with the blue suit and red metal-toed shoes.
The small brown hat belongs with the neat grey coat with blue lining, ink-stained trousers, and blue shoes. The last wax-stained coat forms the priest outfit and matches the letter inviting a Priest.
The Rat’s Nest Apartment
In The Rat’s Nest Apartment, the pipe on the table becomes collectible only after several inspections. Check it more than once. After you use the code found here, return to earlier objects in the room. One of them gains a new interaction that lets you progress.
The Watermill And Sewer
At the Watermill, do not worry if the knife breaks; another tool is nearby. If the attic feels like a dead end, step outside for a moment and then return.
This small reset pushes the story forward. Sherlock Holmes refuses flimsy shovels, so wait for a sturdier one, then break through both weak floorboards. For the trunk keypad, dust every single button, including unused ones, before entering the code.
In the Sewer section, being unable to cross the canal means an early clue was skipped. Head back toward the starting area and explore the opposite side from the one the game first guided you to.
The mechanical grate locks are easier if you plan backwards. Start from the final point and trace a path to the ball, ruling out routes that cannot reach that end space.
The Fair And Warehouse
As Dr. Watson in the fair and warehouse, change camera views and look down to notice high windows and escape paths.
For the Animal Game, remove the cover under the display so the puzzle activates, then position the animals so the Vulture is judged by its head, the Elephant has predators beside it, the Chimp fails to see the Vulture, and the Lion faces the target that fits his description. Up levers mean alive; down levers mean dead or doomed.
When handling ether, pair it with cloth found nearby, creating a non-burning Molotov style tool. Use Sixth Sense to spot the rag. The Plate and Belt later in this area must be separated into two pieces, then combined in a new way to flush out the brothers.
For the Origami puzzle, follow existing creases from the outer folds inward, then use the faint horizontal lines to finish the last fold.
Bomb defusal looks tense but is forgiving. Remove wire pairs in a way that always leaves at least one viable link of each colour. Think of keeping a balanced chain of connections rather than solving a strict equation, and the bombs will be safely disarmed.
Contributor, NoobFeed
Latest Articles
No Data.