
ARC Raiders Guide | How To Dominate PvP
Win more firefights and survive extractions with clear, practical tactics for every situation.
Game Guide by Faviyan Mustafiz on Nov 02, 2025
PvP in ARC Raiders can feel overwhelming at first. It is a third-person extraction shooter. You fight hostile ARC units and other raiders at the same time. The pace and pressure are different from most shooters.
This guide gives you the essentials to win fights and avoid bad ones. The advice is organized into audio and visual cues, movement, positioning, combat, general tips, and things to avoid. Use these habits until they become second nature.
Audio & Visual Cues
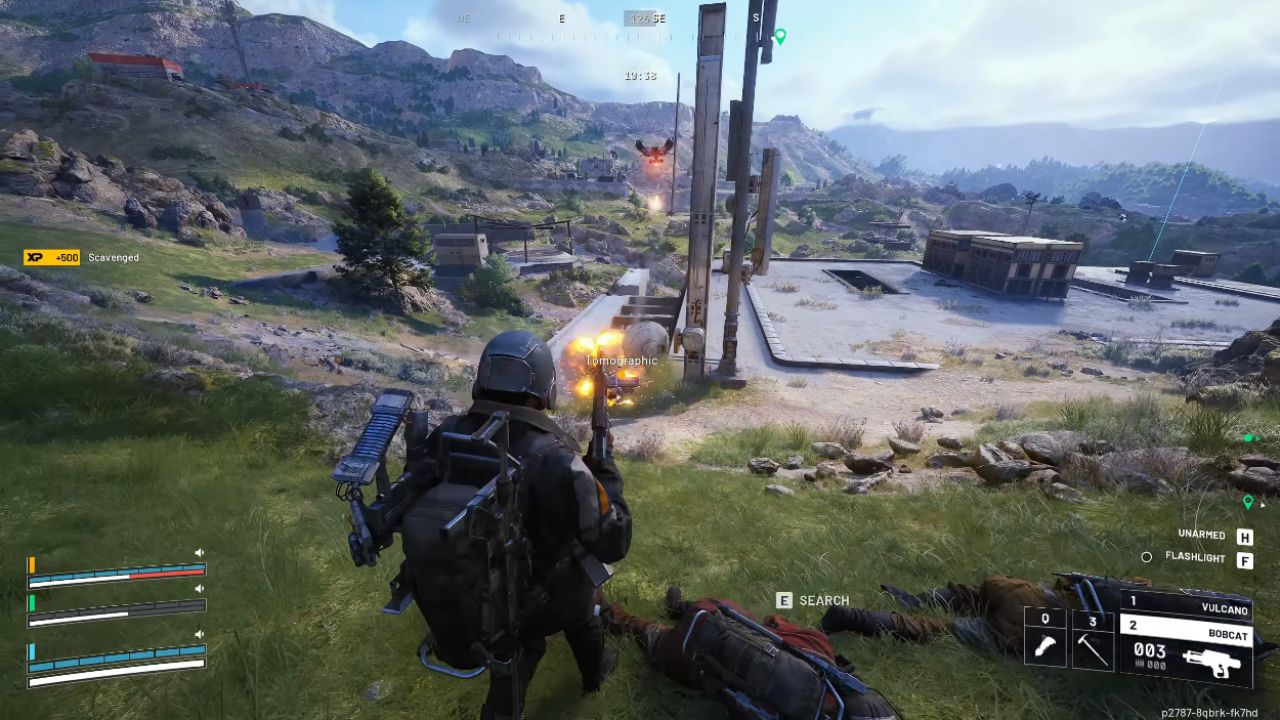
Pay attention to hit feedback. When you hit someone wearing a shield, you see sparks and hear a metallic sound. When the shield breaks, you hear a loud metallic crack and see a burst of sparks.
Shields reduce incoming damage based on rarity, but they do not block all damage. You still see a red mist when health is damaged. If you are unsure about a hit, look to the upper left for the damage notification with XP.
Watch for Downed Flares. When you down someone, a flare launches into the air automatically. Finish the fight quickly because that flare draws attention. Some gadgets fire a decoy flare that mimics a downed flare. Do not chase every flare without thinking. People will try to bait you.
Listen for footsteps and materials. ARC Raiders has strong directional audio. Footsteps and surface types tell you where someone is moving. With map knowledge, these sounds become early warnings.
Use ARC behavior as radar. When ARC units get disturbed, they shine yellow and emit a robotic alert. When they acquire a target or take damage, they turn red. These lights and sounds reveal nearby movement. Track them to avoid ambushes or to find someone slipping away.
Read enemy loadouts at a glance. You can see the gun in hand and the one on the back. Adjust your range to counter. If you carry a sniper rifle and assault rifle and your target carries an SMG and Shotgun, keep the fight at medium range.
Do not let them close the gap. Check shield rarity by the antennae on the left side of the model. One antenna means Uncommon. Two means Rare. Three means Epic. If you run a non-upgraded Stitcher or Rattler, do not face-tank someone with an Epic shield. You will not delete them in a single magazine.
Movement
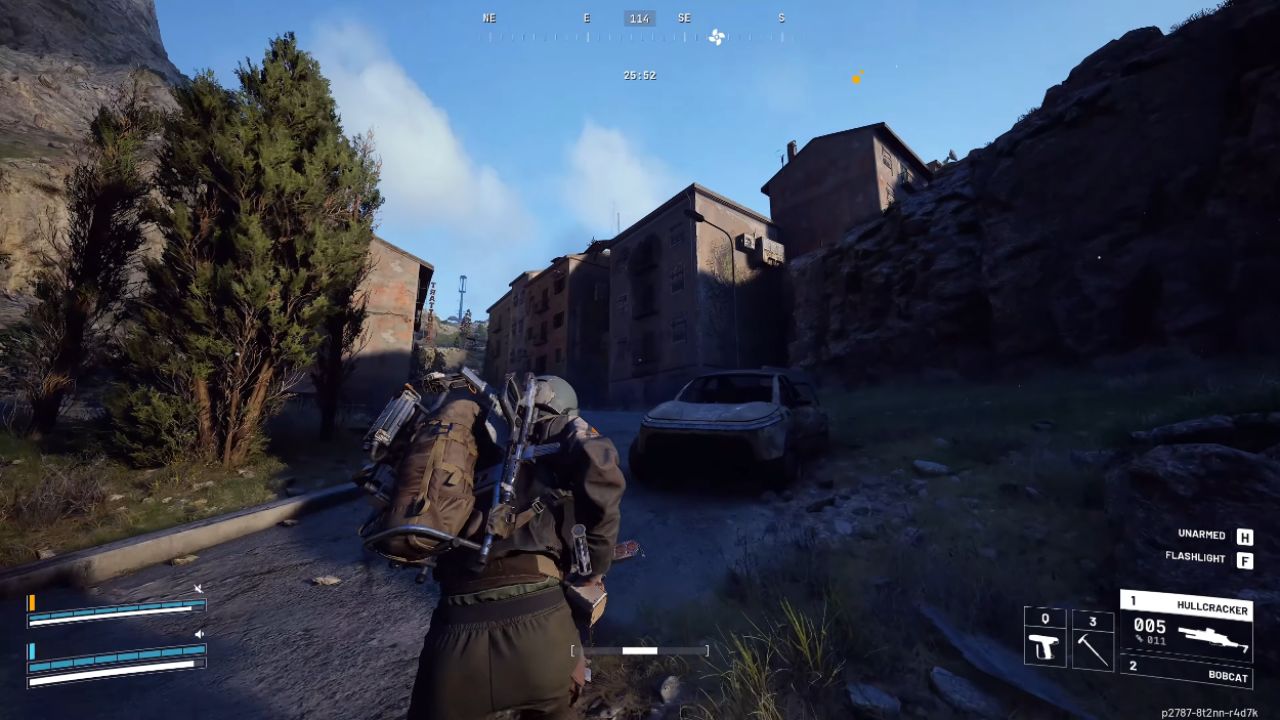
Use walking and crouch-walking to control noise. Sprinting is loud. Walking is quieter. Crouch-walking is quieter still. Move slowly when you know someone is near. Gather information before you commit.
Slide for bursts of speed and stamina efficiency. Sliding downhill saves time and regenerates stamina while you move. Use it to disengage or rotate. If there is no hill, holster your weapon to sprint faster on flat ground or uphill.
Positioning
High ground is power. You force enemies to push uphill with fewer cover options. You also see farther. You can spot third parties forming and decide to hold or leave. Use the ARC to shape fights.
Throw a Rubber Duck at an opponent to pull nearby ARC onto them. You can also shoot ARC to draw them, then hide until they aggro onto your target. Leaving ARC alive near you can serve as an alarm. Approaching enemies may shoot them or get spotted, which reveals their position. This only works if the ARC have not already noticed you.
Leverage third-person peeking. It is not as dominant here as in some games, but it still matters. Hold an angle where you can see around a corner without exposing your full body. Heal from cover where you can still watch the approach.
Plan gadget usage. Some gadgets decide fights. A Zipline can reposition your whole team. A Snap Hook enables fast flanks. A Barricade can block stairs and doors. A Defibrillator enables quick revives.
Think ahead about who brings what so you can combine tools well. Always note your exits before you push, when you get pushed, and when you loot. If things go bad, you need a clean way out.
Combat
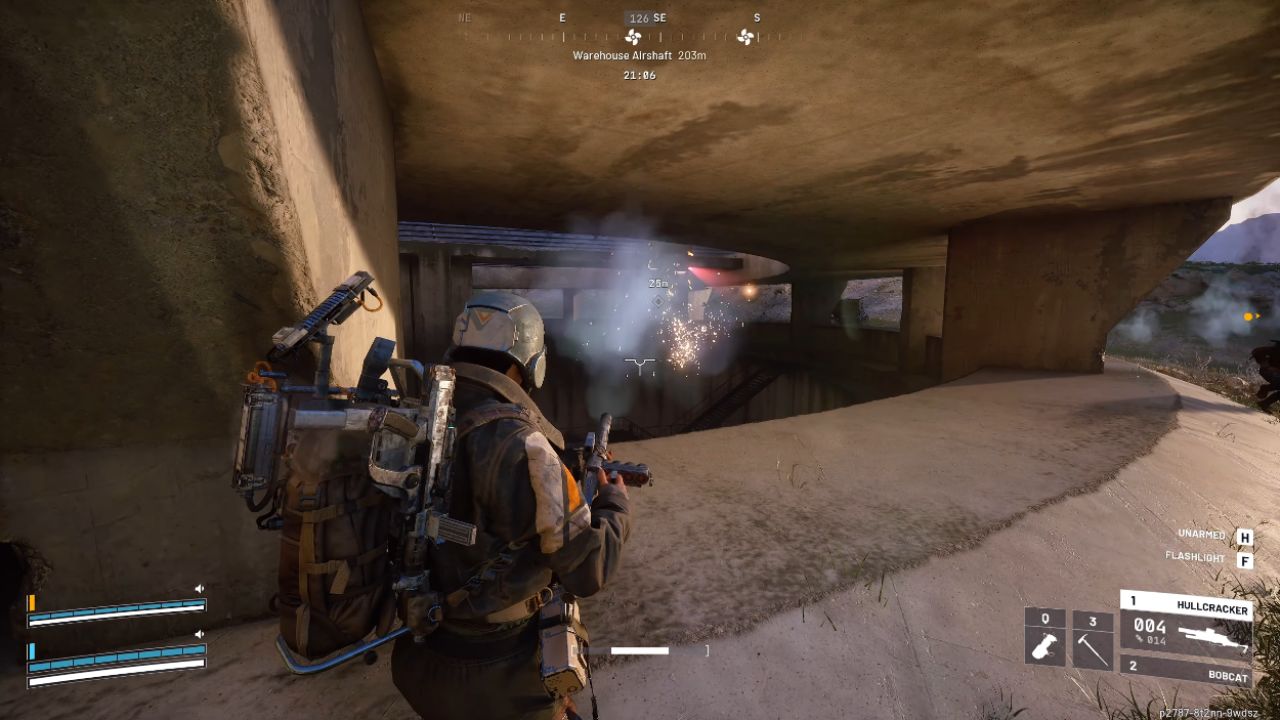
Shoulder-swap to match the angle. It improves corner peeks and lets you shoot from cover with less exposure. Fight with the angle advantage whenever possible.
Use downed enemies as bait when the situation allows it. Squads often rush a revive. Solos often sprint for loot. That urgency makes people leave cover. Control the space and punish the mistake. Do not let a downed enemy crawl to safety or off a ledge. Finish them if needed.
Play to your weapon strengths. Do not take close-quarters fights with single-shot or slow rifles. If you carry close-range guns like SMGs or Shotguns, close distance before you shoot. Use utility to help. A Smoke Grenade can block vision so you can reposition or push. A well-placed Heavy Grenade chunks health and forces people out of cover.
Communicate with pings and the compass. Ping enemies in cover to set up flanks. Call exact bearings for pushes. Solo players can also mark a spot to plan a rotate or track a sighting.
Make choices based on squad status. If your squad runs long-range builds and you run close-range, do not rush before they create openings. Secure a knock or two, then collapse. If your squad is low on ammo, health, or shields, avoid fresh squads. Stabilize first.
General Tips
Heal health before you recharge shields. Most health items heal over time, while the Shield Recharger is instant. Because shields do not absorb all damage, low health gets you killed fast even with full shields.
Craft healing items in-raid if you are low. Use the in-game crafting system. Loot materials or dismantle found items to get components. After a fight, heal before you loot. Do not be caught at half health by another squad.
When you loot bodies, grab healing and throwables first. You or a teammate may need them right away. Extra grenades or a Zipline helps if you get jumped. To finish a downed enemy, prefer the finisher button or a melee. Save ammo and make less noise when the situation allows.
Things To Avoid
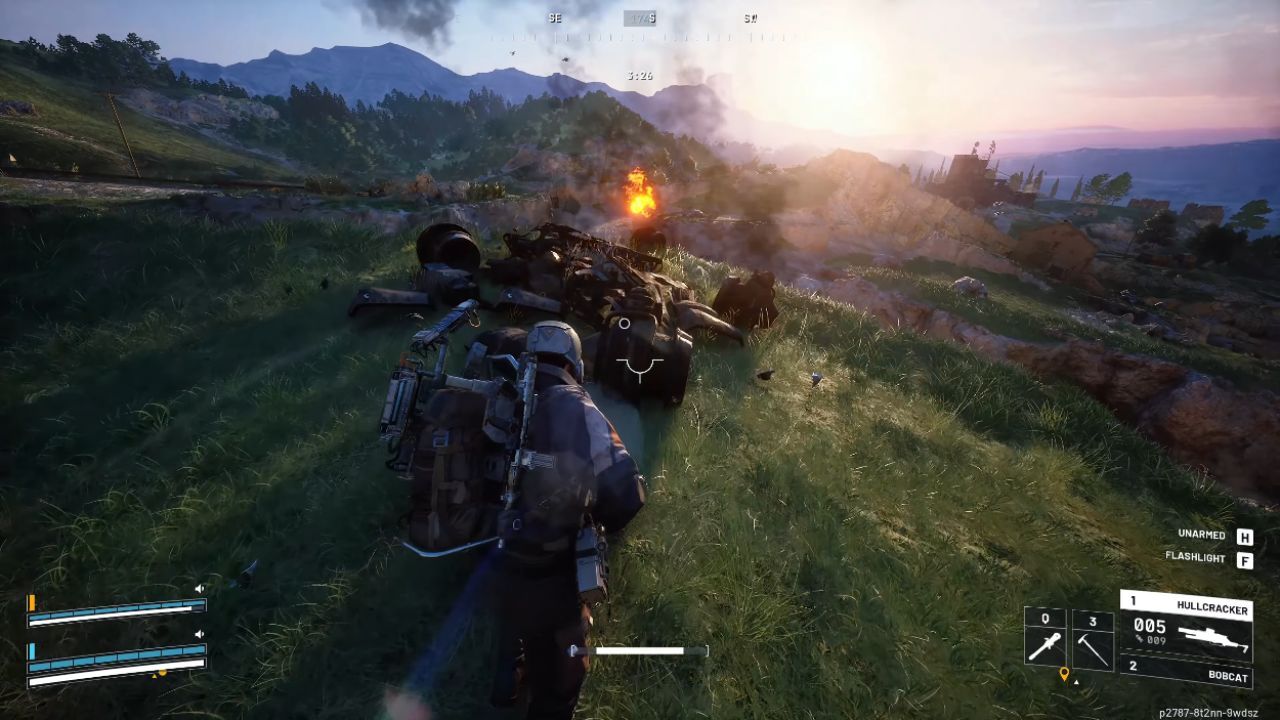
Do not rush executions on downed enemies without context. Check how many enemies remain, your health, and your ammo. A knockout means little if you get traded while reloading or exposed.
Avoid big open areas when you can. Open ground exposes you to ARC and to squads with long-range guns. If you must cross and you get spotted, use smoke. Fighting in the open invites third parties.
Limit VoIP usage near enemies. Everyone nearby can hear it. Your name and a speaker icon appear when close enough. Talking can give away your position.
Use flashlights carefully. They help you see loot, but they also reveal you during night raids and indoors. Avoid long, hopeful shots from far away. Breaking a shield from a great distance rarely converts to a kill before the enemy heals or revives. You also spend ammo and give away your position.
Do not hug walls and objects too closely while aiming. Your gun can misalign and fire into the ground, the sky, or off to the side. Keep a small buffer from cover so your shots stay true. Some of these habits take time and practice. Keep at them. They pay off quickly.
Also, check our ARC Raiders Review and other guides below:
- ARC Raiders Beginner’s Guide | Gameplay Tips & Tricks
- ARC Raiders Guide | How to Beat Every ARC Enemy
- ARC Raiders Guide | How to Get Overpowered Early
- ARC Raiders Guide | Best Skill Tree Passives & Level 75 Build Path
- ARC Raiders Guide | Top 10 Advanced Tips & Tricks
- ARC Raiders Guide | How to Level Up Fast (Best XP Farming Methods)
- ARC Raiders Guide | How to Complete the Harvester Event & Get Legendary Blueprints
- ARC Raiders Guide | How to Win as a Solo Player
- ARC Raiders Guide | How to Level Up Scrappy Fast
- ARC Raiders Guide | Dam Control Tower Key Location & Safe Extraction Route
- ARC Raiders Guide | Dam Surveillance Key Location & Room Access
- ARC Raiders Guide | How to Complete A Symbol of Unification Quest
- ARC Raiders Guide | How to Complete Untended Garden Quest
- ARC Raiders Guide | Best Money Farm Routes (Fast & Safe)
- ARC Raiders Guide | Dog Collar Location
- ARC Raiders Guide | Best Talent Tree Builds for PvP & Loot
Contributor, NoobFeed
Latest Articles
No Data.