
Final Fantasy Resonance Beginner’s Guide on Combat, Visions and More
Here’s a guide on how to master combat, build Visions, and collect early Tablet Shards and Magicite in Final Fantasy Resonance.
Game Guide by Jubair Baky on Nov 13, 2026
Final Fantasy Resonance has several systems to learn during Chapter 1, from controlling the stagger gauge to improving Visions. This guide covers early decisions, explains how to prepare for fights, and shows where to find the first materials for Vision Awakening.
Choose Your Difficulty and Early Stat Bonus
Expert rewards careful equipment and ability choices. Normal is a sensible starting point if you are learning the battle system, while the story-focused option gives you an easier way through encounters. You can change difficulty later, so choose what feels comfortable.
At the Earth Shrine, Rain and Lasswell discuss their mission. The response “I'll take point. Follow my lead” grants Rain three permanent Strength points. “We're only here to check that everything is in order” grants three Stamina, while “Cohesion is key” grants three Spirit. Strength suits a physical attacker, Stamina improves physical defense, and Spirit supports magic defense and healing-related stats. Every choice provides a bonus.
Explore Thoroughly and Collect the Black Garb
Talk to NPCs, enter buildings, and check the ends of paths even when the camera hides them. Houses may contain rewards or side quests. Gold sparkles on the ground can indicate Tablet Shards. Check corners and paths the camera obscures.
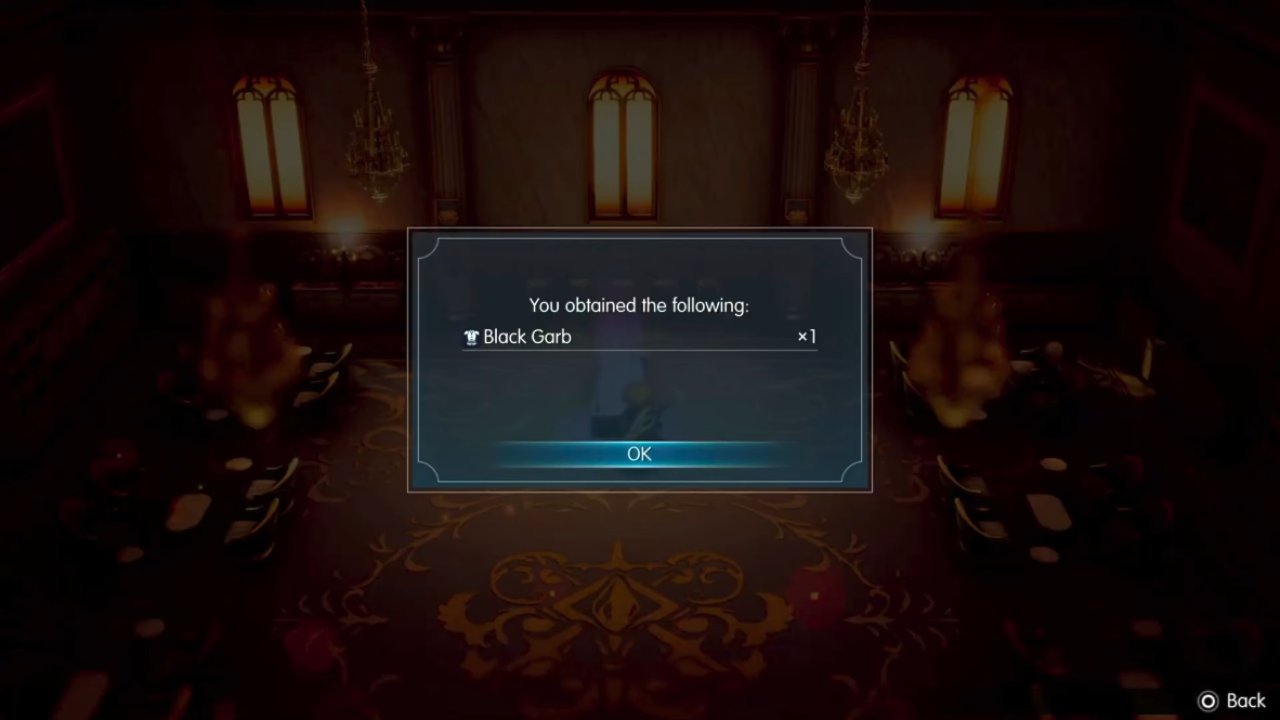
The Black Garb is especially worth grabbing during the burning Grandshelt Castle sequence. After defeating Hell's Rider, climb the stairs and head left. Pass the room holding a Phoenix Down and continue to the knight statue on the left. Walk through the concealed wall beside the statue, follow the passage, and open the chest. Equip the Black Garb if its Speed bonus suits your character. The burning castle section cannot be revisited in the demo, so collect it before leaving.
Understand Stats Before Buying Equipment
HP measures health, and MP pays for spells and certain skills. Physical Attack and Magic Attack affect their corresponding damage types, while Physical Defense and Magic Defense reduce incoming damage. Sanctity improves healing magic and Light magic. Strength contributes to Physical Attack, Magic to Magic Attack, Stamina to Physical Defense, and Spirit to both Magic Defense and Sanctity.
Speed affects turn order. AP is the allowance for equipping learned abilities, not a resource consumed whenever you attack. Check each ability description before choosing weapons: a move like Blizzard Blade deals elemental physical damage, despite using Ice. The sword symbol indicates physical damage, while the staff symbol identifies magic damage. Compare the stats and added effects of new equipment for the character who will actually use it.
Read the Turn Order and Exploit Weaknesses
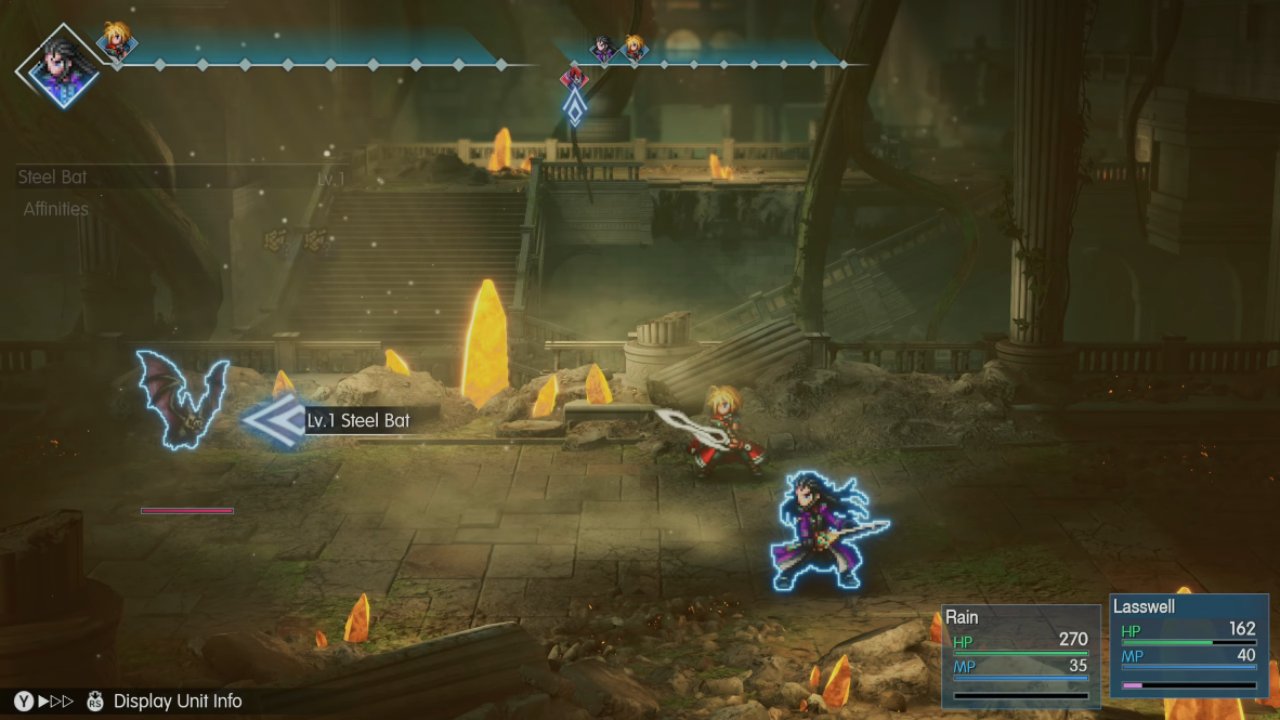
During battle, the two timelines at the top show the current action order and the upcoming one. Check both. Interrupt enemies acting before your healer, or combine early ally turns to stagger them. Changing Speed also affects upcoming turns.
Use Libra when you encounter unfamiliar enemies. Leah provides early access to it, helping you identify weaknesses instead of wasting MP on guesses. Also read the difference between an ability's damage and stagger power. Lower-damage attacks may prevent enemies from acting.
Use Stagger and Sweeping Stagger
Attacks reduce an enemy's stagger gauge. Bring it to zero, and the enemy becomes staggered, losing its opportunity to act and becoming more vulnerable. The character who triggers the stagger also receives an extra action, which can be spent attacking, healing, or preparing the next move.
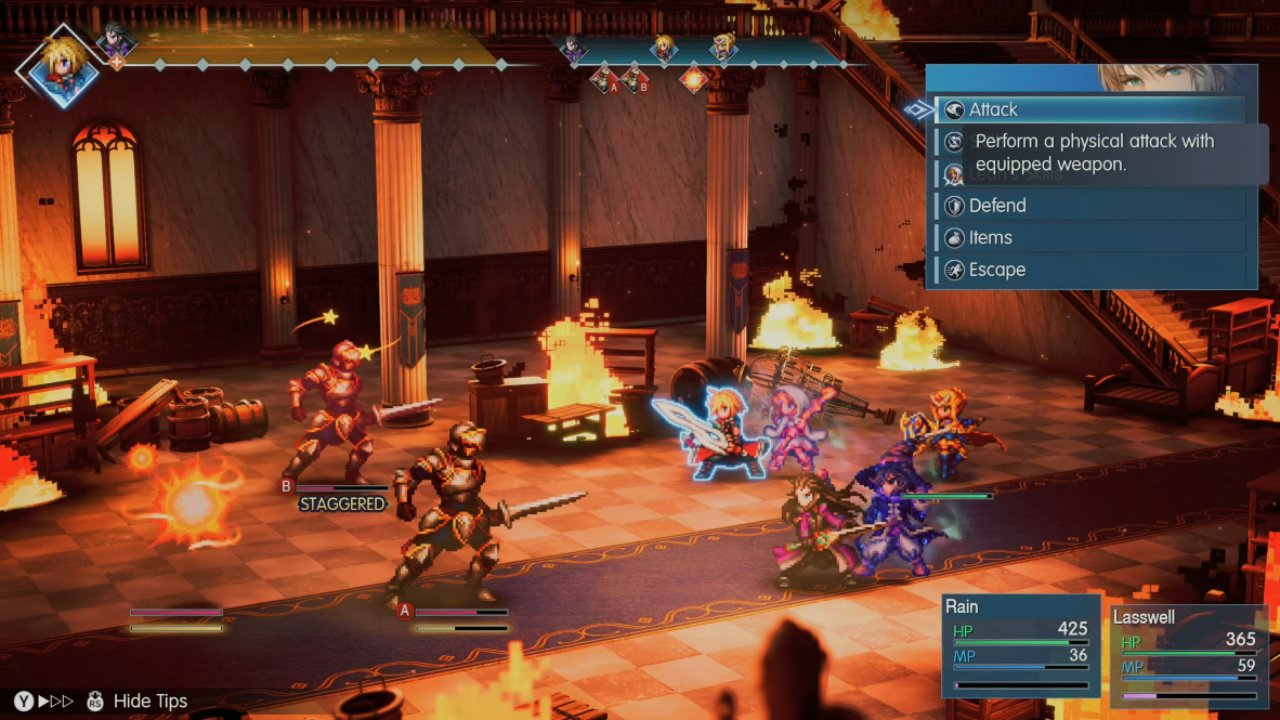
A Sweeping Stagger happens when every enemy is staggered during the same turn. Spread stagger damage across the group, watch the action order, and make sure an ally can finish each remaining gauge. This creates bonus actions and opens Resonance abilities from your equipped Visions. Leah's Healing Wind, for example, heals the party and applies Regen, providing recovery after an offensive turn.
For supported spells, continue cycling targets until the whole enemy or ally group is selected. The All indicator confirms group targeting. The effect may be weaker on each target, so a single large heal is often safer when one character is nearly defeated.
Stay Alive During Difficult Boss Fights
Before a dungeon or boss, check HP, MP, equipment, and ability slots, then make a manual save. Quick Heal outside combat uses healing magic and consumes MP; it can leave your healer short of resources. When fast travel is available, resting at an inn may be a better way to recover. Carry revival supplies rather than depending on a single healer.
If someone is poisoned and close to defeat, removing Poison may not be enough to save them from the next hit. Heal, defend, remove the ailment, or stagger the attacker according to the turn order. When a boss is charging a dangerous move, interrupt it if possible. Otherwise, defend instead of chasing one extra hit.
Make Fina's Choice and Save Stronger Abilities
After defeating Siren, a conversation in Grandport Harbor offers Fina another permanent bonus. The response beginning “We'll need to rely on your strength now more than ever” gives ten MP. The reply about fighting not being only about offense grants three Stamina. “Don't sell yourself short” grants three Spirit. Save before the Siren encounter if you want to choose deliberately.
Limit Bursts are powerful, but using one immediately is not always best. Save it for a useful opening. Espers remain active for several turns before delivering their finishing attack, so summon them with the encounter's timing in mind.
Train Visions and Unlock Awakening
Character levels use XP, while each character earns MRP toward Mastery Rank with an equipped Vision. Rain's progress with Cloud does not automatically give Lasswell the same mastery. Open Equipment & Abilities, select a character, and inspect the MR number and the MRP required for the next rank. The demo caps character levels at 15 and Vision mastery at MR5.
Early options include Warrior of Light for defense, Cloud for physical attacks, Terra for magic, Leah for healing, and Tronn for stagger-related utility. Try Warrior of Light on Rain, Cloud on Lasswell, and Leah on Fina, then change assignments if a fight requires different elements. Mastery abilities learned by a character can be equipped separately when their AP costs fit your allowance. Equip newly learned abilities in available slots.
Vision Awakening is different. After defeating Siren, meet the Moogle of Light in Grandport Harbor to unlock Vision Enhancement. Spend Magicite Shards on the first awakening, Magicite on the next, and Magicite Crystals for the final tier. Examine the unlocked skills before spending limited materials, especially when choosing between stronger healing and additional damage.
Collect Tablet Shards and Claim the Stagger Ring
Find the glowing Tablet Shards during your normal Chapter 1 route. Early examples include the marketplace near the Grandshelt Inn, the southwest pond in the Village of Kol, the large tree and southern pier in Grandport Harbor, and a stalagmite in the Cavern of Swords. Felicitas has two, Kolobos Ruins has two, and Siren's Tower has three more. Search each area outside treasure chests.
Take your collection to the Enigmatic Princess at Oblivion Palace. Three shards unlock the Vitality Charm, six unlock Earrings, and nine unlock a Magicite Shard. At twelve, open the next chest for the Stagger Ring, which increases stagger power by 10%.
Image
Find Early Magicite Shards
Complete Secrets Unearthed by speaking to Chloe in Felicitas, collecting the required samples, and returning to her for Monk's Prayer Beads and a Magicite Shard. Search the chest in Siren's Tower and defeat Siren for two more. The Moogle of Light provides another during the awakening introduction.
For Rear Support, Ahoy!, speak to Zile in Grandport Harbor, help the Chocobo Coachman by defeating four Human Traps nearby, and return for another Magicite Shard. Marauder Cave contains an optional boss that rewards one too; its recommended level is 15, so avoid rushing in underprepared. Oblivion Palace also supplies a shard at nine Tablet Shards.
A reliable early setup is to protect the party with Rain, build staggers with Lasswell, heal with Fina, and use Tablet Shards and Magicite to strengthen the Visions supporting those roles.
FAQ
Q. Does progress from the Final Fantasy Resonance demo carry over?
A. Yes. Demo save data can be carried into the full game on supported platforms, so early character and Vision progress is useful beyond the demo.
Q. Does Mastery Rank carry over when another character equips the same Vision?
A. No. Mastery Rank belongs to each character's progress with that Vision. Awakening upgrades belong to the Vision itself.
Q. Can you awaken Visions before defeating the Siren?
A. No. Vision Enhancement unlocks after the Siren sequence when you meet the Moogle of Light in Grandport Harbor.
Editor, NoobFeed
Latest Articles
No Data.