
Hollow Knight: Silksong Guide | How to Get All 4 Simple Keys
Here's a guide on how to get all 4 simple keys in Hollow Knight: Silksong
Game Guide by Mash Rahman on Sep 23, 2025
In Hollow Knight: Silksong, exploring is a major part of the game, where if you don't explore, you cannot possibly advance the game without using bugs and skips. And whilst exploring, you might come across locked doors, which require a simple key to open to access entire areas behind them, or even sometimes the rewards.
In this guide, I will help you find the locations of all simple keys.
Finding the Simple Keys
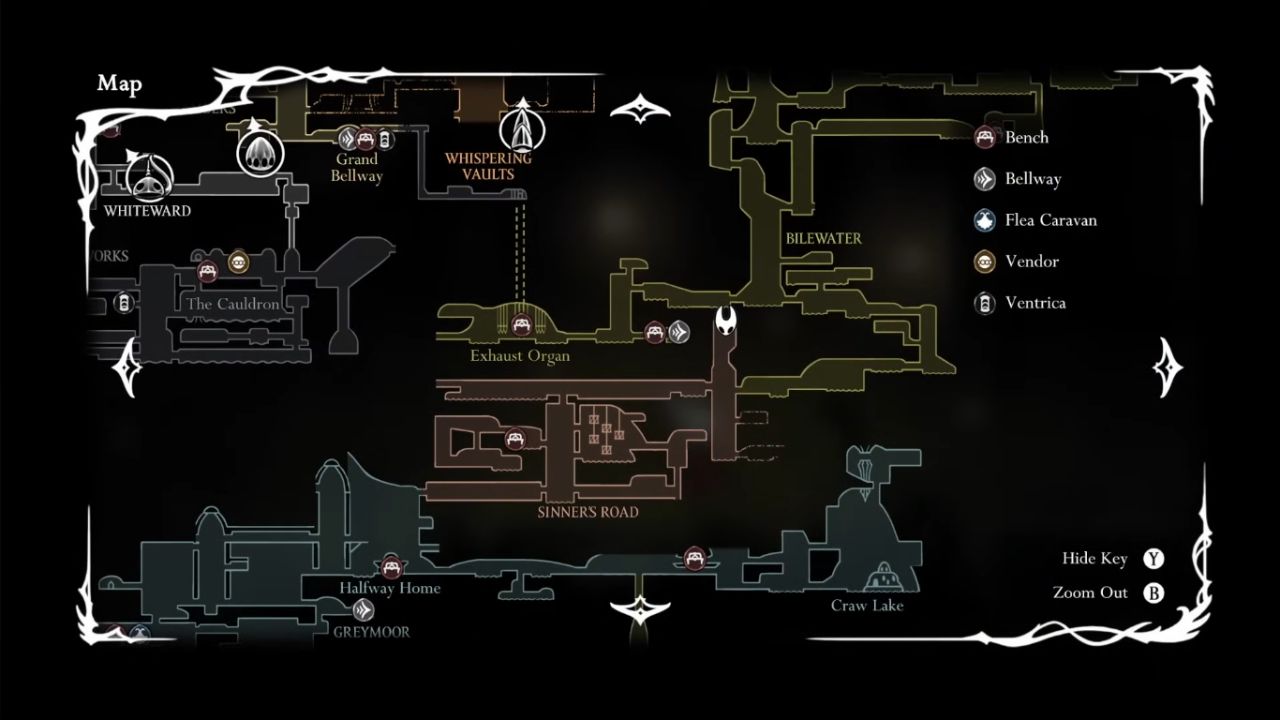
The first of these keys can be purchased in Bone Bottom, where a vendor in the shop at the far lower right sells one for 500 rosaries. The easiest method to buy it is to first save your game at the Bonebottom bench near the vendor.
You can easily farm the required items by fighting the enemies in the deep docks that drop rosaries upon being killed. Try not to save the game by resting on a bench and instead collect the silk required to heal if you get hit.
Once you have 500 rosaries, simply exit the game by pressing save and quit and re-enter; this will spawn you directly at the bench in Bone Bottom.
The second key requires you to have the double jump ability. You have to travel through Greymoor until you reach Sinner's Road at the top right of Greymoor; you will need to have the platforming balloons unlocked.
At the very top right, you'll face a relatively simple boss fight. Defeating this enemy will reward you with another Simple Key.
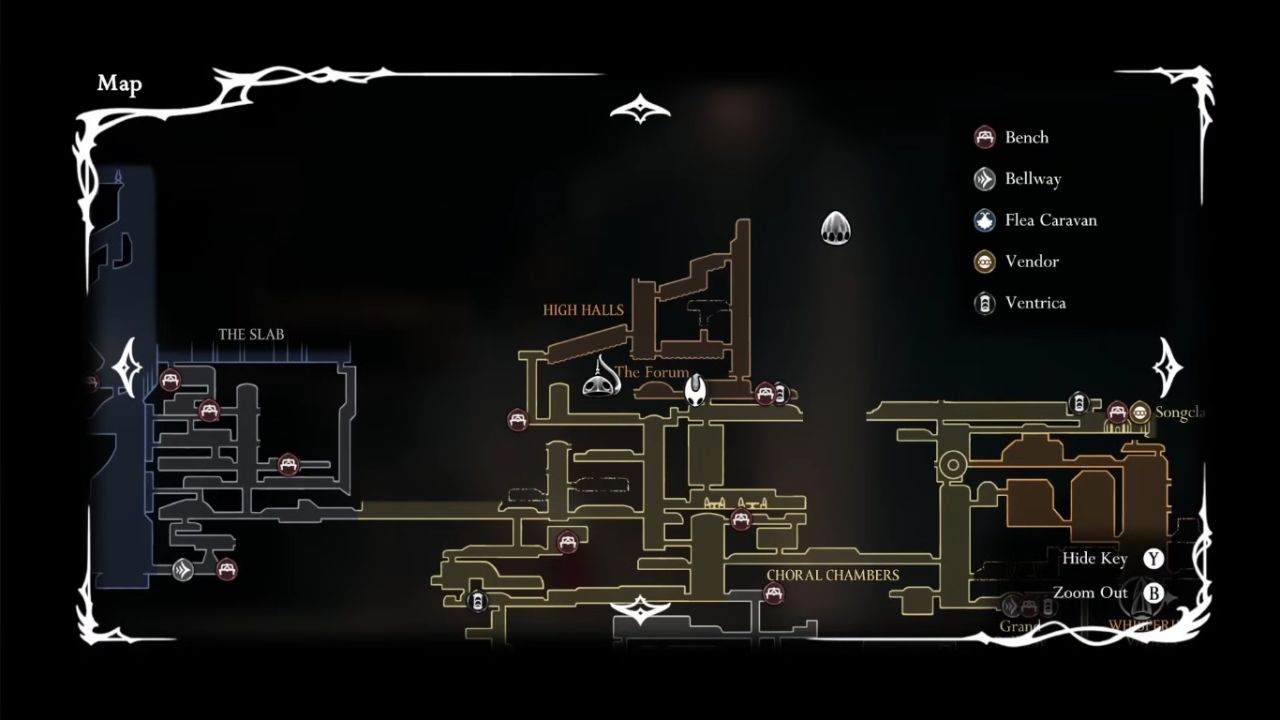
The third key is tied to a side quest in the area Citadel in the section known as Song Clave. Inside, ring the bell you find and leave the area; upon returning, a job board will appear.
Accept the task of rescuing a stranded merchant, then head into the Coral Chambers, near the crossroads between Whiteward.
On a ledge above this section, you'll find the stranded merchant. Escorting them back to Songclave will unlock them as an interactable vendor, and they will later offer to sell you a Simple Key for 650 rosaries.
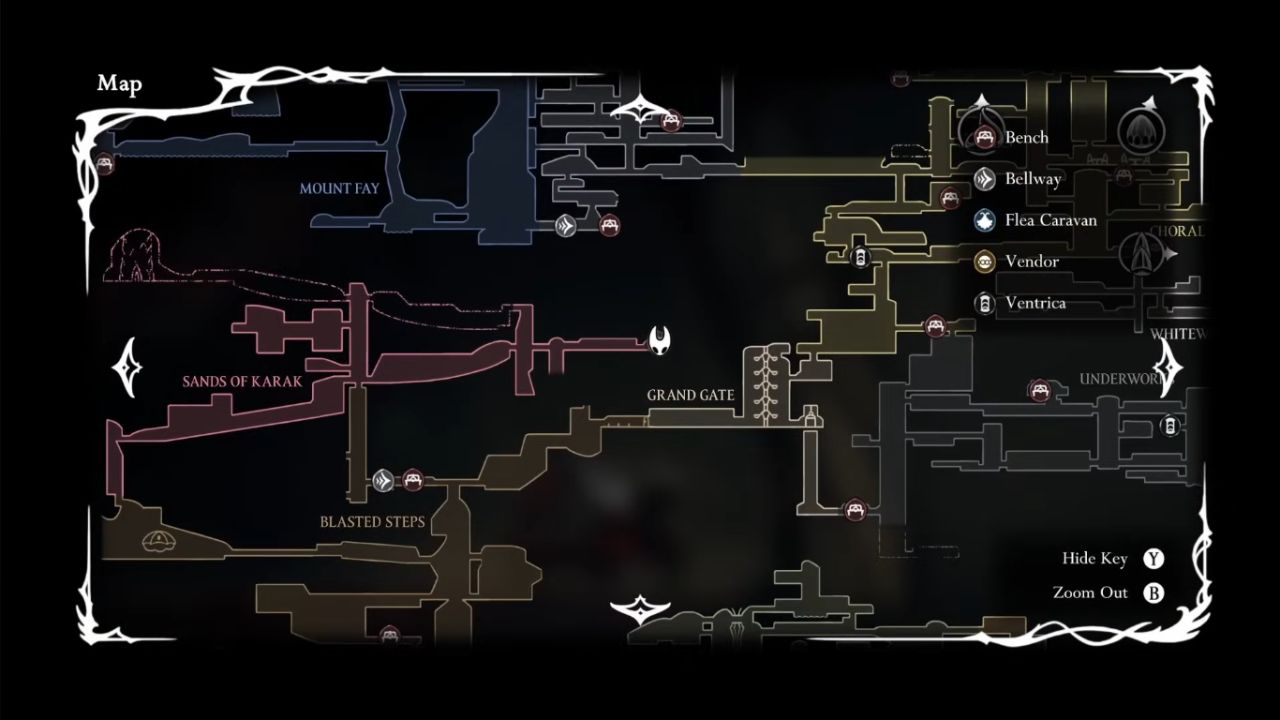
The fourth and the last key lies in the Sands of Karak. From the area known as Blasted Steps, make your way to the bench near the top; then, take the left-hand passage leading towards the large section on the map.
Climb upwards, entering the Sands of Karak, going all the way to the left of this area to unlock a shortcut.
Knocking down debris in a cylindrical chamber directly above the bench we just left will create a shortcut back to fast travel.
From there, move right to a nearby bench at the map's end, and you will find a corpse; interacting with it will give you the last key.
Where You Can Use the Keys
Once all four are collected, you can begin unlocking their respective doors. The first lock is found by travelling upward from Bone Bottom into Moss Home. With the Dash ability, or by cleverly pogoing off enemies, you can cross the floating platforms.
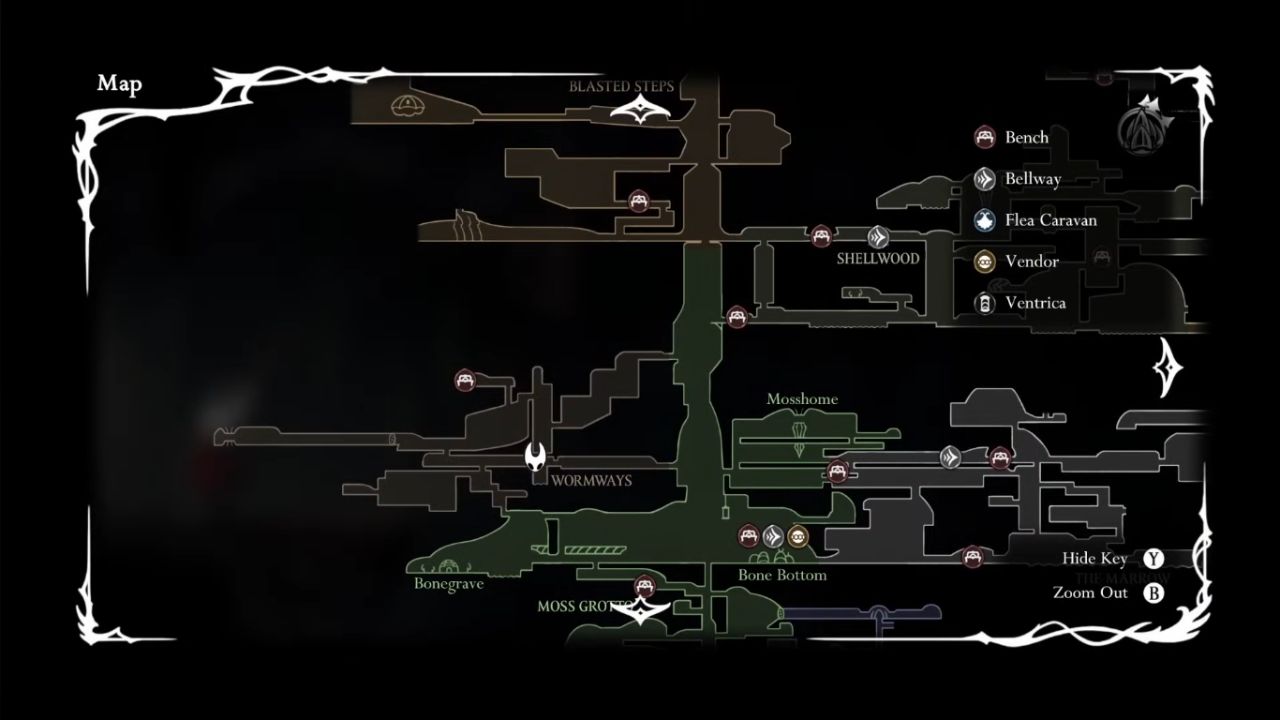
You can enter into a section where you will find an enemy that crawls along the ceiling and spits a green acidic liquid, which does two masks of damage. You will see there are platforms where, if you stand underneath them, you are protected from the spit.
You can cross this section by waiting for the enemy to spit and then dashing or running to the other platform. Finally, you can reach a door leading to the Wormways area.
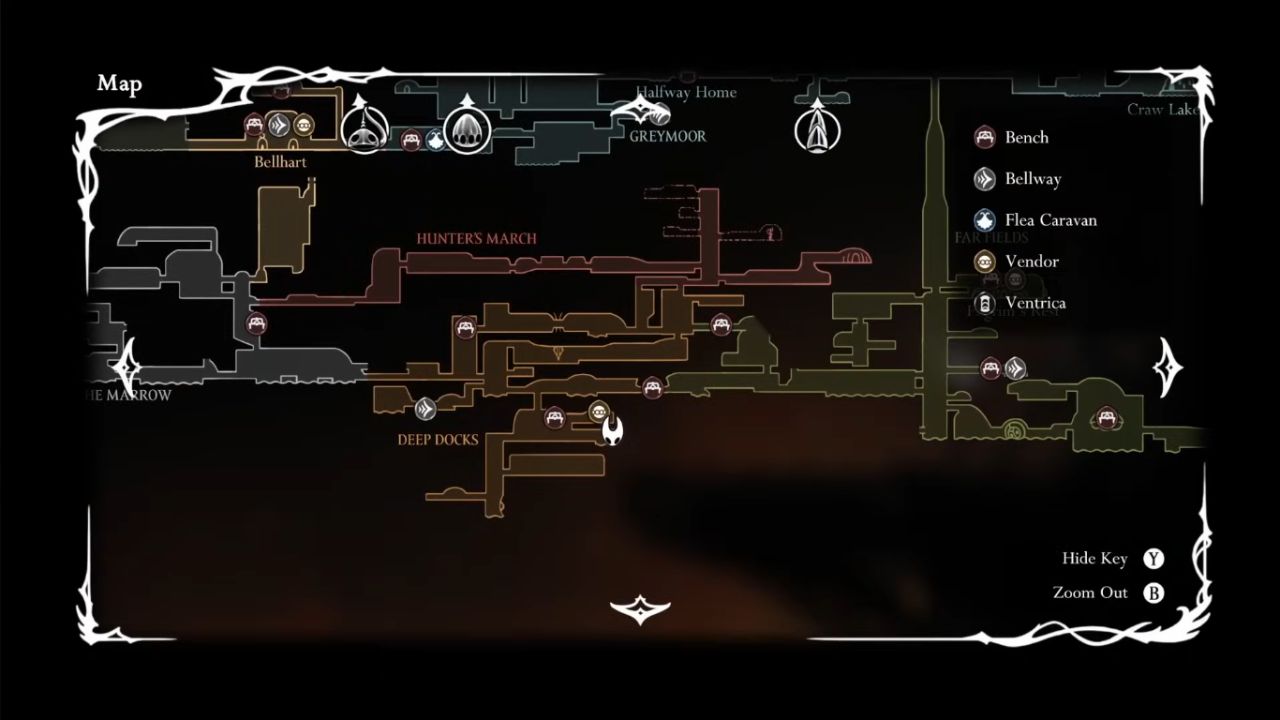
The second locked door is hidden within the area Deep Dock; in the bottom right of the map, near the bench, you can find it just before the battle with Lace. You have to make your way down and to the right, where a sealed gate is revealed, which you have to open using the simple key you obtained.
This door leads into a smaller side area containing crafting materials and a few useful items, such as the Flintslate, a very powerful weapon that increases DPS.
The third locked door is located on Sinner's Road. Starting from the bottom of the vertical shaft, in the middle part of the map, you are going to jump up to the left until you reach a flat platform from where you can see some spikes.
From there, you're going to drift downward through the spikes, trying to weave between them, and then at the end, you will dash towards the right to access a cage sealed with a simple lock.
Locked inside is an NPC called the Green Prince, who plays a more noticeable role later in the game. Later on, they will give you quests that are not available now, though freeing them now is a necessary step.
The final door is found in the High Halls, the area at the very top left of the map near one of the late-game boss encounters.
To reach it, you have to make your way through the passages of High Halls until you reach a section at the very left, where you will find a slanted platform of spikes.
Here, you will have to drop down using the Drifter's cloak. From there, you have to keep dropping and using the cloak with the Clawline ability to open a few closed passages using the hooks you find on the way.
At the end of this section, you will find a room on the right, marked by a sign outside. Here you will find a tube for transportation and the map of High Halls. The locked door is located on the left side of this place, on a floating platform.
Unlocking it leads to a treasure-filled chamber with numerous rosaries, including large white clusters worth 15 each. Exploring further reveals the Pale Rosary Necklace, which can be broken down for 340 rosaries, as well as the Rosary Cannon—a weapon that consumes rosaries as ammunition.
Altogether, the four Simple Keys not only grant access to hidden paths and NPCs but also open up lucrative opportunities for gathering resources and unique items.
By following these routes through Bone Bottom, Greymore, Sclave, and the Sands of Karak, and then unlocking Wormways, Deep Dock, Sinner's Road, and the High Halls, you'll uncover everything the Simple Keys have to offer.
Also, check our Hollow Knight: Silksong Review and other guides below:
- Hollow Knight: Silksong Guide | How to Get the Crest of Architect
- Hollow Knight: Silksong Guide | How to Get Secret Ending
- Hollow Knight: Silksong | How to Get the Plasmium Phial
- Hollow Knight: Silksong Guide | How to Get the Crest of Beast
- Hollow Knight: Silksong Guide | How to find the High Halls map
- Hollow Knight: Silksong Guide | How to get the Reaper Crest
- Hollow Knight: Silksong Guide | How To Get All 8 Tool Pouch & Crafting Kit Upgrades
- Hollow Knight: Silksong Guide | How to Get the Rosary Canon
- Hollow Knight: Silksong Guide | How to Get the Silkshot
- Hollow Knight: Silksong Guide | How to Complete the Roach Guts Quest
- Hollow Knight: Silksong Beginner's Guide | Gameplay Tips & Tricks
- Hollow Knight: Silksong Guide | All Important Items
- Hollow Knight: Silksong Guide | How to Heal
- Hollow Knight: Silksong Guide | How to Use Pogo
- Hollow Knight: Silksong Guide | How to Find Deep Docks Map
- Hollow Knight: Silksong Guide | How to Complete Crawbug Clearing Wish
- Hollow Knight: Silksong Guide | How to Complete Silver Bells Wish
- Hollow Knight: Silksong Guide | How to Get Thread Strom Skill
- Hollow Knight: Silksong Guide | How to Get Cling Grip Ability
- Hollow Knight: Silksong Guide | How to Complete My Missing Brother Wish
- Hollow Knight: Silksong Guide | How to Complete Rite of the Pollip Wish
- Hollow Knight: Silksong Guide | How to Complete My Missing Courier Wish
- Hollow Knight: Silksong Guide | How to Complete Lost Fleas Wish
- Hollow Knight: Silksong Guide | How to Complete Volatile Flintbeetles Wish
- Hollow Knight: Silksong Guide | How to Get Twisted Child Ending
- Hollow Knight: Silksong Guide | How to Get Mister Mushroom Ending
- Hollow Knight: Silksong Guide | How to Get Sister of the Void Ending
- Hollow Knight: Silksong Guide | How to Get Snared Silk Ending
- Hollow Knight: Silksong Guide | How to Get Weaver Queen Ending
- Hollow Knight: Silksong Guide | How to Get Clawline Ability
- Hollow Knight: Silksong Guide | How to Get Needle Strike Ability
- Hollow Knight: Silksong Guide | How to Find Secret Path to Citadel
- Hollow Knight: Silksong Guide | How to Complete The Lost Merchant Wish
- Hollow Knight: Silksong Guide | How to Complete Great Taste of Pharloom Wish
- Hollow Knight: Silksong Guide | How to Complete The Wailing Mother Wish
- Hollow Knight: Silksong Guide | How to Complete Final Audience Wish
- Hollow Knight: Silksong Guide | How to Beat Marrow's Boss
- Hollow Knight: Silksong Guide | How to Beat Savage Beastfly Boss
- Hollow Knight: Silksong Guide | How to Beat Phantom Boss
- Hollow Knight: Silksong Guide | How to Get Swift Step Ability
- Hollow Knight: Silksong Guide | How to Get Sharpdart Skill
- Hollow Knight: Silksong Guide | How to Parry
Editor, NoobFeed
Latest Articles
No Data.