
Jurassic World Evolution 3 Guide | How to Make Waterfalls
A simple, reliable way to get the Waterfall Tool working every time, plus a quick tour of the key Terrain Tools.
Game Guide by Jubair Baky on Feb 14, 2026
Why Waterfalls Sometimes "Don’t Work”
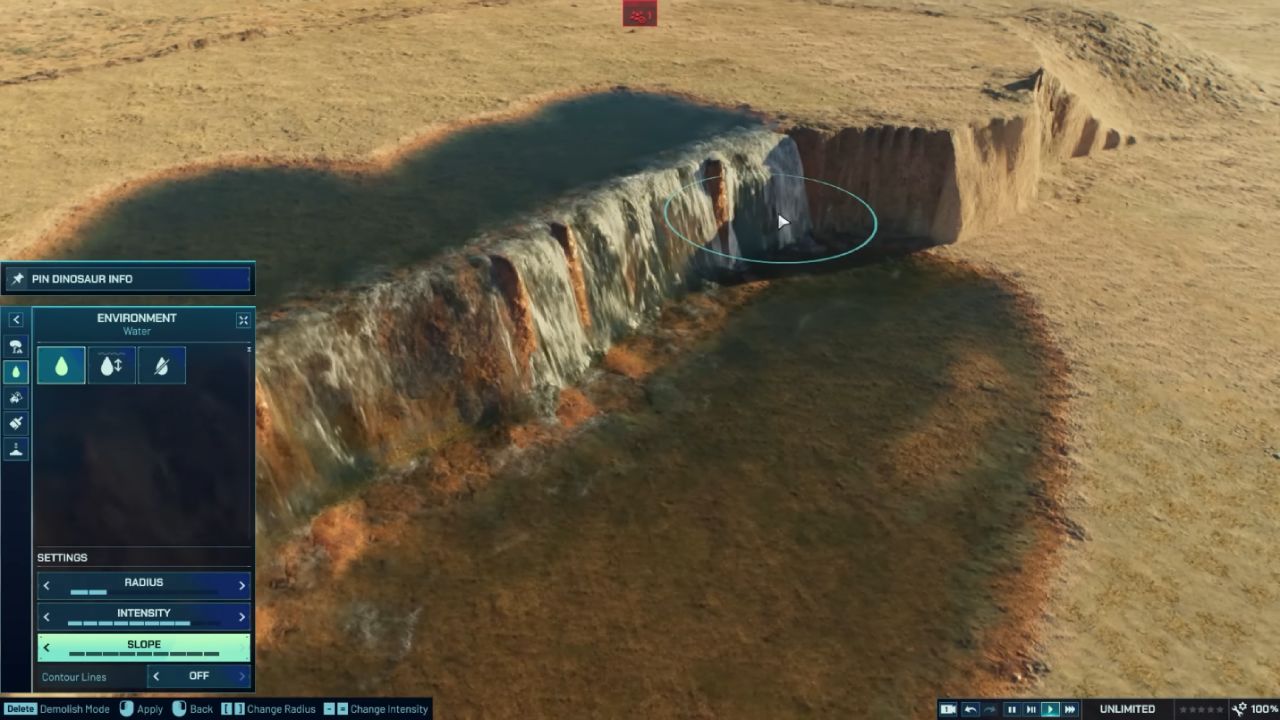
If the Waterfall Tool isn't generating water as expected, the issue is usually the slope setting, not the water type. The problem is almost always the Slope setting. On a fresh map, Slope often starts a little below maximum, and while it can work, it tends to be finicky. That small difference is enough to make waterfalls appear broken, especially on steeper cliffs.
The Quick Fix: Set Slope to Maximum
Get out your terrain tools and turn Slope all the way up to make clean, continuous streams. When you set Slope to its highest level, the waterfall effect stays the same and looks like it flows down the slope all the time. Too gentle of a slope can make the tool place water in spots, join slowly, or not at all.
How to Avoid “Finicky” Waterfall Placement
If you lower the slope after seeing a good result, placement can become harder again. If you lower it further, the tool may stop placing waterfalls entirely.
For tall cliffs, the most dependable approach is to treat the slope as non-negotiable and keep it at max while you place the waterfall, then adjust the surrounding terrain afterward if needed.
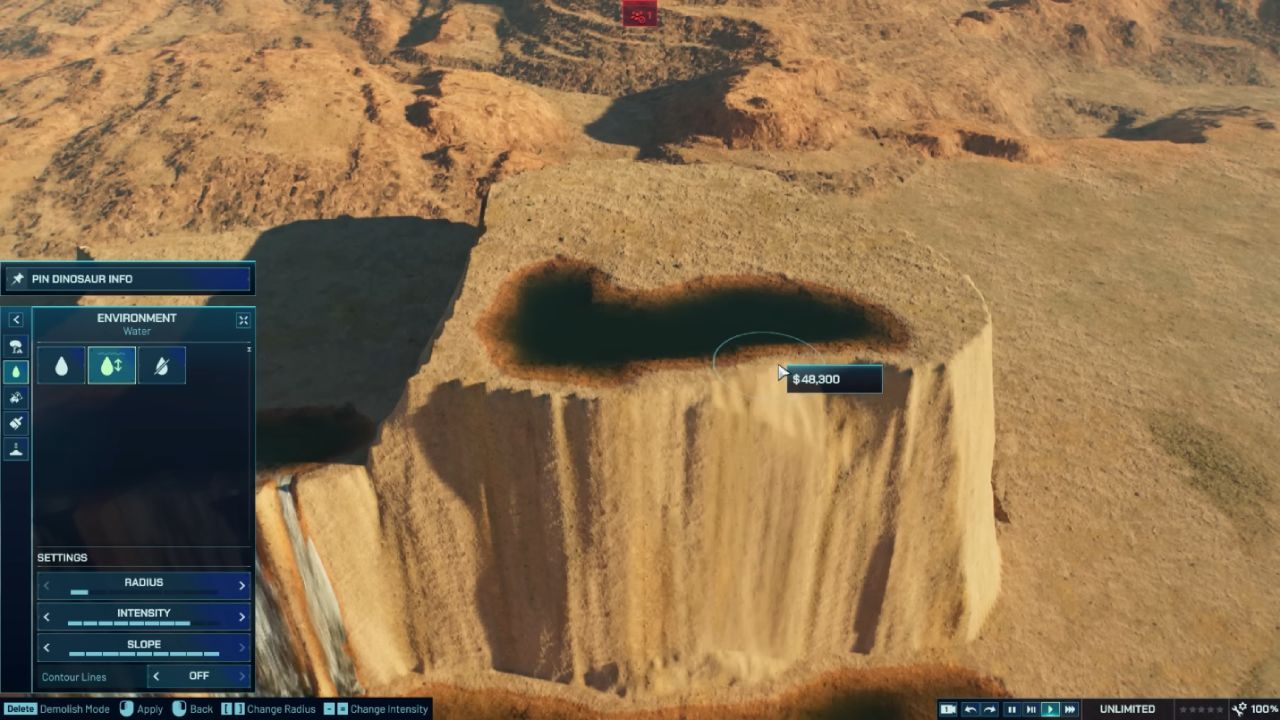
Understanding the Maximum Waterfall Height
A waterfall can only be so tall, too. Even with the right slope, really towering cliffs will ultimately get to a point where the water effect works against you. If the height exceeds the game's limit, the waterfall may not form at the top and bottom.
If you want a very tall drop, the best way to achieve it is to split it into several shorter drops using terraces or stepped ledges so that each part stays within the safe height range.
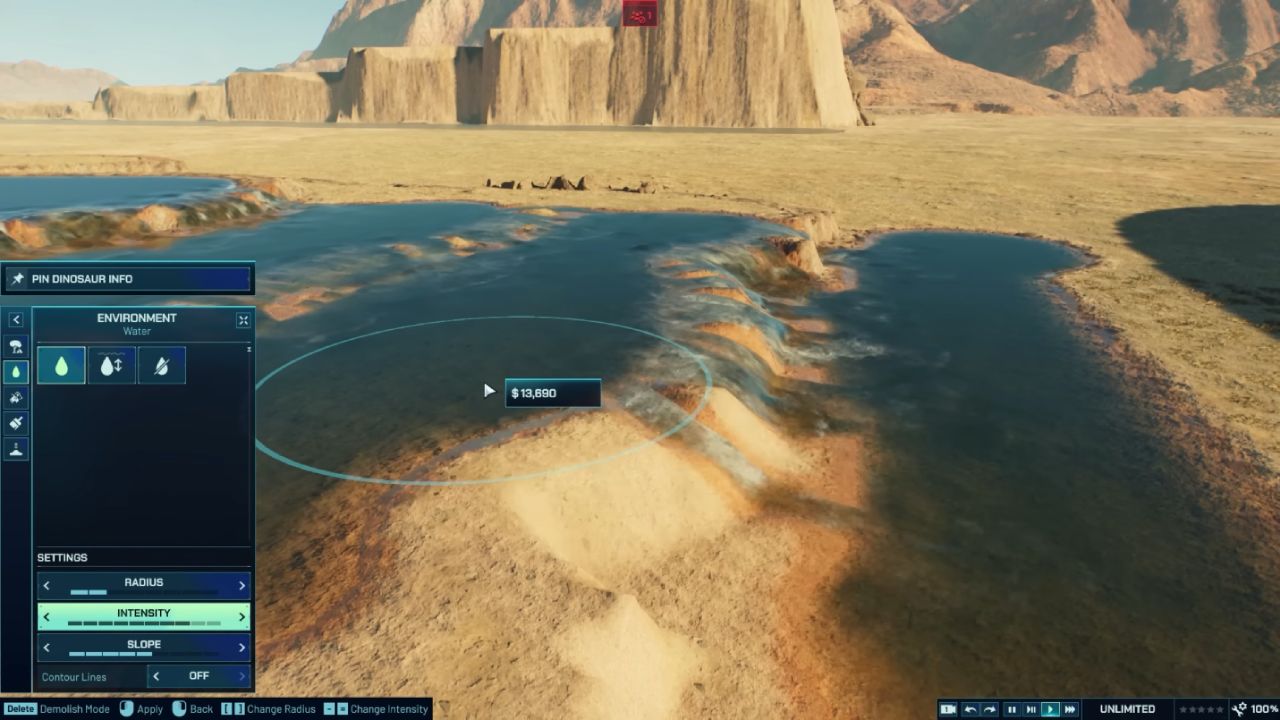
Short Waterfalls and River Rapids Effects
Short waterfalls are much easier to generate. Even over a minimal height difference, you can still get that flowing-water look. After placing a short drop, you can gently adjust the slope downward to see how far you can push it before the effect stops working.
This is a good method for creating a “river rapids” look, where the water appears to tumble and rush over a mild incline. Once the slope becomes too gentle, the flowing effect will switch off, so the best-looking rapids usually sit just above that cutoff point.
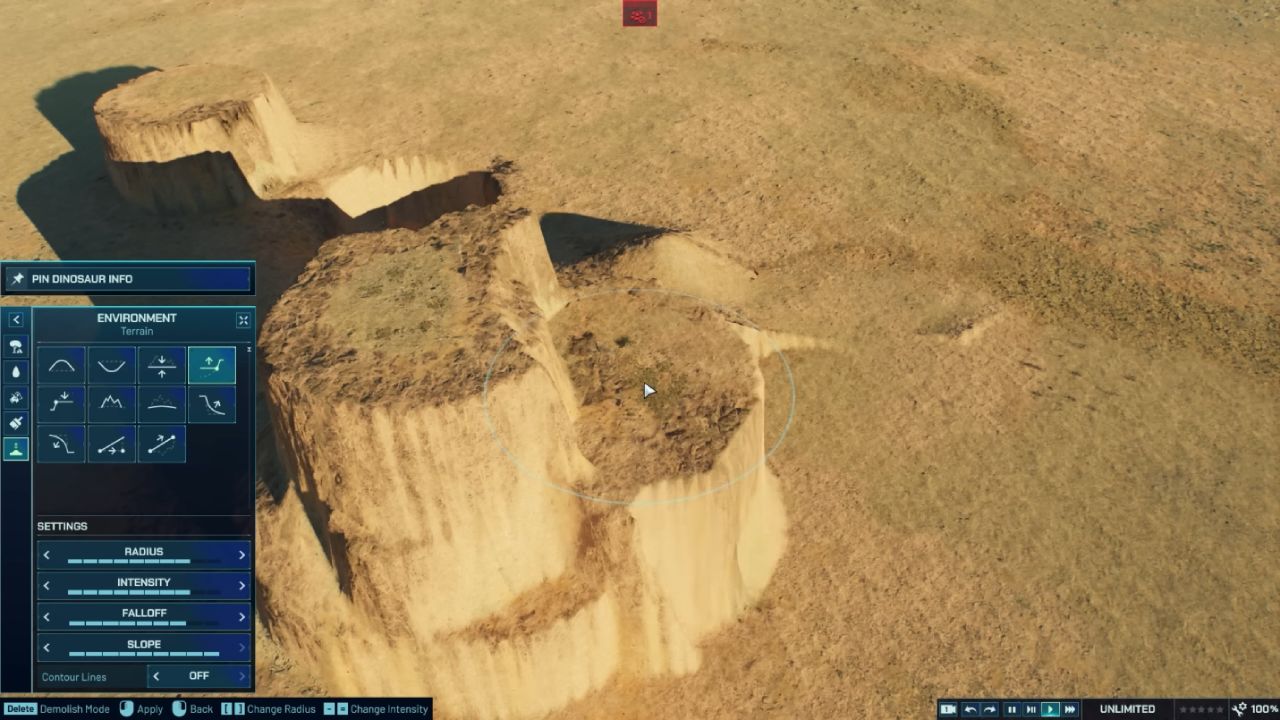
Full Terrain Tools Explained in Simple Terms
The core Terrain Tools are easy to use once you know what each one does.
The Raise tool increases terrain height wherever you paint. The Lower tool does the opposite, digging down into the terrain. The basic Flatten tool levels terrain to the exact point under your cursor, which means it can push one side up while pulling the other side down if the area is uneven.
If you want flattening without pulling in both directions, use the two-directional flatten options. Raise To Flatten brings low ground up to match a target level, without dragging high ground down.
Lower To Flatten cuts high ground down to match a target level, without pushing low ground up. These are especially useful when you want a clean plateau, a neat trench, or a controlled ledge without wrecking the surrounding shapes.
Roughen, Smooth, and Clean Cliff Edges
With the Roughen tool, you can quickly break up the land to make it look more realistic. A surface that is too flat can look fake, so a light pass of Roughen helps make things look more real quickly. Cleanup partner the Smooth tool gets rid of rough edges when things get too messy.
There are also edge-focused smoothing tools. Smooth Bottom softens the base of a cliff while keeping the top edge sharper. The opposite tool smooths the top edge while leaving the bottom more defined, which is useful when you want a clean ridge line but still want a dramatic cliff face.
Ramp Tools: Fixed vs Dynamic
The ramp tools are built for predictable paths and slopes.
A Fixed Ramp always goes upward at the same angle. You click and drag to set the length, and the ramp gets taller the farther you drag, while keeping the angle consistent. This works well when you want uniform access routes or deliberate, stylized slopes.
A Dynamic Ramp connects two points. You click one point, then click a second point, and the ramp forms a smooth connection between them. It also works in reverse, meaning you can connect from the top down just as easily. This approach is the better option when you want terrain that naturally bridges a lower area to a raised plateau.
Tool Settings That Change Everything: Radius, Intensity, and Falloff
The radius can be made bigger to cover more ground if you want to change scenery faster. If the ground moves slowly, turn up the Intensity. If you need to be precise, middling intensity is better than maximum intensity because it changes the ground more slowly.
You obviously know that slope is important for waterfalls, but it also affects the overall steepness of cliffs. High Slope makes cliffs that are incredibly steep and virtually straight in certain areas. Lower Slope makes the slope less steep.
Falloff determines how sharp or rounded the edges of your brush make the terrain's form. When Falloff is higher, the change can feel wider and less sudden. With less Falloff, the design tends to have a sharper, tighter peak or edge. Painting the same shape again and examining its outline are the easiest ways to understand Falloff.
Why Rocks Appear on Some Cliffs
If rocks appear on one cliff but not another, the difference often comes from the ground texture you painted. Some textures include foliage elements like Bushes on flat areas, but when that same painted area becomes an incline, the game can automatically generate Rocks as the terrain gets steeper.
If you want rocks to appear, paint the terrain with a texture that supports that rocky incline behavior, then create the slope. If you want the rocks gone, repaint the terrain with a different texture that excludes them. It is a quick visual switch once you know the texture is the trigger.
Also, check out our other guides:
- Jurassic World Evolution 3 Guide | How to Use the New Island Generator
- Jurassic World Evolution 3 Guide | How to Adjust Slopes and Create Waterfalls
- Jurassic World Evolution 3 Guide | All Attractions
- Jurassic World Evolution 3 Guide | How to Set Up Attractions on Enclosures
- Jurassic World Evolution 3 Guide | Best Attractions of the Game
- Jurassic World Evolution 3 Guide | How to Build Structures Piece by Piece
- Jurassic World Evolution 3 Guide | How to Build Circles in Jurassic World Evolution 3
- Jurassic World Evolution 3 Guide | How to Set Up Expeditions
Editor, NoobFeed
Latest Articles
No Data.