
AMD Radeon RX 9070 XT Gaming PC Build Guide for High-Performance 1440p Gaming
A structured explanation of the RX 9070 XT system configuration aimed at delivering reliable results in varied gaming workloads
Hardware by Shinji Okazaki on Dec 12, 2025
A build that works best for 1440p high-frame-rate gaming but also lets you play some 4K games. Because of market changes, notably in the memory and GPU divisions, component prices are changing.
This makes it vital to choose the right parts and put them together at the right time when building a new system.
.jpg)
Choosing a CPU and GPU
We start with the CPU and GPU combo because that's where you should start when picking parts. We use an RX 9070 XT and a Ryzen 5 9600X from AMD. 9600X has six cores and 12 threads, high clock speeds, and good single-threaded performance.
It features AMD's AM5 platform, which lets you upgrade to Ryzen 9 9950X3D on the same socket. People think AMD's next Ryzen generation, scheduled for 2026, will also use AM5 and require BIOS upgrades.
We chose RX9070 for the GPU. This is a less powerful version of 9070 XT, but it costs less. It has good rasterization performance, and AMD's ray-tracing and FSR support continue to improve. It has 16GB of VRAM, which makes it better than Nvidia's RTX 5070. The prices of these solutions are very similar right now.
People are saying that GPU prices will rise soon due to high demand for memory in AI applications. Prices for DDR5 and SSD memory have risen, and this might also affect the production of graphics memory. GPU prices are good right now and probably won't get better.
Things to Think about When it Comes to Storage
Prices for SSDs stay the same. We use the TeamGroup MP44L 1TB drive. Any Gen4 SSD with excellent reviews would do.
Because prices have gone up recently, DDR5 memory is harder to find. We use TF Vulcan DDR5 low-profile memory to make room for the cooler. RAM prices are still high, so if you currently have sufficient working memory, it's best to wait to upgrade to DDR5.
If you don't have memory, be careful when you shop and consider in-store deals. If you wait to build a whole system until RAM prices drop, you may end up paying more for GPUs and SSDs later.
Choosing a Motherboard
We chose the Gigabyte B850 Eagle WiFi 6E. It supports Gen5 PCI, 4 RAM DIMMs, USB-C, and 2.5Gb Ethernet. It is useful and dependable because we have used it on many projects. It is a reliable choice for the AM5 platform.
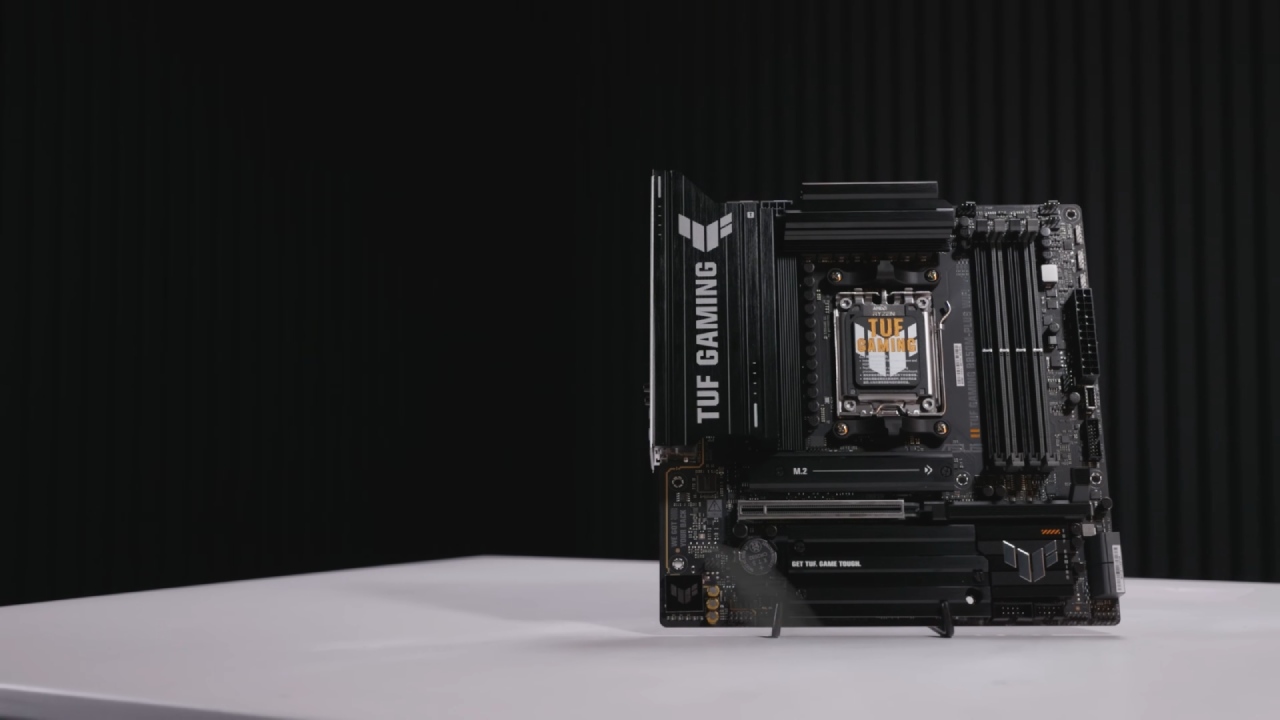
Case and Setting Up the Cooling
The SAM V60 case we are using features a curved glass front and seven ARGB fans. There are three 120mm reverse-blade fans on the bottom, three on the side, and one on the back of the case. It also has a SATA-powered fan/ARGB hub with headers for syncing with the motherboard if you like.
We use the black Sama A60 dual-tower air cooler to cool the CPU. It has the thermal performance you need without the extra cost of an all-in-one liquid cooler.
Installing Parts
First, we put in the Ryzen 5 CPU. The 9000-series portfolio keeps AMD in the mid-range market. Low-profile memory modules are used to keep the memory from touching the cooler in the second and fourth slots.
Next, the SSD goes behind the M.2 heatsink on the motherboard. We remove the previously installed MP44L and install the 1TB drive we chose.
To install the cooler, remove the plastic brackets that came with it and install the male-to-male posts. Then, using spring-tension screws, the cooler is attached to the mounting plates. During installation, the center fan is removed and then reinstalled.
After installing the correct standoffs, the motherboard fits into the casing. Once everything is lined up, use the screws provided to hold it in place.
Connections for the Power Supply and Front Panel
We use the Summit P1000 PSU, although the 750W or 850W variants might work better with this system. The PSU is 80+ Platinum, ATX 3.1-compatible, and features a built-in 12V-2x6 connector. The PSU is secured in the back chamber, and the power wires for the CPU, GPU, SATA devices, and motherboard are all linked.
The front panel wires and the hub connections on the case are then finished.
Putting in the GPU
We installed the Gigabyte RX 9070 XT card with three fans. It fits perfectly and uses the top two PCIe slots. The original slot screws hold it in place once it is lined up and pressed into position. The last thing you do is connect the GPU power. A manual jump-start shows that the system turns on, and the ARGB fans and curved glass are visible.
An Overview of System Performance
The Yama GB3271QSU monitor used for testing this build has an IPS panel, a reaction time of 1ms, a refresh rate of 180Hz, and a resolution of 1440p. RX 9070 XT performs well at 1440p across many games. The results show that the gameplay and frame pace are steady.

Game Tests
At 1440p High settings, the average frame rate is 161 fps, with 1% of frames dropping to 108 fps and 0.1% dropping to 85 fps. Battlefield 6: At 1440p High, the average frame rate is 142fps, with consistent lows. The system averages 167 fps at 1440p High. In some sections,
VRAM utilization is close to 14GB, which shows how useful a 16GB card is. Cyberpunk 2077: At 1440p High rasterization, the average frame rate is roughly 130fps. When FSR is set to Quality, the frame rate goes up to 172. When ray tracing and FSR are both active, the average frame rate is 84. Marvel Rivals: At 1440p High, the average frame rate is 140 fps.
Final Thoughts
We are happy with how the build came out. RX 9070 XT performs well for gaming at 1440p, and the seven ARGB fans work well together. You can further improve how well the game runs by adjusting settings, resolution, and FSR/DLSS options.
Also, check our other AMD articles below:
- AMD Ryzen 9 9950X3D Review: Setting The Standard For 2025 Gaming CPU
- AMD Ryzen 7 9800X3D Review: 3D V-Cache Goes God Mode with Stunning Gaming Performance
- AMD RX 9070 Performance Review: Thermals, Clocks, and Real-World FPS
- AMD Ryzen 5 7600 Review: Best Budget Gaming CPU of 2025?
- AMD Radeon RX 7800 XT Review: RDNA 3 Power For Midrange Gaming
- Sapphire NITRO+ AMD Radeon RX 9070 XT Review: The Ultimate 4K Gaming GPU
- AMD Ryzen 7 7800X3D: Delivers Gaming Performance Far Beyond Expectations
- AMD Ryzen 9 7900X Review: Powering the AM5 Era with DDR5 & PCIe 5.0
- Intel Core i9‑14900K vs. AMD Ryzen 7 7800X3D: Power Profiles & Gaming Benchmarks
Editor, NoobFeed
Latest Articles
No Data.