
Tales of Arise Guide | Unlock the Night Blossom Trophy
Here's a guide on how to get the Night Blossom trophy in Tales of Arise.
Game Guide by Mash Rahman on May 31, 2026
The world of Dahna in Tales of Arise is rife with hidden dangers that only reveal themselves to players willing to stray from the path of the core narrative. The main campaign is a grand quest for your party to overthrow the tyrannical Renan Lords and free an oppressed people, but the real test of your combat prowess is often the long list of optional endgame sub-quests.
During the late-game hunts, you face off against gigantic, hyper-aggressive monsters called Gigants, born from dense concentrations of astral energy that can wipe out an unprepared party with ease.
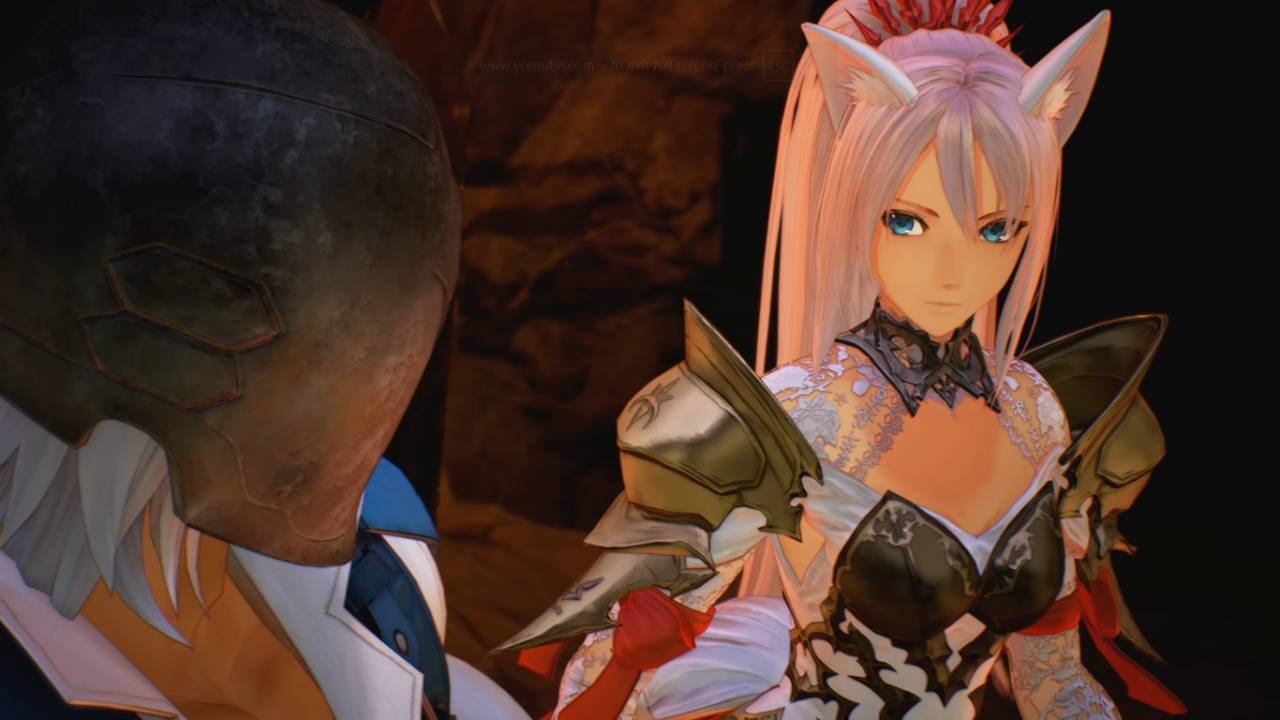
Few of these legendary beasts are as mechanically unique or visually striking as the phantom creature that guards the icy wastes of Cyslodia. Not only does this particular look serve as a test of your party’s level and equipment, it’s also the direct requirement to unlock one of the game’s most coveted silver achievements. The Night Blossom trophy requires players to hunt and kill Meneiys, a beautiful but very dangerous elemental creature.
If you’re a player who wants to achieve one hundred percent completion and the ultimate platinum accolade, this fight is a massive mechanical hurdle that cannot be bypassed by simple brute force. To do well in this endeavor, you need a deep understanding of elemental manipulation, precise defensive timing, and a clear grasp of how to manipulate your party’s combat artificial intelligence under extreme pressure.
The Library Riddle Unraveled
You cannot just go out into the wilderness and find Meneiys in the early or middle acts of your adventure. The sub-quest for this beast is pretty well locked behind rigid narrative progression walls, meaning that players will only find the creature when they’ve acquired a sufficiently powerful arsenal of skills and gear. To kick off this hunt, you need to advance the main storyline until you have taken down the fifth Renan Lord in the watery world of Ganath Haros.
There are major changes to the story's flow after this big battle. The world map opens up a lot more and the game really encourages you to go back to areas you’ve already saved to see some new world-altering oddities that have come about after the appearance of the mysterious structure called the Wedge. When you finally earn this late-game freedom, your first stop is the beautiful pastoral realm of Elde Menancia. Fast-travel to the bustling capital city of Viscint and make your way to the towering gates of Autelina Palace.
Pass through the sumptuous corridors on the ground floor and enter the huge library, on the east side of the first floor. As a place of quiet contemplation, this tranquil haven of books is usually peaceful, but a deep walk into the room and a step toward the central, massive bookshelves will trigger a special, optional dialogue event. Rinwell will be so interested in an old, dusty manuscript describing the legendary existence of an ethereal phantom flower said to bloom amid intense blizzards. This atmospheric interaction officially adds the sub-quest The Phantom Flower of Nevira to your quest log.
Travel to the Frozen Lakes of Cyslodia
With the sub-quest now officially in your journal, you need to prepare your party for a quick jaunt into the sub-zero temperatures of the northern realm. Open up your map interface and initiate a fast-travel sequence to the realm of Cyslodia, targeting the vast and windswept territory known as the Nevira Snowplains.
That once familiar snowy setting will be a little more tense when you arrive at the fast-travel location, as a huge yellow quest star will be broadcasting an ominous destination right in the middle of the zone’s giant frozen lake.
And it’s incredibly important that you stop at a nearby campfire before blindly sprinting across the ice towards that glowing destination marker to properly prepare your team for the trial ahead. At this point in the game, your active characters should ideally be hovering around level fifty or higher to ensure they have the necessary health pools and defensive statistics to survive the encounter.
Stop by the merchant at the campsite and stock up on your essential restoration consumables. You'll want a max stack of Life Bottles for instant revives and a decent amount of Orange and Pineapple Gels to keep your communal Cure Point pool full.
Plus, a few minutes of preparation at the campfire to cook a high-quality defensive or elemental-resistance meal will provide your whole party with a passive survival buffer that can often be the difference between a glorious win and a sudden, catastrophic team wipe. Once you have your culinary and inventory preparations firmly in place, take Alphen and the party out onto the slippery, translucent surface of the great frozen lake.
As you step into the golden quest radius, the ambient background music will abruptly cut out, to be replaced by a dramatic and beautifully rendered cinematic sequence. The winter's fresh air will begin to warp and distort, as dense, glimmering astral particles coalesce into the physical manifestation of Meneiys.
This giant, ghostly quadruped seems like a glorious, luminous stag or wolf wrapped in otherworldly crystalline plants, but its regal appearance hides a predatory savagery that will instantly challenge your entire perception of the game’s combat mechanics when the battle screens come alive.
Anatomy of a Changing Terror
Meneiys is officially a Level 54 Gigant, one of the legendary Five Lights of the Wedge, an insanely elite class of enemy with a ridiculously long health bar. When the fight starts, the first thing you've got to know is the exact physical location of the boss's weak points. Upon close examination of the creature's model, you will notice a very distinct, brightly glowing orange spirit core embedded directly into the side of its muscular neck.
This specific weak point deals a lot of physical/elemental damage when attacked, and keeping your party’s offensive pressure focused on this node at all times is the quickest way to trigger a Core Break, which will leave the giant beast in a completely helpless, extended staggered state for a time. However, exploiting this weakness demands excellent spatial awareness and disciplined positioning from the player.
.jpg)
Meneiys knows its weaknesses, however, and has a devastatingly fast series of frontal swipe attacks, horn thrusts, and biting maneuvers that will instantly crush any character attempting a direct, mindless frontal assault. On the other hand, standing behind the beast to avoid these forward blows is equally dangerous, since Meneiys has a very responsive back-kick and a sweeping tail-swipe animation that can send melee fighters flying across the arena with little warning.
The best place to stand is at a diagonal angle, circling the creature constantly, keeping your active character hovering near the front shoulders so you can cleanly target the neck core and be perfectly poised to do a sideways dodge roll the instant the monster begins to wind up an offensive animation.
Mastery of Elemental Rotations
Meneiys’ capacity for changing its elemental affinity on the fly is what elevates it from a standard overworld boss to a legendary, multi-tiered trial. The beast comes to the encounter with normal physical defenses, no special resistances, and in a neutral elemental state. As you start to whittle down its huge health bar, however, Meneiys will occasionally stop physically attacking, let out a deafening roar that echoes throughout the entire snowy cavern, and surround itself in a swirling vortex of elemental energy.
This big visual change means that the boss has officially entered its phase change, with a new elemental alignment that changes how it attacks with spells and what it is weak against for defense. Throughout the course of the engagement, the boss systematically cycles through three main elemental phases, starting from its neutral state, then into Fire, then into Water, and finally culminating in a highly destructive Light element alignment.
Upon entering a certain element, the creature’s defensive properties are completely flipped around. The creature becomes completely immune to or highly resistant to damage of its own active element while being extremely vulnerable to the direct opposing element. To succeed in this shifting chaotic environment, you need to actively exploit the game’s elemental opposition matrix of Fire vs. Water, Earth vs. Wind, Light vs. Darkness.
When Meneiys reaches its fiery conflagration phase, it will start raining down explosive meteors and creating localized magma geysers all over the ice. You are to immediately order your party to cease all fire-based attacks, and instead focus your offense on water-attributed physical attacks and astral artes only. It’s an incredibly potent strategy to control Rinwell during these transitions, as her unique ability to charge, store and cast high-level spells lets you quickly unleash devastating torrents of water to exploit the boss’s temporary frailty.
Once you have sufficiently injured the creature to trigger its secondary Water phase, the tide will turn immediately, requiring you to quickly switch to explosive, fire-attribute artes to ignite the boss’s damp defenses. The last, and most dangerous, stage of the fight is when Meneiys drops below its final health thresholds and encases itself in a blinding, glowing shroud of Light energy. In this most powerful form, the beast is able to do cataclysmic, screen-clearing holy spells that track your movement and instantly drain your party members’ health bars from afar.
To combat this final flare of light, you’ll have to change your entire strategy of dark-attributed offenses. Regularly spamming oppressive dark magic spells like Bloody Howling or Execution with characters like Dohalim will deal cataclysmic amounts of weak-point damage to the holy beast, rapidly shredding its remaining health while heavily increasing the chance of triggering consecutive staggers and knockdowns to keep the monster grounded.
Handling the Chaotic Overlimit Phase
As if dealing with constantly changing elements wasn’t bad enough, Meneiys will occasionally enter its own internal Overlimit state after receiving a sudden heavy barrage of hits. When this happens, the beast will be shrouded in a furious, pulsating crimson aura, its eyes will blaze with raw fury, and it will be completely immune to all normal hit-stun, staggering, and knockdowns.
Now Meneiys is completely unpredictable and hyper-aggressive during this temporary window of absolute invulnerability, frantically sprinting across the frozen lake while continuously spamming its most devastating high-tier magical spells back-to-back without any cooldown restrictions. Trying to maintain an aggressive, close-quarters melee combo when the boss has its crimson Overlimit aura active is a surefire way to get yourself instantly game over.
Sadly, your computer-controlled companions have a tendency to commit suicide en masse during these chaotic moments, charging headlong into the middle of the boss’s localized magical storms and quickly draining your precious communal Cure Point pool with constant automated resurrections. The absolute safest and most effective strategy during this dangerous phase is to immediately open your main combat menu and temporarily change your party's active behavior settings.
Change your team strategy to a very defensive preset labeled "Stay Away" or "Do Nothing". This instant command makes your AI allies stop all offensive actions immediately, break away from the boss and run to the far outer edges of the icy arena with the absolute focus on manual dodging and survival. When your party is safe, switch to manual control of a ranged character such as Shionne or Rinwell and focus on staying out of the way of the rampaging beast.
You can wait on the sidelines for your moment as the magical circles come at you, dodging just right with your finger over the dodge trigger. Don't try to deal damage. Just try to stay alive and use manual items to bring back any unfortunate ally caught in a stray explosion. Then it's a frantic few seconds of dodging at breakneck speed. When the red aura disappears, it means the beast has returned to normal, and you can safely go back into your aggressive attack mode.
Using Strategic Boost Attacks
In order to defeat a Gigant like Meneiys, you need to utilize all the tools in your party’s combat toolbox, especially individual Boost Attacks. While your companions make their moves in battle, the Boost Gauges will gradually fill, and using these gauges will lead to special, very focused companion interventions that can change the course of the encounter when used with proper tactical timing.
Alphen’s Boost Attack is your go-to universal tool throughout the fight, as his fiery blade strikes have the unique property of forcing a guaranteed knockdown on any non-Overlimit enemy, giving your team a long, completely safe window to unload your heaviest damage rotations. But the real mechanical crux of this entire boss battle rests on the iron shoulders of Kisara.
Meneiys will frequently lower its massive head, dig its crystalline hooves deep into the ice, and then perform a terrifying high-speed charging rush forward that can track characters across the battlefield and deal catastrophic physical damage to anyone caught in its path, regardless of what elemental phase it is currently in. This is a big, sweeping charging hitbox that’s very precise and very risky to dodge manually on slippery terrain.
As soon as you see the boss assume its distinctive lower-head charging posture, quickly press the D-pad button you have assigned to Kisara in order to trigger her special Boost Attack. Kisara will immediately appear on the battlefield, driving her enormous, immovable tower shield into the frozen ground in front of the charging beast.
.jpg)
If Meneiys slams head-first into Kisara's unyielding iron wall, the immense force of this clash will instantly shatter the monster's momentum, completely aborting the dangerous charging animation and triggering a special block stagger, causing the colossal beast to fall flat on its side, utterly defenseless against your party's quick counterattack. If you save Kisara’s Boost Gauge specifically for these charge sequences, you completely negate the boss’s most dangerous physical hazard and turn it into your primary controlled offensive opportunity.
Claiming the Spoils and Silver Trophy
So now you have to respond correctly to the boss's elemental phase changes, be alert when it goes into Overlimit and gets aggressive, and keep using Kisara 's shield to interrupt its charging momentum. You will slowly wear down the monster's huge HP pool until its last line of defense breaks.
The final moments of the battle are a real spectacle, as a final well-timed physical attack clears the way for a cinematic Boost Strike team attack, allowing Alphen and his companions to deliver a shattering combination blow, which permanently dissolves the phantom beast into a beautiful, swirling cloud of sparkling blue astral dust.
As soon as the battle screens switch back to the regular overworld environment, the sub-quest called The Phantom Flower of Nevira will officially mark itself as complete in your adventure log, and the game will immediately shower your party with an exceptional array of high-value endgame rewards. You will receive a massive bounty of twelve thousand six hundred Gald to heavily bolster your financial reserves, along with a generous injection of several hundred Skill Points to help unlock remaining high-tier title nodes across your favorite characters.
Most importantly, the defeated Gigant will drop an Astral Flower, a highly coveted and extremely rare key item. This mystical flower immediately and forever increases your party's maximum communal Cure Point pool by an incredible ten points, a permanent upgrade without equivalent to your team's overall healing and supportive longevity for any future endgame content. As the quest text officially disappears from your UI and the beautiful snowy atmosphere of the Nevira plains returns to a peaceful calm, the highly prestigious silver Night Blossom trophy will proudly pop up in the upper corner of your screen.
Getting this hard-to-earn achievement is a sign that you have successfully completed one of the most mechanically demanding and complex optional boss encounters in the game, and is the ultimate badge of honor to prove that you have absolute mastery of the game’s intricate systems of elemental exploitation and party management.
With the specter of the snowplains finally behind you for good, and your Cure Points permanently increased, you can now march confidently into the rest of the post-game content, far better prepared for the last legendary challenges that lie in wait for your party across the shifting landscapes of Dahna.
Check out our Tales of ARISE - Beyond the Dawn Edition Review and other guides:
- Tales of Arise Guide | Unlock the Billowing Cyclone Trophy
- Tales of Arise Guide | Basic Combat Mechanics
- Tales of Arise Guide | All Recipe Locations
- Tales of Arise Guide | All Fishing Spots and Fish Locations
- Tales of Arise Guide | All the Locations of the Artifacts
- Tales of Arise Guide | All Astral Flower Locations
- Tales of Arise Guide | Unlock the Big Game Hunter Trophy
- Tales of Arise Guide | Unlock the Wall Smasher Trophy
- Tales of Arise Guide | Unlock the Raging Current Trophy
- Tales of Arise Guide | Unlock the Veteran Rancher Trophy
- Tales of Arise Guide | Get the Diligent Counterattacker Trophy
- Tales of Arise Guide | Unlock Putting the Past in Its Place Trophy
- Tales of Arise Guide | Conquering the Ultimate Group Training
- Tales of Arise Guide | Ultimate Level 100 XP Farming Strategy
- Tales of Arise Guide | All Dahnan Owl Locations
- Tales of Arise Beginner's Guide | Gameplay Tips & Tricks
Contributor, NoobFeed
Latest Articles
No Data.