
Tales of the Shire Beginner’s Guide | Gameplay Tips & Tricks
Starting with Tale of the Shire? Here are some important tips & tricks you need to know to help you get started.
Game Guide by Faviyan Mustafiz on Aug 05, 2025
This guide has over twenty helpful tips and tricks that will help you get better at cooking, make your hobbit home bigger, get farm animals, or get along better with the people in the town.
For the best Shire experience, follow these step-by-step steps to make your character unique, keep track of resources, make money, grow your farm, cook meals for everyone, and decorate your hobbit hole.
Character Wardrobe
Inside your hobbit home, you can revisit the little closet at any time to fully customize your appearance. You can change more than just your clothes and hairstyle.
You can also change your hobbit name and everything else about how you look whenever you want.
This gives you the freedom to try new things without having to worry about making decisions that will last.
Map and Resource Tracking
Opening your map allows you to track a wide variety of icons and landmarks. Click on any NPC, ingredient, or location icon—such as Orlo’s home or the Green Dragon tavern—to create an orange bird trail leading you to the destination.
Landmarks appear as white and blue icons marking signs, streets, and specific shops.
Ingredients you’ve discovered in the wild remain visible on your map, and you can track ponds suitable for fishing with a little fish icon. Use these tracking options to locate NPCs and resources quickly.
Bird Navigation
After you track a destination—such as Nora—blue birds will appear to guide you. These birds perch on signs or bridges, indicating the correct direction by standing on the arrow’s side.
Follow each bird until your destination appears, at which point they will land precisely where you need to go.
Butterfly Guide
Blue, yellow, and white butterflies signal nearby ingredients. Blue butterflies lead you to bushes and fruits, yellow butterflies point toward seasonings, and white butterflies guide you to mushrooms.

Whenever you spot these butterflies, follow them to uncover valuable cooking ingredients.
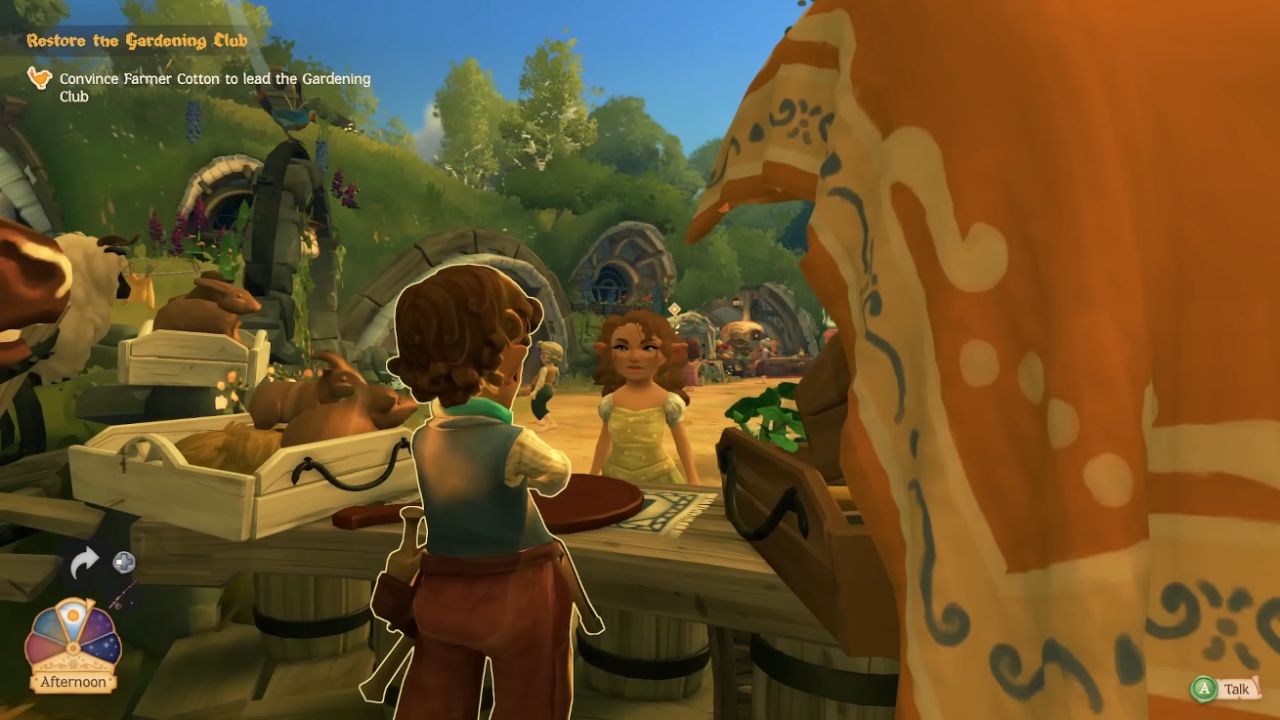
Relationship Rewards
In the Collections menu under the Townsfolk tab, you can view all NPCs you’ve met. Grayed-out entries indicate those you have yet to encounter.
Select a character such as Delphine to see milestone rewards: unlock a venue at level 3, a foraging location at level 6, and a beehive at level 10.
The Gifts tab reveals basic and special items—often furniture or décor—that you can receive by improving each townsfolk’s relationship through delicious meals and thoughtful gifts.
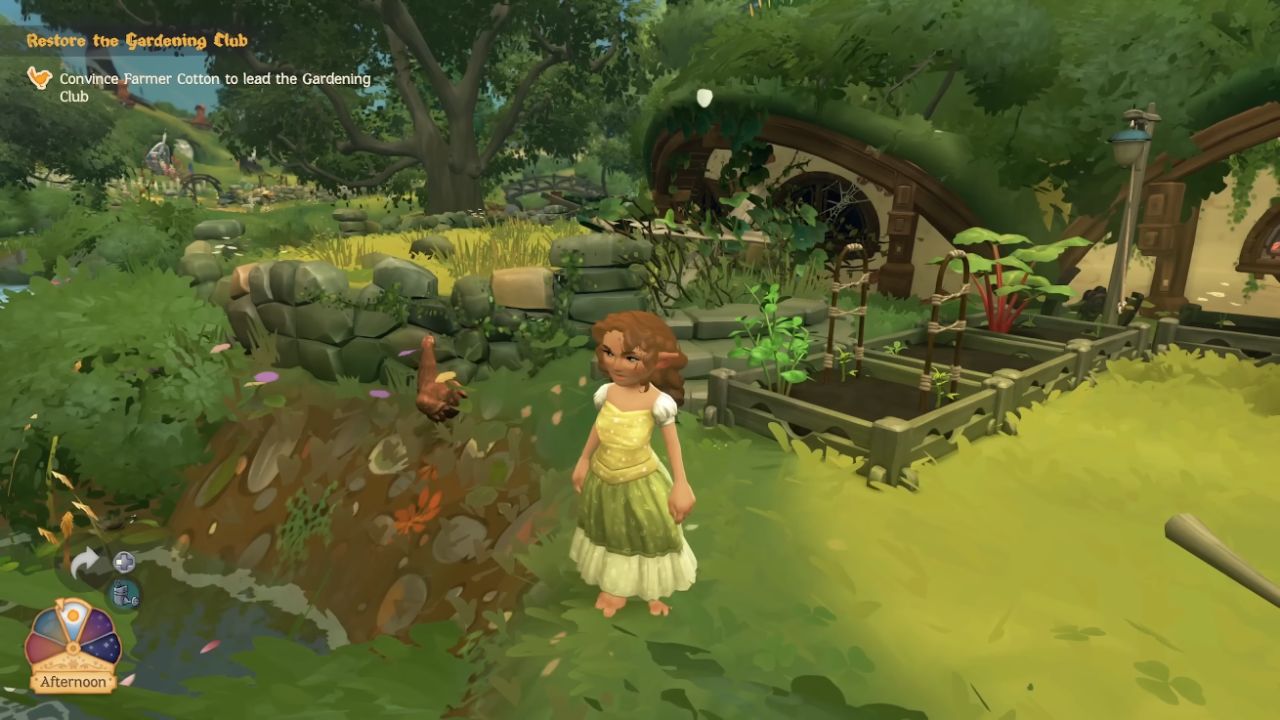
How to Get Chickens
At level 6 with Farmer Cotton, you unlock your first farm animal: a chicken named Henrietta. Place food in her trough to keep her happy and ensure she continues laying eggs for your cooking needs.
Home Expansions
Leveling up Willow Tuk unlocks boarded-up doors around your hobbit hole. At levels 3, 6, and 10, you will gain three home expansions.
The first unlock opens a front door, a sitting area, a winding hallway, and a study. Subsequent expansions enlarge your home further, providing more space for decorations and functional regions.
Fishing Tips
Fishing is simple yet rewarding. Cast your rod and watch for the colored circle: reel only when the circle is orange and keep it centered to avoid breaking your line.
Your Encyclopedia under Fish records each species’ preferences—season, weather, time of day, and location—so you can target specific catches for recipes.
Money-Making Tips
Selling fish remains one of the most lucrative early-game methods, with catches fetching around 30–40 coins each. Collect windfallen sticks daily to sell for 20 coins apiece.
Finally, cultivate fruits and vegetables—such as Box Peppers, which sell for 24 coins each—for steady income once your farm expands.
Gardening Tips
Seed boxes can hold multiple plantings; place seeds near the edges to maximize capacity (up to three or four per box).
Companion planting boosts crop quality: friendly pairs like Bell Pepper and Cucumber display an orange smile when planted together, whereas incompatible crops such as Cucumber and Rhubarb should be kept apart to avoid quality penalties.
NPC Trading
Certain townsfolk offer ingredient trades instead of purchases. For example, Delphine will exchange pepper wart for Cranberry Jam, and Willow trades windfallen wood for three-star rabbit meat. Use trading to acquire rare ingredients for your dishes.
Cooking Guide
Cooking quality depends on ingredient star ratings and workstation techniques. Select higher-star ingredients—like a 2-star shallot over a 1-star brown onion—to fill quality meters. At your desk, each tool changes different qualities.
For example, the chopping board can change how smooth or chunky the food is, and the frying pan can change how tender or crispy it is.
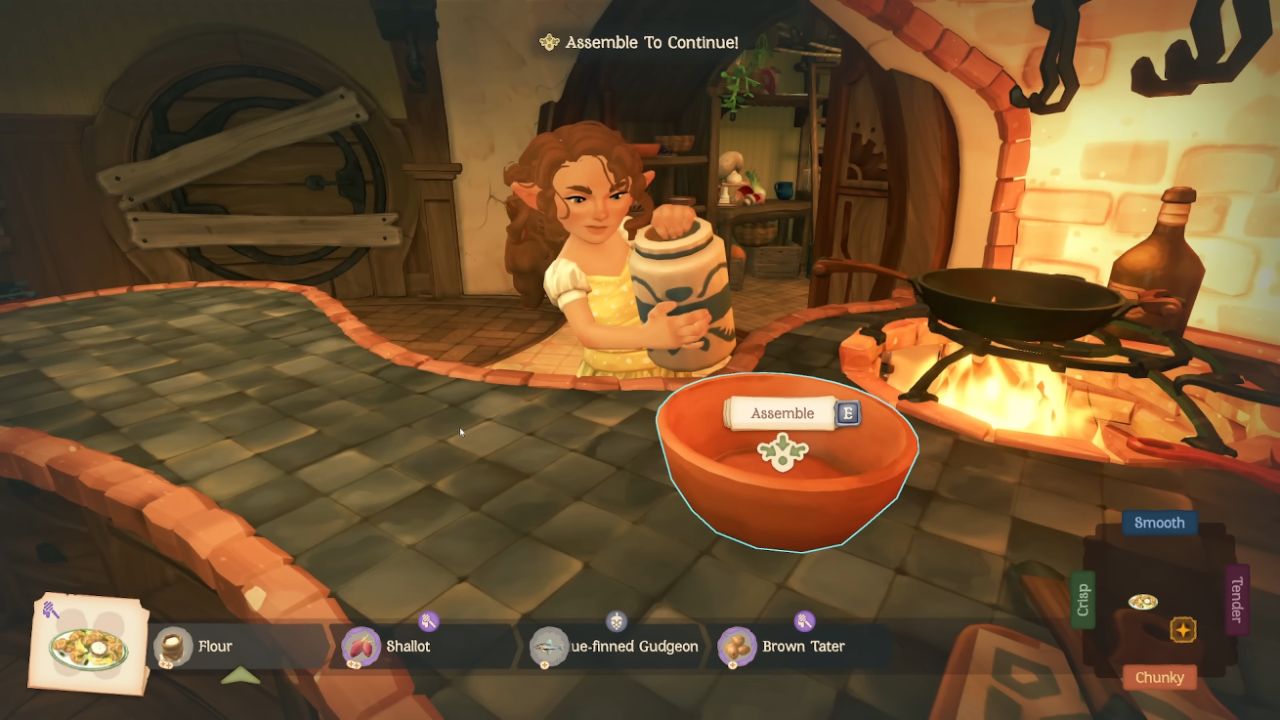
If you want the best quality, line up your dish's meter with the star icon. Also, stop spinning when the yellow bar hits the middle to avoid line breaks.
Flavor Tags
There are colored rings around the ingredients that show what flavors they have: green means sour, gray means bitter, purple means sweet, blue means salty, and red means spicy.
There are seasonings at each workstation that can be used to make tastes even more specific to what NPCs want.
While cooking, keep an eye on the corner icon to make sure you stick to the taste profile you chose.
Shared Meals Tips
Choose a place, like your house, and call NPCs whose food tastes match your dishes to have a shared meal.
A question mark means that the recipe has not yet been found. You can get access to new meals by raising your ties.
Before you serve, look at NPC mail riddles for taste hints, like "salt," to make sure you pair up with the right person and get the most out of your relationships.
Decorate your table with free-placed items for ambience, though these do not affect meal results.
Décor Mode

Enter Décor Mode by holding the two-squares icon on the controller or pressing H on PC. Rearrange furniture, adjust fixtures, and customize every element of your hobbit hole.
Use freehand mode—hold the freehand button on the controller or press 2—to lock the camera and focus on specific areas without moving your character.
Camera Mode
Activate Camera Mode by pressing RB on the controller or P on PC. This feature lets you take snapshots with emotes, filters, and free camera control.
Press X to capture images and explore a wide selection of emotes—from Approval to Annoyed—for creating memorable screenshots of your adventures.
Contributor, NoobFeed
Latest Articles
No Data.