
Warhammer 40,000: Boltgun 2 Guide | All Secrets and Purity Seals in Forged In Battle
Warhammer 40,000: Boltgun 2 Guide Locates All Secrets and Purity Seals in Forged In Battle
Game Guide by Amaya on Oct 26, 2026
Forged In Battle contains 21 Secrets and 3 Purity Seals across Train Wrecked, Tank Manufactorum, and Advance! Each Level has seven Secrets and one Purity Seal.
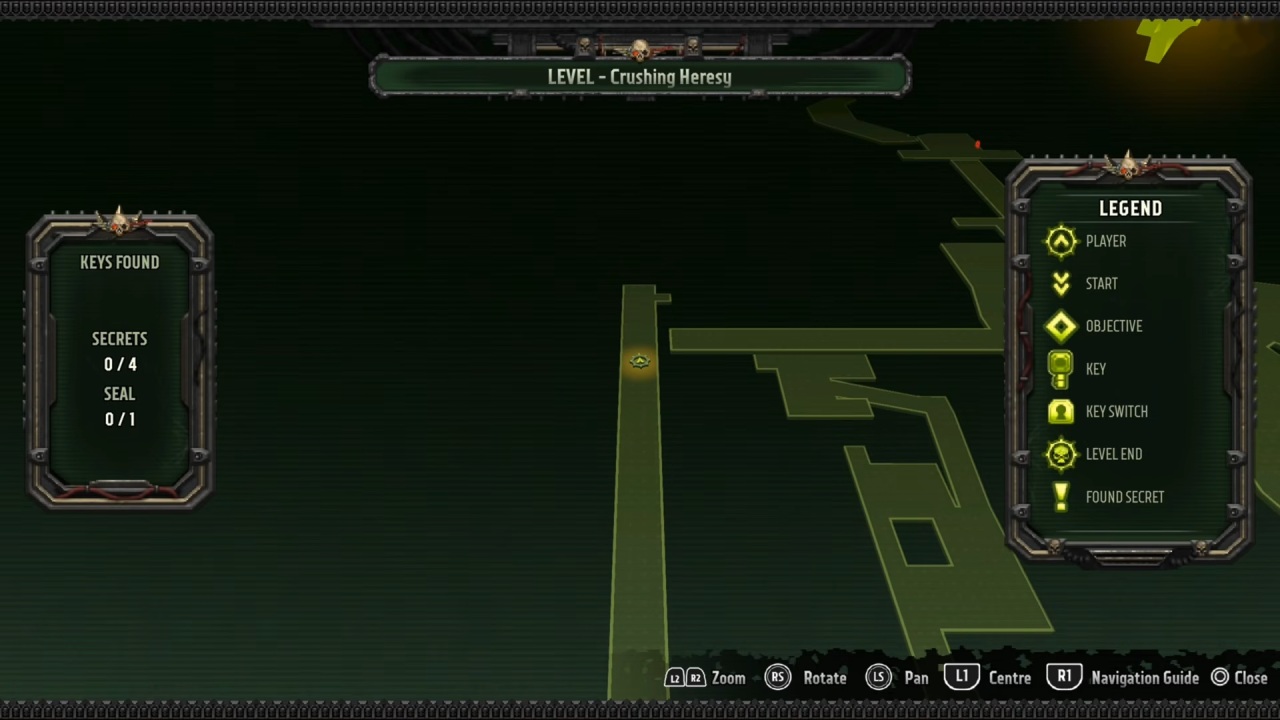
Train Wrecked – All Secrets and Purity Seals
Secret 1 – Tunnel to the Right of the Starting Area
1. Begin the mission and explore the first open area before progressing too far.
2. Turn right and look for a tunnel branching away from the main route.
3. Enter the tunnel and follow it to the end.
4. Collect the Secret waiting inside before returning to the main path.
This is one of the easiest collectibles to miss if you follow the objective marker immediately. Make it a habit to check both sides of the starting area before advancing.
Secret 2 – Behind the Shutter
1. Return to the starting area and inspect the left side for a malfunctioning shutter.
2. Wait for the shutter to rise enough to reveal the area behind it.
3. Look for a hidden skull beyond the shutter and shoot it.
4. Once the mechanism opens the passage, enter the room and collect the Secret.
The important step is shooting the skull rather than simply waiting for the shutter to move. If the passage stays closed, check behind the opening for the switch.
Secret 3 – Container Near the Train Tracks
1. Continue along the tracks until you reach the corner where two sets of tracks meet.
2. Inspect the small room on the left.
3. Look outside the room for a skull switch and shoot it.
4. Find the container that opens nearby, enter it, and collect the Secret.
This collectible requires you to look around the room instead of focusing only on the tracks. Clear any enemies in the area first so you can safely inspect the walls and containers.
Secret 4 – Hanging Crate
1. Follow the tracks beyond the previous Secret.
2. As you approach the next corner, look above the route for a suspended crate.
3. Shoot the crate to bring it down if it is out of reach.
4. Approach the fallen container and collect the Secret inside.
Suspended containers are easy to overlook during combat. Whenever you enter a new section, look upward for hanging objects before moving on.
Secret 5 – Train Station Container
1. Continue until you reach the train station area containing the Red Door.
2. Explore the containers around the station rather than heading straight through the door.
3. Search the nearby containers for the one containing the Secret.
4. Collect it before using the Red Door to continue.
If you cannot find the pickup immediately, circle the station and inspect the sides of the containers. Search the entire area before leaving.
Secret 6 – Tunnel Near the Train Station
1. Return to the train station where you found Secret 5 and the Red Door.
2. Before passing through the door, search the surrounding area for a tunnel entrance.
3. Enter the tunnel and follow it all the way to the end.
4. Collect the Secret hidden there, then return to the main route.
This Secret is separate from the container collectible in the station, so check both locations before leaving.
Purity Seal 1 – Behind the Statue
1. Pass through the Red Door at the train station.
2. Immediately turn around and inspect the walls beside the entrance.
3. Look for narrow ledges that you can use to climb toward a statue.
4. Jump between the ledges until you reach the statue.
5. Move behind it to find the Purity Seal.
Collecting the Seal also grants 50 Boltgun ammunition. Since this is the only Purity Seal in Train Wrecked, collect it before progressing too far into the Level.
Secret 7 – Cage in the Final Purge Arena
1. Continue until you reach the final arena, where you must survive a Purge encounter.
2. Before leaving the area, look for a cage containing a Secret near a tank.
3. Find the skull switch on the nearby platform beside the tank.
4. Shoot the skull to open the cage.
5. Enter the cage and collect the final Secret.
Clear the enemies first if necessary. The skull can be difficult to spot while you are fighting, so inspect the tank and nearby platforms once the arena is safe.
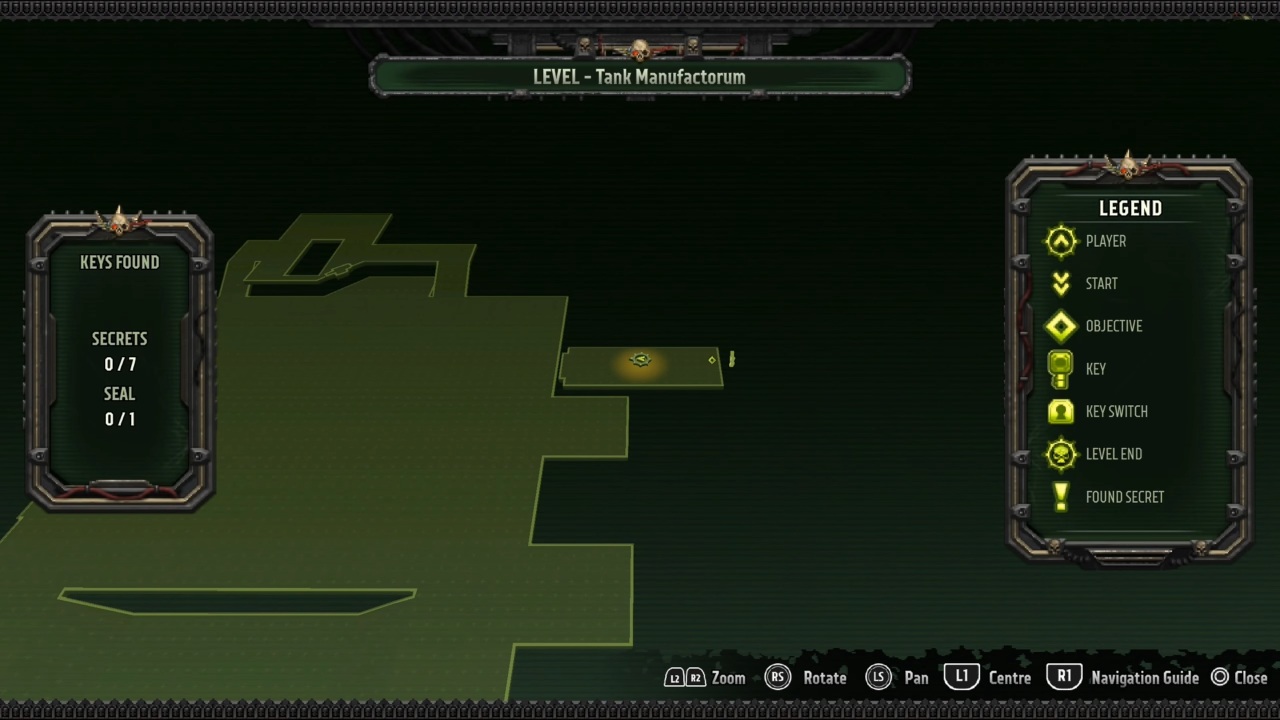
Tank Manufactorum – All Secrets and Purity Seals
Secret 1 – Hanging Tank Component
1. Begin the mission and proceed into the first large area.
2. Look overhead for a suspended tank component.
3. Check the hanging structure for a collectible.
4. Reach it using the surrounding platforms and collect the Secret.
This pickup is easy to overlook because the industrial machinery blends into the background. Look up before moving through the first area.
Secret 2 – Container Under the Ramp
1. Continue until you reach the area containing three consoles.
2. Locate the Red Console.
3. Search underneath the nearby ramp for a container.
4. Enter the container and collect the Secret.
Check beneath the ramp instead of only searching the upper walkways. The container is tucked away from the main route.
Secret 3 – Hanging Container Near the Red Key
1. Stay in the three-console area and locate the Red Key.
2. Inspect the surrounding machinery for a suspended container.
3. Shoot the container down if necessary.
4. Approach it and collect the Secret inside.
If the container is hard to reach from the ground, look for nearby platforms that give you a better angle.
Purity Seal 1 – Container Near the Yellow Console
1. Find the Yellow Console in the three-console area.
2. Follow the path beside it toward its endpoint.
3. Search for a container at the end of the path.
4. Enter the container and collect the Purity Seal.
The Seal also grants 50 Boltgun ammunition. Collect it before leaving the console area, as it is the only Purity Seal in Tank Manufactorum.
Secret 4 – Hanging Container Near the Yellow Console
1. Return to the Yellow Console after collecting the Purity Seal.
2. Look above the surrounding platforms for another suspended container.
3. Shoot it down or reach it using nearby platforms.
4. Collect the Secret inside.
This is a separate collectible from the Purity Seal, even though both are near the Yellow Console.
Secret 5 – Hanging Container Near the Red Console
1. Return to the Red Console.
2. Inspect the machinery and overhead structures nearby.
3. Find the second hanging container in this section.
4. Shoot it down if needed and collect the Secret.
The Red Console area contains more than one collectible, so check the nearby containers carefully before moving on.
Secret 6 – Door Above the Yellow Console Path
1. Obtain the Red Key and use it to activate the appropriate console.
2. Return to the route beside the Yellow Console.
3. Look above the path for a newly accessible doorway.
4. Jump onto the nearby elevated platform and enter the doorway.
5. Collect the Secret inside.
If you explored the Yellow Console area earlier and found a closed door, you'll need to backtrack after activating the Red Console.
Secret 7 – The Middle Door
1. After activating the Red Console, search for another doorway that has opened in the middle of the area.
2. Move onto the middle upper Level.
3. Use the elevated platform to jump toward the doorway.
4. Enter the room and collect the final Secret.
Before leaving Tank Manufactorum, confirm that your tracker shows seven Secrets and one Purity Seal.
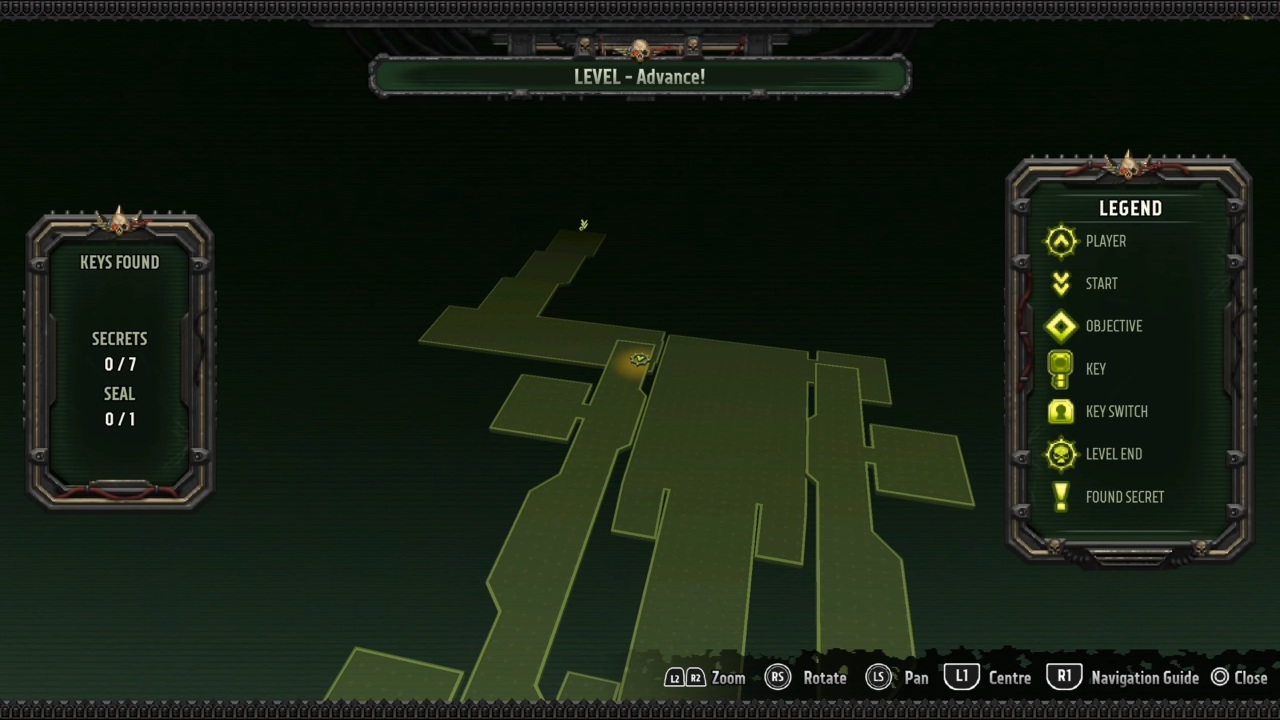
Advance! – All Secrets and Purity Seals
Secret 1 – Suspended Container
1. Enter the first large arena.
2. Look overhead for a suspended container.
3. Shoot it down if necessary.
4. Collect the Secret inside before continuing through the arena.
As with previous missions, check overhead structures because containers can blend into the machinery.
Secret 2 – Hidden Room Beyond the First Arena
1. Leave the first arena and enter the short tunnel.
2. Look to the left for a metal beam near a closed door.
3. Find the skull switch on the beam and shoot it.
4. Enter the newly opened room.
5. Collect the Secret inside.
If the door remains closed, check the surrounding metal beams for the skull switch rather than searching for a conventional key.
Purity Seal 1 – Hidden Room Near the Tunnel
1. Explore the short tunnel beyond the first arena.
2. Inspect the metal beams near the doorway for another hidden skull switch.
3. Shoot the switch to open the concealed room.
4. Enter the room and look for the Purity Seal.
5. Collect it before advancing farther into the mission.
The Seal is easy to miss when you are focused on reaching the next combat encounter. Check the tunnel and its side rooms before continuing.
Secret 3 – Container Beyond the Tunnel
1. Exit the tunnel after exploring the hidden rooms.
2. Turn left and look for a container obstructing the route.
3. Jump over the obstructing container.
4. Enter the next container and collect the Secret.
Check the containers beyond the tunnel rather than assuming the nearby skull switches reveal every collectible in the area.
Secret 4 – Container Near the Red Key
1. Continue toward the Red Key section.
2. Explore the smaller rooms around the area where enemies appear.
3. Look for a container tucked away from the main path.
4. Enter it and collect the Secret.
Clear the surrounding enemies before searching. This makes it easier to inspect the containers and avoid overlooking the pickup while under attack.
Secret 5 – Container in the Final Arena
1. Progress toward the final arena.
2. Search the containers along the left edge of the area.
3. Check the interiors and openings of accessible containers.
4. Collect the Secret before leaving the arena.
Don't focus only on the central combat area. The arena edges can hide collectibles that are easy to miss while fighting.
Secret 6 – Hidden Platform
1. Continue through the later sections of the mission.
2. Inspect elevated platforms and structures around the main route.
3. Look for an accessible platform or container away from the objective path.
4. Search the surrounding area for the sixth Secret.
Secret 7 – Final Hidden Pickup
1. Before completing the mission, thoroughly explore the final combat area.
2. Check remaining side passages, accessible containers, and elevated platforms.
3. Look for any collectible that remains missing from your tracker.
4. Collect the final Secret and confirm that the counter reads 7/7.
Final Thoughts
Forged In Battle contains 21 Secrets and 3 Purity Seals across Train Wrecked, Tank Manufactorum, and Advance! Each mission has seven Secrets and one Purity Seal.
Train Wrecked rewards careful exploration of tunnels, train containers, and the final Purge arena. Tank Manufactorum requires you to inspect suspended machinery and, after obtaining the Red Key, revisit the three-console area. In Advance!, look for hidden skull switches and side rooms.
FAQ
Q. How many Secrets are in Forged In Battle?
A. There are 21 Secrets in total, with seven in each of the three missions.
Q. How many Purity Seals are in Forged In Battle?
A. There are three Purity Seals, one in each mission.
Q. Which level has the hardest collectibles?
A. Tank Manufactorum can be challenging because several Secrets are inside hanging containers or behind doors that require you to return after activating consoles.
Q. Can you replay missions to collect missed Secrets and Purity Seals?
A. Yes. Use Level Select to replay completed missions and collect any missing items. Check your collectible tracker before finishing each Level.
Editor, NoobFeed
Latest Articles
No Data.