
Building a High-End PC in 2026 With Real Compatibility Challenges
A detailed 2026 PC build process highlighting compatibility challenges, airflow planning, and practical hardware decisions.
Hardware by Shinji Okazaki on Jan 02, 2026
2026 is a year of new beginnings; it's a great time to create a new computer. It may be harder to build a PC in 2026, but the process starts off on a good note. The system is intended to be a high-end, portable construct built on the Mechanic Master C28 chassis. It has a top handle for easy carrying and is intended for use during CES.
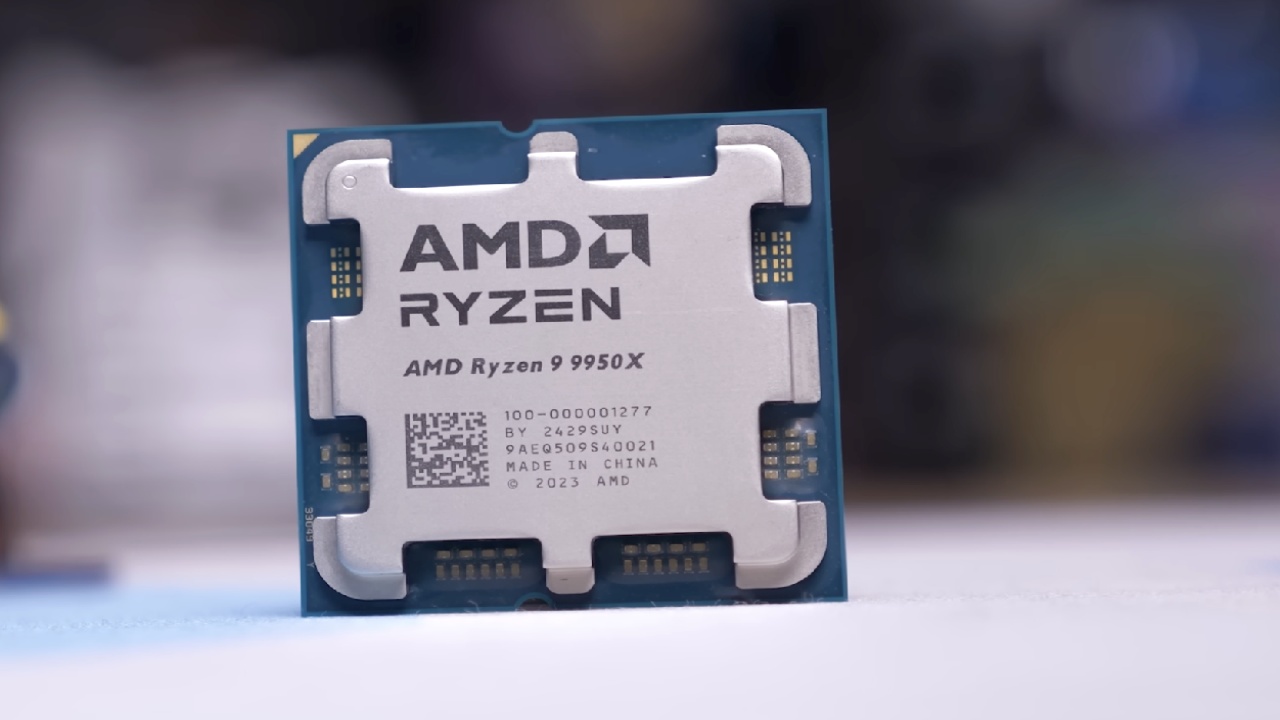
We begin with a high-end setup that is better for editing videos than playing games. It might not be the fastest system out there, but it's very close. Ryzen 9950X is the best CPU for this build because the 9950X3D is just good for gaming. The parts chosen for the system show that editing work is the most important, especially at CES.
Three SSDs are set up for storage to support an effective workflow. We have a Lexar NM790 PCIe Gen4 drive, a Lexar 1090 Pro PCIe Gen5 drive, and a Kioxia XG8 2TB drive. This design lets you have separate drives for the operating system, raw video data, and caching. The motherboard choice supports this method with four M.2 slots, though not all of them operate at full speed due to chipset limitations.
Memory, cooling, and the motherboard
There aren't many choices for a white microATX AM5 motherboard, so we chose the ROG Strix X850-G Gaming Wi-Fi. It has ample storage space and is a good bargain. The first strategy for cooling is to use the Arctic Liquid Freezer 3 ARGB, a 280mm all-in-one liquid cooler known for reliability and performance during rendering jobs.
A white Trident Z5 RGB kit has a 64 GB memory capacity. It uses Intel XMP instead of AMD EXPO, though for video editing, having more RAM remains important. More RAM helps with editing much more than it helps with gaming, by a small amount.
Setting up the first assembly and SSD
We start putting things together by getting the motherboard ready with the CPU, memory, and mounting hardware for the cooler. There are four M.2 slots on the motherboard, one of which is on the back. We avoid the lowest and back chipset-connected slots and put the fastest drive in the PCIe Gen5 slot. The Gen4 drive goes in the top slot. A Windows disk that is already installed lets the system go online quickly before a clean installation later.
Limitations of the case and changes to the cooling
We encounter the first major problem as soon as we open the case. The enclosure can hold 280mm radiators; it requires additional parts, such as a ventilated side panel and a special mounting bracket. The planned liquid-cooling arrangement can't proceed without these. We switch to a Noctua NH-U12S Chromax Black air cooler because there isn't a 240mm AIO.
The structure goes from entirely white to a combination of black and white. The air cooler fits in the 162mm space, which is a good solution that doesn't compromise cooling performance. To get the most out of the cooling, a push-pull fan configuration is incorporated.
Problems in fitting the power supply
You can mount the case in several ways to accommodate both ATX and SFX power supplies. We try to fit a Lian Li Edge 1000W ATX power supply, even though we know there won't be much room for it. Modular cabling is very important because there isn't enough room behind the motherboard tray to route cables before installation.
After taking it apart a little and lining it up carefully, the ATX power supply fits with almost no space between it and the case. It is necessary to temporarily remove some internal parts to make room, but the installation is effective in the end. The extra length of the ATX PSU cord is hidden in the case's other gaps.
Fan Arrangement and Cable Organization
We installed five fans: two at the top and two at the bottom, for intake and exhaust, and carefully organized the airflow throughout. There is no room beneath the motherboard tray, so plan cable management in advance. Fully modular cabling and routing channels near the fans help make the most of the small area.
All fans have RGB illumination, even if it's not needed for editing. The system prioritizes function, but the lights stay on during final assembly.
Problems with graphics card compatibility
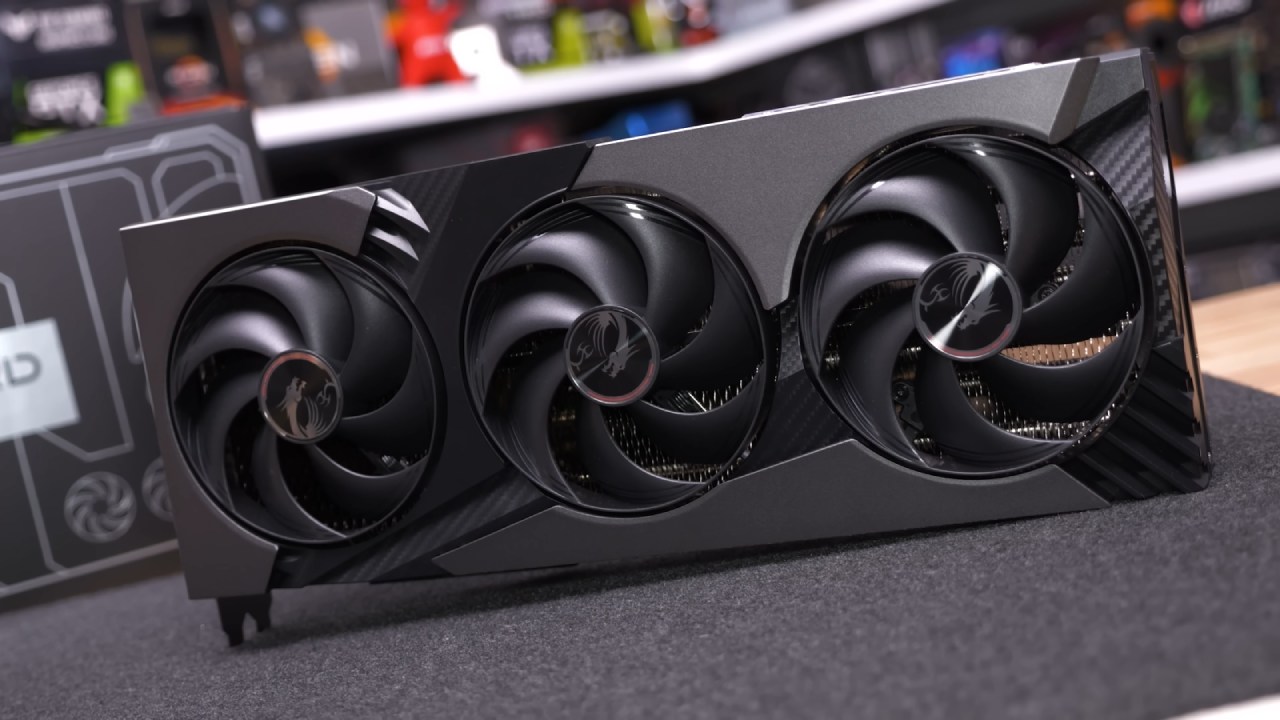
Next is installing the graphics card, which has many problems. Once the motherboard power connectors are in place, both the RTX 5090 and RTX 5080 Founders Edition cards are too big. Even though the cards fit in length, they block critical connectors and won't work with the ATX power supply already installed.
At this point, we look at other options. An SFX 1000W power supply would fix the problem; changing power supplies would mean taking the whole thing apart. Instead, we put in an RTX 5070-class card for the time being. It fits well and has 12GB of VRAM, which is enough for video editing.
Troubleshooting When You Turn It On
Before installing the final panel, we try to boot it up, but it loses power. After taking it apart and inspecting it, the problem turns out to be a power extension cable that isn't fully inserted. The system turns on perfectly after everything is connected, indicating that no key parts are broken.
Final Setup and Upgrade of the GPU
We replace the ATX power supply with an SFX unit, which gives us enough room to attach the RTX 5080. The wiring and cable management have been done again, and the ventilation is still good. The LED lights are set up with a white and light blue color scheme that works well in the winter.
Final Thoughts
The final system has components that are easy to move, work well, and are useful. The Mechanic Master C28 case is flexible, with modular panels and many mounting options. However, the parts that work with it depend a lot on the size of the power supply. Using an SFX power supply improves GPU performance with other components.
There are problems, changes, and troubleshooting along the build process, but good planning and hard work lead to a great result. The system is now ready to have its workloads edited and sent to CES, the final step in development.
Also, check our other AMD articles below:
- AMD Ryzen 9 9950X3D Review: Setting The Standard For 2025 Gaming CPU
- AMD Ryzen 7 9800X3D Review: 3D V-Cache Goes God Mode with Stunning Gaming Performance
- AMD RX 9070 Performance Review: Thermals, Clocks, and Real-World FPS
- AMD Ryzen 5 7600 Review: Best Budget Gaming CPU of 2025?
- AMD Radeon RX 7800 XT Review: RDNA 3 Power For Midrange Gaming
- Sapphire NITRO+ AMD Radeon RX 9070 XT Review: The Ultimate 4K Gaming GPU
- AMD Ryzen 7 7800X3D: Delivers Gaming Performance Far Beyond Expectations
- AMD Ryzen 9 7900X Review: Powering the AM5 Era with DDR5 & PCIe 5.0
- Intel Core i9‑14900K vs. AMD Ryzen 7 7800X3D: Power Profiles & Gaming Benchmarks
Editor, NoobFeed
Gaming Hardware Updates
No Data.