
Gears of War: E-Day Guide | All Bosses and How to Defeat Them
Here's a guide on all bosses and how to defeat them in Gears of War: E-Day.
Game Guide by Navid Kabbo on Oct 08, 2026
Gears of War: E-Day features some of the Locust Horde's most dangerous creatures, with several challenging boss encounters spread throughout the Campaign. From the enormous Brumak to the armored Corpser and the final confrontation with Vraahk, these encounters require more than simply unloading ammunition into an enemy.
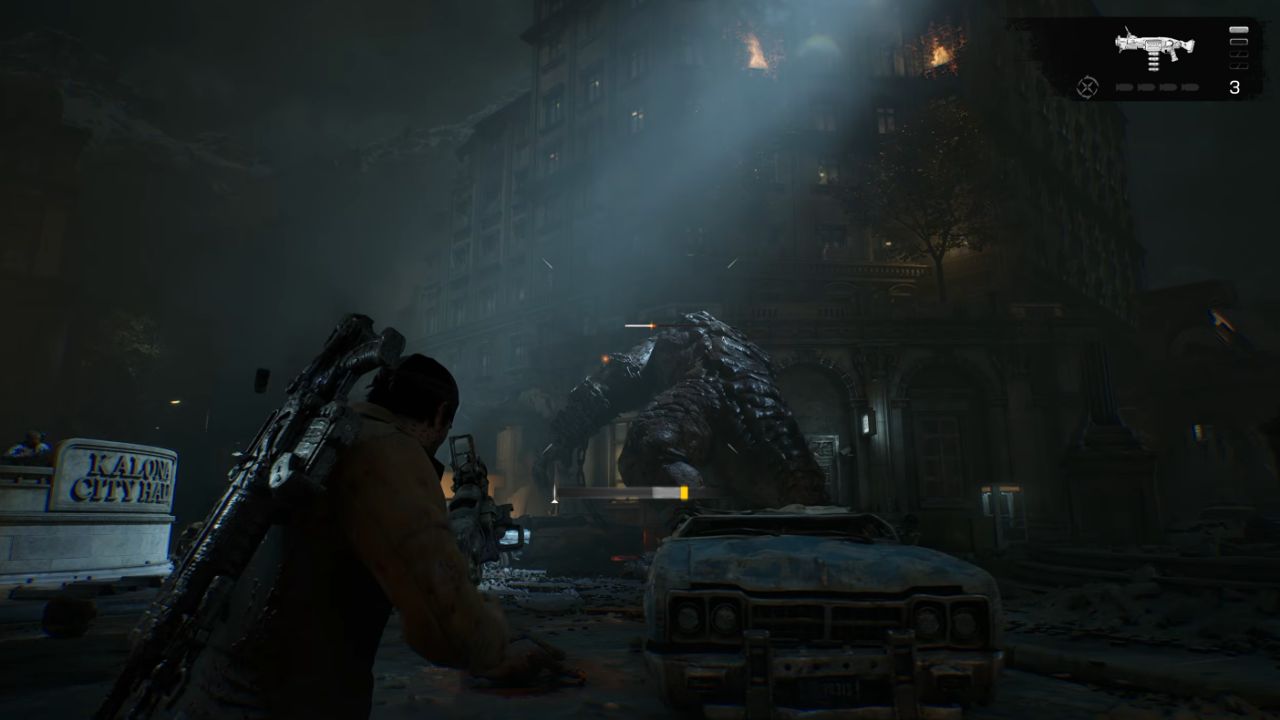
While certain bosses can be defeated with sustained firepower, others involve environmental mechanics, vulnerable body parts, and specific objectives. Understanding how each encounter works can make these fights considerably easier, especially at higher difficulties.
This guide covers all major bosses in Gears of War: E-Day and how to defeat them, including their Campaign locations, combat mechanics, and strategies for surviving each encounter.
All Bosses in Gears of War: E-Day
Several major boss encounters appear throughout the five Acts of the Campaign. Some creatures return in later chapters with different combat conditions.
Here are the major encounters in Campaign order:
- Brumak: Act 1, Chapter 4 — Back in the Fold
- Seeder: Act 2, Chapter 3 — No Gear Left Behind
- Corpser: Act 3, Chapter 2 — Enemy Lines
- Brumak: Act 3, Chapter 6 — Desperate Measures
- Weaponized Brumak: Act 4 — Fort Vigil sequence
- Massive Locust Creature: Act 4, Chapter 5 — Paths Diverge
- Scoria: Act 4, Chapter 6 — Critical Failure
- Vraahk: Act 5, Chapter 5 — The Fall of Kalona
These include both traditional boss encounters and larger set-piece battles that require players to complete specific objectives.
How to Defeat the Brumak
Location: Act 1, Chapter 4 — Back in the Fold
The Brumak is one of the first major threats Marcus and Dom encounter during the Campaign. This enormous Locust creature can withstand considerable damage, making it dangerous for players who attempt to fight it from a stationary position.
Before engaging the Brumak, collect nearby ammunition and pick up a Gut-Puncher if one is available. Its explosive attacks can be particularly effective against large targets.
During the fight, maintain distance and avoid standing directly in front of the creature. Use the surrounding cover to reposition whenever it approaches.
Focus on dealing consistent damage while eliminating smaller Locust enemies that threaten your position. Don't remain exposed while reloading, and use heavy weapons whenever you have a clear opportunity.
The Brumak can be defeated through sustained firepower, so maintaining a safe position is the most important part of this encounter.
How to Defeat the Seeder
Location: Act 2, Chapter 3 — No Gear Left Behind
The Seeder appears during the second Act and presents a different challenge from ordinary Locust encounters.
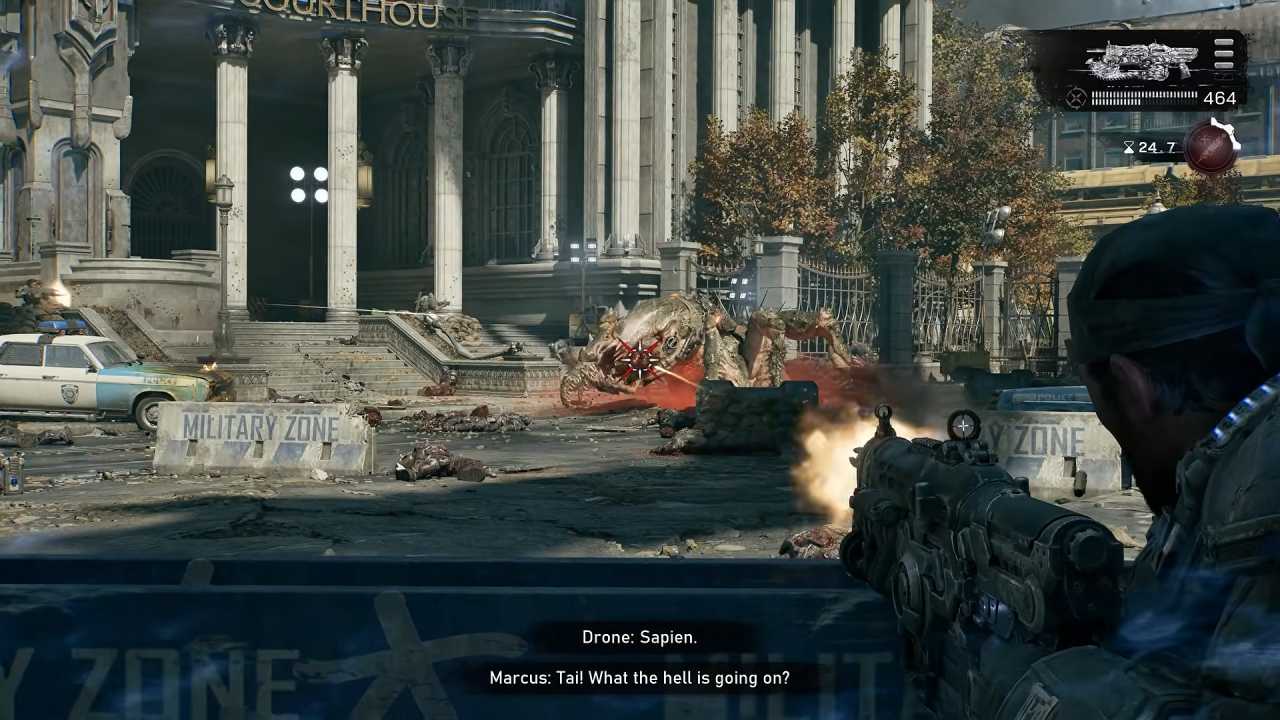
Rather than rushing forward and focusing solely on damage, pay attention to the surrounding battlefield and the creature's objectives.
Begin by finding a defensible position and observing the Seeder's behavior. Use cover to avoid unnecessary damage and look for opportunities to attack without exposing yourself.
If additional Locust enemies appear, prioritize those threatening your position before returning your attention to the larger creature.
Follow the encounter's objective prompts and avoid wasting ammunition on attacks that aren't progressing the fight.
The key is maintaining battlefield awareness and recognizing when the encounter requires an objective rather than additional gunfire.
How to Defeat the Corpser
Location: Act 3, Chapter 2 — Enemy Lines
The Corpser is a massive spider-like Locust creature encountered underground. Its armored body makes conventional attacks less effective, and the fight revolves around using the environment against it.
The arena contains several support pillars that can be used to damage the creature.
To defeat the Corpser:
- Locate an intact support pillar.
- Position yourself so the pillar is behind you.
- Wait for the Corpser to prepare its forward attack.
- Dodge away before the creature reaches your position.
- Allow the Corpser to collide with the support.
- Repeat the process with the remaining pillars.
When the Corpser burrows underground, move away from its expected emergence point and prepare for another attack.
Smaller Locust enemies can also interrupt your positioning, so eliminate immediate threats before attempting another collision.
Avoid wasting heavy ammunition on the Corpser's armored body. Concentrate on the environmental mechanic to progress through the encounter.
How to Defeat the Second Brumak
Location: Act 3, Chapter 6 — Desperate Measures
The Brumak returns during the Campaign's evacuation sequence, although the surrounding battlefield changes how you'll approach the fight.
Much like the first encounter, maintaining distance is essential. However, you'll also need to manage nearby enemies and avoid becoming trapped in exposed positions.
Use available cover to protect yourself between attacks and move whenever the Brumak begins approaching your location.
Heavy weapons remain useful, but don't concentrate so heavily on the boss that you ignore smaller Locust enemies.
If you're running low on ammunition, look for nearby supplies before committing to another attack.
The encounter rewards controlled movement and consistent damage rather than unnecessary aggression.
How to Defeat the Weaponized Brumak
Location: Act 4 — Fort Vigil sequence
The Weaponized Brumak is a more dangerous variation equipped with additional armor and mounted weapons.
Unlike the standard Brumak, this encounter requires more precise targeting. Attacking heavily armored sections without a clear objective can waste valuable ammunition.
Before the fight, replenish your supplies at the nearby Supply Cache.
Once the encounter begins, concentrate on removing the creature's protection and disabling its weapons.
The recommended approach is:
- Destroy exposed armor sections to reveal vulnerable areas.
- Target the mounted launcher when it becomes accessible.
- Disable the exposed machine gun.
- Continue attacking vulnerable sections of the Brumak.
- Reposition whenever incoming fire threatens your cover.
Focus on one important component at a time instead of spreading damage across the entire creature.
Disabling its mounted weapons reduces the pressure on your position, creating safer opportunities to finish the fight.
How to Defeat the Massive Locust Creature
Location: Act 4, Chapter 5 — Paths Diverge
Paths Diverge features another large-scale encounter involving a massive four-legged Locust creature.
Unlike smaller enemies, this creature can pressure large sections of the battlefield, making positioning particularly important.
Begin by identifying nearby cover and observing its movement. Avoid standing directly in its path, and move whenever it approaches your location.
Attack during openings, but don't remain exposed simply to deal additional damage.
Watch for changes in the encounter's objective and prioritize any environmental interactions required to progress.
If your current cover becomes unsafe, move to another position before attempting to reload or attack again.
Patience is important during this encounter. Maintaining distance and following the objective is generally safer than attempting to overpower the creature immediately.
How to Defeat the Scoria
Location: Act 4, Chapter 6 — Critical Failure
The Scoria encounter takes place during the refinery sequence and involves two dangerous airborne creatures.
Because both enemies can attack from different directions, remaining focused on one target without checking your surroundings can quickly become dangerous.
The recommended strategy is to eliminate one Scoria before concentrating on the second.
Start by equipping a reliable medium- or long-range weapon. Identify the creature offering the clearest shot and focus your attacks on it.
Reposition whenever Scoria threatens your location, and avoid remaining stationary while tracking an airborne target.
Once the first creature is eliminated, turn your attention to the remaining Scoria.
Reducing the number of active threats makes the encounter easier to manage and allows you to concentrate your firepower more effectively.
After defeating both creatures, continue following the refinery objective.
How to Defeat Vraahk
Location: Act 5, Chapter 5 — The Fall of Kalona
Vraahk serves as the Campaign's final named boss and appears during the concluding operation near the damaged bridge and Skytrain route.
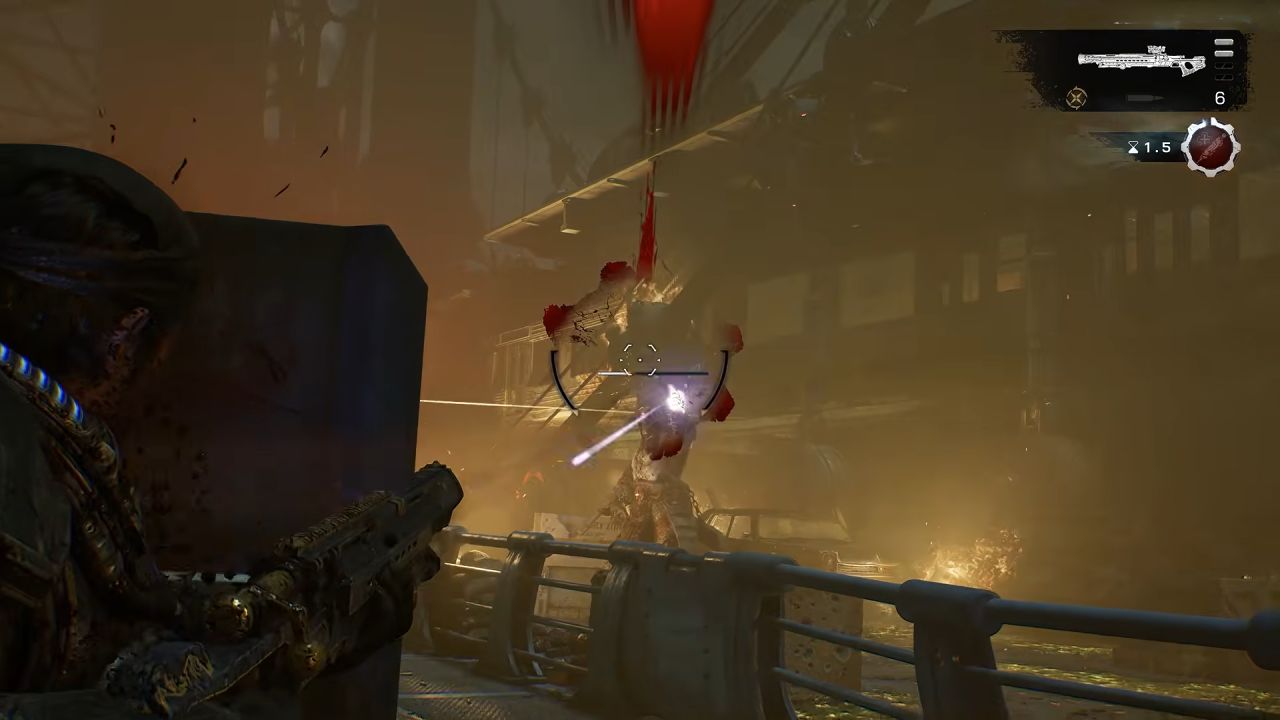
This encounter emphasizes movement and positioning because Vraahk can pressure your location with explosive attacks.
Avoid remaining behind the same piece of cover for too long. When your position becomes unsafe, move to another protected area before returning fire.
To defeat Vraahk:
- Maintain distance whenever possible.
- Watch for incoming explosives and avoid their impact areas.
- Move when your cover becomes compromised.
- Attack during openings between his assaults.
- Conserve enough ammunition for the final stages.
- Defeat Vraahk before interacting with the final detonator.
Don't rush the encounter simply because it's the final boss. Prioritize survival and attack when you have a safe opportunity.
Once Vraahk is defeated, activate the detonator and complete the remaining sequence to finish the Campaign.
Best Tips for Defeating Bosses
Although each encounter has different mechanics, several strategies remain useful throughout the Campaign:
- Replenish ammunition: Use Supply Caches before major encounters.
- Identify weak points: Some bosses require attacks against specific body parts.
- Use heavy weapons: Save powerful ammunition for large enemies.
- Watch the environment: Certain encounters involve objectives or environmental mechanics.
- Eliminate smaller enemies: Additional Locust units can interrupt your strategy.
- Maintain distance: Avoid getting trapped against large creatures.
- Use cover effectively: Reload and reposition whenever necessary.
Learning how an encounter works is generally more effective than relying entirely on firepower.
Final Thoughts
Gears of War: E-Day features several challenging boss encounters that test different aspects of the game's combat system. While creatures such as the Brumak reward sustained damage and careful positioning, other encounters require more specific strategies.
The Corpser relies on environmental interactions, the Weaponized Brumak requires targeted attacks against its armor and weapons, and the Scoria encounter rewards concentrating your firepower on one target at a time.
Before every major fight, replenish your ammunition, observe the battlefield, and identify the boss's weaknesses. Understanding each encounter's mechanics will make even the toughest battles more manageable.
FAQ
Q. How many bosses are in Gears of War: E-Day?
A. Gears of War: E-Day features several major boss encounters across five Acts, including repeat fights against creatures such as the Brumak. The total depends on whether repeated encounters and large set-piece enemies are counted separately.
Q. Who is the final boss in Gears of War: E-Day?
A. Vraahk is the final named boss, encountered during Act 5, Chapter 5: The Fall of Kalona.
Q. How do you defeat the Corpser?
A. Use the support pillars around the arena. Position yourself in front of a pillar, wait for the Corpser to charge, and dodge before impact. Repeat the process to progress through the fight.
Q. What is the best weapon for boss fights?
A. The best weapon depends on the encounter. Heavy weapons such as the Gut-Puncher are useful against large creatures, while precision rifles are better suited to distant or airborne enemies.
Editor, NoobFeed
Latest Articles
No Data.