
Mortal Shell 2 Guide | Best Eredrim Heavy Stagger and Break Damage Build
Here’s a guide on Best Eredrim Heavy Stagger and Break Damage Build in Mortal Shell 2.
Game Guide by Mash Rahman on Aug 26, 2026
Assembling the Best Eredrim Heavy Stagger and Break Damage Build in Mortal Shell 2 allows tank playstyles to crush guard meters and knock down bosses easily. Eredrim possesses high durability and poise cap, making heavy trades forgiving. This setup relies on charged swings and posture damage bonuses to stun foes.
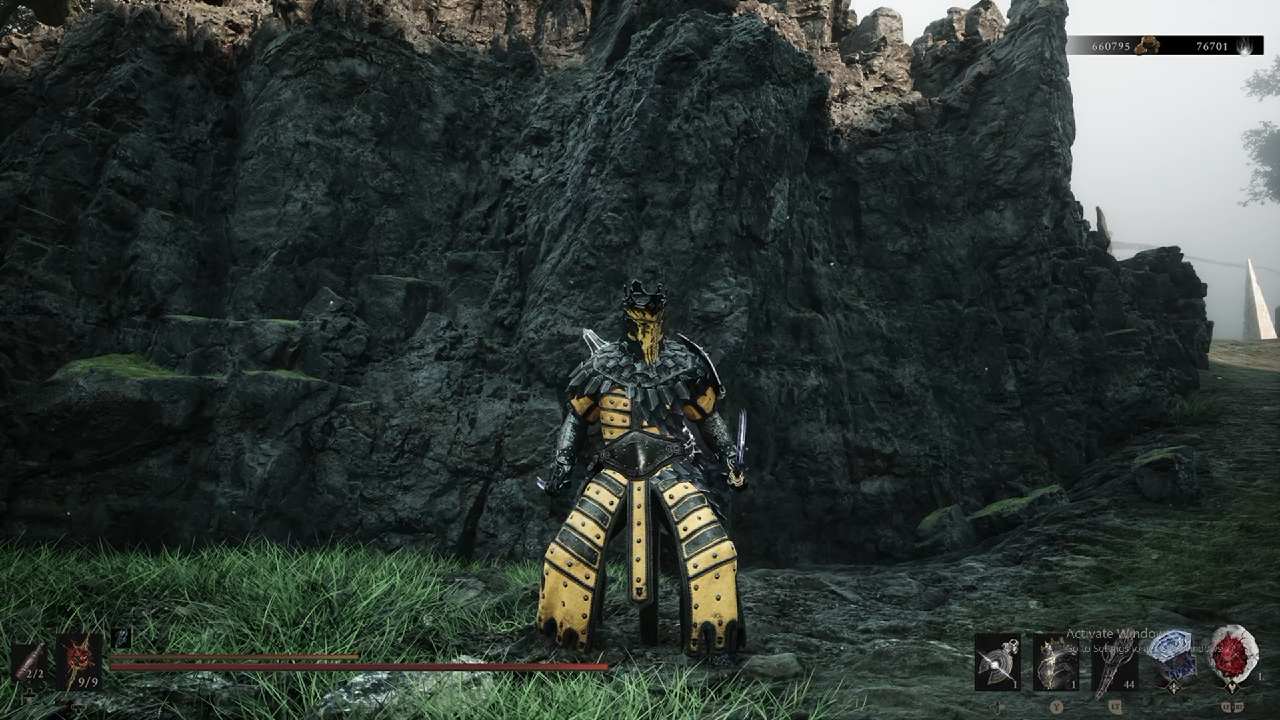
Core Traits and Talents for Eredrim
To optimize the Best Eredrim Heavy Stagger and Break Damage Build in Mortal Shell 2, unlock Executioner Focus to raise your posture damage per hit. Combine this with Iron Clad Body to ignore incoming stagger effects while charging heavy attacks. Invest remaining skill points into Momentum Break to increase stun duration against boss targets.
Weapon Selection and Heavy Tarstones
Equip the Great Martyr's Blade or the Obsidian Hammer to deal maximum posture impact. Socket impact Tarstones into your weapon core to boost break damage output against shielded guards. Attach defense modifier stones to your armor slots to absorb hits while winding up heavy swings.
.jpg)
Combat Tactics for Breaking Guard
Running the Best Eredrim Heavy Stagger and Break Damage Build in Mortal Shell 2 requires aggressive trading in close range. Harden during enemy attack strikes to absorb damage before unleashing a fully charged heavy combo. Once the guard meter breaks, execute a posture finisher to deal massive bonus damage.
FAQ
Q. Why is Eredrim suitable for break damage builds in Mortal Shell 2?
A. Eredrim has massive health and poise, letting you charge heavy attacks without getting interrupted.
Q. What weapons work best for staggering enemies?
A. Large blunt or heavy blades like the Obsidian Hammer yield the highest stagger values per swing.
Q. How do you trigger posture finishers on bosses?
A. Deplete their posture meter using heavy charged attacks to knock them down for a finisher.
Also, check out our Mortal Shell II Review and other guides:
- Mortal Shell 2 Guide | Best Tiel Critical Strike and Stealth Build
- Mortal Shell 2 Guide | Best Proxima Lightning AoE and Biohazard Build
- Mortal Shell 2 Guide | All Shell Locations
- Mortal Shell 2 Guide | All Weapon Locations
- Mortal Shell 2 Guide | All Sidearm Locations
- Mortal Shell 2 Guide | Unlock All Cleansing Beacons and Corrupted Gate Keys
- Mortal Shell 2 Guide | Where to Find All Quenching Acids for Weapon Upgrades
- Mortal Shell 2 Guide | All Tarstone and Tarcore Locations
- Mortal Shell 2 Guide | Best Smert Low-HP Faith Burst Damage Build
- Mortal Shell 2 Guide | Best Genessa Summoner and Phantom Double Build
- Mortal Shell 2 Guide | Best Lazlo Thermal Tank and High-Defense Build
- Mortal Shell 2 Guide | Best Sariel Damage-Conversion and Grey Health Build
- Mortal Shell 2 Guide | Best Harros Starter and Generalist Harden Build
Contributor, NoobFeed
Latest Articles
No Data.