
Once Human Guide | Overpowered Doombringer Build
Here’s how you can form an overpowered Doombringer build in Once Human.
Game Guide by Faviyan Mustafiz on Jul 15, 2025
This guide presents an overpowered Doombringer build centered on maximizing close-range damage through bullseye effects and critical strikes. Every section offers in-depth explanations to ensure the optimal performance of the Bullseye Shotgun Doombringer.
It also details each aspect of the build—from weapon features and calibrations to gear sets, cradle perks, food buffs, and mods—providing clear recommendations for players seeking to dominate encounters in Once Human.
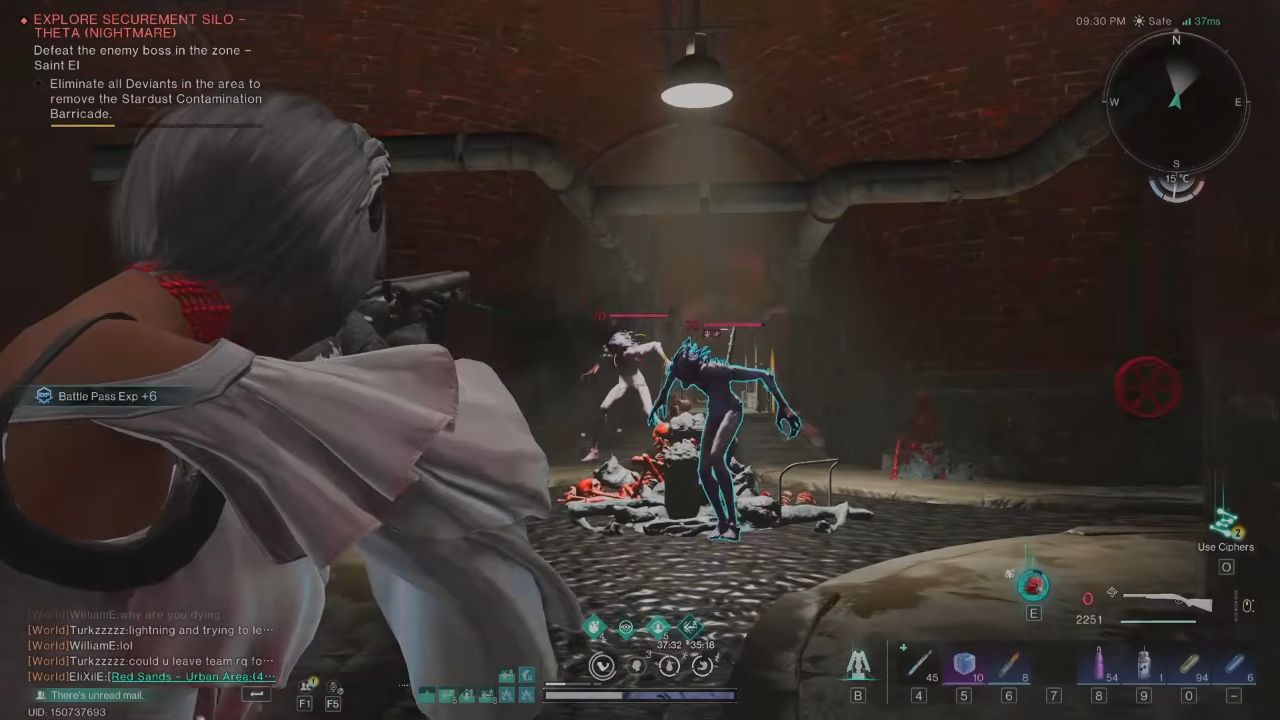
Weapon Features
The Doombringer boasts a 30% chance to trigger the Bullseye effect on each hit, increasing to 80% for targets within 5 m. Bullseye applies an 8% vulnerability debuff for 12 seconds.
After hitting a marked target with all pellets in a single shot, this build gains 6% attack for 15 seconds (stacking up to five times), a benefit active only while wielding the Doombringer.
Close-range engagements maximize these stacks. Triggering Bullseye also grants a 5% damage reduction for 8 seconds (stacking four times) and a 30% crit rate buff on marked targets, making the Doombringer an exceptionally potent physical weapon at point-blank range. Weapon blueprint stars significantly affect damage output.
Calibration
Two calibration styles are available: Lightweight and Heavy. Heavy calibration is recommended for superior damage scaling.
For calibration substats, combining Crit Rate with Crit Damage delivers similar damage output to double Crit Rate. Still, double Crit Damage is discouraged due to crit rate overflow.
Monitor all crit rate sources—gear, mods, and calibrations—to avoid wasting stats beyond 100% Crit Rate.
Accessories and Ammo
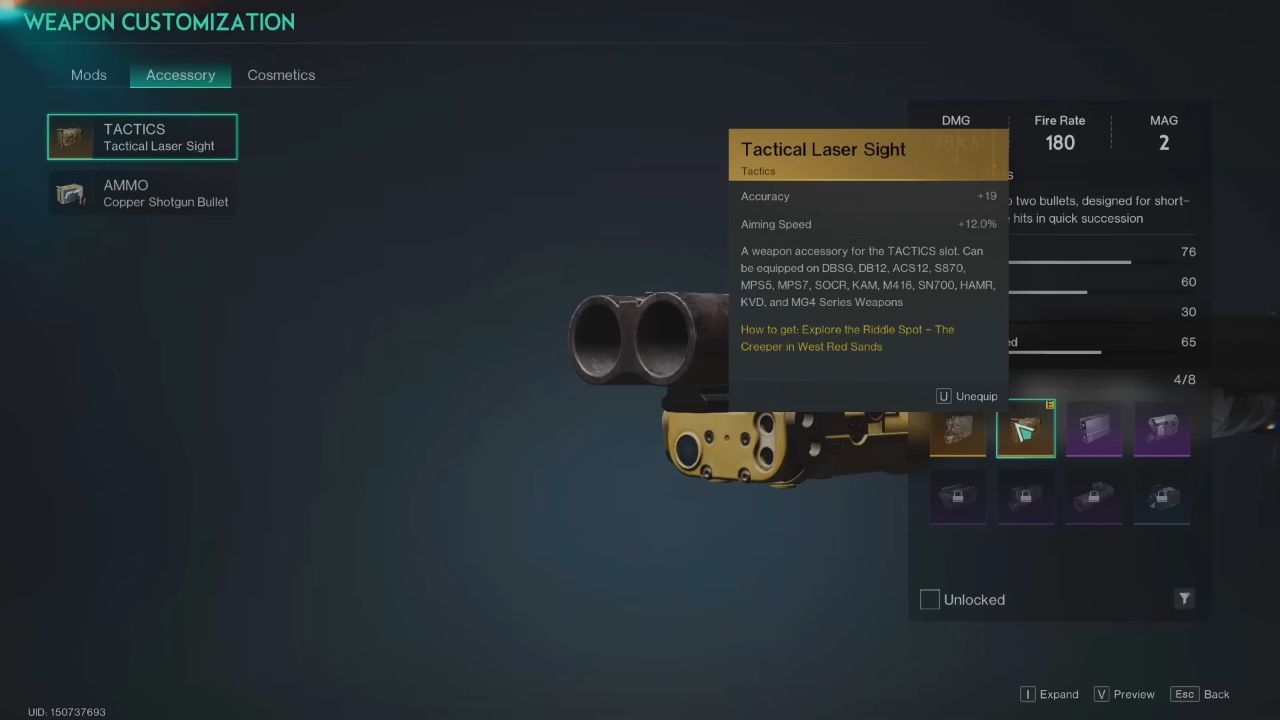
For tactics, equip the Tactical Laser Sight to ensure pellet grouping and secure the full attack buffs. Optimal ammo types include Smart Shotgun Ammo, Suppression Shotgun Ammo, or Penetration Shotgun Ammo, chosen based on content requirements.
Deviation
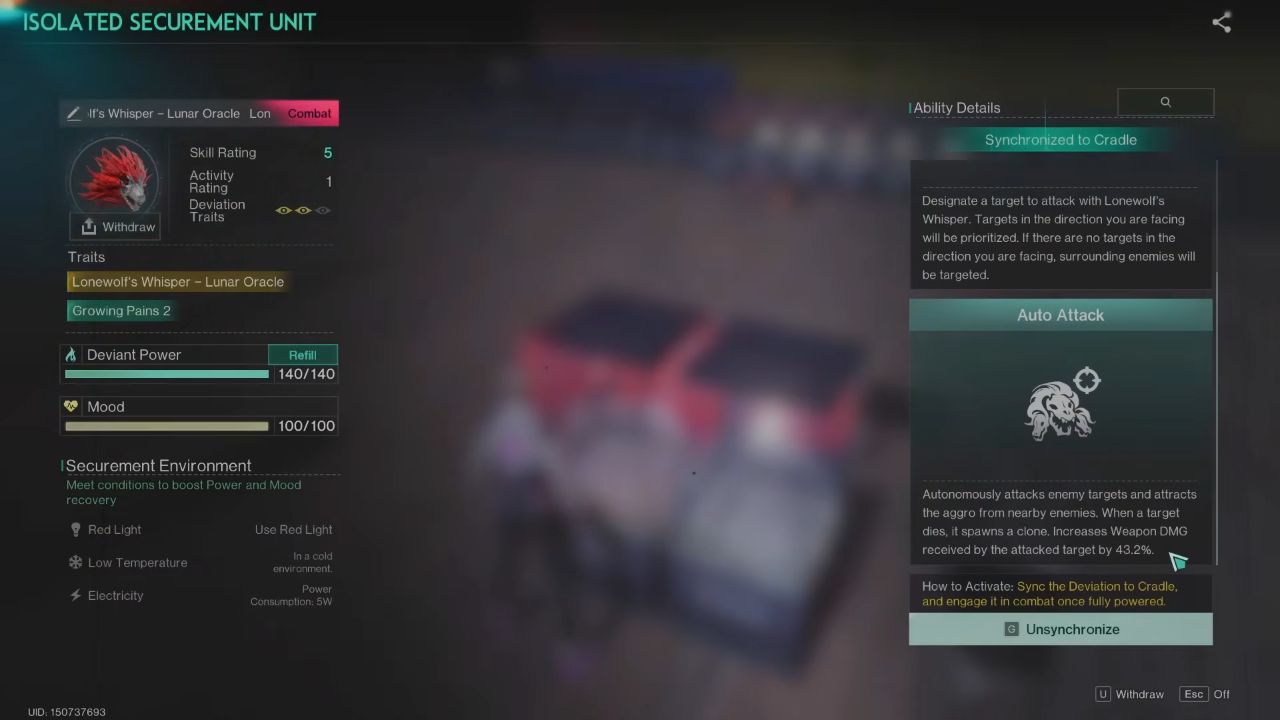
Two deviation devices offer equal weapon damage bonuses at the max level (43.2%). Lone Wolf is preferred for its default aggro draw and lunar variant, which grants an additional 5–7.5% weapon damage based on sanity.
When Lone Wolf cannot reach targets, deploy Zap Cam to maintain the weapon damage bonus.
Secondary and Melee Weapon Options
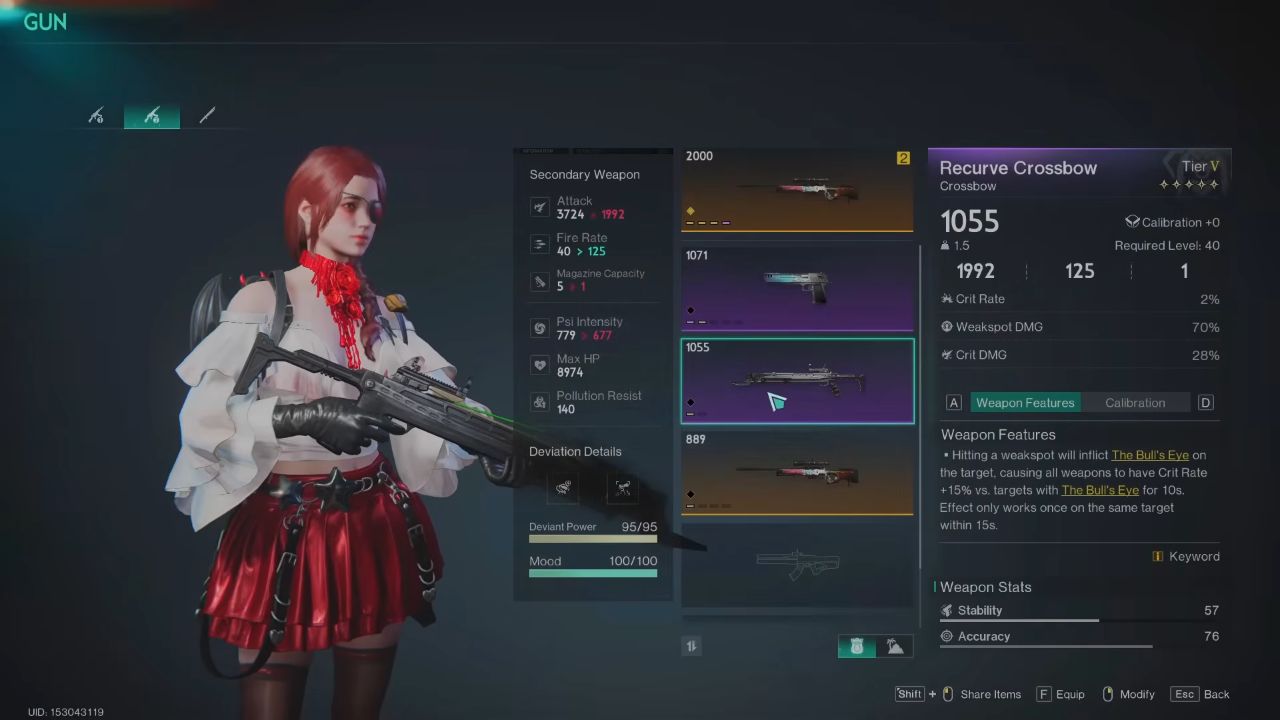
Secondary weapon choices include Bingo, Wildfire, and Recurve Crossbow. Bingo is optimal due to its 45% weak spot damage bonus and 15% attack buff for 20 seconds upon weak spot kills.
Until Bingo is unlocked, Wildfire or Recurve Crossbow can suffice, though caution is required to avoid exceeding 100% Crit Rate.
For melee, the Kukri excels: defeating a target grants a 30% attack and 15% Crit Rate for 10 seconds, synergizing with Sticky Ice Crystals from the Ice Pot deviation. Destroy crystals with Kukri to trigger this powerful burst buff.
Key Gear
Two key gear boots are viable. Earthly Boots grants a 30% damage bonus against marked (Bullseye) targets, ideal for standard encounters with visible weak spots.
For boss fights to lack weak spots (e.g., Fridge in PSI Silo), Old Huntsman Boots convert marked hits into weak spot hits and provide a 30% weak spot damage bonus on Bullseye-affected enemies.
Gear Sets
Option 1: Low HP Preset—Three-piece Treacherous plus two-piece Lone Wolf grants 50% permanent weapon damage and magazine capacity increase to four rounds, plus 5% Crit Rate.
Maintain low sanity via food items (e.g., Sanity Corrosion Capsules, spoiled food) to maximize lunar mod effects.
Option 2: Mid HP Balance—Three-piece Lone Wolf and two-piece Treacherous lock HP at 70%, delivering 12% permanent weapon damage and stacking crit damage up to 48%.
Option 3: Full HP Safety—Four-piece Lone Wolf with one Basti or Renegade piece. Basti grants 10% permanent weapon damage above 70% HP, whereas Renegade offers 15% reload speed. Four-piece Lone Wolf stacks Crit Rate up to 60%, with 8% per reload for 2 seconds.
Cradle Perks
Equip the following for maximum damage and survivability:
Anti Void (shotgun damage bonus),
Anti Phase (sniper damage bonus),
Tactical Combo (weapon damage bonus),
Mark Strike and Bounty Hunter (linked Bullseye bonuses),
Deviant Energy Defense (shield),
Tactical Leap (stackable damage bonus while airborne),
Aerial Suppression (30% damage reduction against all enemies after jumping or using buff foods in nonwheel servers).
Food Buffs
In the food slot, Mixed Fried Hot Dogs deliver the strongest multiplier by increasing damage against marked enemies (counts as X Type damage).
For drink buffs, Stardust Energy Drink triggers Tactical Leap, granting 20% damage against deviants and 10% against their shields.

Mods
Doombringer Mods: Vulnerability Amplifier for +8% vulnerability; skip spreading marks.
Helmet Mod: First Move Advantage (10% Crit Rate, 20% Crit Damage after reloading) for standard content, or Precise Strike (12% weak spot damage per weak spot hit, stacking to 36%) for bossing.
Mask Mod: Targeted Strike grants 10% Crit Rate and 25% Crit Damage on marked hits; alternate with Most Wanted only if substats exceed expectations.
Gloves Mod: Crit Amplifier (10% Crit Rate, 15% Crit Damage) is preferred, though Crit Boost can be used if rolls are superior.
Boots Mod: For low HP builds, Rush Hour provides up to 24% permanent weapon damage; otherwise, Covered Advance grants 20% melee/status damage for 30 seconds after 4 seconds without damage.
Top Mod: Any gold mod with the lunar suffix for 30% Crit Damage and 12% weapon damage; otherwise, a violent suffix suffices.
Pants Mod: Critical Surge (15% Crit Damage on an empty magazine, stackable to 45%) is ideal. If unavailable, Three Strikes or Reload Rampage offer alternatives.
Contributor, NoobFeed
Latest Articles
No Data.