
R.E.P.O. Guide | How To Beat The Animal
Simple tips to survive, control, and kill The Animal without losing your loot.
Game Guide by Faviyan Mustafiz on Jan 05, 2026
Because it does damage and more, the Animal is a particularly vexing enemy in R.E.P.O. Additionally, it can ruin your run by sending weapons, jewels, and even the C.A.R.T. flying across the floor. How the Animal spawns, how each phase works, and how to quickly put it down while protecting profit are all explained in this article.
Animal Overview
The Animal is a tier 2 enemy with 150 health. It deals two damage per hit and has a strength breakpoint of 4. When it dies, it drops Medium Orbs.
Spawning Rules
The Animal always spawns in the Module farthest from the R.E.P.O. Van. After spawning, it can stay idle for 0 to 120 seconds. It can also activate early if you come within 20 units.
Roam Phase
In the Roam Phase, the Animal wanders between Level Points. It picks a random point around 5 to 15 units away, walks there, pauses, and repeats. It slowly drifts through rooms and hallways, so you can run into it even if you did not mean to.
Noise is a risk. If you make a sound, The Animal checks the last noise location, pauses, then resumes roaming. Vision is also a risk. It has a vision cone that extends 10 units and spans about 134 degrees.
You must stay inside the cone for a set time to get detected. Standing takes 1 second. Crouching or using Object Mode takes 1.25 seconds. Crawling takes 2 seconds. Crouching shrinks the cone to about 90%, and crawling shrinks it to about 68%, but detection still happens if you linger.
Distance can trigger detection, too. The Animal has proximity awareness of 3.5 units, even if it is not facing you. This drops to 2 units if you are crouching or crawling. Staying wide and moving clean is the safest approach.
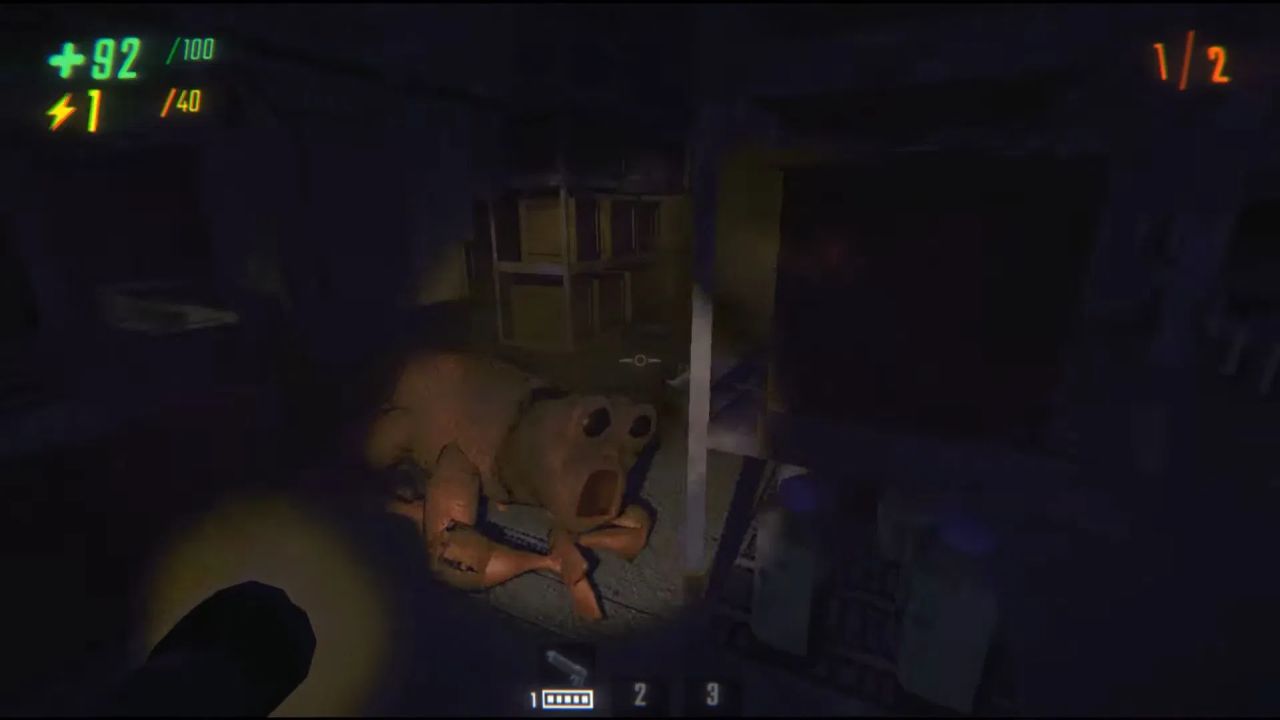
Chase Phase
The Chase Phase begins the moment the Animal spots you. Most locks are confirmed with a brief pause and a moaning noise. Then, for the next ten seconds, it will chase after you. Because of how important footstep timing is, cutting off your line of sight won't necessarily grant you immediate salvation.
If you keep enough distance for the full 10 seconds, The Animal switches to the Leave State. In this state, it picks a Level Point 25 to 50 units away from you and runs there. While leaving, it ignores noise and ignores vision. Once it reaches the point, it returns to the Roam Phase.
The danger trigger is close range. If The Animal gets within three units of you, the next phase starts instantly.
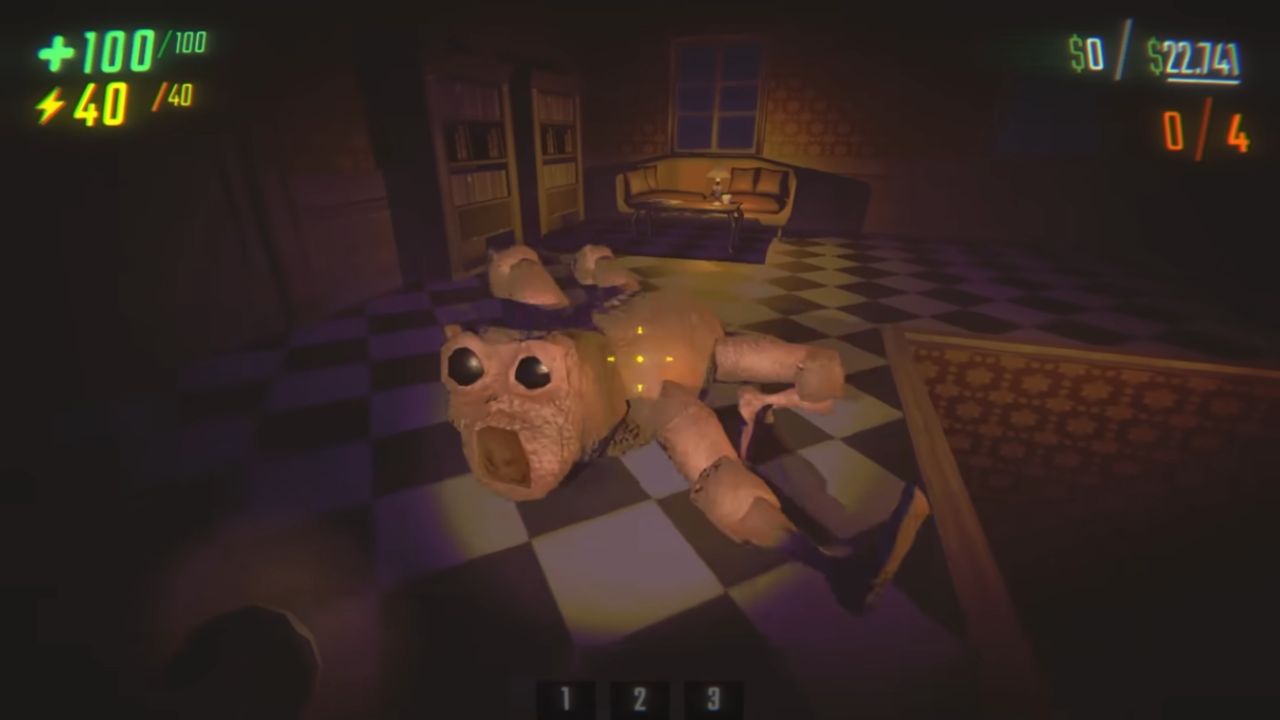
Wreak Havoc Phase
If The Animal reaches three units from you, it enters the Wreak Havoc Phase for 20 seconds. This is the chaos phase. It kicks its legs and sprints in messy lines.
It selects random Level Points inside the room you are in. Every time it reaches one, it chooses another. If it cannot reach the point within 2 seconds, it picks a new one anyway. This creates constant reroutes, so its movement feels random.
During the Wreak Havoc Phase, it cannot see or hear. It only runs point-to-point. Stuns do not end the phase early. Even if it gets knocked out, it continues when it wakes.
Anything it touches can get launched, including you, your valuables, your weapons, and the C.A.R.T. Each hit deals two damage and stuns you for about 1 second. Loot damage is the bigger problem.
Items get tossed, durability can drop, and value can fall. Pulling The Animal into a different room than your C.A.R.T. is one of the best profit-saving moves. When the 20 seconds end, it goes straight into the Leave State, then returns to roaming later.
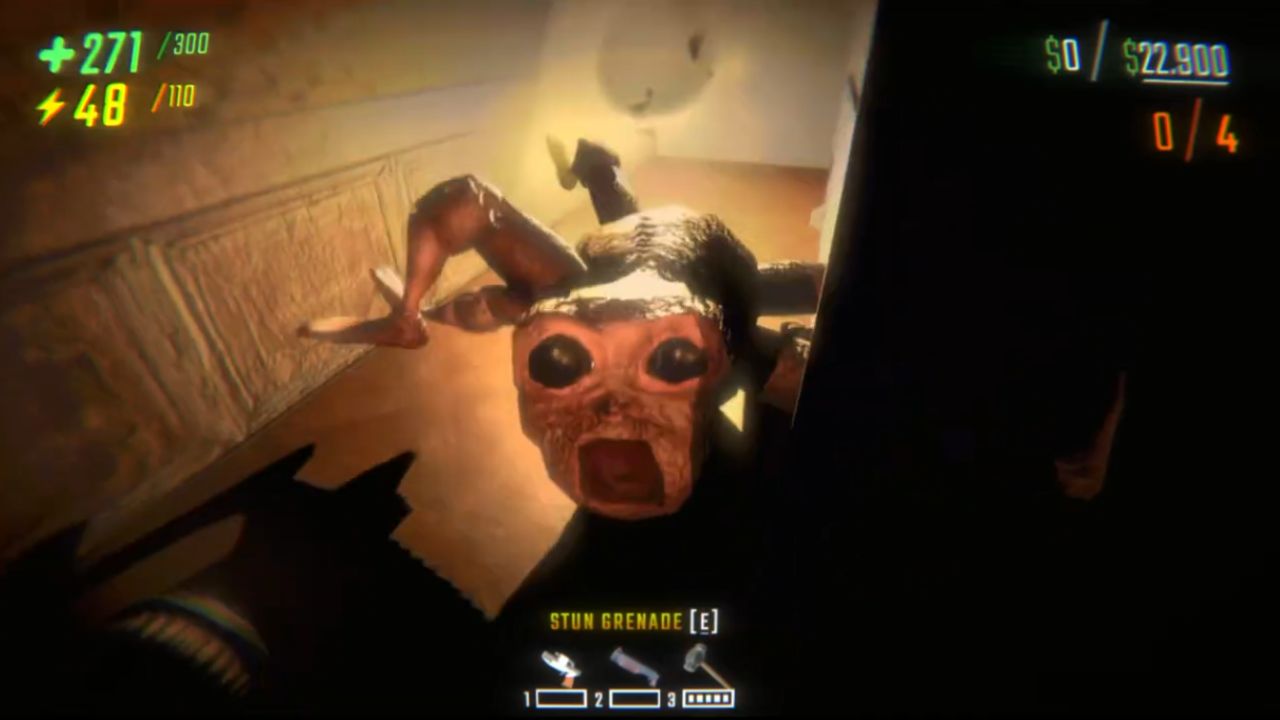
Best Ways To Kill an Animal
The Animal can be killed quickly because it only has 150 health points. Securing your loot before it enters the Wreak Havoc Phase is the safest bet.
If you're strong, grabbing will work. You can lift and stun The Animal with 4 Strength Upgrades, as the breakpoint lies at 4. At least six slams are required because each slam provides 25 damage. Since Overcharge penalizes prolonged stays, this can become more challenging later on.
The fight is cleaner using stun instruments. You can end the fight quickly and prevent it from kicking your hull by using a Tranq Gun or Stun Grenade to lock it down. The C.A.R.T. should be kept away from your primary treasure pile when you start the hit chain, but cart damage can also be effective.
Big damage deletes it quickly. Shotgun, Sledgehammer, Grenade, Landmine, and the Cart Cannon can one-shot it. A Gun can be two-shot. A Baseball Bat can also drop it fast, depending on impact. If it is already in the Wreak Havoc Phase, timing is risky because it may cause items to be kicked out of your hands.
If you are low on weapons, heavy valuables can still help. Items like Clowns, Coolers, or Potions can act as emergency impact tools when you must finish the kill.
Orb Drops And Extra Utility
After death, the Animal drops a Medium Orb that can be worth around 3,500 to 4,500. On Super Moon difficulty, the orb can also behave like an impact grenade and deal 137 damage. This makes the kill even more rewarding, as long as your loot stays safe during the fight.
Also, check our other guides below:
- R.E.P.O. Beginner’s Guide | Gameplay Tips & Tricks
- R.E.P.O. Guide | All Monsters and How to Beat Them
- R.E.P.O. Guide | Best Tips & Tricks for Faster Extracts
- R.E.P.O. Guide | Cart Speed Boost Trick
- R.E.P.O. Guide | How to Beat Huntsman
- R.E.P.O. Guide | How To Beat Apex Predator
- R.E.P.O. Guide | Best Shop Reroll Strategy
Contributor, NoobFeed
Latest Articles
No Data.