
Routine Guide | Chapter 4 Adrift Walkthrough & Archive Server Puzzle
Restore the Archive, fix the Servers, solve Kali's Locker code, and survive the invisible monster in Chapter 4: Adrift.
Game Guide by Faviyan Mustafiz on Dec 20, 2025
In Chapter 4: Adrift, you step into one of the biggest and most disorienting areas in Routine. The goal is to bring the Archive fully back online, repair the broken Servers, complete Kali's Locker cipher, and upgrade your C.A.T. security level so you can move toward the surface.
In this chapter, breaker panels are used to switch on and off power, the Activation Module is used a lot for doors, there is a multi-step puzzle for server diagnostics, and a longer part is added where an unseen monster follows you through the halls.
To be successful in this game, you need to know how to get through Systems, Reception, Commons, and the Server Room, and you need to be smart about when to use your saves and batteries.
Power Switching And The First Mini Breaker
After the surreal fish sequence that ends Chapter 3, you enter Adrift and quickly encounter the new power system. Move forward, turn left, then left again into a narrow vent that leads directly to your first mini breaker panel.
On this panel, several switches control things like the Archive and nearby doors. Don't worry about complicated power math.
Concentrate on keeping the Archive running, and let the system turn off lines that aren't as important when they need to be. This allows for new possibilities while keeping the main goal in mind.
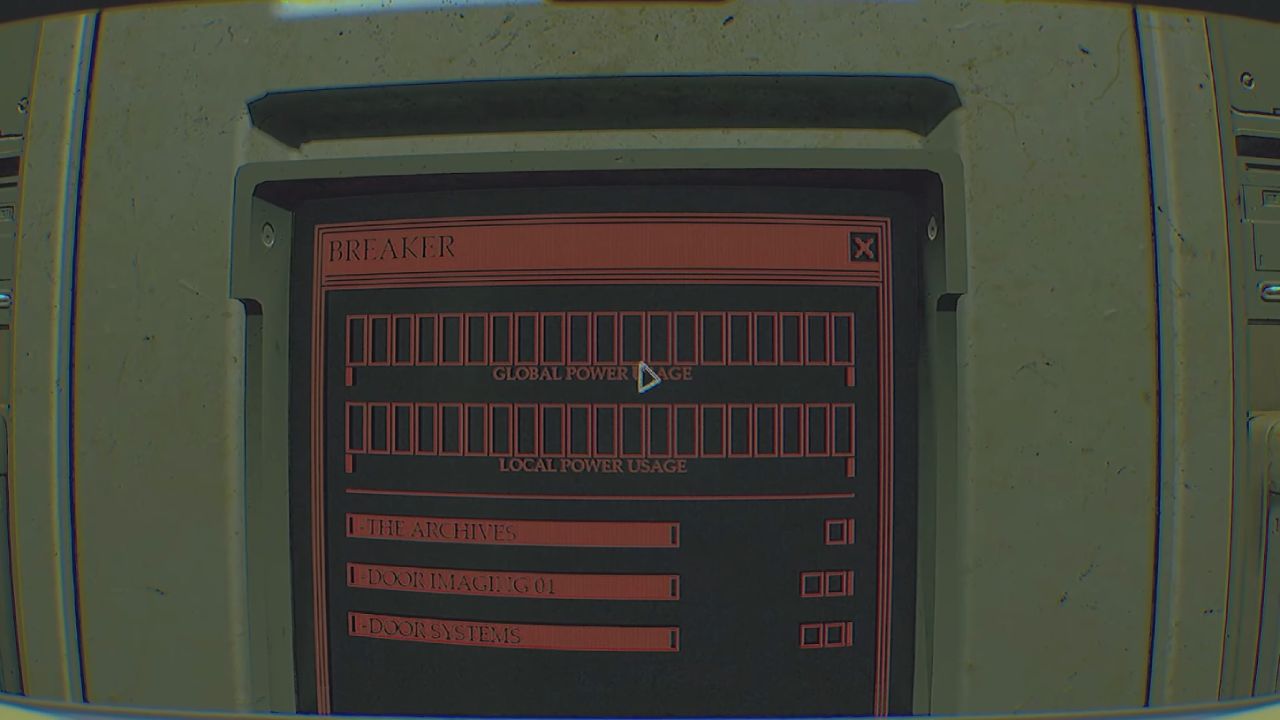
Once the breaker is configured, go back to the Archive Terminal and start the reboot process. The sequence runs for a moment and then stops, demanding a Security Interface Module that you do not yet have.
This signals that it is time to explore deeper into the level. Before leaving, look for a nearby battery to top up the C.A.T., then hit the save point so any upcoming mistakes do not send you too far back.
Heading Into Systems And Reaching Reception
After the save, go to the area that is usually called "Systems." Follow the well-lit hallways until you come across another breaker switch that has choices like Door Commons 1, Door Commons 2, and Door Reception. It's usually a good idea to keep Door Commons 1 open, but the important thing is to allow Door Reception so you can get to your next goal. Follow the powered signs and light sources instead of wandering through dark, dead areas.
Continue until you spot a brightly lit vent that leads onward. Crawl through and drop down into Reception. This room is important, because it is where you pick up the Activation Module (also known as the Interface Module) for your C.A.T.
With this module, you can open powered security doors throughout Adrift, which is essential for advancing the Archive reboot. Once the Activation Module is installed, check that its arrow indicator blinks on the C.A.T. display to show it is ready.
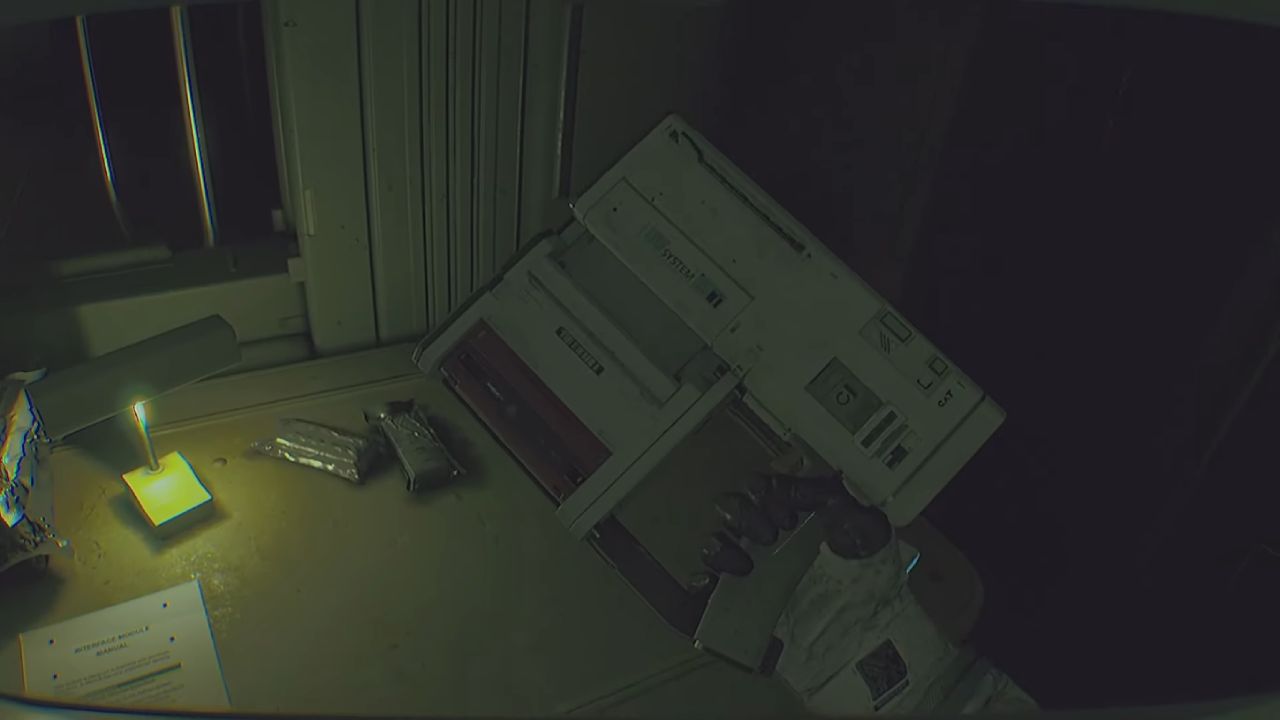
With the module on, go back to the Archive Terminal and get ready to start the reboot process again. The game knows you have the right interface tool now.
Enabling The Security Interface Monitor And Fixing The Servers
Start the reboot again at the Archive Terminal and choose the option to enable the Security Interface Module Monitor. Use your C.A.T. to scan this monitor, almost like taking a digital snapshot.
This interaction uses a bit of battery, so keep an eye on your remaining charge. After the scan, the next phase of the reboot fails with a warning that the Server is down. Your next objective is to reach the Server Room and repair it.
Head back into Systems and move toward the wide area where the Lift Servers breaker is located. Activate Lift Servers, then follow the route to the unsettling server elevator. Take it down to the Server Room.
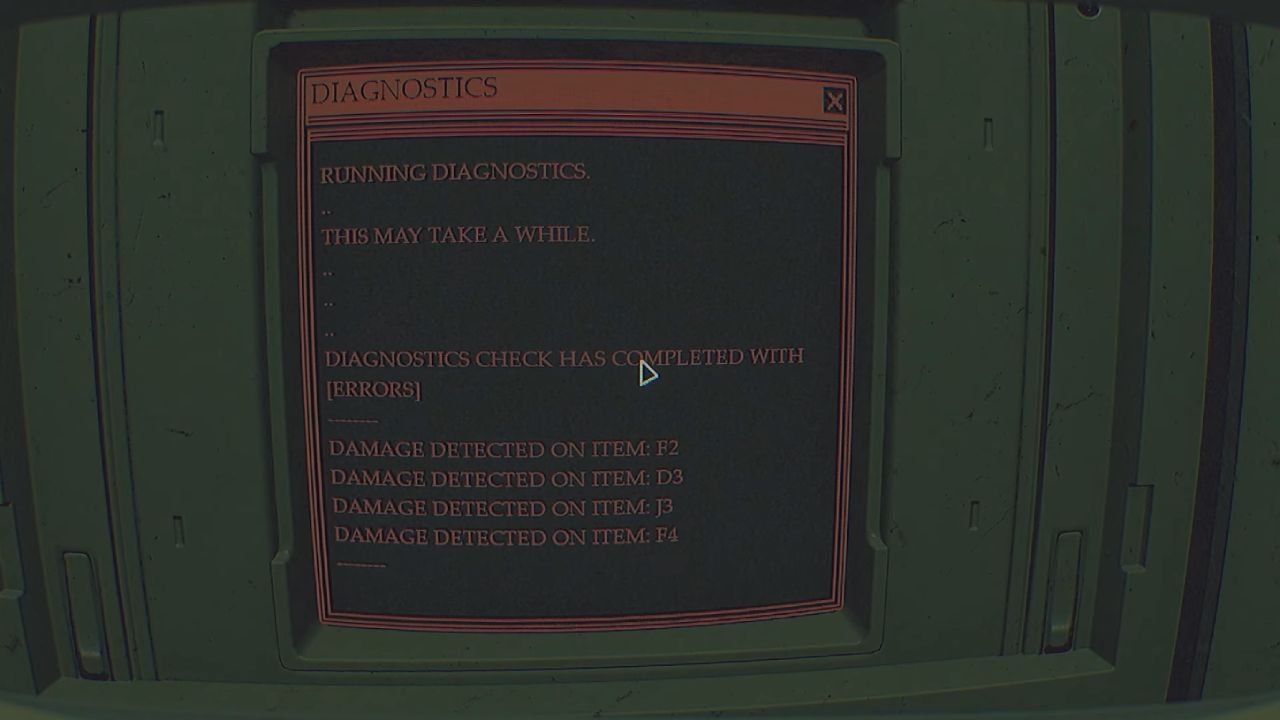
At the bottom, run along the server-lined hallway to the main Server Terminal and attempt to boot the system. The boot fails and prompts you to run Diagnostics. Connect your C.A.T. wirelessly to initiate the diagnostic scan.
The terminal lists several corrupted disks, with labels such as F2, D3, J3, and F4. These labels are randomized, so always read them carefully instead of trusting old notes.
Walk through the aisles and remove only the disks that match the corrupted labels. When all faulty disks are pulled, return to the Server Terminal and try the boot again. This time the check passes and the Server comes online, unlocking the next steps of the Archive reboot above.
Leave the Server Room and ride the elevator back up. As you exit, a scripted grab by the invisible monster introduces the threat for the rest of the chapter. Once this scripted encounter finishes, the creature freely roams the area, and the atmosphere becomes much more tense.
Surviving The Invisible Monster In Adrift
After returning to the upper floor, the invisible monster becomes an ongoing danger throughout Adrift. You usually cannot see it directly, but you can sense it through heavy breathing, footsteps, and subtle visual distortions.
Breaker rooms are some of the safest places in this chapter, because the entity rarely enters them. Use these rooms as planning zones where you can regroup, adjust power, and think about your next move.
The Activation Module can help you reveal the monster briefly. When you suspect it is nearby, aim the module and look for a vague outline or shimmer in the air. Don't stay in one place for too long; instead, constantly change your route as you scan and move a little, then scan again.
If you walk instead of run when the monster is close, you will make less noise and not draw as much attention to yourself. Save full sprints for long halls or situations where you need to get away quickly and can clearly see the way out. Save often after every big goal so you don't have to do long parts over again if the thing gets too close to you.
Solving Kali's Locker Cipher Puzzle
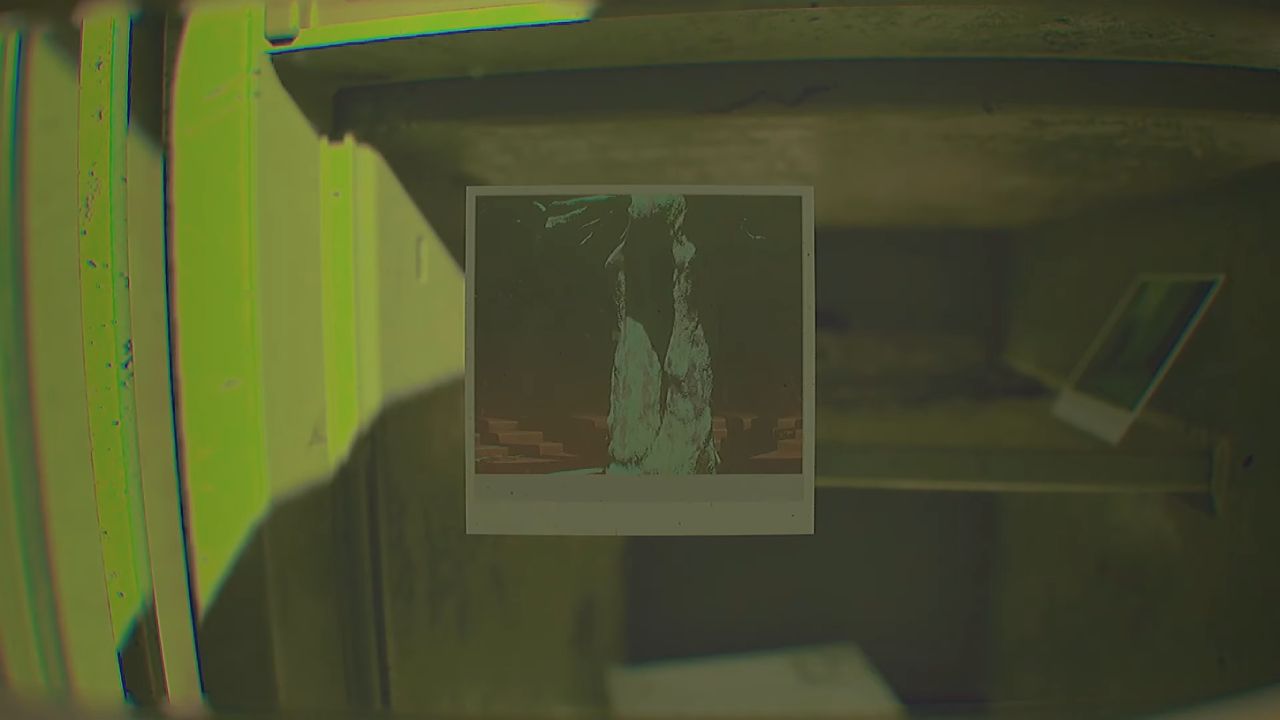
Once the Server is stable, the Archive Terminal can continue its reboot and provides new information, including a hint for Kali's Locker Code. This leads to a crucial puzzle in Systems. Make your way to Kali's Locker using the code from your own run, then open it to find four polaroid photos and a cipher sheet.
There are four places in the pictures: a bathroom key pad, an area that looks like a tree, a place with crossed wires and strong shadows, and a small stack of servers behind a locked gate.
Every one of these scenes takes place in the Commons, the Reception, or a hallway close to those areas. Go to each place in the picture, and use the Ultraview/UV Module on your C.A.T. to find a secret symbol that has to do with that scene.
Go back to Kali's Locker and look at the cipher sheet when you have all four symbols. Each number has a sign that goes with it. Reading the paper from left to right shows you how the digits are ordered, and it makes a four-digit code.
Go to the bathroom sink button and carefully enter this code. Once accepted, this code unlocks the Vestibule door, which leads deeper into the Archive and toward your security upgrade.
Vestibule Tests, Security Level 2, And Leaving Adrift
Inside the Vestibule, a series of tests check different senses and responses. An Optical Test asks you to focus on shapes or spinning patterns, and an Auditory Test plays sounds that you answer questions about.
The specific answers do not need to be perfect; you can select the responses that fit what you noticed, and the game allows some flexibility.
After the tests, the system instructs you to drain the basin for a Somatic Procedure. Head to the basin, drain the water, and crawl through the exposed maintenance tunnel. At the end of this path, you find James Mason's Keycard and its code.
With this in hand, go to James Mason's Terminal behind the alignment wall, log in with his credentials, and access DEEM OS to upgrade your Security Module to Level 2. When the upgrade finishes, your C.A.T. gains higher clearance, unlocking key doors needed to move toward the final lift.
Return to Systems and revisit the breaker to power the Lift Entrance. Take the path around the corner to the elevator that goes to the exit. If interference messes up the C.A.T. monitor, use Degauss to fix it.
Take the lift up, grab any batteries that are close by, and start the Airlock Sequence. When directed, shoot the security unit. Then, wait for the pressure cycle to finish and see the heavy door open up to the surface of the moon.
When the hatch opens, you can go outside and do a slow, heavy moonwalk across the surface of the moon, following the path made by the yellow and orange cones. As you move across the surface to the next building, the Earth is above you.
This change marks the end of Chapter 4: Adrift and goes straight into Chapter 5: Endure, where the next set of problems will be faced.
Also, check our other guides below:
Contributor, NoobFeed
Latest Articles
No Data.