
Routine Guide | Chapter 2 Mall Walkthrough & Keycodes
Master Chapter 2: Incision with the fastest route to the Ultra View Module, the Relay Box progress trigger, and every smudge-based keypad solve.
Game Guide by Faviyan Mustafiz on Dec 17, 2025
Chapter 2: Incision pushes you into the Mall, where you can only move forward by figuring out how to deal with terminals, shutters, and a few interaction places that are easy to miss.
The safest way to clear this chapter is to move with a purpose, save whenever a Wireless Access Point appears, and treat every keypad like a clue hunt instead of a brute-force puzzle.
Most numbers can differ between runs, so the real advantage is learning the pattern of what the game asks for and where each requirement is located.
Reach The Mall And Use The Login Terminal
Head back to the Tram, then take the route to the Mall. A save usually sits near the tram arrival area, and it is worth using before stepping into the wider corridors.
When you get inside, look for the main terminal that asks for your credentials. Put in the access code for your run, which is what the terminal asks for when it asks for credentials. Pressing the wrong number can waste time and bring threats closer, so if the computer doesn't accept the entry, go slower and check each number again.
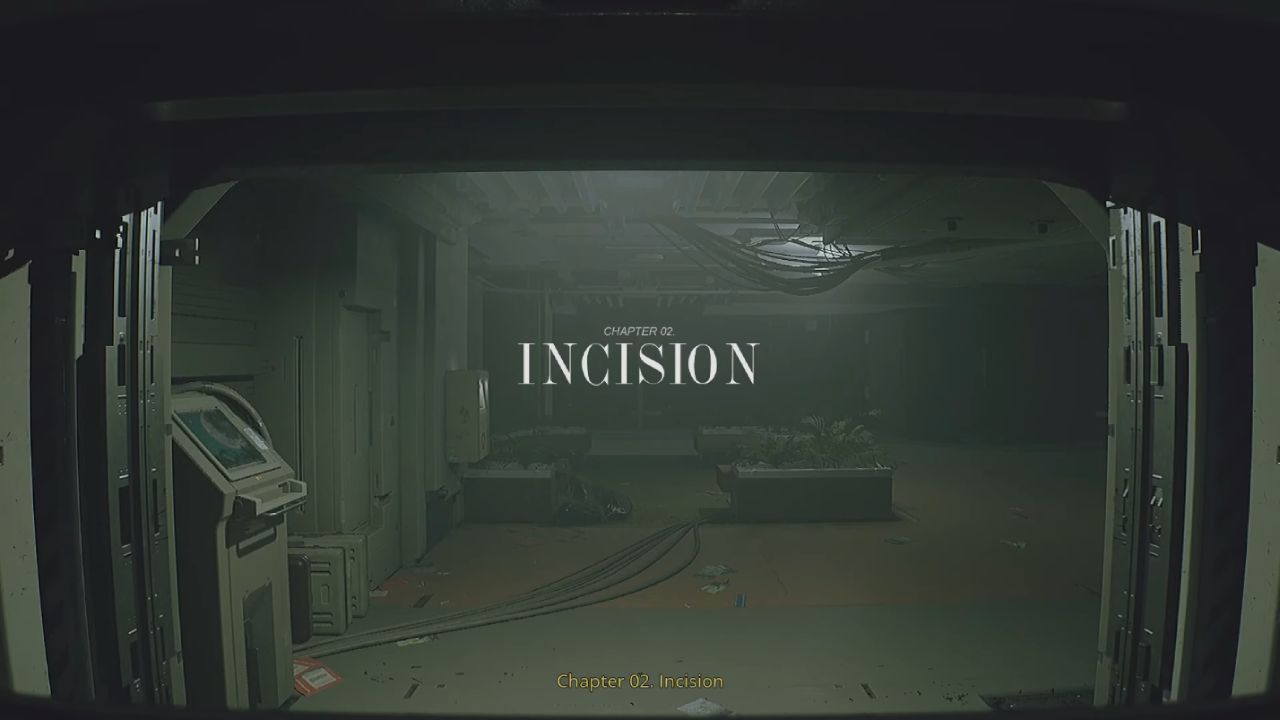
After you log in, keep going until the way makes a gate sequence happen. If this part feels slow, that's fine. It's meant to teach you to be patient.
When a service vehicle comes through, wait for it to finish its job, then use the space it makes. Mistakes are common when you rush the space, and mistakes in Routine generally mean you have to reset.
Follow The Service Gate Sequence And Save Again
When the service unit finally opens the route, move through immediately and look for the next Wireless Access Point. This is a great place to save because it prevents repeating the same escort-style moment.
Once you've saved, go deeper into the Mall's hallways and watch out for cables and boxes hung on the walls. This is because Routine often hides "progress switches" where they can be easily seen.
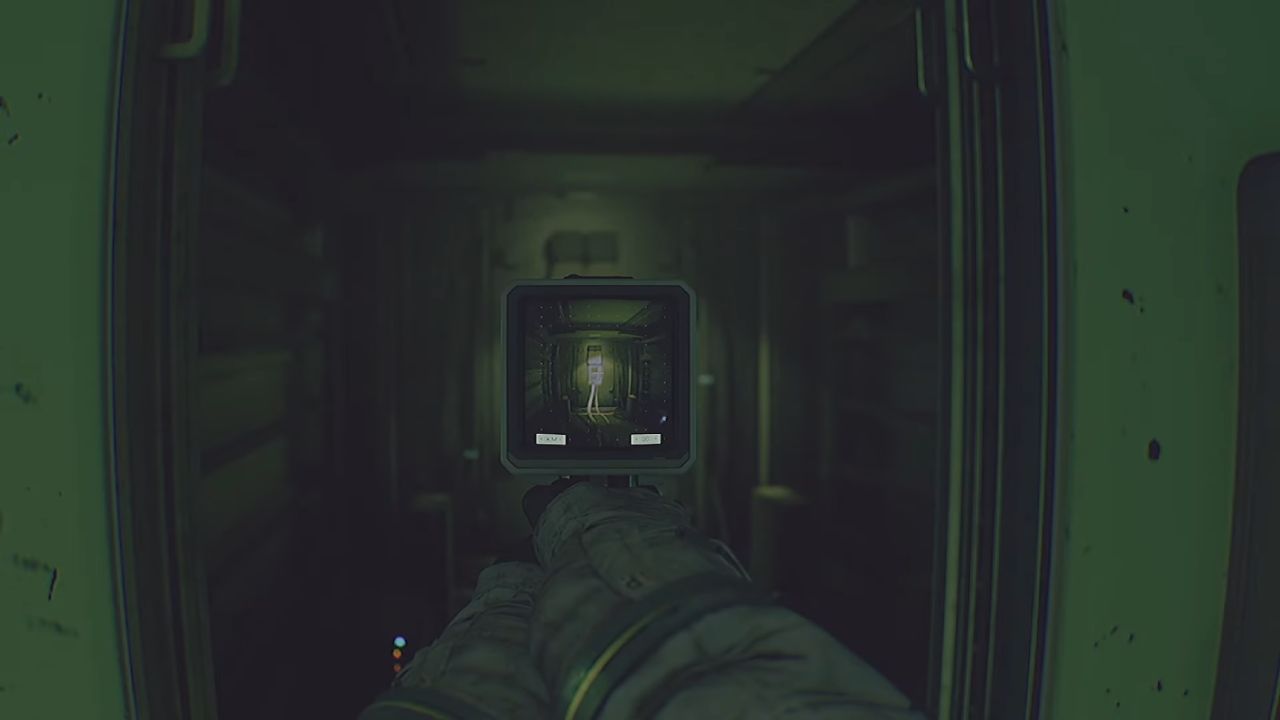
If a patrol robot appears nearby, keep movement calm and controlled. Breaking line of sight is usually more important than sprinting.
If the C.A.T. has its active module available, a quick burst can buy a second to slip around a corner, but the focus should stay on escape and positioning, not on fighting.
Restore Access With The Relay Box
Progress in the Mall often depends on powering or unlocking systems that do not respond until a specific component is triggered. One of the key blockers in this chapter is a Relay Box that needs to be hit.
Find a wall unit that stands out by wires and access panels. Shoot the Relay Box with the C.A.T. and then see what happens around you. Some doors don't open right away, so be ready to press a nearby button or screen that opens right away.
Battery management matters here. If power gets low right after the relay interaction, search for a nearby bin or supply area before pushing into the next corridor.
Recycled batteries can appear in a Recycling Bin, and while they are not full-strength, they can be enough to finish a scan, open a shutter, or reach the next save.
Go To Mega Zone And Find O'Neill's Electronics
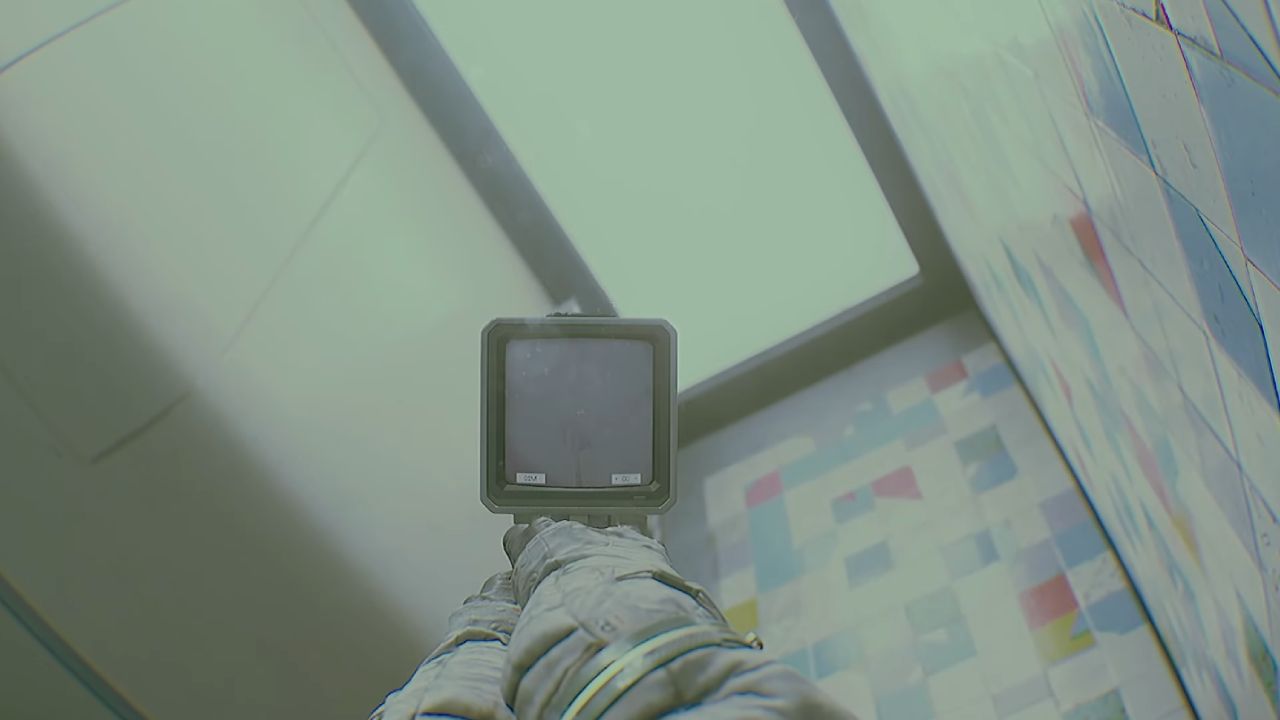
After getting back in, you should move back toward Mega Zone when the plan calls for it. This place is like a navigation point in the Mall, and going back here often opens up the next road.
Keep watching for shutters and terminals that previously did nothing, because the relay action usually "activates" the next step rather than placing a new marker on the screen.
The main prize in this chapter is inside O'Neill's Electronics. The goal is to secure the Ultra View Module for the C.A.T. Once you reach the store, enter and locate the module as quickly as possible. The space is designed to feel safe at first, then force a keypad problem when it decides you are not leaving for free.
Pick Up The Ultra View Module And Prepare For A Keypad Trap
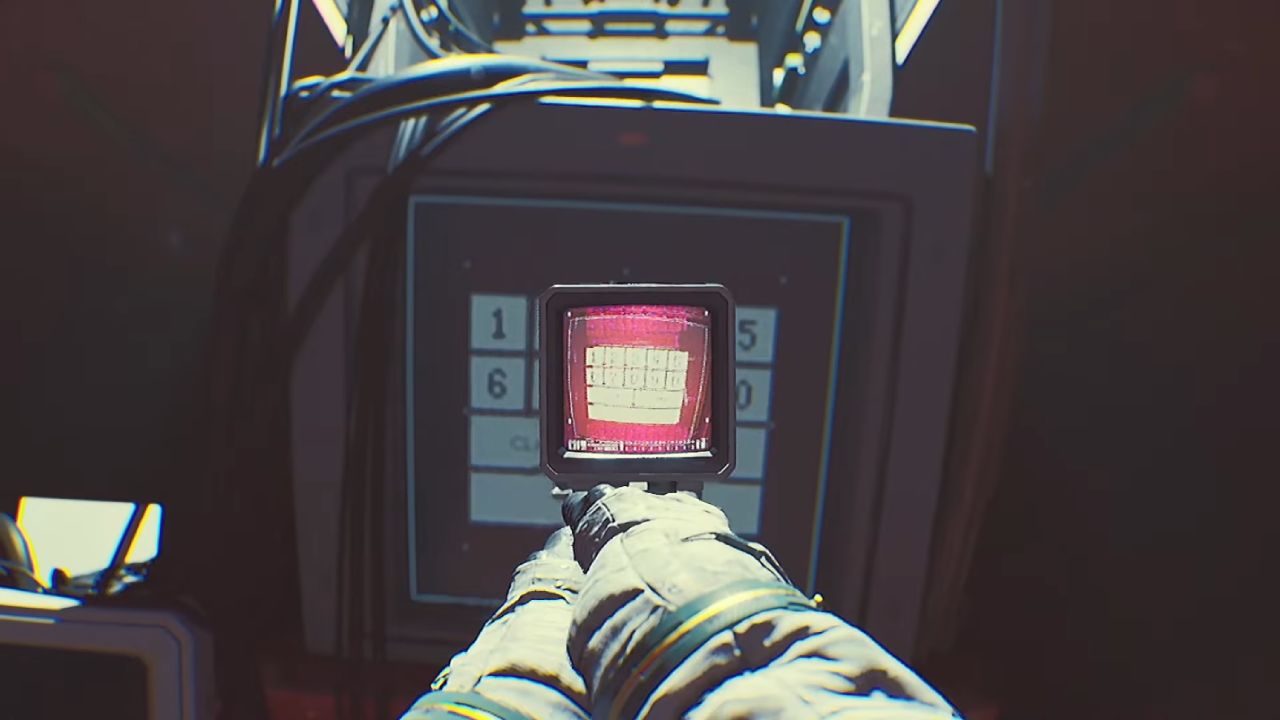
After grabbing the Ultra View Module, expect the exit to shut. This is where the chapter tries to teach the real purpose of the upgrade. A keypad becomes the route out, and guessing is the slow way to fail. Activate the Ultra View Module on the C.A.T. and aim it at the keypad surface.
The arrangement of fingerprints on the buttons is what we are trying to figure out. The clearer lines and heavier smudges show which fingers were pressed and the order of the fingers when the view is steady.
Keep the view until the glare goes away and you can see the smudges clearly. The marks can really stand out if you change the position a little bit. When you can see the four numbers, carefully enter them and wait for the system to confirm.
If the keypad is not extended enough to read cleanly, adjust it and try again, because positioning can make the smudges harder to see.
Leave The Store And Push Toward The A.S.N. Entrance
Once the shutter opens, leave O'Neill's Electronics and keep the Ultra View Module ready. The next major gate is tied to the A.S.N. entrance sequence.
You will reach a point where an Id scan is required, and this is where Kei Koyama's access becomes important. Scan the Id when prompted and wait for the system to confirm validity.
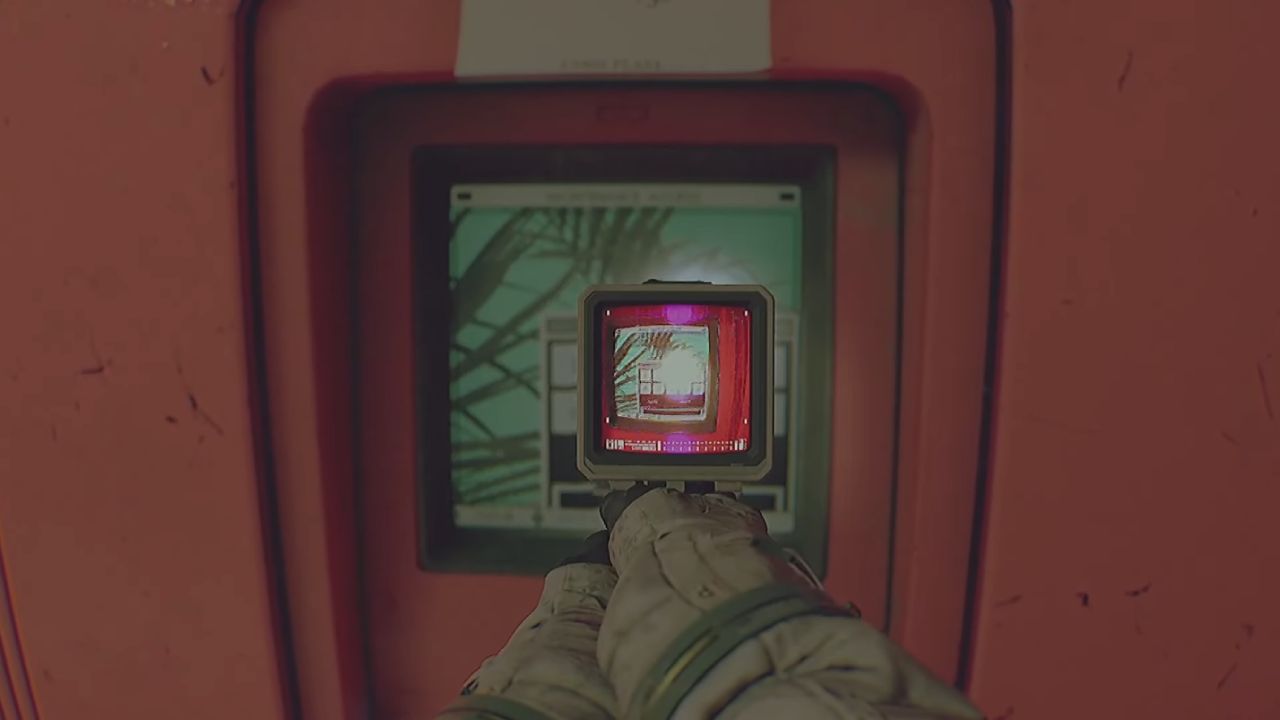
After the scan, the door still asks for an access code. This is another moment built for Ultra View. Pull the keypad prompt up, activate the Ultra View Module, and read the smudges again.
The digits can differ per run, so focus on the marks, not on memorized numbers. Enter the code, let it validate, and do not rush the final step, because repeating a long validation cycle is one of the most frustrating time losses in this chapter.
Open The A.S.N. Door And Handle The Talking Unit
When the system approves credentials, the A.S.N. door should open. This section can include a talking unit that begins speaking as the route clears. If a threat is expected immediately after the door approval, have the C.A.T. module ready before stepping fully into the next space.
If stopping the speech-trigger unit is necessary for safe movement, act quickly and move on. The important part is reaching the next area with progress intact, because the chapter transition happens right after this sequence.
From here, the path shifts into Chapter 3: Re-Create, and the objectives change from mall access tasks into deeper system shutdown progression.
Also, check our other guides below:
- Routine Guide | Chapter 1 Birth Walkthrough & Keycodes
- Routine Guide | Chapter 3 Re-Create Walkthrough & ASN Shutdown
- Routine Guide | Chapter 4 Adrift Walkthrough & Archive Server Puzzle
- Routine Guide | Chapter 5 Endure & Annex Labs Walkthrough
- Routine Guide | Chapter 6 Legacy Ending Walkthrough & The Canal
Contributor, NoobFeed
Latest Articles
No Data.