
Routine Guide | Chapter 1 Birth Walkthrough & Keycodes
Follow the fastest early path to the C.A.T., the Tram, and every essential access pin without confusion.
Game Guide by Faviyan Mustafiz on Dec 17, 2025
Routine begins with chaos that is planned. It's dark at the base, there aren't many signs, and even easy doors can be hard to figure out.
In Chapter 1: Birth, the goal is to get ready, learn how the Cosmonaut Assistance Tool (C.A.T.) works, and get past the early checks on your way to the A.S.N. (Automated Security Network).
Most codes can make things random, so the real trick is knowing where to look and what each computer needs.
Start Strong in Arrivals
The first minutes are a controlled tutorial. Follow the on-screen prompts until the printer releases your ID Card, then grab your Helmet to officially begin Chapter 1: Birth.
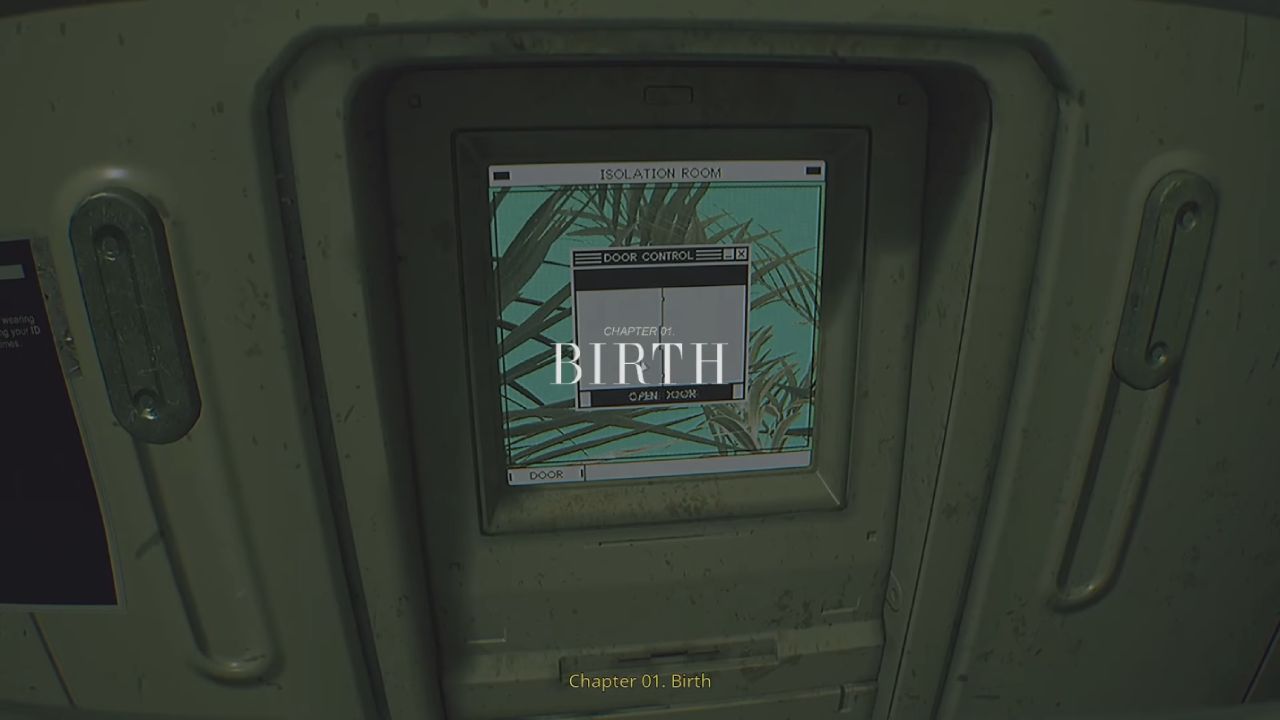
Stay on light paths once the door opens. In this game, deep darkness generally means there is no way to go or danger. Even if the area around you feels like no one is there, keep going toward computers, screens, and doors that look like they have been taken care of.
Get the Cosmonaut Assistance Tool
The Cosmonaut Assistance Tool (C.A.T.) is the next important thing for you. Pick it up to start using it and then get a close battery. Early on, battery management is important because a lot of actions and saves rely on power.
A useful detail that's easy to miss is the Recycling Bin trick. Recycling bins can give batteries repeatedly, but those recycled batteries only provide a smaller charge compared to a normal battery. That small refill can still save a run when you are empty and desperate.
Use the Database for the Arrival Elevator Pin
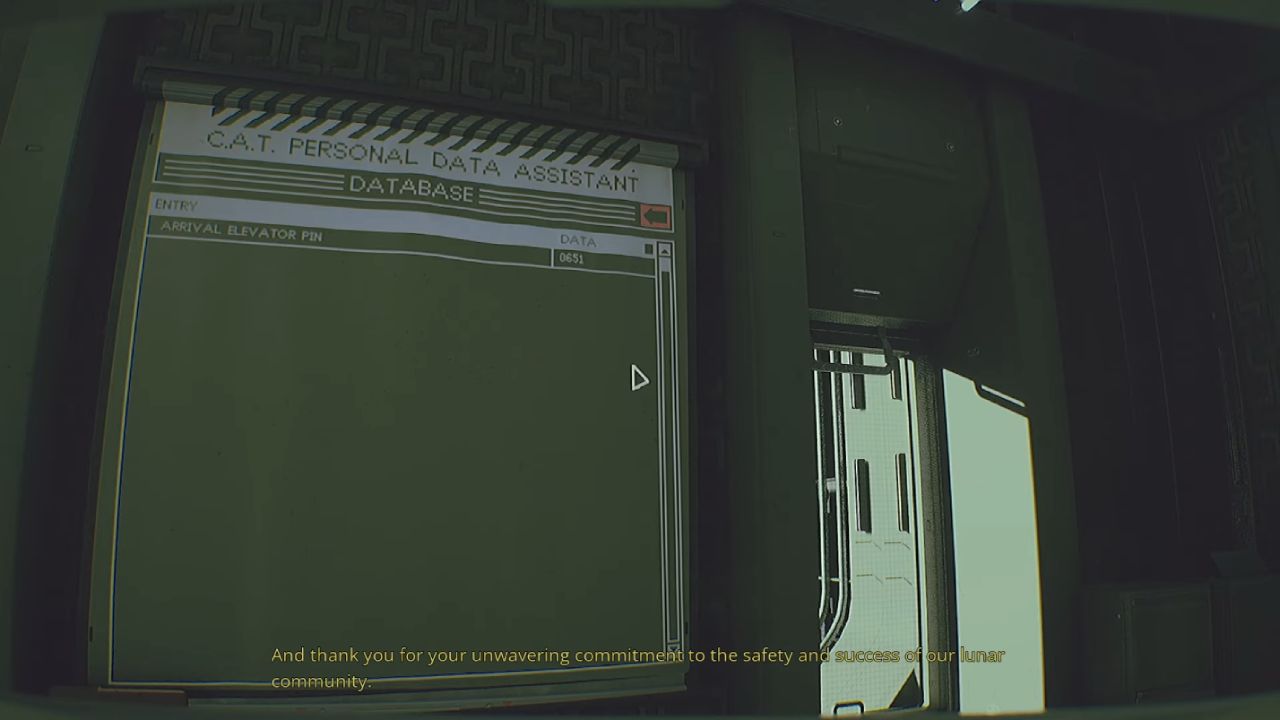
After powering the C.A.T., open its menu and check the Database. You will find the Arrival Elevator Pin there. That pin can randomize, so do not rely on someone else's number. Enter your own pin into the keypad when prompted and continue into the next area.
Open the Tram Station and Save Early
After the elevator sequence, head toward the Tram Station shutter. You will spot a sparking terminal that can be shorted out with the C.A.T.. To open the cover, fire a burst. Then, move ahead until you see a wireless access point. In Routine, that screen is the best place to save your progress at the beginning, and saving often makes the game less annoying.
When you board the Tram, you will eventually have route options. For the cleanest early progression, head to the Living Quarters before you fully commit to the Mall.
Living Quarters Terminal Fix and Login
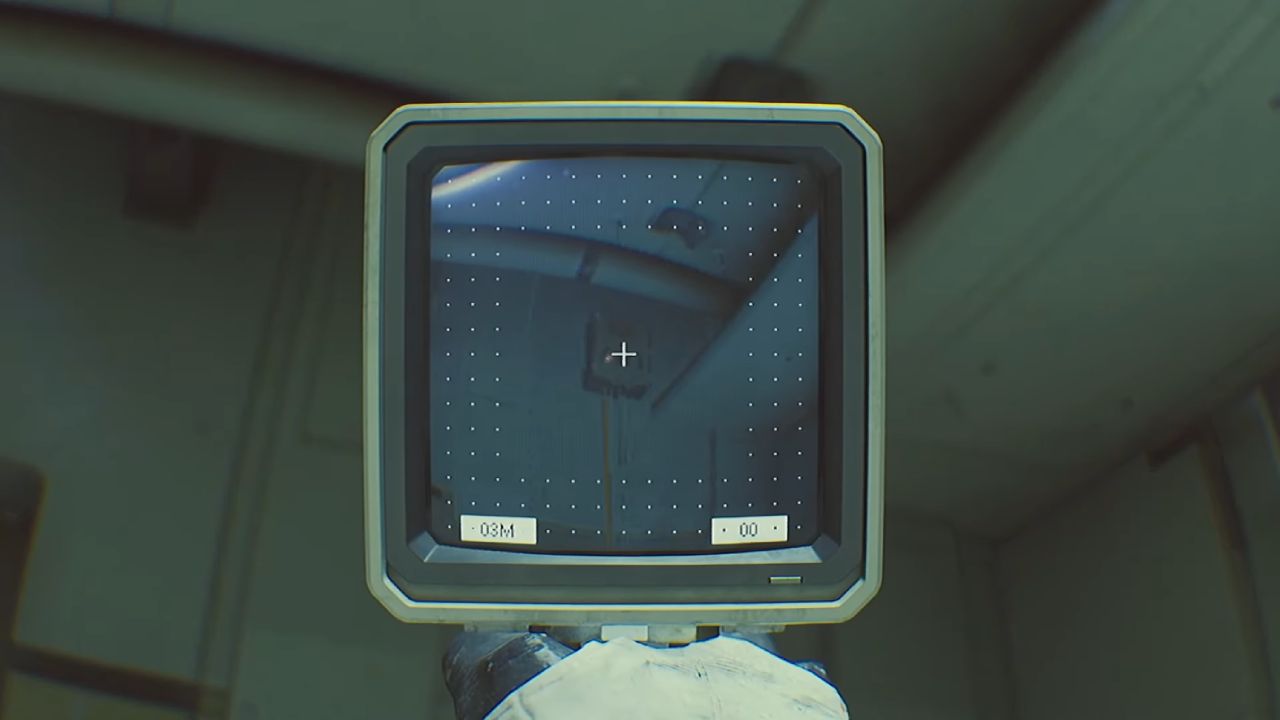
At the Living Quarters, a broken computer is the first thing that gets in the way. Connect the C.A.T. and do a diagnostic check. If the terminal gives you errors, reset it by powering the device off and back on through its interface. Then, try to log in again.
Your Id can also randomize. Enter the number shown in your current run and proceed through the gate once it validates.
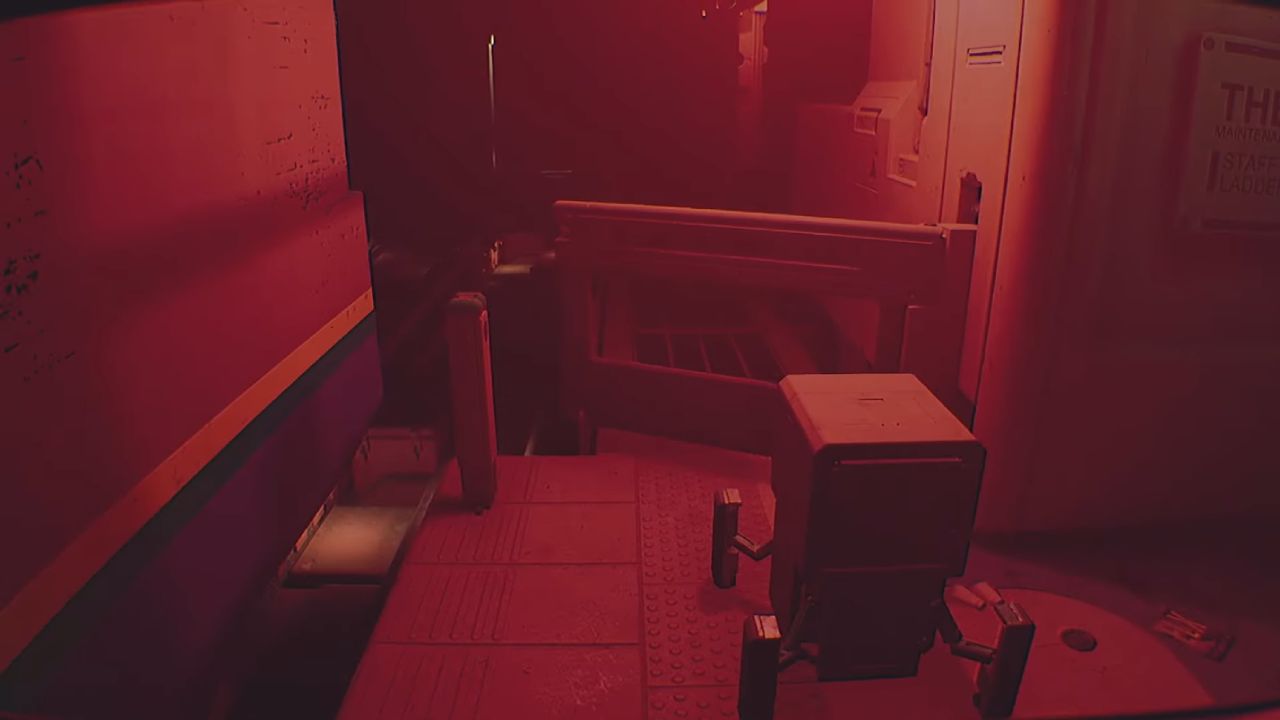
From this point on, the area is a test of stealth and planning. A Type-05 Robot can look like and guard narrow hallways. If you're out of options and it closes in, a direct C.A.T. blast to its chest can give you time to get away or reach a save place.
Reach the A.S.N. Access Id
In the Living Quarters, your goal is to get the A.S.N. Access ID that is linked to Kei Koyama. Do not panic, and keep walking to places that you know are bright. Even if the layout feels like a maze, doors and terminals will usually guide you to the next needed space.
If a Type-05 robot traps you near a gate, use quick, planned movements. It's usually safer to duck under open gates and break the other person's line of sight instead of running blindly into halls you don't know. If you need a stun shot, use it to get some space, not to ""fight.""
Once you secure Kei Koyama's access, you have a major piece of what the A.S.N. terminal wants. The next missing piece is the access code support you will gather in the Mall.
Mall Entry and the Waiting Gate
Go back to the tram path and go to the Mall part of Chapter 2: Incision. At the mall login, put in the information that your run gives you. If the first try fails, look at the numbers again and enter them carefully, because one wrong press can waste time and cause danger.
Soon, the elevator path could be blocked, and you would need a close service robot to help you get through a gate. The safest approach is patience. Let the robot finish its slow loop and open the gate, then move through immediately and prioritize the next save.
Fix Magnetic Interference With Degauss
While moving deeper into the mall routes, you may see circular distortion on the C.A.T. screen. That is magnetic interference. Use Degauss to clear it so the display becomes readable again.
It's easy to forget this step, but it's important. You could miss small hints, misread keypad input, or not see the clue you need if the screen stays warped.
The UltraO'Neill'sle and O'Neill's Electronics
You can get the Ultraview ModuO'Neill'se C.A.T. at your target shop, O'Neill's Electronics.
Once inside, grab the Ultraview Module, then expect the exit to shut and trap you briefly. A keypad in the back becomes the way out. The key mechanic is simple: use Ultraview and look for smudges that reveal which digits were pressed. Bigger smudges usually mean a stronger, clearer press, which helps you read the sequence.
Use Ultraview to Read Smudge Codes and Exit
Turn on Ultraview and hold it still on the keyboard. If glare makes it hard to see, change your angle and keep the scan going until the smudges clear up. When you figure out the four-digit code, type it in and make sure the shutter opens.
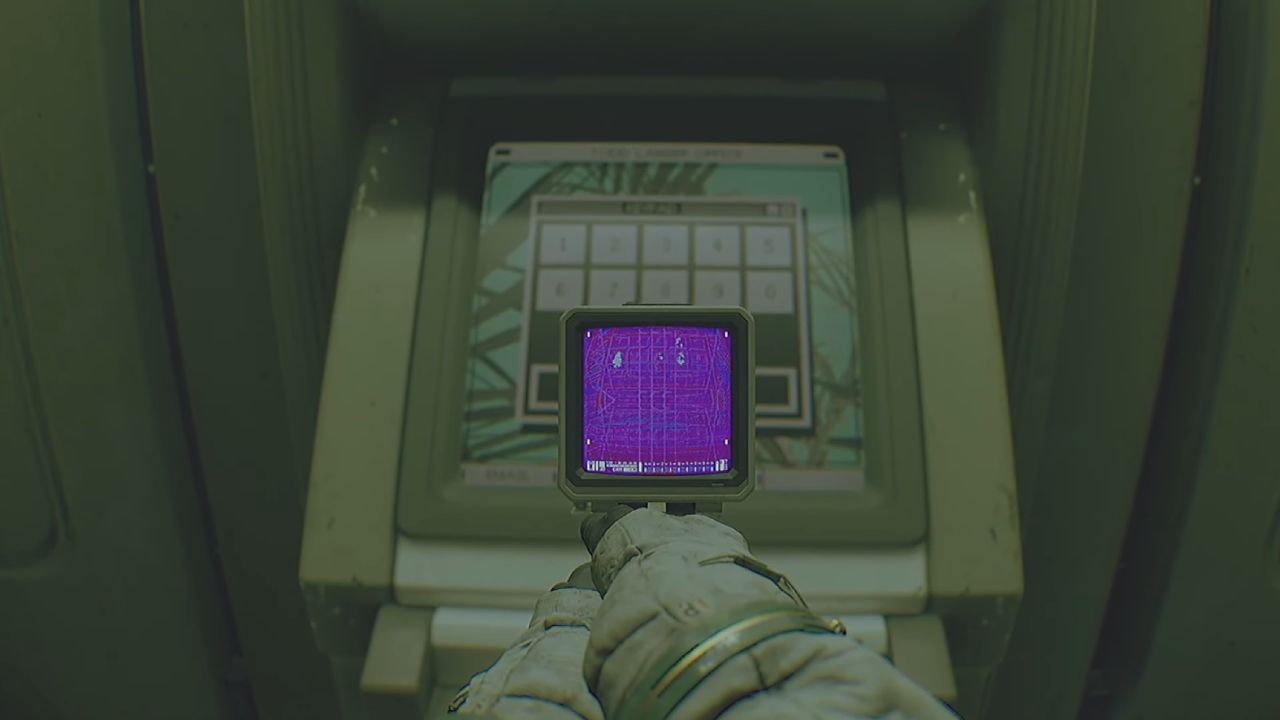
After getting away from O'Neill's ElectronO'Neill'syou should be ready to use the Ultraview Module. When the next important terminal asks for an access code, it will be needed again. Those smudges can mean the difference between a clean entry and having to reset it over and over.
Also, check our other guides below:
- Routine Guide | Chapter 2 Mall Walkthrough & Keycodes
- Routine Guide | Chapter 3 Re-Create Walkthrough & ASN Shutdown
- Routine Guide | Chapter 4 Adrift Walkthrough & Archive Server Puzzle
- Routine Guide | Chapter 5 Endure & Annex Labs Walkthrough
- Routine Guide | Chapter 6 Legacy Ending Walkthrough & The Canal
Contributor, NoobFeed
Latest Articles
No Data.