
Routine Guide | Chapter 6 Legacy Ending Walkthrough & The Canal
Master the final Legacy chapter in Routine and see how to reach The Canal ending step by step.
Game Guide by Faviyan Mustafiz on Dec 20, 2025
In Chapter 6: Legacy, you return to the Ward for one last descent toward The Canal. This final stretch is short but tense. You must manage power in the Systems breakers, align two Prongs, run an Echography scan on The Canal, and complete the strange Ripening And Induction procedure with Amniotic Brine.
All of this happens while Entity A can still stalk the corridors. Once these tasks are done, the game locks you into a one-way path, and you walk into the heart of the moon’s infection for the ending.
This guide walks you through every action needed in Legacy, explains what is happening in simple terms, and points out ideal moments for screenshots using the provided timestamps.
Returning To The Ward And Preparing For The Final Puzzle
After leaving the Annex and riding back across the surface, you re-enter the main base and descend via the creaky elevator into the Ward. A save point waits nearby, and you should use it, because this is the start of Legacy and the last major sequence before the ending.
From here, the goal is to prepare The Canal by aligning the Ward Prongs. The power system still works the same as earlier in the game: different doors and devices compete for limited energy. You will keep turning things off in one area to free enough power for Prong control in another.
Head from the central hub back toward the area you have been calling Systems. Your first stop is the Systems Breaker panel, hidden deeper in the back of these corridors.
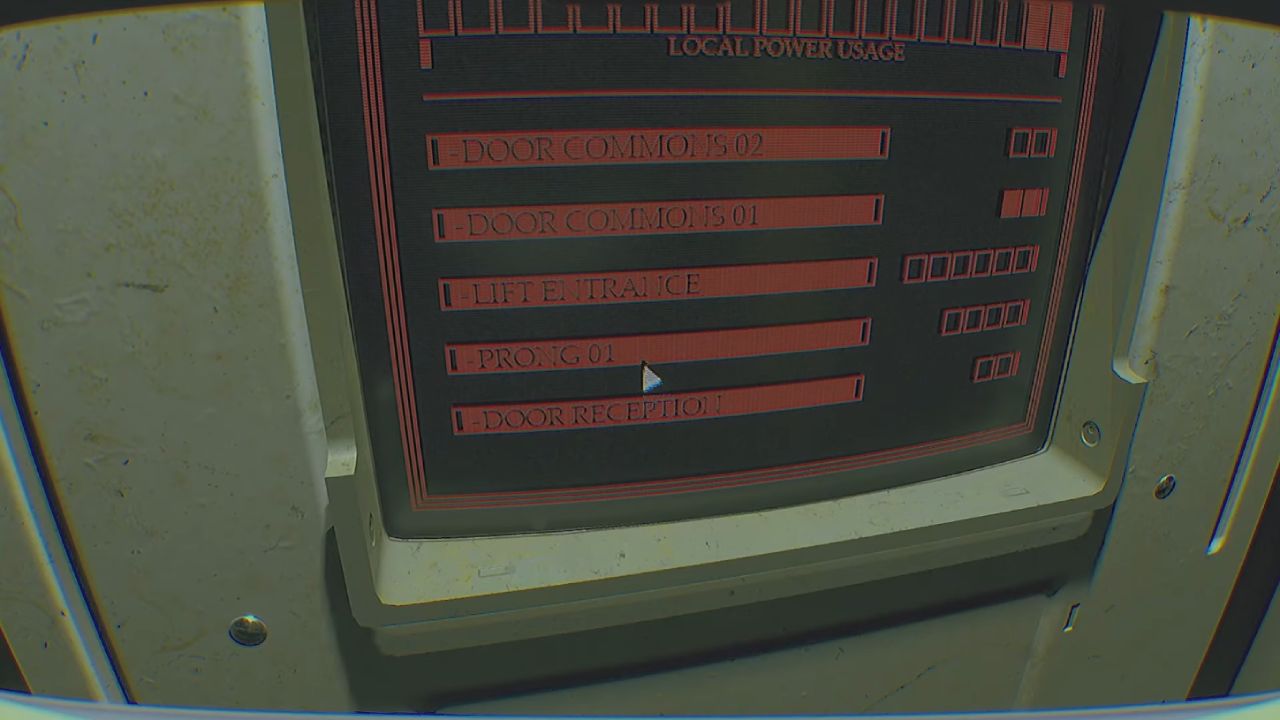
This panel controls the Lift Entrance, Door Reception, and Prong 1 power, among others. You are going to shut down some comfort options so you can channel power into the prongs.
Aligning Prong 1 And Prong 2 Safely
At the Systems Breaker, turn Lift Entrance off, turn Door Reception off, and then switch Prong 1 on. This frees enough energy to operate the first Prong interface. With Prong 1 active, back out of the menu and move to the nearby Prong 1 door. It is very close to this breaker, so you do not need to cross half the base to reach it.
Use your C.A.T. to shoot the Prong 1 door relay and step inside. The Prong alignment screen shows two values: Proximity and Clarity. Treat this like a hot-and-cold mini-game. Rotate the dish left and right to raise the proximity number first, stopping whenever it begins to drop.
Once the proximity value is roughly correct, fine-tune the clarity value until the bar locks in and the interface announces that the Clarity Prong has been aligned.
When Prong 1 is set, leave the room. You no longer need power on that door, so return to the Systems Breaker and switch Prong 1 back off to reclaim energy. This also helps keep your routes simpler, since you do not need to revisit the first Prong again.
Next, you must handle Prong 2. Head back through the common rooms to the breaker panel at the rear of the hub area. This is another heavy-use breaker that controls access to Imaging and the second Prong. Turn Prong 2 on and enable Door Imaging so that both imaging doors open.
The Prong 2 interface is across from this breaker. Activate the door with the C.A.T., step inside and repeat the same hot-and-cold mini-game.
Move the dish in whichever direction makes the numerical readout climb. If the number drops, reverse a little until you find the peak. Once again, tune clarity until the Prong announces it is aligned.
After aligning Prong 2, leave that room and close the imaging door again using the breaker if you wish. This is not strictly required, but tightening your available paths makes it easier to track where Entity A might come from, and it also fits the in-world logic of conserving power.
Activating Echography In Imaging
With both Prongs aligned, your next objective is to run an Echography scan on The Canal from the Imaging wing. Head to Imaging 02, the same side where you previously dealt with machines and scare moments.
As you step through, expect Entity A to patrol these halls. Listen for footsteps and mechanical noise, and be ready to duck into cover or backtrack if you hear it approaching.
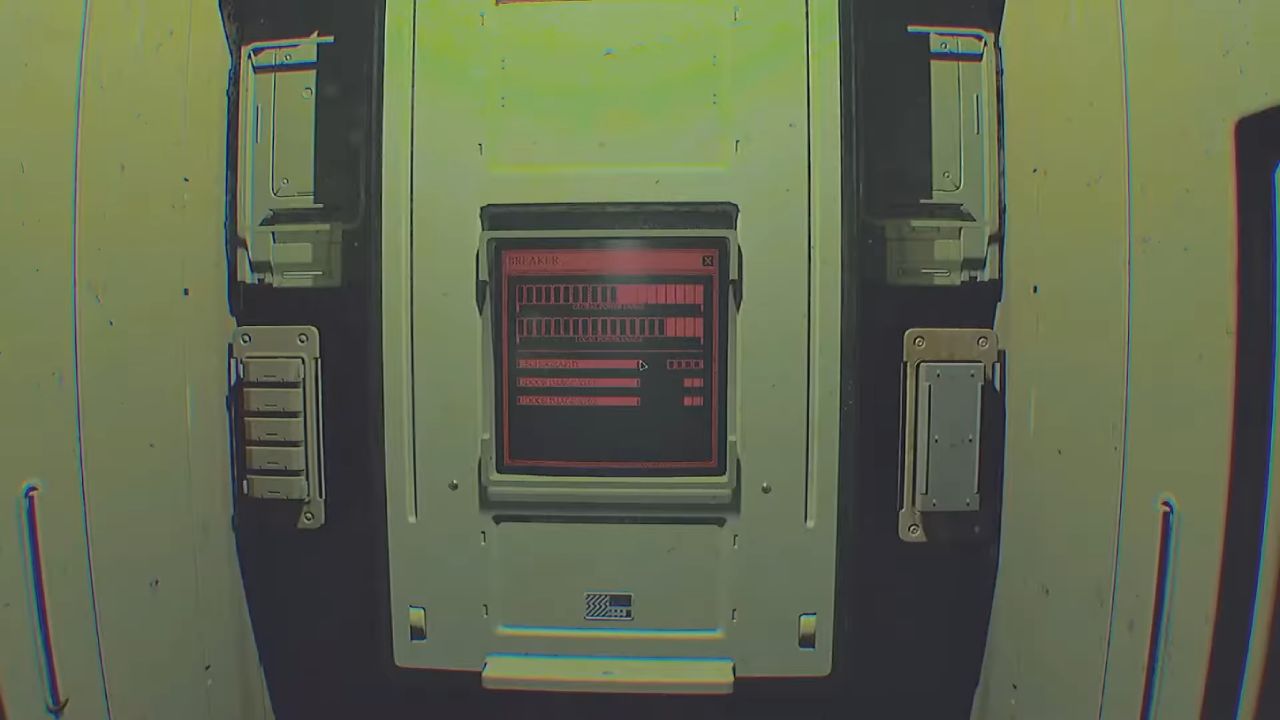
Inside Imaging 02, find the local breaker that controls Echography. Turn Echography on at this panel. This power route is important, because it feeds the Echography Room where the actual Canal scan happens. The monster seems to favor this area, so move with care and avoid sprinting blindly around corners.
Now, head into the Echography Room. The huge scanner is aimed toward a monitor that displays the scan status. Interact with the console to begin scanning The Canal.
While the progress bar crawls forward, you can check your C.A.T. battery count and note any spare cells in the room, but avoid leaving the area mid-scan. The game tracks this as a critical medical-style scan of the alien structure far below.
Once the scan finishes, the monitor output appears almost meaningless, full of messy signal. A message overrides it: “Intervention required. Proceed to the Ripening And Induction terminal immediately.” This marks the next step in the chain that prepares The Canal.
Using Ripening And Induction To Ready The Canal
Leave Imaging and follow the corridor lined with strange fungal growths. The narrow road is lined with these natural shapes that look like rough statues that have grown out of the ground.
They lead to a private room with the Ripening And Induction device in it. Here, the images are worse. You see red flashes and hazy pictures at the edges of your sight. This shows that the infection is deep in your body.
At the back of the room, approach the Ripening And Induction console. The display instructs you to inject Amniotic Brine. Interact and hold the button down while the injection bar fills.
Nothing obvious pierces your body, but the sequence implies a disturbing medical procedure carried out on you and the hidden organism in The Canal. Stay at the console until the bar completes.
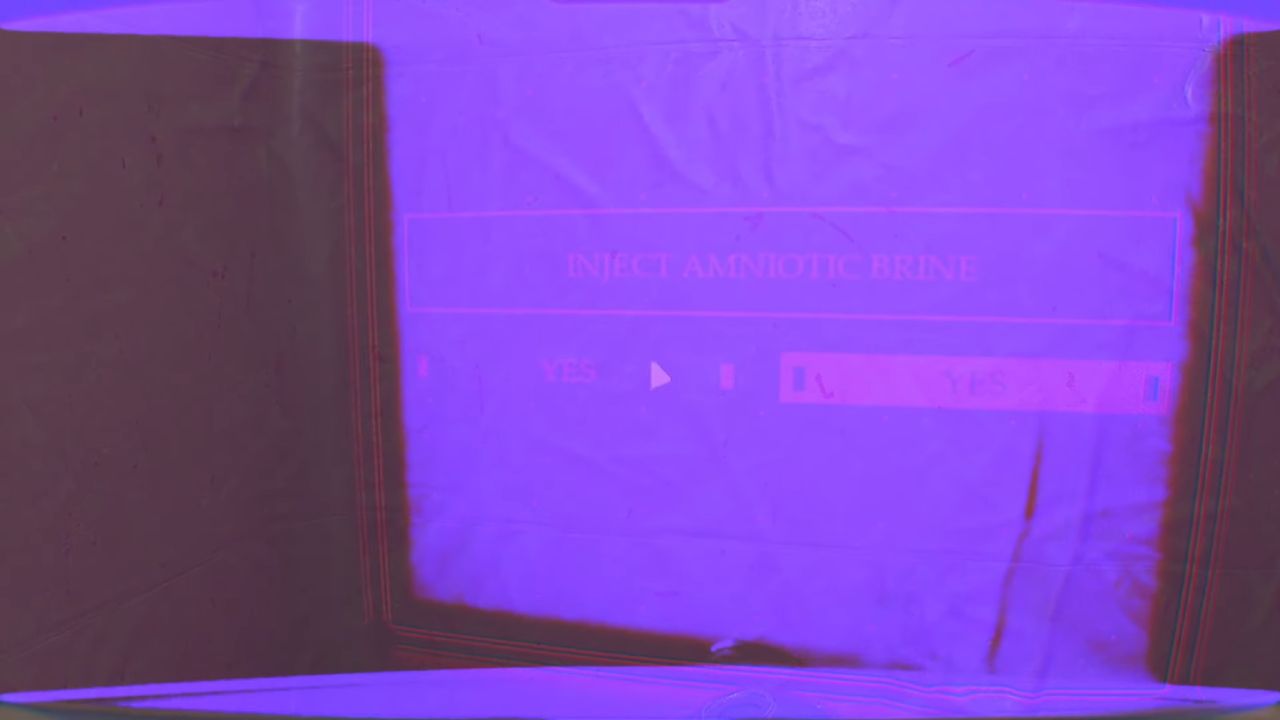
When the bar finishes, the station shakes in a mini-quake. The message confirms that The Canal is ready. You are now past a major point of no return in terms of story, even if you still have a chance to hit a save on the way out.
Entity A usually does not enter this specific chamber, but you should still move cautiously once you step back into the dark corridors.
Run back toward the central hub, this time sticking to the lit areas rather than sprinting through complete darkness.
Your goal is to loop back to the main breaker path that leads to the Imaging Door 2 route and from there back into the hub, where one of the last save points sits. Use that save if you want one final safety net before the final descent.
Watching Entity B’s Video And Entering The Canal
As you leave, you walk by a screen showing a still picture of Entity B, the dead creature with apples in its mouth that was linked to the previous moon trials. Entity A stands and watches a movie that plays when the screen is touched. The moment is sad, like the monster is grieving its lost other half. You can let the scene play out or move on quickly, because it does not affect gameplay once the Ripening And Induction step is complete.
From here, many doors in the Ward are sealed, and the only meaningful path leads to the Canal Airlock. Approach the airlock controls and initialize the sequence. The door cycles open with deliberate slowness. When the inner seal unlocks, step forward into a long, dim tunnel that leads down to The Canal itself.
Inside The Canal, the lights wake up one by one as you walk. Fungal growth, bone-like remains, and alien plant shapes crowd the walls. This is the heart of the infection that destroyed the lunar outpost.
You simply keep walking down the path; there are no more enemies or decisions. The game uses this section as a slow, oppressive build toward the final reveal.

At the end of the path, a huge pod opens. Inside, a figure stands that looks eerily like a blend of Entity A and your own body. The voice you have heard throughout whispers lines such as, “You have come so far,” and “Together we begin anew… Through me you endure. Through you I endure.”
You do not need to press anything here. Waiting as the scene unfolds is enough. The camera closes in, and the redacted PRISM report after this sequence confirms that the mission failed and that The Canal has achieved a new kind of rebirth through you.
Also, check our other guides below:
Contributor, NoobFeed
Latest Articles
No Data.