
All-White 4K Gaming PC Build Guide 2026: Powerful Performance Without Overspending
A modern 4K gaming PC build focused on clean white aesthetics, strong performance, and carefully balanced component costs.
Hardware by Tanisha Aria on Jan 10, 2026
Even though component prices are high right now, it's now easier than ever to build a beautiful 4K game PC with only white parts. The goal is to find a good balance between good 4K gaming performance and smart part decisions that most builders can easily handle.
It's made to handle a wide range of games, from e-sports games like Fortnite to demanding AAA games like Battlefield 6 and Arc Raiders 2, and it's still pretty simple to put together. The whole build is broken down below, part by part. This is followed by a discussion of the entire building process and the standards for real-world gaming.
Current RAM Market Situation
Before getting into the list of parts, it's important to discuss the current state of the memory market. The prices of DDR4 and DDR5 memory have risen significantly, making it much harder to build a PC on a budget than it used to be.
This is why the plan is to cut costs as much as possible on other parts, such as the motherboard, case, storage, and, to some extent, the graphics card. The goal is to give people who want to build right away, rather than wait for prices to settle down, more money to spend on memory.
CPU Choice
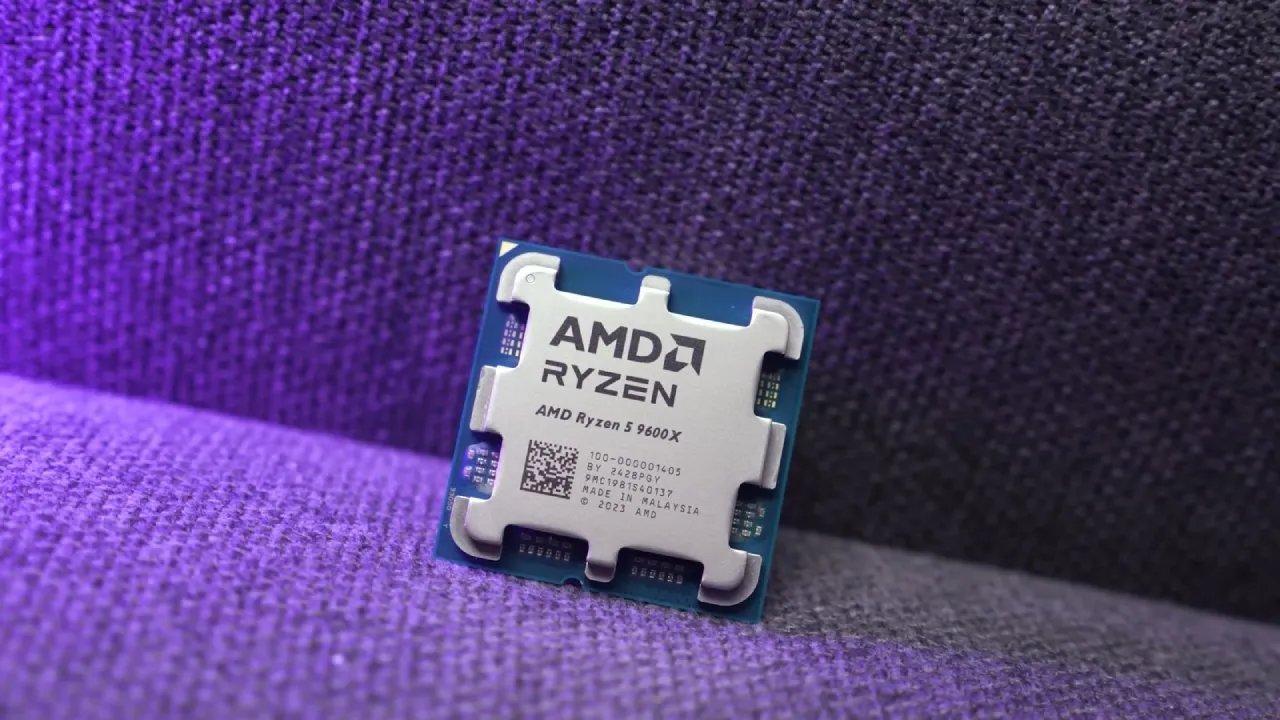
We chose the AMD Ryzen 5 9600X as the chip. This is a good mid-range CPU with strong clock speeds and 6 cores and 12 threads. The GPU is more important than the CPU at higher levels like 4K, even when very high-end graphics cards are used together.
The CPU is still important, but at 4K it doesn't have nearly as much impact on speed as it does at lower resolutions. That said, this processor is a great deal for a 4K gaming build, as it usually costs around $200.
GPU Selection
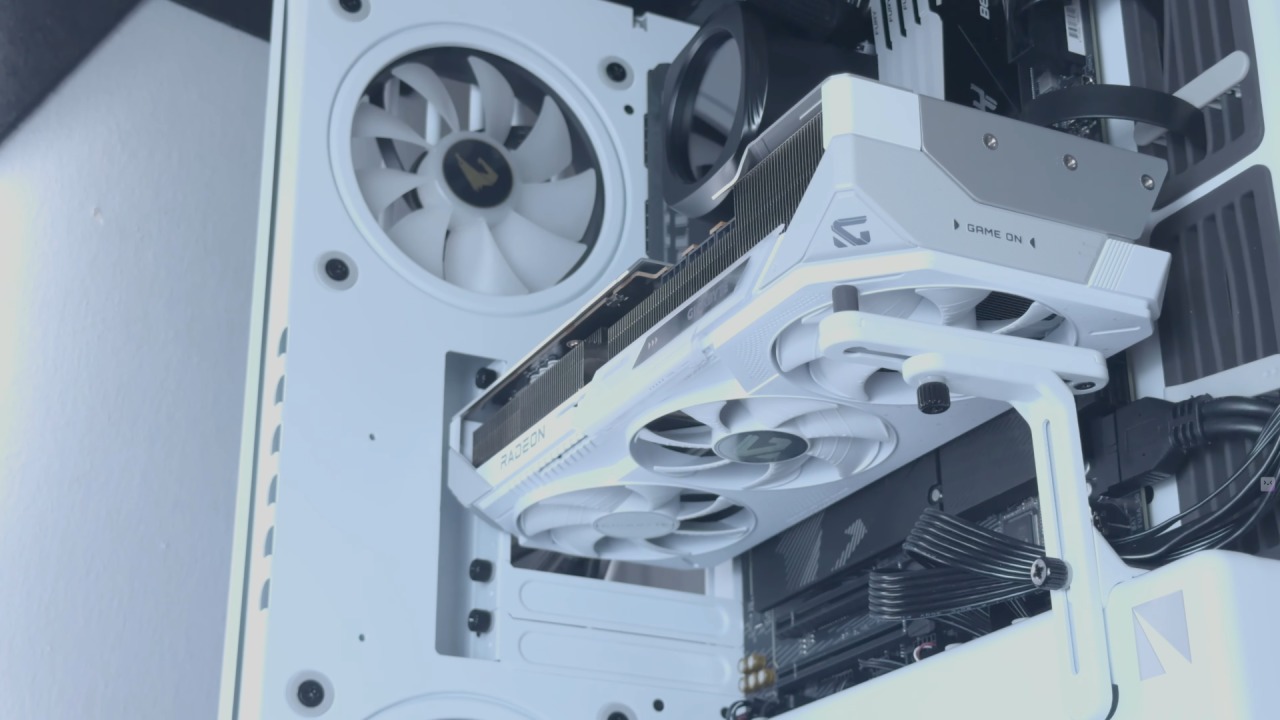
The AMD RX 9070 XT is the graphics card we picked for this 4K system because it is the heart of the system. There is no plan for a cheap build; rather, a build that delivers good 4K performance without spending a lot of money. Many 4K builds use GPUs that cost around $1000. This one costs a lot less, making it a much more accessible option.
We chose the Asus Prime model because it was the cheapest and had a clean white look that went well with the theme. There are other white types available, but the extra cost usually isn't worth the better looks. For its price, the RX 9070 XT gives great speed and looks great in an all-white system.
Motherboard
The Gigabyte Eagle Wi-Fi 7 Ice processor was chosen to save even more money. This is a younger model that doesn't have as many high-end features, but it still works well and looks great in white. It costs around $150 most of the time, which makes it one of the cheapest white motherboards you can find.
On the back I/O, you can see some trade-offs, such as a less advanced Wi-Fi solution and fewer high-end connectivity options. It still has 5Gbps USB-C, a lot of USB 3.2 ports, and 2.5 Gb Ethernet.
It looks different because it has white PCIe slots, white wiring, white mounting brackets, and white RAM spaces. Even though it comes with only one M.2 heatsink, it's more than enough for most gaming builds.
Storage
We chose a 1TB TeamGroup MP44L Gen4 NVMe SSD for storage. This drive is a great deal and has more than enough speed for everyday use and gaming.
The system responds quickly and easily. Its boot and load times are also very fast. Existing drives can easily be added later if more space is needed, but 1TB is a good starting place for most users.
.jpg)
CPU Cooler
The CPU cooler is one of the few places where we spent a little more. The Phanteks Glacier One 360M25G2 has a high-end look at a price that is lower than expected, especially when it is on sale.
Phanteks' cheaper fans are used instead of their more expensive interlocked designs, but the all-white build still looks great. Putting a small VRM fan on the CPU block is a nice touch that works well and looks good.
Additionally, a good dual-tower air cooler is a good option for people who want to save more money.
Memory
Given current prices, you can choose any memory you want for this build. A DDR5 kit from the Ripjaws M5 RGB line is used in the setup. Right now, having DDR5 memory that works is more important than having a lot of it or fast memory.
You can start out with 16GB or 24GB, and you can always upgrade when prices go down. The low profile and RGB lights give it a clean look without breaking the bank.
Case Selection
The white Endorfy ARX700 case was used here. It has great airflow thanks to a mesh front panel and several big ARGB fans that came with it. In front, there are three fans, and in back, there is an extra 140mm fan. Because of how it's set up, it's one of the best cooling cases in its price range.
Inside, the well-thought-out design decisions stand out. The standoffs are black so they can be seen, and the rubber grommets are white to fit the theme. There is a lot of room for cable management at the back. Some cables aren't color-matched, but the layout is still clean and easy to use.
CPU, RAM, and SSD Installation
The first step in the build process is to install the CPU, ensuring the socket marks are aligned and locking it in place. The memory is put in the second and fourth RAM slots, which ensures the best performance.
The NVMe SSD is put into the top M.2 slot, which has a heatsink to keep the drive cool. Getting the mounting tools for the CPU cooler ready now makes the installation much easier later on.
Motherboard and Cooler Installation
Once the main parts are set up, the motherboard is put into the case using the ATX standoffs that came with it. After making sure everything is safe, the CPU cooler comes next.
The radiator is mounted on top of the case, facing outward. The fans are attached separately. This is easy to do because it comes with mounting hardware and clear directions.
Power Supply and Cabling
The power source is a modular unit that works with the latest ATX3.1 standards. It's not necessary to have a 1000W unit; units with lower wattage will work just fine for this build.
The system stays neat with modular cabling, and wire extensions can be used to keep the white look. First, the power wires for the CPU, motherboard, and GPU are run cleanly.
Installing the GPU
The last important part is the GPU. The RX 9070 XT is put into the top PCIe slot and held in place after the required PCIe slot covers are removed.
Once installed, it becomes the system's visual focal point and complements the white style. Now that the power lines are hooked up, the system is ready for its last tests.
Overall Performance and Benchmarks
The end build looks neat, balanced, and well-fitting. The choices made to save money have not hurt how the system looks or how it works. To give a full picture, performance tests were done at both 1440p and 4K.
On high settings, Battlefield 6 gave me more than 140 frames per second at 1440p. Even at ultrawide resolutions, Marvel Rivals maintained an average frame rate of more than 130 fps. With the ultra-high setting, F125 reached over 230 fps.
Arc Raiders ran at over 90 frames per second on high settings at 4K, even though it used a lot of CPU power. Cyberpunk 2077 averaged 76 fps, which is good for a game that requires a lot of power. When tested in 1080p competitive settings, Fortnite averaged 280 fps, demonstrating the system's flexibility across different types of games.
Final Thoughts
The end result is a well-rounded 4K gaming PC that strikes a good balance between price, speed, and looks. Some trade-offs were made to offset the high cost of memory, but the system still works very well in the real world.
It looks great with the all-white theme, and it can be made even better in the future with small changes like white cables or faster memory. If you build now or plan ahead, this setup shows you can still get good 4K performance in 2026 with the right parts.
Also, check our other articles below :
- ASUS ROG Ally X Handheld Review: Double the Battery, Double the Comfort
- Nintendo Switch 2 Vs. Original Switch 1: A Full Comparison
- How To Connect A Camera And Join Voice Chat With Nintendo Switch 2
- Nintendo Switch 2 Review: Handheld Performance, Features & Value Breakdown
- ROG Xbox Ally X Vs. ROG Ally X: Display, Battery & Controls
- ASUS ROG Ally X vs. Steam Deck OLED: Display, Battery & Gaming Benchmarks
- MSI Claw 8 AI+ Review: Display, Controls & Gaming
- Nintendo Switch 2 vs. Steam Deck OLED: Gaming, Performance, Battery, Display and Value
- PlayStation Portal Review: Remote Play, Cloud Streaming & Travel Gaming
- PlayStation Portal vs. Lenovo Legion Go: Best Portable Gameplay
- Cyberpunk 2077 Patch 2.3 FPS Test on MSI Claw 8 AI+
Contributor, NoobFeed
Gaming Hardware Updates
No Data.