
ASUS BIOS Settings That Can Damage Ryzen 9800X3D and How to Fix Them
Proper SOC voltage control and conservative BIOS tuning are essential for maintaining Ryzen 9800X3D reliability and lifespan.
Hardware by Nahe Yan on Feb 03, 2026
If you don't check key BIOS settings, running a Ryzen 9800X3D can put the CPU at risk. In certain circumstances, the default settings on motherboards have raised voltages to levels that X3D chips don't handle well.
The main goal here is to show how to safely set up the BIOS on ASUS motherboards and where to locate similar settings on Gigabyte, MSI, and ASRock boards. The goal is to stay within safe operating ranges, maintain performance, and avoid voltage stress, which can shorten a CPU's lifespan.
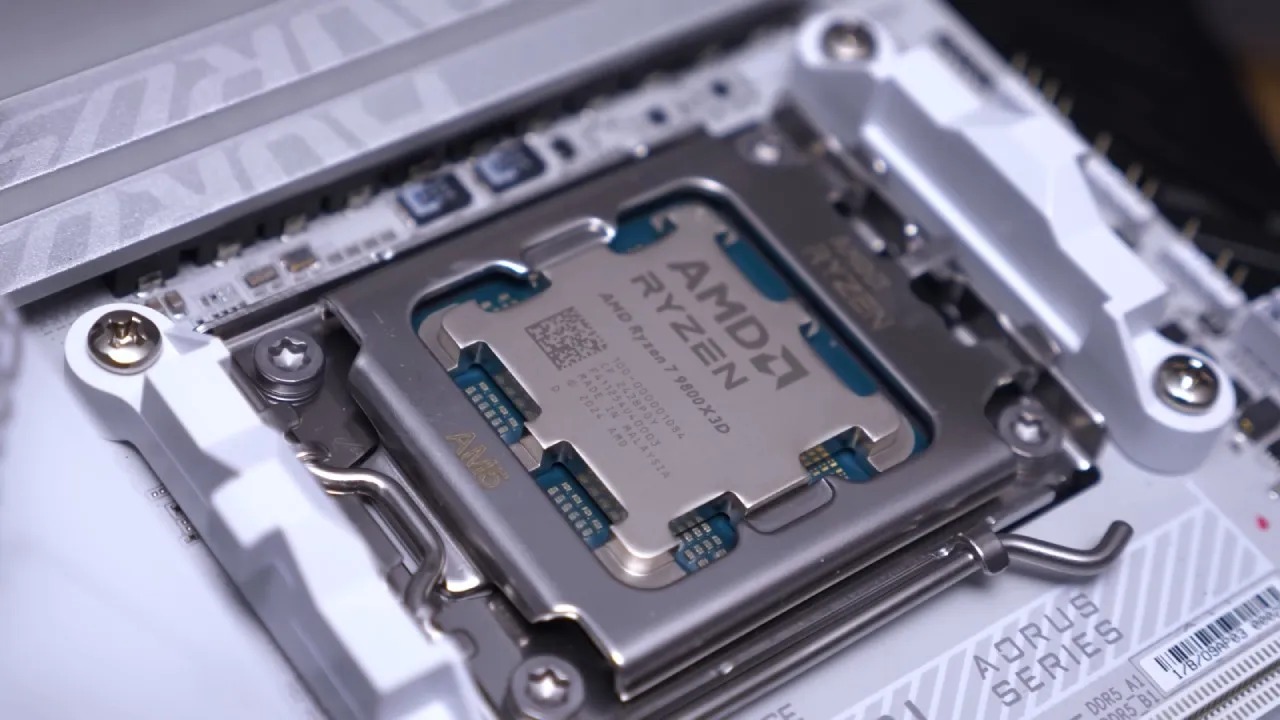
Why X3D Chips Need Extra Attention
The 3D V-Cache design makes X3D processors different from regular Ryzen CPUs. These chips are highly sensitive to voltage changes, especially SOC voltage, memory-related changes, and aggressive auto boost behavior. Most of the reported problems and crashes have been caused by voltage overshoot, not by manual overclocking. The main goal is to keep the voltages under control.
BIOS Update
Before you make any changes, you should first update the BIOS. Older BIOS versions often didn't handle SOC voltage the way AMD intended, and they sometimes went over what was allowed. The new software makes the voltage behavior better and makes it more in line with AMD's requirements.
To update, go to the motherboard support page, download the latest BIOS, and use the Easy Flash tool that comes with it if you have it. If you need to flash back, you might have to rename the BIOS file with the program that comes with it. After the update, load optimized defaults to ensure no old settings are still in use.
How to Get to Advanced BIOS Settings
To enter the BIOS, press or hold F2 when the system starts. When you're inside, go to the advanced options from the default screen. You can start configuring once you've checked that the BIOS is up to date and the defaults are loaded.
Setting the Safe SOC Voltage
Go to the CPU SOC voltage settings. The normal safe range is up to 1.25V, and the most usual goal is 1.2V. 1.15V is used by a cautious approach. Avoid sustained SOC voltage levels above 1.3V, as they raise the risk.
A new BIOS may allow you to leave the SOC voltage on auto, but manually setting it within the safe range will prevent it from acting up. Remember that silicon grade can vary, so different CPUs can be more or less sensitive.
Setting up Precision Boost Overdrive
If you want a more conservative setting, you can turn off Precision Boost Overdrive . Turning off PBO lowers temps and prevents voltage spikes. Even with PBO disabled, gaming performance on X3D chips remains good.
If you turn on PBO, keep in mind that AMD considers this outside normal operating conditions, which could void your warranty. For long-term stability, it's safer to turn it off.
Settings for Load Line Calibration
Load Line Calibration helps maintain a stable voltage under load. Instead of aggressive profiles, set LLC to a moderate level. Level 2 and Level 3 are usually safe middle settings. Level1 is the safest choice.
X3D chips don't like it when LLC settings are too aggressive, as they can cause voltage spikes. Keeping the LLC at a moderate level helps prevent the SOC voltage from rising too quickly.
Saving and Checking Settings
Check the SOC voltage measurements before leaving the BIOS. A safe setup is one where the values are between 1.15V and 1.2V. Once you confirm, save your changes and exit.
Similar Settings on Other Brands of Motherboards
PBO can be found on MSI boards in the Advanced CPU Configuration and Overclock sections. You can find SOC voltage under CPU and SOC Voltage in the Overclock Voltage Settings. You may find LLC under DigitALL Power and EXPO under DRAM Settings.
On Gigabyte boards, you may find PBO in the AMD Overclocking section. You can find SOC voltage in the Tweaker section under Advanced Voltage Settings and CPU Vcore SOC. LLC is in the CPU VRM Settings section, while EXPO is in the Extreme Memory Profiles section.
PBO is found in the OC Tweaker and AMD Overclocking sections of ASRock boards. You can find SOC voltage right in OC Tweaker. You may find LLC under Voltage Configuration and EXPO profiles in the memory settings.
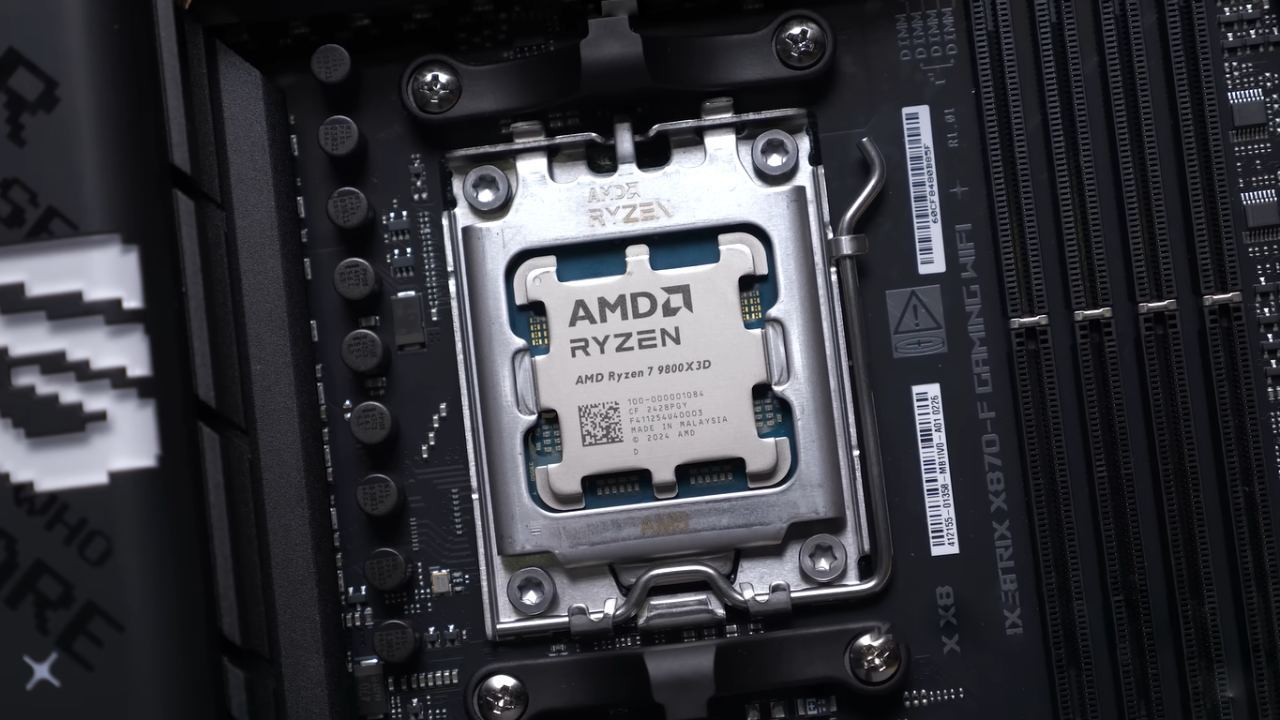
What Not to Do
Don't raise the SOC voltage by hand above 1.3V. Never use extreme LLC profiles. Don't enable more than one auto-overclock feature at a time, because this can cause the voltage to behave in ways that aren't tuned. Don't assume auto settings are always safe, because some boards prioritize performance over longevity.
Final Thoughts
AMD's plan keeps things cool, makes them work better, and minimizes the danger that they will break too soon. Because current PC hardware is so expensive, making sure the BIOS is set up right might help the CPU last longer without making it tougher to use every day.
Also, check our other AMD articles below:
- AMD Ryzen 9 9950X3D Review: Setting The Standard For 2025 Gaming CPU
- AMD Ryzen 7 9800X3D Review: 3D V-Cache Goes God Mode with Stunning Gaming Performance
- AMD RX 9070 Performance Review: Thermals, Clocks, and Real-World FPS
- AMD Ryzen 5 7600 Review: Best Budget Gaming CPU of 2025?
- AMD Radeon RX 7800 XT Review: RDNA 3 Power For Midrange Gaming
- Sapphire NITRO+ AMD Radeon RX 9070 XT Review: The Ultimate 4K Gaming GPU
- AMD Ryzen 7 7800X3D: Delivers Gaming Performance Far Beyond Expectations
- AMD Ryzen 9 7900X Review: Powering the AM5 Era with DDR5 & PCIe 5.0
- Intel Core i9‑14900K vs. AMD Ryzen 7 7800X3D: Power Profiles & Gaming Benchmarks
Editor, NoobFeed
Gaming Hardware Updates
No Data.