
SteamOS vs. Windows on ROG Ally X20: Why Both Operating Systems Matter?
SteamOS and Windows dual boot gives the ROG Ally X20 more flexibility across different games and operating system features.
Handheld by Nahe Yan on Nov 16, 2026
ROG Ally X20 offers the flexibility of a Windows-based handheld gaming PC, but installing SteamOS adds another operating system option for users who prefer the Steam Deck experience. While Windows provides compatibility with more games and features, SteamOS offers a different interface, lower resource usage, and sleep-to-wake functionality. Running both operating systems through a dual-boot setup allows users to switch between them depending on the games and features they want to use.
Despite its age, the Steam Deck remains a handheld gaming device worth returning to. However, several newer games require more processing power, making devices like the Ally X20 a better option for demanding titles. In many ways, the Ally X20 offers the hardware expected from an Ally handheld, but getting SteamOS running on it initially required additional work.

Choosing an Operating System and Preparing USB Drives
There are still reasons to return to Windows, including anti-cheat support and features that take advantage of the Z2 Extreme processor. Having the ability to switch between Windows and SteamOS makes the Ally X20 more flexible, especially for users who primarily play through SteamOS but occasionally need Windows.
Setting up a dual-boot configuration is also easier than converting the original Ally X from a single Windows installation. You can now complete most of the process in an afternoon. Before starting the installation, decide whether to use SteamOS or another SteamOS-like operating system, such as CachyOS or Bazzite. Both options have their own advantages and limitations.
In this case, we selected SteamOS for the dual-boot configuration. The installation process requires three USB drives. Rufus can prepare each drive with the necessary installation files. The first USB drive contains the Windows installation files, while the second contains the SteamOS ISO file. The third USB drive is prepared with GParted to adjust the SSD partitions.
One important consideration when installing SteamOS is that its installation process wipes the entire drive, including existing files and partitions. Therefore, if you want to use SteamOS alongside Windows, install SteamOS first, then install Windows. However, if Windows is already installed and you want to use Bazzite or CachyOS instead, you can install the alternative operating system on a dedicated partition without following the same installation order.
Allocating Storage Between SteamOS, Windows, and Games
After installing SteamOS, you can use GParted to manage the remaining SSD space. SteamOS requires approximately 40GB of storage, while Windows needs around 60GB to 100GB. The setup allocated about 80GB to Windows, leaving the rest available for games. The games partition was formatted using the Btrfs file system, while the Windows partition was initially left unallocated.
You can label the Windows partition during this process, but when installing Windows, you will need to delete that partition so that it becomes unallocated again. You can then install Windows in the available space. If Windows is already installed and you want to add another operating system, you can reverse the process.
Load the GParted USB drive and make sure Bazzite or CachyOS is directed toward the correct installation partition. Bazzite developers recommend 64GB of storage, while CachyOS developers recommend at least 50GB. Consider these requirements when deciding how much space to allocate to each operating system.
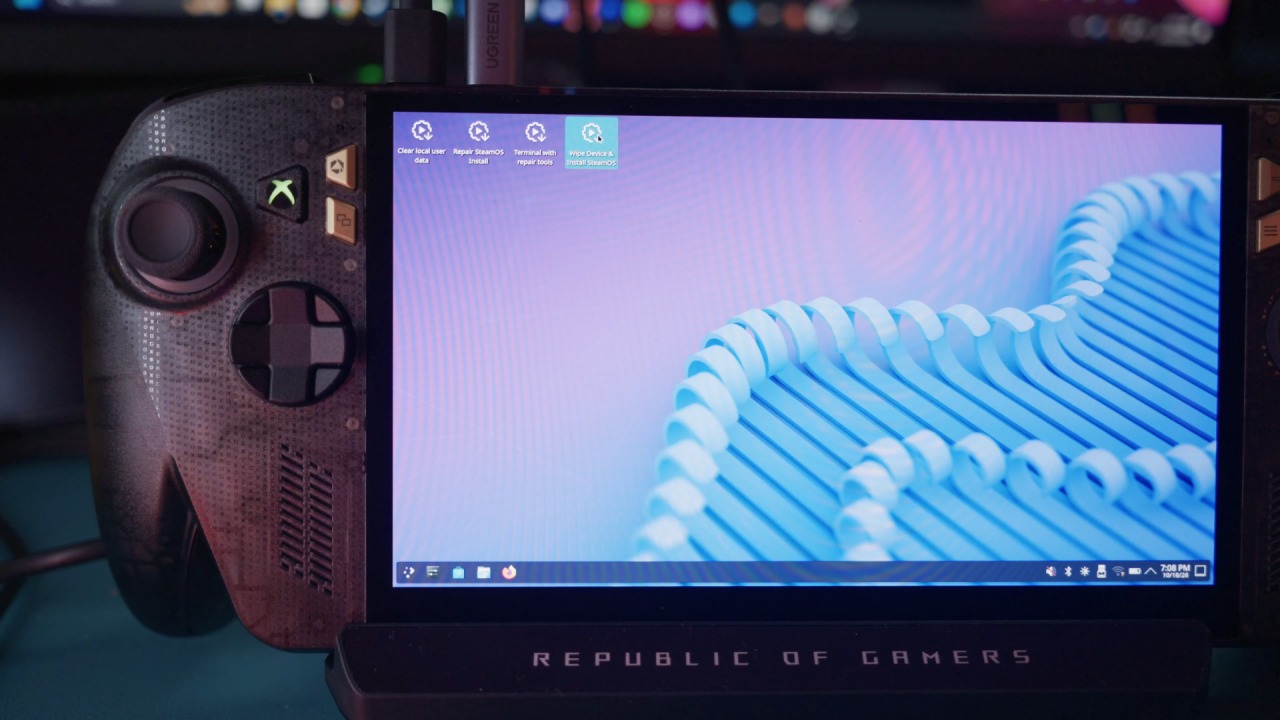
Once the partitions are ready, the next step is configuring the shared game storage.
A separate setup is required to make the Btrfs partition accessible to Windows, allowing games to be downloaded and played from both operating systems. This part requires extra attention because the partition configuration must be correct. If something goes wrong, Windows may become unusable, requiring you to restart the entire process.
We recommend following a dedicated tutorial for setting up the Btrfs file system so Windows can recognize and access it. Double-check every partition and installation setting before proceeding. A mistake at this stage can cost an entire afternoon, as happened during the initial setup.
After getting both SteamOS and Windows running, the next step is configuring SteamOS with audio support and other features. You can install most required applications and fixes through desktop mode before moving on to game mode. The first requirement is the Ally X20 audio fix for SteamOS. Installing it is relatively straightforward, although the fix only works with beta or preview versions of SteamOS at the time of recording.
FAQ
Q. Can you dual-boot SteamOS and Windows on the ROG Ally X20?
A. Yes. You can install SteamOS and Windows on separate SSD partitions and configure a script to switch between them.
Q. How much storage does SteamOS need on the ROG Ally X20?
A. SteamOS requires approximately 40GB of storage. Windows needs around 60GB to 100GB, while the remaining space can be allocated to shared game storage.
Q. Can SteamOS and Windows access the same game library?
A. Yes. You can use a Btrfs partition for shared game storage, but you'll need additional configuration for Windows to recognize and access it.
Q. Can you switch between SteamOS and Windows without entering the BIOS?
A. Yes. You can add the boot-to-Windows script to SteamOS as a non-Steam game. Alternatively, Refind and GRUB can provide an operating system selection menu during startup.
Editor, NoobFeed
Latest Articles
No Data.